Deck Railing Repair Guide – Fix Loose or Damaged Rails
- William McKracherne
- 2 days ago
- 5 min read

Deck railing repairs can vary in cost, but most fixes are affordable if you catch them early. This guide walks you through six steps to fix loose or damaged rails yourself. Follow along, and you'll have a safe railing in a weekend.
Step 1: Inspect the Damage and Check Local Codes
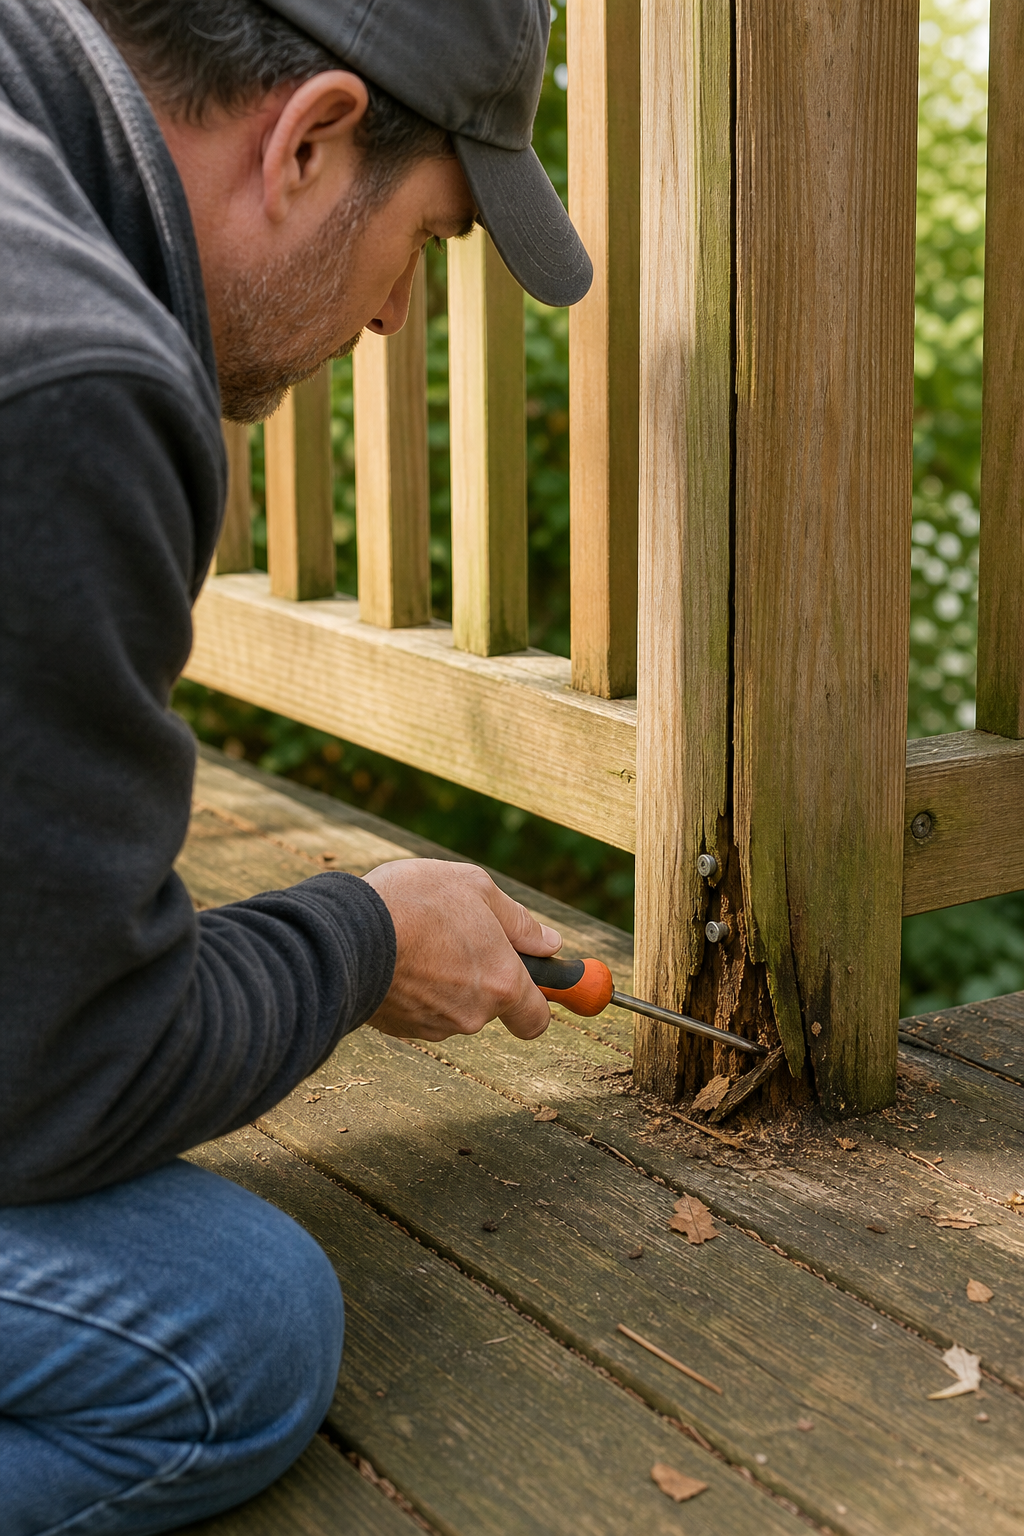
Start by walking the full deck and checking every railing section. Push against the railing with your body weight, a 180-pound person should feel little to no movement. If it wobbles, find the cause. Look for loose screws, cracked wood, rusted brackets, or rotted posts. Use a screwdriver to probe suspect wood; healthy wood splinters, rotted wood crumbles. Pay extra attention to post bases where water collects.
While you inspect, note any code requirements. Railings are required on decks more than 30 inches above grade, and the minimum height is usually 36 inches. Baluster spacing must prevent a 4-inch sphere from passing through. Some local codes, like California and Washington, require 42-inch railings. Check with your local building department before you start, you may need a permit if you're replacing entire sections. For a detailed breakdown of railing height codes, refer to local building regulations.
If you find serious structural issues like rotted joists or compromised ledger boards, you might need professional help. LGFMH Construction can handle complex repairs , they have experience with both wood and metal railings and know local building codes.
Step 2: Gather Tools and Materials for Your Repair
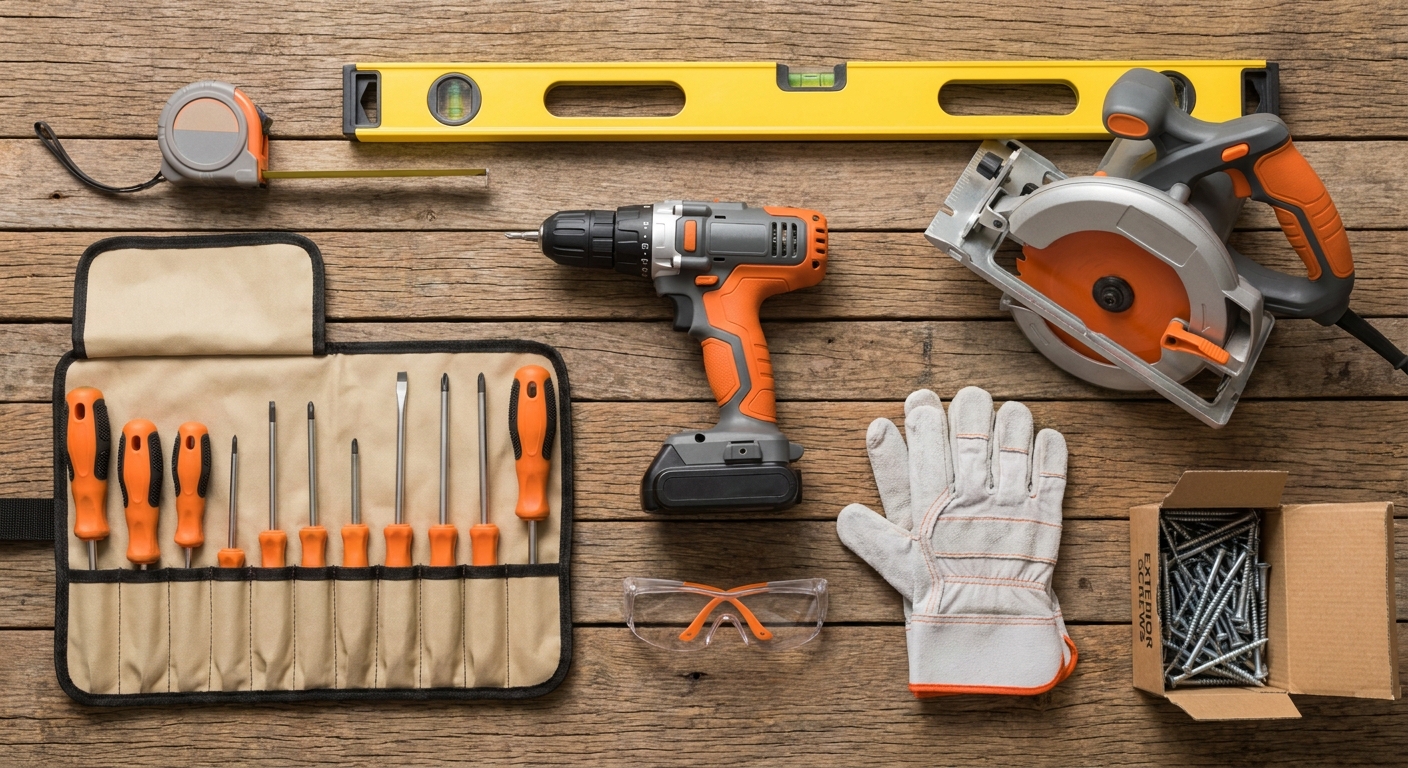
Before you swing a hammer, gather what you need. For most repairs, you'll need:
Tape measure, level, square
Drill with bits (including hex head for lag screws)
Saw (circular saw for wood, angle grinder for metal)
Pry bar, hammer, cats paw nail puller
Safety glasses, work gloves, dust mask
Exterior screws (galvanized or stainless steel)
Wood filler or epoxy, sandpaper
Deck stain or sealant (if finishing)
For step 3, you may need structural screws (such as heavy-duty lag screws) and a wrench for bolts. For step 4, pick up replacement balusters and fasteners that match your railing style. A simple repair like tightening a few screws costs under $20, but replacing a post or baluster runs $50, $100.
If your railing is wood, use exterior-grade screws at least 1 inch away from edges to avoid splitting. For composite, use the manufacturer's recommended fasteners. For metal, use self-tapping screws with corrosion-resistant coating.
Step 3: Tighten Loose Posts and Railings
Loose posts are the most common cause of wobbly railings. Start by checking the post-to-deck connection. If the post is bolted, try tightening the nuts with a wrench. If that doesn't work, add structural lag screws through the post into the framing. You may need to add blocking between joists to give the post a solid base, this is a common fix that costs $50, $75 in materials.
For loose top or bottom rails, remove the old fasteners and replace them with longer ones. Don't just pound nails back in; they'll pop out again. Use screws that go at least 1.5 inches into solid wood. If the post is rotted at the base, you'll need to replace it (step 4). A quick test: after tightening, push the railing, it should move less than a quarter inch.
One hidden cost trap: minor issues like loose fasteners can escalate to $5,000 if ignored because water gets into the post base and rots the framing. So fix loose bolts ASAP.
Step 4: Replace Damaged Sections or Balusters
If a baluster is cracked or a railing section is rotted, you'll need to remove and replace it. For balusters attached with brackets, just unscrew them and install a new one. For recessed balusters (top and bottom rail slots), drill the hole in the top rail deeper so you can push the baluster up and slide it into the bottom rail. Add a dab of wood glue or adhesive in the bottom hole before inserting, this prevents a child from pulling it out.
To replace a whole railing section between two posts, measure the opening top and bottom (they might differ), cut the new top and bottom rails to length, then attach them to the posts with screws. Install balusters with proper spacing: divide the opening width by (number of balusters + 1) to get center-to-center spacing. Keep spacing under 4 inches to meet code. For wood, toenail balusters or use brackets. For metal, use appropriate clips.
If posts are rotted, you'll need to dig them out and set new ones in concrete. That's a bigger job, consider hiring a professional for post replacement. LGFMH Construction can handle this efficiently, ensuring the new posts are plumb and properly braced.
Step 5: Secure Top Rails and Caps
The top rail (or handrail) takes the most abuse. Check that it's firmly attached to posts. Remove old screws and replace with longer ones, or add additional screws. If the top rail is also a cap (a 2x6 or similar), it may be nailed; use a pry bar to remove it carefully. When reinstalling, pre-drill pilot holes to prevent splitting, and use at least two screws per post.
For a professional finish, consider adding a railing cap, a larger board that sits on top of the rail and extends slightly. This gives a clean look and protects the end grain from moisture. The key is to miter the corners and use waterproof glue.
After securing, test the railing by pushing hard. It should feel solid with no more than 1/4 inch movement.
Step 6: Sand, Stain, or Seal the Repaired Areas
New wood needs protection. Sand all rough spots and edges, then wipe clean with a tack cloth. Apply a wood preservative if the area is exposed to rain. For stain, match the existing color as closely as possible. If you're sealing only the repaired section, feather the edges to blend. For composite or metal, touch up with manufacturer-recommended paint or touch-up kit.
If the entire deck needs refinishing, do it after all repairs are complete. LGFMH Construction offers professional staining and sealing services that can make your old deck look new, they use high-quality UV-resistant products that last 2, 3 years.
Remember: routine maintenance extends deck life. Inspect annually, and re-seal every 2, 3 years for wood.
Frequently Asked Questions
How much does it cost to repair a deck railing?
Railing repair costs vary based on the scope of work. Simple tightening or replacing a few balusters is relatively inexpensive, while replacing a rotted post can be more costly. For an accurate estimate, contact a professional contractor.
Can I repair deck railing myself or should I hire a pro?
You can handle basic tightening, baluster replacement, and top rail repair yourself if you have basic tools and are comfortable with a saw and drill. For structural issues like rotted posts or complex metal railings, hire a professional like LGFMH Construction to ensure safety and code compliance.
What tools do I need to fix a loose deck railing?
You'll need a drill, screwdriver, level, tape measure, pry bar, hammer, safety glasses, and exterior-grade screws. For replacing wood, add a circular saw and sandpaper. For metal, an angle grinder with a cut-off wheel.
How do I know if my deck railing needs to be replaced?
If pushing on the railing causes more than 1/4 inch movement, or if you see rot, rust, or cracked wood, repair or replace right away. Check baluster spacing, if it exceeds 4 inches, it's a code violation and a safety hazard.
What is the building code for deck railing height?
A minimum 36-inch railing height is required for decks over 30 inches above grade. Some states (California, Washington) require 42 inches. Balusters must not allow a 4-inch sphere to pass through. Always check local codes before starting repairs.
Conclusion
Fix loose or damaged deck railings as soon as you spot them. Start with a thorough inspection, tighten loose posts, replace any rotted sections, and secure the top rail. Finish with a coat of stain or sealant to protect your work. If the job feels too big, call LGFMH Construction, they'll get your deck safe and looking great in no time.


Comments