How to Replace a Broken Patio Railing: A Step-by-Step Guide
- William McKracherne
- 2 days ago
- 9 min read

A broken patio railing is more than an eyesore. It's a safety hazard. And it can lower your home's value. But you don't need a contractor for every fix. With the right tools and a little patience, you can replace a broken patio railing yourself. In this guide, we'll walk through five steps: assess damage, remove the broken section, measure and cut the replacement, install it, and finish. We'll also cover what to look for in building codes and which materials work best. Let's get started.
Step 1: Assess the Damage and Gather Tools
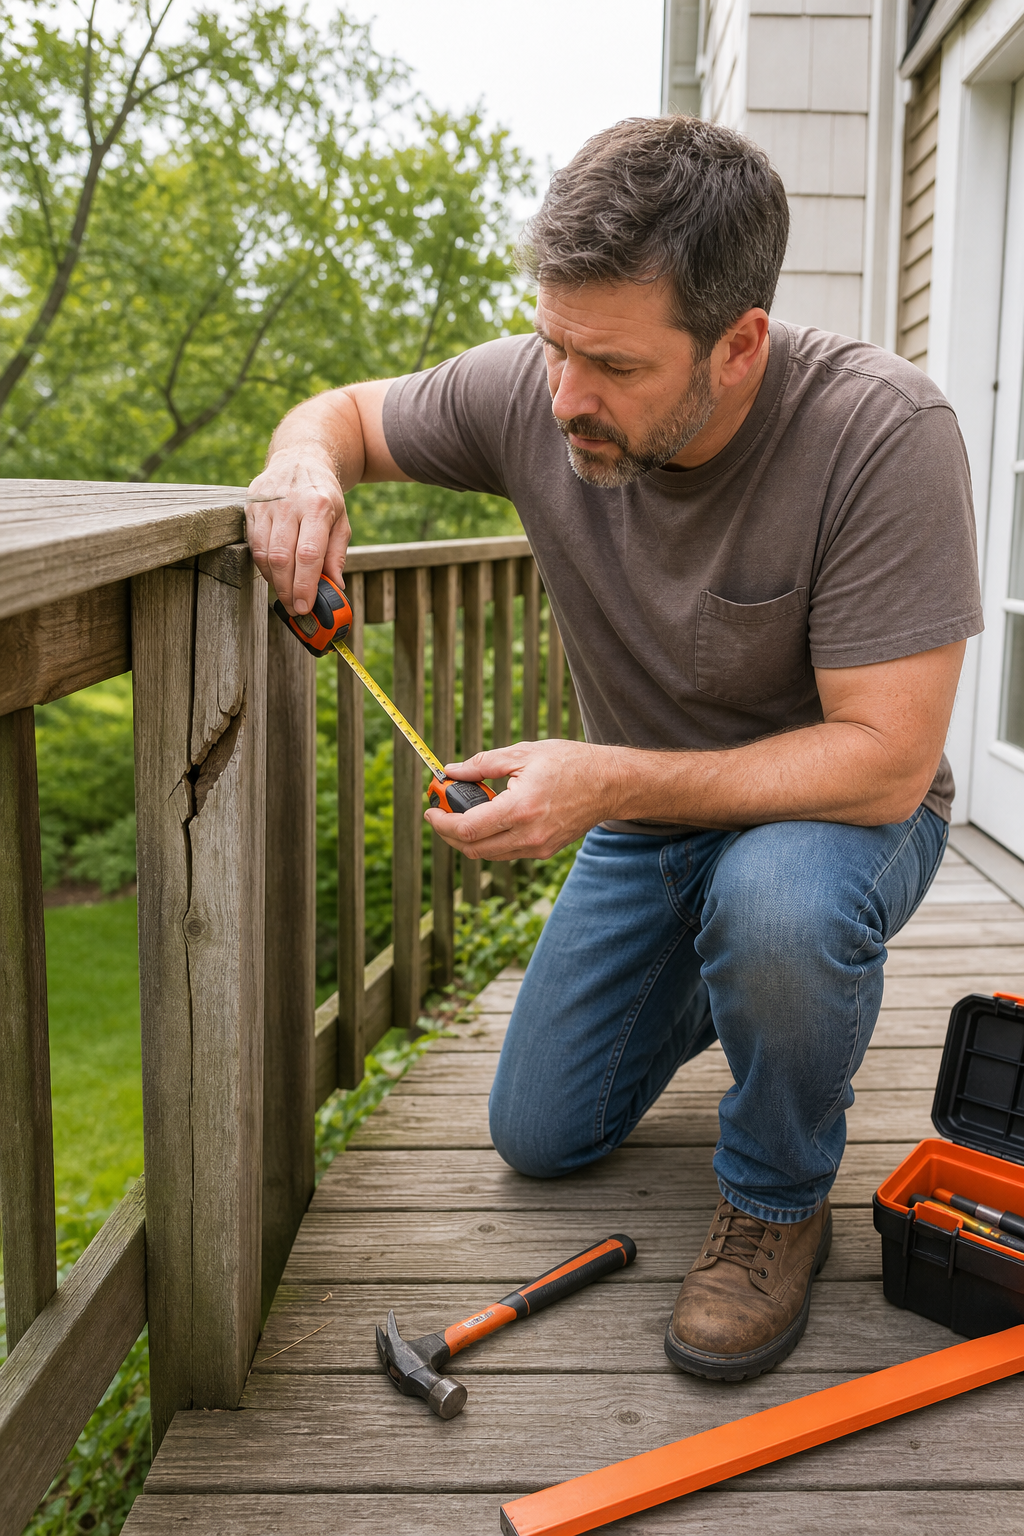
Before you start cutting or buying anything, take a close look at the broken railing. Is it just one missing baluster? Or is the top rail split? Maybe the post is rotted. You need to figure out if a simple replacement will work or if you need to rebuild the whole section. At LGFMH Construction , we often see homeowners who skip this step and end up with bigger problems later.
Check each part. Look for rust on metal rails. Probe wood with a screwdriver to find rot. Wiggle the posts to see if they're loose. If the posts are solid, you can just replace the rails and balusters. If the posts are bad, you might need to dig and set new ones. That's a bigger job.
Now, gather your tools. You'll need a tape measure, a level, a drill with bits, a saw (circular or miter saw for wood, angle grinder for metal), screwdrivers, a hammer, and safety gear like glasses and gloves. Also pick up fasteners that match your railing material. For wood, use exterior screws. For metal, use self-tapping screws. Don't forget wood filler or paint for finishing.
Check your local building codes before you buy materials. According to Wikipedia's handrail article , most codes require a railing height of 36 inches for residential decks and baluster spacing no wider than 4 inches. The CPSC deck safety guide also warns about gaps that can trap a child's head. Make sure your new railing meets these rules.
Before you start, it's smart to have a professional inspection. A thorough home inspection before closing for investors can reveal hidden damage like termites or rotten posts that you might miss. Even if you're not selling, a once-over by a pro can save you from a collapse later.
Key Takeaway:Spend time inspecting every part. Only replace what's broken. If the posts are solid, you're in good shape.
Step 2: Remove the Broken Railing Section
Now it's time to tear out the broken parts. But go slow. You don't want to damage the good posts or the deck itself. Start by removing any balusters that are attached. For wood, you can pry them off with a crowbar. For metal, unscrew or cut the screws. If the balusters are nailed, use a reciprocating saw to cut the nails between the baluster and the rail.
Next, take off the top rail. It's usually screwed or nailed to the posts. Use a drill to remove screws. If it's nailed, slide a pry bar under the rail and carefully lift. Do the same for the bottom rail. Sometimes the rail is also bolted to the post. Those bolts can be tough. Use a wrench or a socket set.
Watch out for sharp edges, especially on metal. Wear heavy gloves. And if your railing is old, there might be lead paint. Wear a mask and seal the area. According to the OSHA lead safety guidelines , you should test for lead before sanding or cutting old paint.
Once the section is free, set it aside. You might need it as a pattern later. Clean up the debris. Now is a good time to check the post surfaces. Are they level? Do they have holes or damage? If the posts need repair, do it now. Fill old screw holes with wood filler or epoxy. Let it dry.
If you're replacing a whole section between two posts, make sure the posts are still plumb. Use a level. If they lean, you'll have a hard time fitting the new rail. You can shim the posts straight, but that's tricky. Sometimes it's easier to cut the new rails to match the lean.
Pro Tip:Mark the position of each baluster on the post before you remove it. That gives you a perfect spacing guide for the new ones.
Step 3: Measure and Cut the Replacement Railing
Measure the opening between the posts. Do it twice. Measure at the top and bottom because posts aren't always perfectly square. Use the smaller measurement if they're different. That's your rail length. For the balusters, measure from the bottom of the top rail to the top of the bottom rail, minus the gap for the fasteners.
Now cut the top and bottom rails to length. Use a miter saw for wood, set to a square cut. For metal, an angle grinder with a cut-off wheel works fast. Deburr the edges. If you're working with metal, on How to Trim Metal Efficiently for tips on clean cuts.
For balusters, mark the spacing on the rails. If you have an old railing section, use it as a template. Otherwise, divide the opening width by the number of balusters plus one. For example, if the opening is 48 inches and you want 4 balusters, space them 9.6 inches apart. Round to the nearest 1/8 inch. Mark both rails.
Cut the balusters to length. For wood, you can cut them all at once by clamping them together. For metal, measure and cut each one individually if they're different lengths due to a slope.
Dry fit everything before you fasten. Lay the bottom rail on the posts, then set the balusters in place, then the top rail. Adjust spacing if needed. If something doesn't fit, trim a little more. It's easier to cut again than to add material back.
Step 4: Install the New Railing Section

Start with the bottom rail. If your posts have a groove, slide the rail in. If not, attach it with screws into the post. Use a level to make sure it's horizontal. Shim if needed. Then attach the top rail the same way. But before you screw the top rail all the way, insert the balusters.
For wood balusters, you can toenail them into the rails at an angle. For metal, use straight brackets. Or you can pre-drill and screw from underneath. Make sure each baluster is plumb. Use a small level.
Here's a table to help you choose the best material for your replacement. Each has pros and cons.
Material | Pros | Cons | Best For |
Wood | Easy to cut and paint, cheap | Rots and warps over time, needs yearly stain | Matching existing wood decks |
Metal (steel or aluminum) | Very strong, little maintenance | Hard to cut, can rust if scratched | Modern homes, high-traffic areas |
Composite | No rot, no paint needed, looks like wood | Expands in heat, can sag over long spans | Low-maintenance decks |
Glass | Unobstructed view, modern look | Expensive, needs special hardware, shows smudges | Decks with views |
Once the balusters are in, tighten everything. Check for wobbles. If a baluster wiggles, add a shim or another screw. Don't over-tighten and crack the wood. For metal, use lock washers to keep screws from backing out.
If your railing has a handrail on top, attach it last. Use a router to round the edges if you want a smoother feel. And make sure it's at least 36 inches above the deck surface per code.
Key Takeaway:Work from bottom to top. Level each piece. Check every baluster for plumb. A tight fit now means a solid railing for years.
Step 5: Secure, Finish, and Inspect
Final step is making it look good and last. Counter-sink any screw heads that stick out. Fill holes with wood filler or metal primer. Sand smooth. Then paint, stain, or seal. For wood, use a UV-resistant stain. For metal, use a rust-inhibiting paint. Let it cure fully before exposing it to weather.
Inspect every joint. Pull on the railing with your body weight. It should not move more than a quarter inch. If it does, add more screws or brackets. Also check the bottom of the posts where they meet the deck. Water can get in there and cause rot. Add a bead of caulk around the base.
Think about the future. At LGFMH Construction, we recommend an annual inspection. Look for loose screws, cracked paint, or rust spots. Catch problems early and they're easy to fix.
Once your railing is secure, step back and admire your work. You saved money and learned a new skill. But if the project felt overwhelming, especially if you had to replace posts or deal with complex metal work, it's okay to call a pro. Homeowners who want a perfect match or have tricky angles often find it's worth hiring someone.
Replacing a broken patio railing is a satisfying weekend project. And once you're done, you might think about other upgrades. For example, window replacement return on investment is another smart way to boost your home's value and energy efficiency. Small improvements add up.
Frequently Asked Questions
Can I replace just one section of a patio railing?
Yes, you can replace a single section as long as the posts on both ends are solid and the new railing matches the style. Measure carefully between the posts. Remove the old section and install the new one. It might be hard to find an exact match for older railing styles, but you can often combine similar materials and paint or stain to blend them. If the entire railing is old and faded, matching can be tough.
What type of railing is easiest for a beginner to replace?
Wood railing is the easiest for a beginner. It's easy to cut, drill, and fasten. You can shape it with simple tools. Composite is also beginner-friendly because it cuts cleanly and doesn't need painting. Metal railing requires special tools like an angle grinder and metal cutting blades, making it harder. Glass railing is the hardest due to precise fitting and heavy glass panels. Start with wood if you're new to DIY.
Do I need a permit to replace a patio railing?
Most areas require a permit if you're replacing more than a few linear feet or if you're altering structural posts. Check with your local building department. Permits ensure the railing meets height and spacing codes. For a small repair, you might not need one, but it's always safer to ask. Skipping a permit can cause issues when you sell the house. The inspector will check for safety and code compliance.
How do I match the existing railing style and color?
Take a photo and a broken piece to a home improvement store. For wood, you can buy similar lumber and stain it to match. Bring a sample of the stain color. For metal, look for pre-manufactured balusters in the same profile. If you can't find an exact match, consider replacing the entire railing on that side for a uniform look. Painting the whole railing a new color can also hide mismatches.
Is it safe to reuse the old posts?
Yes, if the posts are sound. Check for rot, insect damage, or rust. Prod the base with a screwdriver. If the wood is soft or the metal is flaky, replace the post. Reusing damaged posts is dangerous because the railing could collapse. Also check that the posts are still plumb and securely anchored to the deck. If a post wobbles, reinforce it before attaching the new railing.
What tools do I absolutely need for this job?
You need a tape measure, level, drill, saw (circular or miter saw for wood, angle grinder for metal), screwdrivers, safety glasses, and gloves. For wood, also need wood filler, sandpaper, and paint or stain. For metal, need deburring tool and rust inhibitor. A reciprocating saw is helpful for removing old nails. A pry bar helps remove old pieces. These are the basics. You can rent specialized tools.
How long does it take to replace a broken patio railing?
For a single section, expect 4 to 6 hours if you have all the tools and materials. That includes assessing damage, removing the old section, cutting and fitting the new one, and finishing. Longer if you need to treat rust, paint, or let adhesives dry. If you need to replace posts, add a full day. First-timers should budget a weekend to be safe. Work at a steady pace and double-check measurements.
When should I hire a professional instead of doing it myself?
If the posts are rotted or the deck structure is damaged, call a pro. Also if you don't have the right tools for metal or glass railing. A professional from LGFMH Construction can handle complex jobs, ensure code compliance, and save you from costly mistakes. If the railing is on a high deck (over 6 feet), safety is critical. A pro will have liability insurance if something goes wrong.
Conclusion
Replacing a broken patio railing is a job most homeowners can handle with basic tools and a careful approach. We've walked through each step: assess the damage, remove the old section, measure and cut the new parts, install them, and finish everything. Along the way, you learned how to check building codes, choose materials, and work safely. The satisfaction of a sturdy, good-looking railing is worth the effort.
If you run into problems, don't force it. Loose posts, out-of-square openings, or matching old styles can stump even experienced DIYers. That's when you call a pro. Companies like LGFMH Construction specialize in repairs and replacements for decks and patios. They can handle the tricky parts and guarantee the work.
Once your railing is fixed, think about other projects that add value. Upgrading windows is one way to boost energy efficiency and resale value. Small fixes like a new railing make your outdoor space safer and more enjoyable. So get out there, measure twice, and build something that lasts.
Remember the golden rule: inspect before you start, use the right tools, and never skip safety. Your patio will thank you.


Comments