DIY Concrete Crack Repair Using Epoxy: Step‑by‑Step Guide 2026
- William McKracherne
- 17 hours ago
- 7 min read
Cracks in concrete look bad and can get worse fast. You can fix them yourself with epoxy and save money. In this guide you’ll learn how to do DIY concrete crack repair using epoxy from start to finish. We’ll walk you through each step, give you real tips, and point out common mistakes so you end up with a solid, long‑lasting repair.
Here’s a quick look at what researchers found when they compared 12 crack‑repair tips from five trusted sources. The data shows that high‑pressure injection beats cheap kits, and cleaning the crack first is the hidden key to success.
The study pulled 26 statements from five sites on April 6 2026. We counted each tip, sorted them by theme, and noted where they came from. That’s why the table above shows which advice comes from which source.
Table of Contents
Step 1: Prepare the Area and Gather Tools
Before you start DIY concrete crack repair using epoxy you need a clean, safe workspace. First, clear any furniture or plants that sit near the crack. Then, sweep the floor or patio to get rid of loose dirt.
Wear gloves, goggles, and a dust mask. Safety gear keeps you from breathing in silica dust and from hurting your eyes.
Now gather the tools you’ll need. A hand grinder with a diamond blade will open the crack so the epoxy can flow in. A concrete crack chaser or router bit will shape the crack into a V‑groove. You’ll also want a stiff putty knife, a bucket, a mixing paddle, and a spray bottle for misting.
For more details on the best crack‑chasing bits, on concrete crack chasers and router bits . It explains how each bit works and why a V‑groove helps epoxy stick.
And remember to protect the area with a drop cloth. That way any dust or epoxy splash stays off your floor.
Here’s a quick checklist you can print:
Hand grinder with diamond blade
Concrete crack chaser or router bit
Stiff putty knife
Mixing bucket with lid
Paddle mixer or stir stick
Spray bottle for misting
Safety gear: gloves, goggles, mask
Drop cloth or plastic sheeting
And a pro tip: run the grinder at a low speed first to see how the crack reacts. Then increase speed to widen the V‑groove.
But don’t rush. A clean, well‑shaped groove makes the epoxy bond better and stops future cracks from popping through the surface.
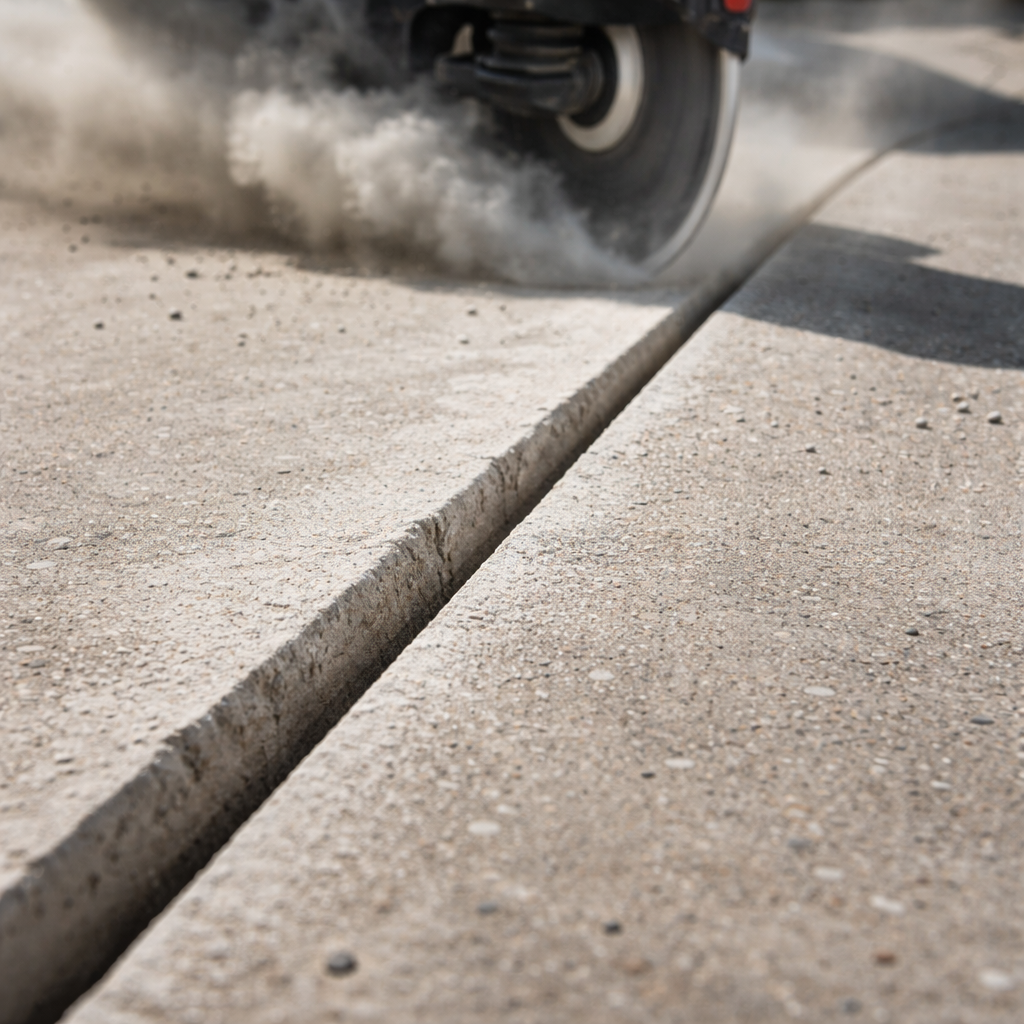
Step 2: Clean the Crack and Assess Its Width
Now that the groove is ready, you need to clean it. Any dust or loose bits will stop the epoxy from sticking.
Use a wire brush or a small vacuum to pull out the debris. A shop‑vac works well because it can get into the narrow space.
After you vacuum, spray a light mist of water over the crack. The water helps settle dust and gives the epoxy a slightly damp surface to bond with.
Next, measure the crack width. Pull out a crack‑width ruler or a simple feeler gauge. If the crack is less than 1 mm, a floor‑patch epoxy gel will work. If it’s wider, you may need a thicker epoxy paste.
Here’s a video that walks you through measuring crack depth and width: crack depth measurement guide . It shows how to read the ruler and decide if the crack is shallow.
And a quick tip: if the crack feels soft when you press a fingertip, it may be wet. In that case wait for it to dry before you apply epoxy. Dry‑shield.ca warns that epoxy on wet cracks loses strength.
Take note of the width in a notebook. You’ll use that number to pick the right epoxy mix later.
Below is a simple table that helps you match crack width to epoxy type.
Crack Width | Recommended Epoxy | Notes |
Up to 1 mm | Floor‑patch epoxy gel | Quick cure, easy to apply |
1–3 mm | Standard epoxy paste | Mix to a thick batter |
More than 3 mm | High‑viscosity epoxy | May need a filler base |
And if you ever wonder why a clean crack looks dark after misting, it’s just the water soaking the pores. That’s a good sign.
Now you’re set to mix the resin.
Step 3: Mix the Epoxy Resin Correctly
Mixing epoxy is like making pancake batter , you need the right ratio and a smooth mix.
Start by reading the label on the epoxy kit. Most floor‑patch gels call for 1 part resin to 1 part hardener. If you use a paste, the ratio may be 2:1. Measure the parts in a clean bucket.
Pour the resin first, then add the hardener slowly while stirring. Use a paddle mixer on low speed to avoid splashing.
Watch the mixture turn a uniform color. If you see streaks, keep mixing until they disappear.
Let the mix sit for about 60 seconds. That “slake” time lets the chemicals settle and prevents flash‑setting when you apply it.
Here’s a quick video that shows the exact mixing steps:
And a pro tip: if the room is warm, the epoxy will set faster. You can chill the water a bit to slow the cure.
After the mix is ready, you’ll move on to applying it.
Step 4: Apply the Epoxy and Smooth the Fill
Now comes the fun part , you get to see the crack fill in real time.
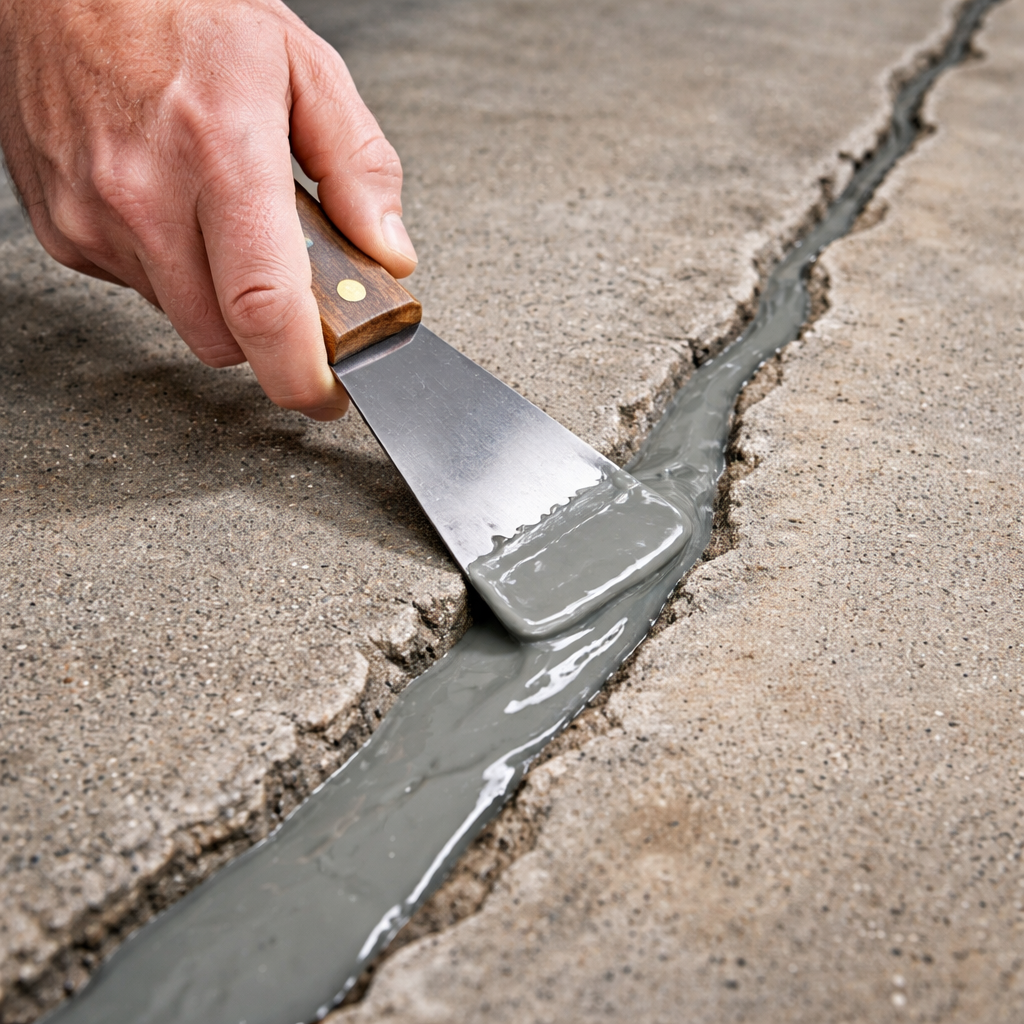
Grab a stiff putty knife and scoop a dollop of mixed epoxy. Press it into the crack, starting at the deepest point.
Use a slow, steady motion. Push the epoxy along the V‑groove you made in Step 1. The goal is to fill every little void.
After the crack is full, use the flat side of the knife to smooth the surface. Try to keep the top level with the surrounding concrete.
If you see air bubbles, tap the side of the knife lightly. That will pop the bubbles and let the epoxy settle.
Here’s another video that walks through the fill technique: epoxy fill demo . It shows how to pull the knife across the crack for a smooth finish.
And a quick tip: work in sections no larger than 12 inches. That way the epoxy stays wet enough to shape.
When you’re done, wipe any excess epoxy off the surrounding concrete with a rag dipped in acetone. That prevents a glossy ring from forming.
Step 5: Allow Curing and Finish the Surface
Patience is the hardest part of DIY concrete crack repair using epoxy. You need to let the epoxy cure fully before you walk on it.
Most floor‑patch gels need 4 to 8 hours before you can grind or sand. Structural epoxy may need a full 24 hours.
Check the temperature. If it’s below 50 °F, add extra curing time. If it’s warm, you can shorten it a bit.
After the cure, use a concrete grinder or a hand‑held sanding block to smooth the repaired area. Grind until the surface matches the surrounding concrete.
Then, clean the dust with a shop‑vac. Finally, apply a concrete sealer if the area will see water or heavy traffic. The sealer locks in the epoxy and adds extra protection.
Here’s a PDF from the American Concrete Institute that covers proper curing methods: Concrete Curing Guide . It explains how humidity and temperature affect epoxy set time.
And a final tip: test the repair by pressing a screwdriver tip into the surface. It should feel solid, not soft.
Conclusion
DIY concrete crack repair using epoxy can save you hundreds of dollars and give you a finish that looks like a pro did the work. You learned how to prep the area, clean and measure the crack, mix the resin right, apply it smoothly, and let it cure properly.
Remember, the hidden key is proper preparation , a clean V‑groove and a dry crack make all the difference. If you follow the steps, you’ll end up with a crack that stays sealed for years.
Need more help with concrete projects? Check out our Concrete Patio Crack Repair Guide for extra tips on larger patio jobs.
When you’re ready, gather your tools, mix that epoxy, and start fixing. A solid floor or slab starts with a solid repair.
FAQ
How do I know if a crack is dry enough for epoxy?
Check the crack by pressing a dry cloth against it. If the cloth stays dry after a few minutes, the crack is dry. You can also tap the crack; a dry crack will sound solid, while a wet crack will sound dull. If you see water seep out, wait until the moisture dries. Dry‑shield.ca warns that epoxy on wet cracks loses strength, so waiting is worth it.
What safety gear should I wear during DIY concrete crack repair using epoxy?
Wear heavy‑duty gloves, safety goggles, and a dust mask or respirator. The grinder creates silica dust, and epoxy can irritate skin. A disposable coverall can keep your clothes clean. Also keep a fire‑extinguisher nearby in case of a spark from the grinder.
Can I use a regular paint brush to apply epoxy?
A paint brush can work for thin epoxy gels, but a stiff putty knife gives better control in a crack. The knife pushes the resin deep and helps you smooth the surface. For wide cracks you may need a small trowel instead of a brush.
How long should I wait before walking on the repaired area?
For floor‑patch epoxy gel, wait at least 4 hours, but 8 hours is safer. For structural epoxy, wait 24 hours or until the product says it’s fully cured. Temperature and humidity affect cure time , cooler, damp conditions need more time.
What if the crack re‑opens after the epoxy cures?
Re‑opening usually means the crack moved after you filled it. That can happen if the substrate shifts or if the epoxy was applied to a wet crack. In that case, you may need a flexible polyurethane filler or a second epoxy layer after the first cures.
Do I need to prime the concrete before applying epoxy?
Priming isn’t always required, but a concrete primer helps epoxy bond in very porous surfaces. If the concrete is very old or very smooth, a primer adds a tiny “tooth” for the epoxy to grip.
Is DIY concrete crack repair using epoxy suitable for large structural cracks?
For large structural cracks you can use epoxy, but the crack must be stable and dry. Dalinghausconstruction.com recommends epoxy only for relatively stable cracks. If the crack moves with temperature changes, a flexible polyurethane system may be a better choice.
How do I clean up excess epoxy after the job?
While the epoxy is still wet, wipe it off with a rag soaked in acetone or mineral spirits. Once it hardens, you’ll need a grinder or a concrete chisel to remove the excess. Clean tools right away to keep them from sticking.