how to repair plaster ceiling water damage
- William McKracherne
- Mar 21
- 7 min read

Imagine you come home after a rainy night. You hear a drip in the hallway. You look up and see a dark spot spreading on the plaster ceiling above the kitchen. The paint is bubbling, and a small crack runs along the edge. The water from a leaky roof has seeped in, and now the ceiling looks like it might fall. You’re not sure what to do, but you need a plan fast. This guide shows you step‑by‑step how to repair plaster ceiling water damage so you can stop the spread, restore the surface, and keep your home safe. We'll walk through each stage, from spotting the problem to finishing the paint. You’ll get practical tips, tools you need, and why each move matters. By the end, you’ll feel ready to tackle the repair yourself or know when to call a pro.
Step 1: Assess the Damage
First, you need to know how bad the water damage is. Look at the ceiling and find all the wet spots, cracks, and soft areas. The size of the area tells you how much plaster you’ll have to replace. If the plaster feels spongy, it’s probably soaked through and will need to come out.
Check the source of the water. Is it a roof leak, a pipe burst, or a faulty window? Stop the water right away. Turn off the water supply or seal the roof if you can. This prevents more damage while you work.
Take photos of the damage. Insurance adjusters love clear pictures. Write down the date and what caused the leak. This info helps you when you file a claim.
Next, test the moisture level. A simple moisture meter can show if hidden water remains. If you don’t have one, feel the wall with your hand; cool spots often hide moisture.
Here’s a quick checklist you can follow:
Identify all wet spots and cracks.
Stop the water source.
Document with photos and notes.
Measure moisture with a meter or by touch.
Decide if you can DIY or need a pro.
For more details on water damage assessment, see COIT’s water damage checklist. It explains how to classify water types and why quick action matters. You can also read about hidden moisture detection on 247 Restoration’s ceiling guide. Understanding the extent of the problem helps you plan the repair and avoid future mold growth.
Step 2: Dry the Affected Area
Now that you know what you’re dealing with, it’s time to dry the ceiling. Drying stops mold from forming. Mold can start in as little as 24 hours, so act fast.
Start with fans. Point a floor fan toward the wet spot. If you have a dehumidifier, run it in the room. This pulls moisture from the air and speeds up drying.
Open windows if the weather allows. Fresh air helps evaporate water. If it’s cold outside, keep the heat on low; warm air holds more moisture and dries faster.
Check the progress every few hours. Use the moisture meter again. When the reading is close to normal (under 12% for plaster), you can move on.
Tips for effective drying:
Place fans at least 3 feet away from the ceiling.
Run dehumidifiers for at least 24 hours.
Rotate fan direction to cover the whole area.
Keep the room temperature between 68‑72°F.
For more guidance on drying, watch this short video: how to dry water‑damaged ceilings . It shows the right fan setup. You can also read the same video’s description for extra tips on using commercial air movers.
Remember, the goal is to get the plaster completely dry before you touch it. Any remaining moisture will cause the new plaster to fail later.
Step 3: Remove Damaged Plaster and Prepare the Surface
With the ceiling dry, you can start pulling out the bad plaster. Use a utility knife or a plaster saw to cut around the damaged area. Make the cut a little bigger than the wet spot so you remove all compromised material.
Wear a dust mask and goggles. Plaster dust can irritate lungs. Gently tap the edges with a hammer and chisel to loosen the plaster. Pull it away in sections.
If the ceiling has lath (the wooden strips behind plaster), check them for rot. Replace any rotten lath with fresh wood strips. Secure the new lath with nails or screws.
Clean the exposed area. Sweep away dust, and wipe with a damp cloth. Let it dry again for a few minutes.
Now you need a solid base for the new plaster. Apply a bonding agent or a thin coat of plaster “scratch coat” to help the next layers stick.
Here’s a simple table you can use to compare tools:
Tool | Use | Tip |
Utility knife | Cutting plaster | Sharp blade reduces effort |
Plaster saw | Removing large sections | Use steady strokes |
Hammer & chisel | Loosening edges | Tap gently to avoid damaging lath |
Moisture meter | Checking dryness | Re‑check after cleaning |
Watch this video for a clear demo of plaster removal: Plaster removal tutorial . It walks through cutting, chipping, and cleaning the surface. Another helpful clip shows how to prep lath: Lath preparation guide . Following these steps makes sure the new plaster will bond well and last.
When you finish, you’ll have a clean, dry, and level surface ready for fresh plaster.
Step 4: Apply New Plaster and Smooth the Finish
Now comes the fun part: putting new plaster on the ceiling. Mix plaster according to the bag instructions. Use cool water and stir until the mix is smooth, like thick milk.
Start with a thin “scratch coat”. Use a plaster trowel to spread it over the prepared area. Press firmly so the plaster fills any gaps. Let it set for about 10‑15 minutes; it will start to firm up.
Next, apply a “brown coat”. This layer is thicker and builds up the height. Smooth it with the trowel, working from the center outward. Keep the surface slightly rough; this helps the final coat adhere.
Finally, add the “finish coat”. This is the thinnest layer. Use a clean trowel and a light hand. As you spread, you’ll see a shine appear. That’s the smooth finish you want.
While the finish coat is still wet, you can “float” it with a wet sponge or a polishing trowel. This removes small ridges and gives a glass‑like surface.
Here’s a quick tip list:
Mix only what you can use in 30 minutes.
Work from top to bottom to avoid drips.
Keep tools clean; plaster dries fast.
Use a light touch on the final coat.
Float with a damp sponge for extra smoothness.
Watch this video for a full plaster‑application demo:
Two more resources can help you perfect the technique. See plaster finishing tips video for polishing tricks. And read another guide on mixing ratios for the best consistency.
When the plaster is fully set, it will feel hard and smooth. You’re now ready for sanding, priming, and painting.
Step 5: Sand, Prime, and Paint the Repaired Ceiling
The fresh plaster needs a few final steps before it looks like the rest of the room. First, sand the surface. Use a fine‑grit sanding block (120‑180 grit). Lightly sand any tiny bumps or lines left from the trowel.
Wipe away dust with a damp cloth. Dust can stop paint from sticking.
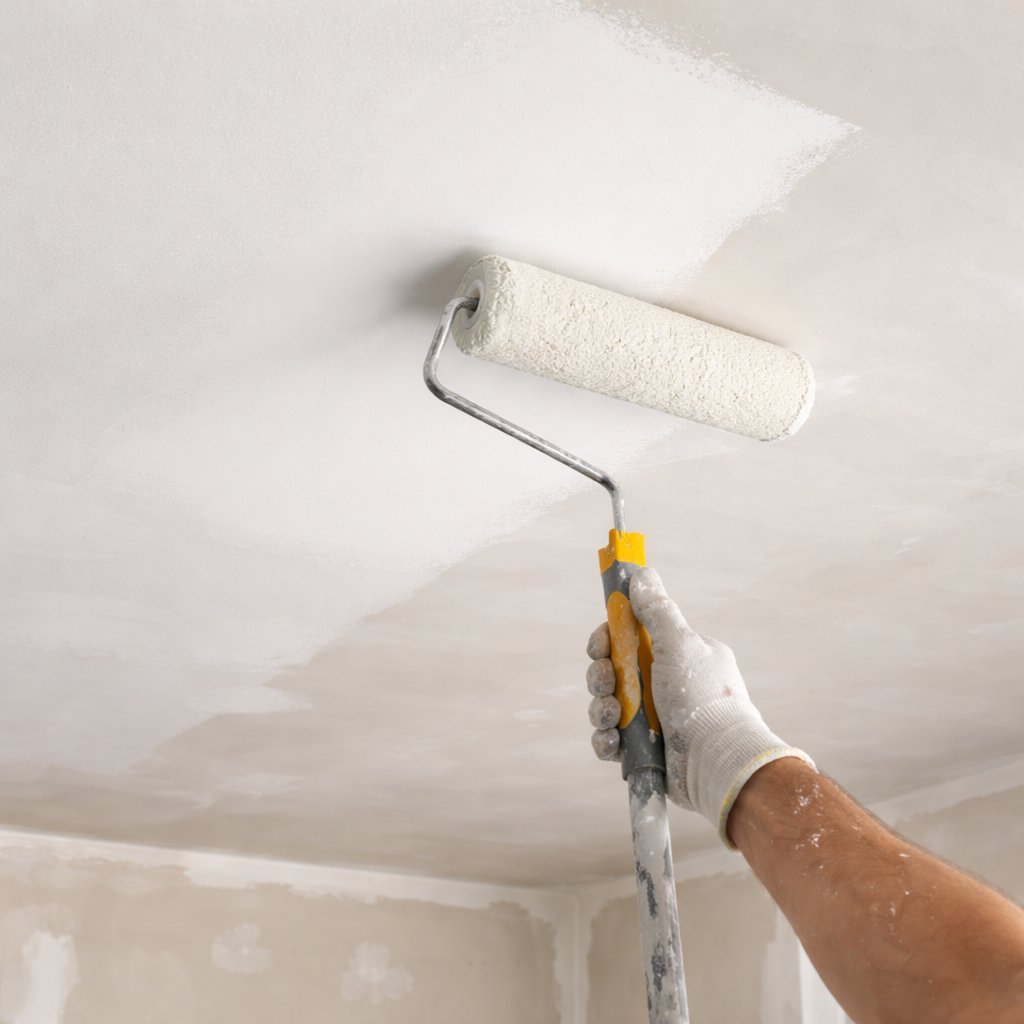
Next, prime the ceiling. A good primer seals the plaster and makes paint adhere evenly. Use a roller with a medium‑nap cover. Apply a thin coat and let it dry per the label—usually 1‑2 hours.
Now paint. Choose a ceiling paint that’s low‑odor and flat finish. Cut in the edges with a brush, then roll the middle. Apply two thin coats for even color.
Here are some tips for a flawless finish:
Sand gently; over‑sanding can damage the plaster.
Use a tack cloth to catch fine dust.
Prime with a product made for new plaster.
Roll paint in “W” patterns for smooth coverage.
Let each coat dry fully before the next.
For more on sanding and priming, read COIT’s plaster repair article. It covers why primer matters. You can also see 247 Restoration’s ceiling painting tips for paint selection advice.
Finally, step back and admire the work. The ceiling should look seamless, as if the water never damaged it.
FAQ
How long does it take to dry a water‑damaged plaster ceiling?
Drying can take anywhere from 24 to 72 hours depending on humidity, temperature, and airflow. Use fans and a dehumidifier to speed up the process. Check moisture with a meter; you want readings under 12% before moving on. Patience here saves you from future mold problems when you learn how to repair plaster ceiling water damage.
Can I use regular drywall joint compound instead of plaster?
You can, but plaster gives a stronger bond and a smoother finish for ceilings. Joint compound may shrink and crack over time, especially on a ceiling that has seen water. For best results when you learn how to repair plaster ceiling water damage, stick with plaster that matches the original material.
What safety gear should I wear while repairing plaster?
Wear a dust mask, safety glasses, and gloves. Plaster dust can irritate lungs and eyes. If you’re cutting into lath, ear protection helps with the hammering noise. Using proper gear keeps you safe while you follow the steps for how to repair plaster ceiling water damage.
Do I need to replace the wooden lath behind the plaster?
If the lath is rotted or soft, replace it. Healthy lath gives a solid base for new plaster. Remove damaged strips, cut fresh wood to size, and secure with nails. This extra step ensures the repaired area holds up, especially when you learn how to repair plaster ceiling water damage.
How many coats of plaster should I apply?
Typically three coats work best: a thin scratch coat, a thicker brown coat, and a thin finish coat. Each layer builds strength and smoothness. Let each coat set before adding the next. Following this method is key when you learn how to repair plaster ceiling water damage.
What type of paint is best for a repaired plaster ceiling?
Use a low‑odor, flat‑finish ceiling paint. It hides imperfections and reduces glare. Primer is essential to seal the new plaster. Apply two thin coats for even coverage. This finish will match the rest of your room after you learn how to repair plaster ceiling water damage.
For more on watch straps, check out Watch Strap Size Guide: Find the Perfect Fit for Any Timepiece. If you’re curious about case sizes, see Watch case size guide: Find the perfect fit for your wrist. Need a chart? Look at Watch Strap Size Chart: How to Find the Perfect Fit for Your Timepiece.
If you’d like a deeper dive on costs, visit Ceiling Water Damage Repair Cost: What Homeowners Need to Know. This page walks through budgeting and when to hire a professional.


Comments