How to Repair Vinyl Siding Holes: A Step‑by‑Step Guide
- William McKracherne
- Mar 22
- 7 min read

Imagine you just came home after a beach walk and see a tiny hole in the side of your house. The hole is only an inch wide, but rain could seep in and damage the wall behind the vinyl. You feel that knot in your stomach and wonder how to repair vinyl siding holes before the problem gets worse. The good news is you don’t need to call a pro right away. With a few tools, a bit of patience, and the right steps, you can fix the hole yourself. This guide walks you through every part of the process, from spotting the damage to sealing the final patch. By the end you’ll know exactly how to repair vinyl siding holes so your home stays dry and looks great.
Step 1: Assess the Damage and Gather Materials
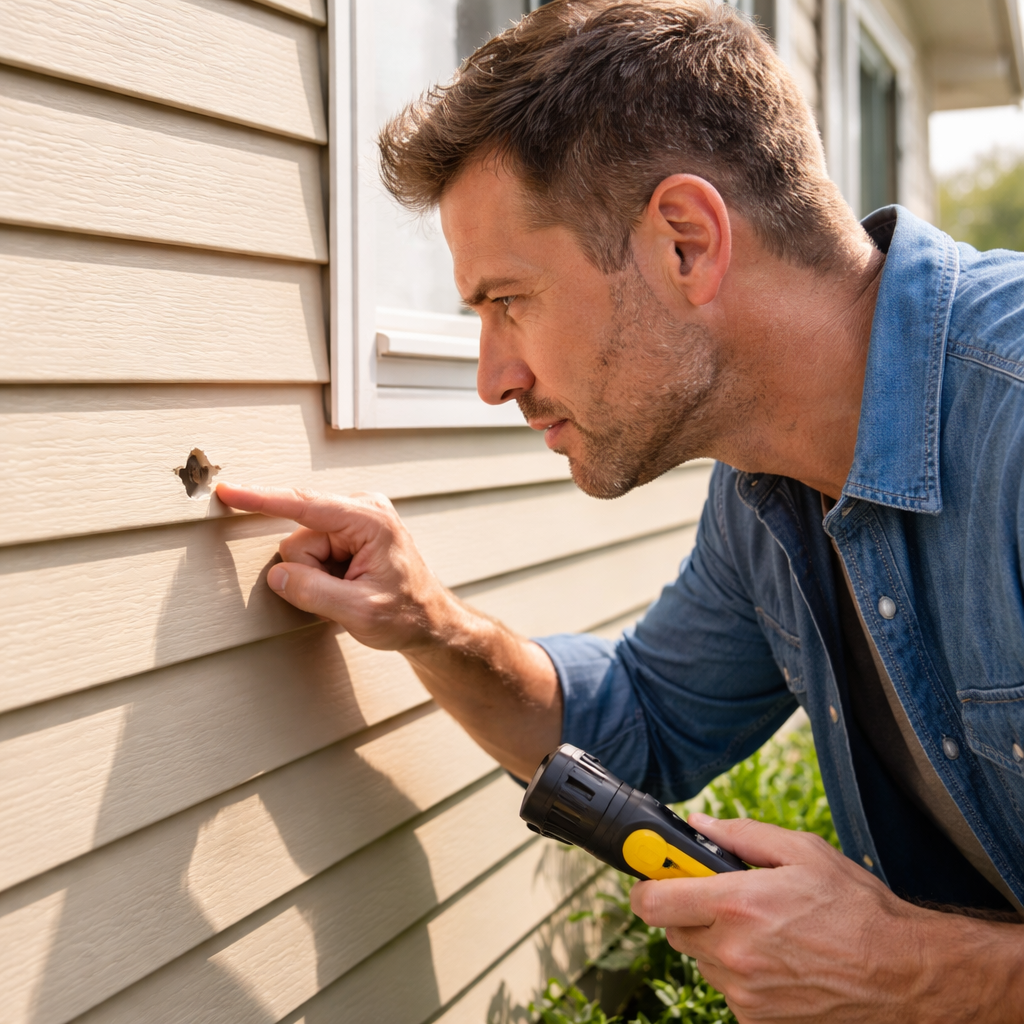
Before you start any repair, you need to know what you’re dealing with. Look at the hole from a close distance. Is it a clean puncture from a nail, or does it have cracked edges? Small holes up to about 1 inch need a filler, while larger ones may need a backer strip. Knowing the size tells you which method to use.
Here’s a quick way to size it up:
Use a ruler or tape measure. If the hole is 1 inch or less, you can use a filler.
If it’s bigger than 1 inch but not more than 2 inches, plan for a patch with a backer.
If the hole is larger than 2 inches, you might need to replace the whole panel.
Gather these items before you start:
Plastic putty knife (metal can dent the siding).
220‑grit sandpaper for de‑glossing.
Dust‑free cloth.
DAP Platinum Patch Advanced Exterior Filler (tube or tub version).
Water‑based primer such as Zinsser Bulls‑Eye 1‑2‑3.
Exterior‑grade paint that matches your siding.
Safety gloves and eye protection.
Why each item matters:
Plastic putty knifewon’t scratch the vinyl.Sandpaperremoves the glossy finish so the filler sticks.Filleris weather‑proof and dries fast, letting you finish in a day.
Imagine you’re on a porch in Virginia Beach, the sun glints off the ocean and you spot a tiny hole near a window. You pull out your kit, check the size, and know exactly what to use. That confidence saves time and avoids costly mistakes.
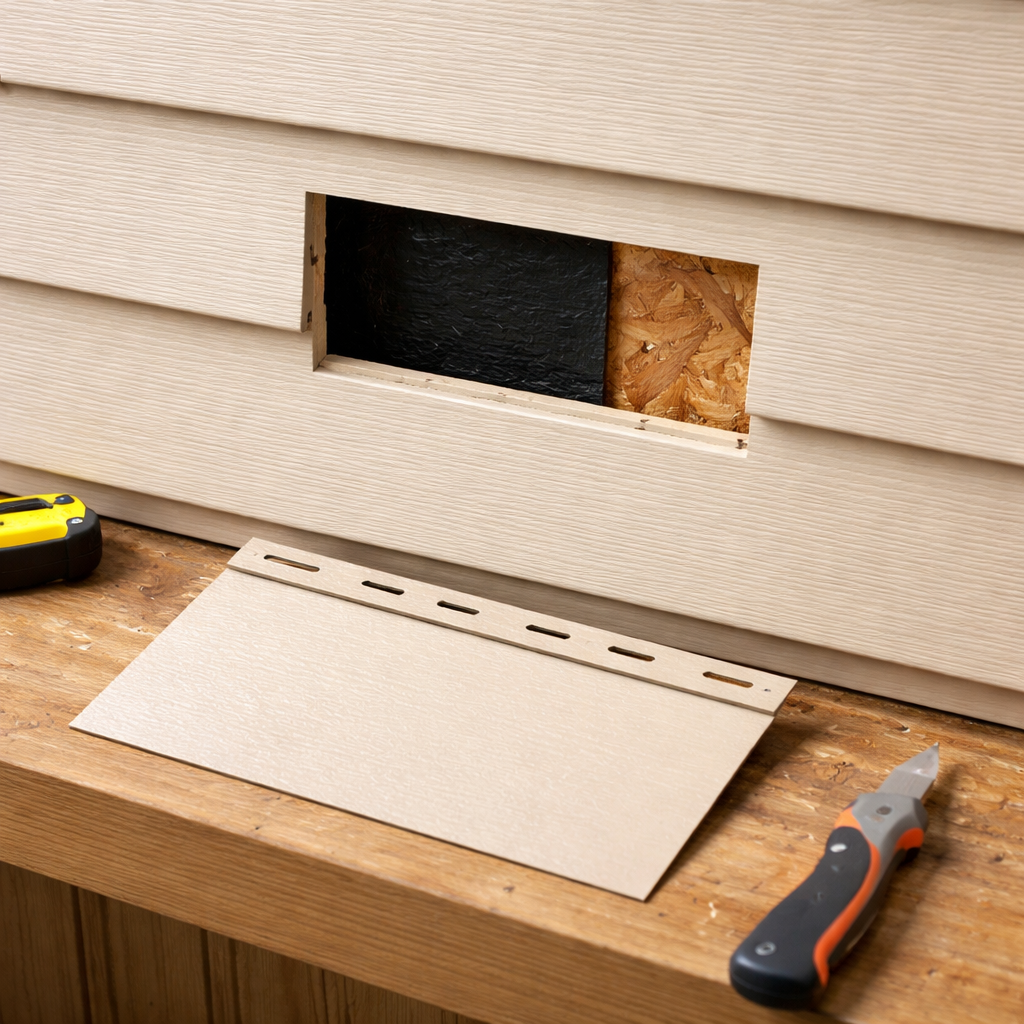
Step 2: Prepare the Area and Cut a Vinyl Patch
Now that you have everything, it’s time to prep the spot. First, clean away any loose debris. A soft brush or a vacuum works fine. Next, smooth the edges of the hole with the handle of a putty knife. This knocks down any jagged bits that could catch the filler.
For holes larger than ¼ inch deep, you’ll need a backer strip. Cut a thin piece of scrap vinyl or a 1 × 2 inch wood strip that’s slightly longer than the hole. Slide it into the opening so it sits behind the siding. Glue it in place with a strong construction adhesive, then secure it with a couple of short nails or screws that go into the sheathing. This gives the patch something solid to cling to.
When the hole is small, you can skip the backer and go straight to the filler, but always de‑gloss the area first. Lightly sand a 2‑inch radius around the hole with 220‑grit sandpaper. This makes the surface a bit rough, which helps the filler bond.
After sanding, wipe the area clean with a damp cloth. Let it dry fully—no dust should remain.
Here’s a short checklist before you move on:
Hole cleaned and dry.
Edges smoothed.
Backer strip installed (if needed).
Surface de‑glossed.
All tools within arm’s reach.
Having a clean, ready surface is the secret to a lasting repair. If you skip any step, water may still sneak behind the siding and cause rot later.
Step 3: Apply Adhesive and Install the Patch
Now we get to the fun part—actually fixing the hole. If you’re using a filler for a small hole, cut the tip of the filler tube and squeeze the material into the opening. Fill it a little past the surface; the filler will shrink a bit as it dries.
For larger holes with a backer, you’ll first apply a bead of construction adhesive along the backer’s edge. Press the vinyl patch over the adhesive, making sure the edges line up with the surrounding siding. Use the plastic putty knife to smooth the patch and push out any air bubbles.
After the patch is in place, let the adhesive set for about 10 minutes. Then, apply a thin layer of the filler over the seam where the patch meets the existing siding. If the hole is deeper than ¼ inch, do this in two layers—let the first layer dry for 2‑4 hours before adding the second.
While the filler cures, you can watch a quick video that shows the exact motion of squeezing the filler and smoothing it out. It’s a good visual aid if you’re unsure about the pressure needed.
When the filler feels firm to the touch, dip your plastic putty knife in a little water and lightly sand the area with 100‑grit sandpaper. Then finish with 220‑grit for a smooth finish that blends with the surrounding panel.
Finally, clean the sanded spot with a damp rag and let it dry. You’re now ready for the finishing steps that protect the repair from rain.
Tip: If you ever wonder why the filler seems hard to spread, remember to keep the knife wet. The water acts like a tiny lubricant and prevents the filler from pulling away from the vinyl.
Step 4: Finish, Seal the Repair, and Compare Sealants
The final look of your repair depends on proper sealing and painting. First, prime the patched area with an exterior‑grade primer. Zinsser Bulls‑Eye 1‑2‑3 works well because it sticks to both vinyl and filler. Apply a thin coat, let it dry per the label (usually 30‑45 minutes), then check for any missed spots.
Next, paint the patch to match the rest of the house. Use a paint that’s made for vinyl siding—these are flexible and won’t crack as the siding expands and contracts with temperature changes.
After the paint dries, you need a sealant around the edges of the patch. A good sealant blocks water and stops wind from getting behind the siding. Below is a quick comparison of three common sealants you might find at a local hardware store.
Sealant | Weather Resistance | UV Protection | Ease of Use | Price (US$) |
DAP Dynaflex Ultra | Excellent | High | Very easy (tube applicator) | 7‑9 |
3M Marine Sealant 5200 | Very good | Moderate | Requires caulking gun | 10‑12 |
GE Silicone II | Good | High | Medium (smooth tip) | 5‑7 |
Pick the sealant that fits your budget and how much you plan to work with it. For most DIYers, DAP Dynaflex Ultra is a solid pick because it’s easy to squeeze straight from the tube and it handles sun and rain well.
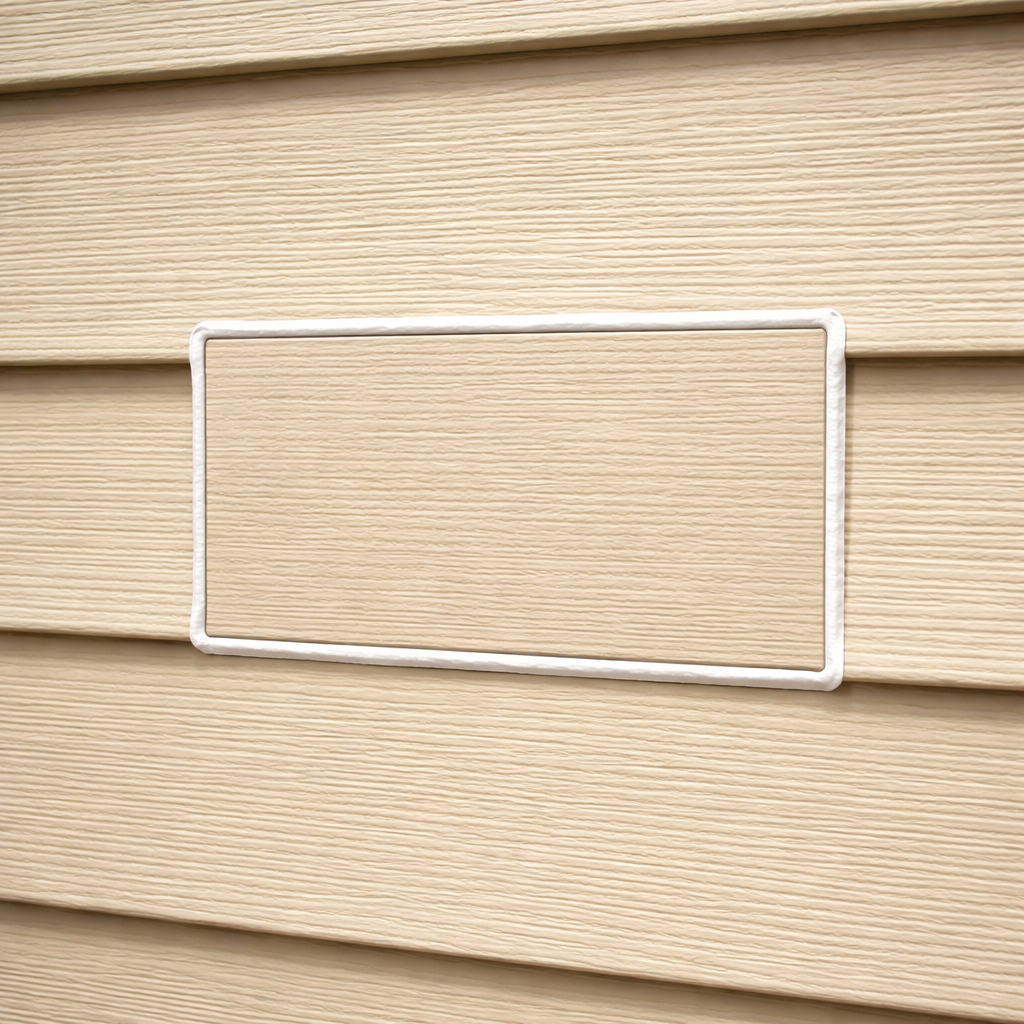
Apply a thin bead of sealant along the edge of the patch, then smooth it with a wet finger or a sealant tool. This creates a watertight line that keeps moisture out.
Now step back and admire your work. The hole is gone, the paint blends, and the sealant shields the repair. You’ve just learned how to repair vinyl siding holes in a way that will last for years.
For more on local siding work, check out Siding Repair Virginia Beach: A Practical Guide for tips on keeping your whole exterior in shape.
Conclusion
Fixing a hole in vinyl siding isn’t as hard as it seems. You start by checking the size, gathering the right tools, and cleaning the area. Then you either fill a small hole or add a backer and patch a larger one. After the filler dries, you sand, prime, paint, and seal. Each step locks out water and protects the wall behind the siding.
When you follow these steps, you’ll keep your home dry, save money, and feel proud of a job well done. If you run into a problem you can’t fix, or if the damage is bigger than a single panel, call a local pro. Otherwise, you now have a solid plan for how to repair vinyl siding holes on your own.
FAQ
What tools do I need to repair vinyl siding holes?
You’ll need a plastic putty knife, 220‑grit sandpaper, a dust‑free cloth, DAP Platinum Patch filler, a construction adhesive for larger holes, a small piece of backer material, exterior primer, vinyl‑friendly paint, and a sealant like DAP Dynaflex Ultra. Safety gloves and eye protection round out the kit.
Can I use regular interior paint on a vinyl siding repair?
No. Interior paint isn’t flexible enough for siding that expands and contracts. Use a paint labeled for vinyl or exterior use. It stays elastic, resists fading, and bonds well to the filler and primer you applied during the repair.
How long does the filler need to dry before I sand?
For most small holes, the filler sets in about 2‑4 hours. If you applied two layers, wait for the first layer to be completely dry before adding the second. After the final layer, give it another 2‑4 hours, then sand smooth with 100‑grit followed by 220‑grit.
Do I need to replace the whole siding panel for holes bigger than 2 inches?
Usually, holes larger than 2 inches are best handled by swapping out the panel. Matching a new piece can be tricky, but it ensures a seamless look and full weather protection. If you have a spare panel that matches, you can still use the patch method, but a full replacement is safer.
What is the best sealant to use after I paint?
DAP Dynaflex Ultra is a top choice because it’s easy to apply from the tube, handles rain and sun well, and stays flexible. If you need a stronger bond for a large patch, 3M Marine Sealant 5200 works, but it’s a bit harder to use.
How often should I check my vinyl siding for new holes?
Walk your house twice a year—once in spring after storms and once in fall before the cold sets in. Look for nail holes, cracks, or any spots where paint is peeling. Catching a hole early lets you use the filler method, which is quick and cheap.
Can I repair a hole if my siding is painted a dark color?
Yes. Dark colors may hide small cracks, so use a bright flashlight to spot holes. When you paint the patch, match the hue as closely as possible. Many paint stores can mix a custom color to blend with your existing siding.
Is it safe to do this repair myself, or should I call a professional?
If the hole is small and you follow the steps, DIY is safe. Wear gloves and eye protection, and work on a stable ladder if you’re up high. For large holes, missing panels, or if the underlying wall shows signs of rot, call a pro to avoid hidden damage.


Comments