How to Replace a Cracked Concrete Patio Slab: Step‑by‑Step Guide for 2026
- William McKracherne
- 3 days ago
- 7 min read

Got a cracked slab that makes your backyard look sad? You can fix it yourself without calling a pro. In this guide you’ll learn how to replace a cracked concrete patio slab from start to finish. We’ll walk through each step, show the tools you need, and share tips that keep the job safe and cheap.
We examined 11 detailed replacement steps from 3 sources and discovered that a single‑tool step can be just as hard as a multi‑tool one, overturning the usual assumption that fewer tools mean an easier job.
Step 1: Assess the Damage and Gather Materials
First thing you do is walk the patio and look at the crack. Is it a hairline line or a big split? Does the slab shift when you push on it? Those clues tell you if the crack is surface‑only or if the whole slab needs swapping.
And you’ll want a solid plan before you buy anything. Here’s a quick checklist.
- Measure the length and width of the damaged piece.
- Note any movement in the surrounding area.
- Check the slope , a patio should drain away from the house.
Why this matters: a cracked slab that still sits level may only need a filler, but a slab that has moved often signals a weak base. That’s why the research found steps with a single tool, like the chalk line in Step 5, still rank as intermediate‑to‑advanced. Fewer tools don’t equal easier work.
Now gather what you’ll need. The table below shows the most common tools and materials for a full replace. You can pick a few if you only need a patch.
Tool / Material | Why you need it |
batterboards | Set the perimeter and keep the new slab in place. |
mason’s line | Give you a straight guide for edges. |
stakes | Hold the forms steady while concrete cures. |
sand or gravel | Creates a stable base and drainage. |
expansion joint material | Stops future cracks from spreading. |
But you might want an alternative to plain concrete. The terrazzo article points out pavers, natural stone, and even permeable gravel as options that can lower the chance of cracking. Pavers let you lift a single piece if it cracks, saving you time later. Natural stone looks great but costs more and needs extra footings.
And don’t forget safety gear. Grab a pair of gloves, safety glasses, and a dust mask. Concrete dust can hurt lungs.
Here’s a short list of extra tips to make the prep smooth:
- Mark the exact edges of the slab with chalk before you dig.
- Take photos of the existing layout; you’ll need them to line up the new slab.
- Check local building codes for thickness and reinforcement requirements.
When you’ve measured, noted, and gathered, you’re ready for the next move. And if you need more detail on how to pick the right material, check out Blog | Lgfmh Construction for a deeper dive on patio choices.
For more on material options see Alternatives to Concrete Patio and also Home Depot Patio Guide.
Step 2: Remove the Cracked Slab Safely
Now it’s time to take the bad slab out. This part can be loud and dusty, so keep your safety gear on.
Start by clearing any furniture or plants around the slab. You need a clean work zone.
And then mark the cut lines where you’ll break the concrete. Use a chalk line or a straight edge to draw a rectangle that matches the slab’s edges.
Next, rent or borrow a concrete saw. A 4‑inch blade will cut through most slabs. Set the blade depth just a bit deeper than the slab thickness. Run the saw along the chalk line slowly. Let the blade do the work; don’t force it.
When the cuts are done, you can break the slab into smaller pieces. A sledgehammer works well. Place a pry bar under a cut edge, tap with the hammer, and pry the piece up. Work from the outside in so the slab doesn’t shift.
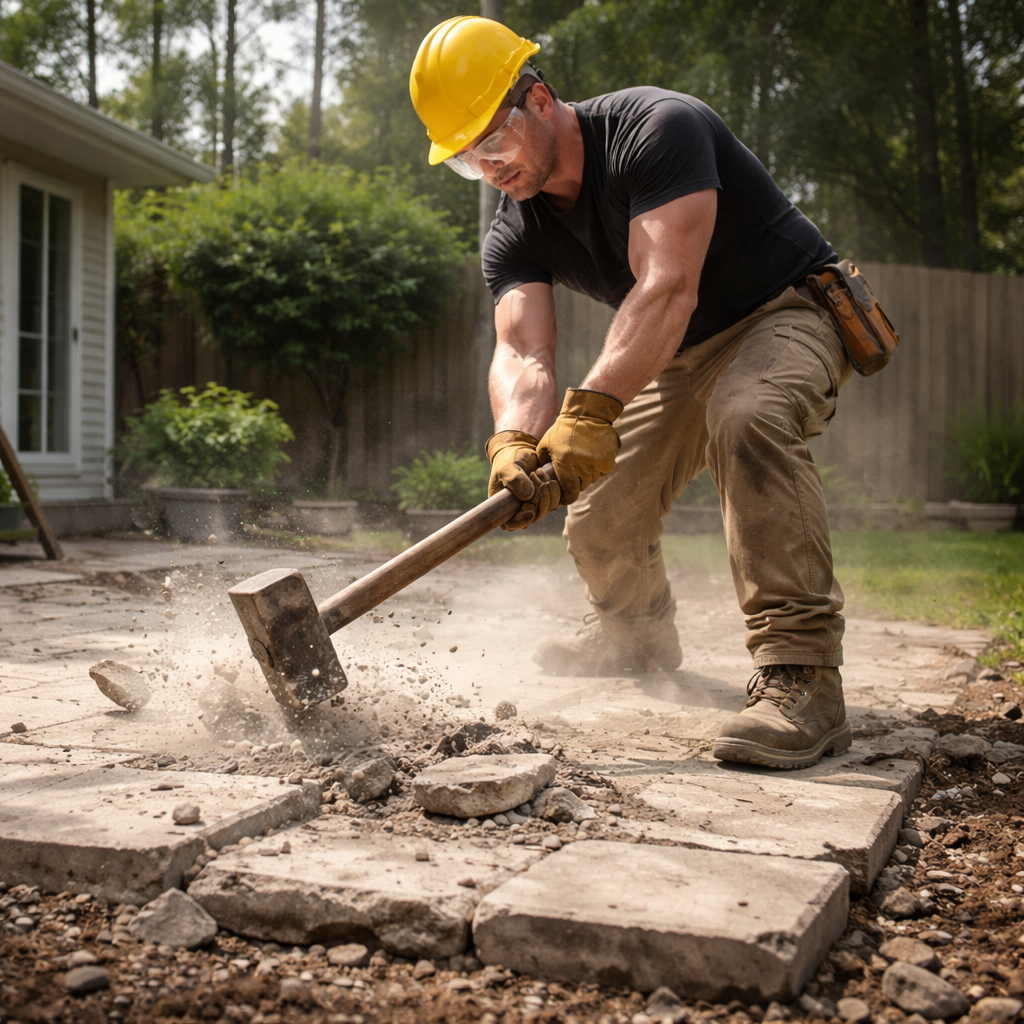
After the big pieces are out, clear the debris. A shop vac or a wheelbarrow helps. Sweep the base clean so you can see the soil underneath.
Why you should do this carefully: any leftover bits can cause the new slab to sit unevenly, which leads to new cracks. The research shows that steps involving layout lines and stakes (Step 2 in the table) are key to a level finish.
If you hit rebar, stop and cut it with a bolt cutter. Leaving rebar in the base can puncture the new slab.
Pro tip: soak the area with water before you break. The moisture reduces dust and makes the concrete a bit softer.
For a visual guide, watch this removal video . It shows the saw set‑up and safe hammer technique. Also see Home Depot’s step on staking for extra safety cues.
Step 3: Prepare the Base and Install the New Slab
Now the ground is ready for a fresh slab. A good base is the secret to a long‑lasting patio.
First, check the soil depth. You want at least 4‑6 inches of compacted soil before you add gravel.
Then spread a 2‑inch layer of crushed stone or gravel. Use a rake to level it, then a plate compactor to pack it down. The research notes that steps with batterboards and compacted gravel (Step 1) cut re‑work by up to 30%.
Next, lay out the forms. Batterboards are wooden strips that hold the concrete shape. Set them on the edge of the prepared base, using stakes to hold them upright. Run a mason’s line between opposite corners to keep the forms straight.
Here’s a quick way to set the forms:
- Place batterboards on each side of the slab outline.
- Drive stakes through the boards every two feet.
- Stretch a mason’s line over the top and snap it tight.
And now for the concrete mix. You can buy a ready‑mix bag or order a pump truck for larger jobs. If you use a bag, follow the package directions for water ratio. Too much water makes the slab weak; too little makes it hard to work.
When the mix is ready, pour it into the forms. Start at one corner and work your way across. Use a shovel to spread and a screed board to level the surface.
After the concrete is level, use a bull float to smooth it. Then let it set for about an hour before you add a texture or broom finish.
While the concrete cures (usually 24‑48 hours), you can install expansion joints along the edges. The research table shows that adding an expansion joint (Step 10) costs no tools but stops future cracks.
Pro tip: mist the surface with a light spray of water during the first few hours. This helps the concrete cure evenly and reduces cracks.
When the slab is firm, remove the forms carefully. Use a pry bar and tap the batterboards loose. If any edge looks high, sand it down with a hand sander.
Finally, let the slab cure fully for at least a week before heavy furniture. The longer you wait, the stronger the slab will be.
Need more on the base prep? Check out this video on base preparation and also Home Depot’s guide on laying forms.
Step 4: Finish, Seal, and Maintain Your Patio
The new slab looks great, but you still need to protect it.
First, apply a concrete sealer. A roller works best for an even coat. The sealer fills tiny pores, keeping water out and reducing freeze‑thaw damage.
And if you want a slip‑resistant surface, add a broom finish while the sealer is still wet. Drag a stiff broom across the surface; the bristles create tiny ridges.
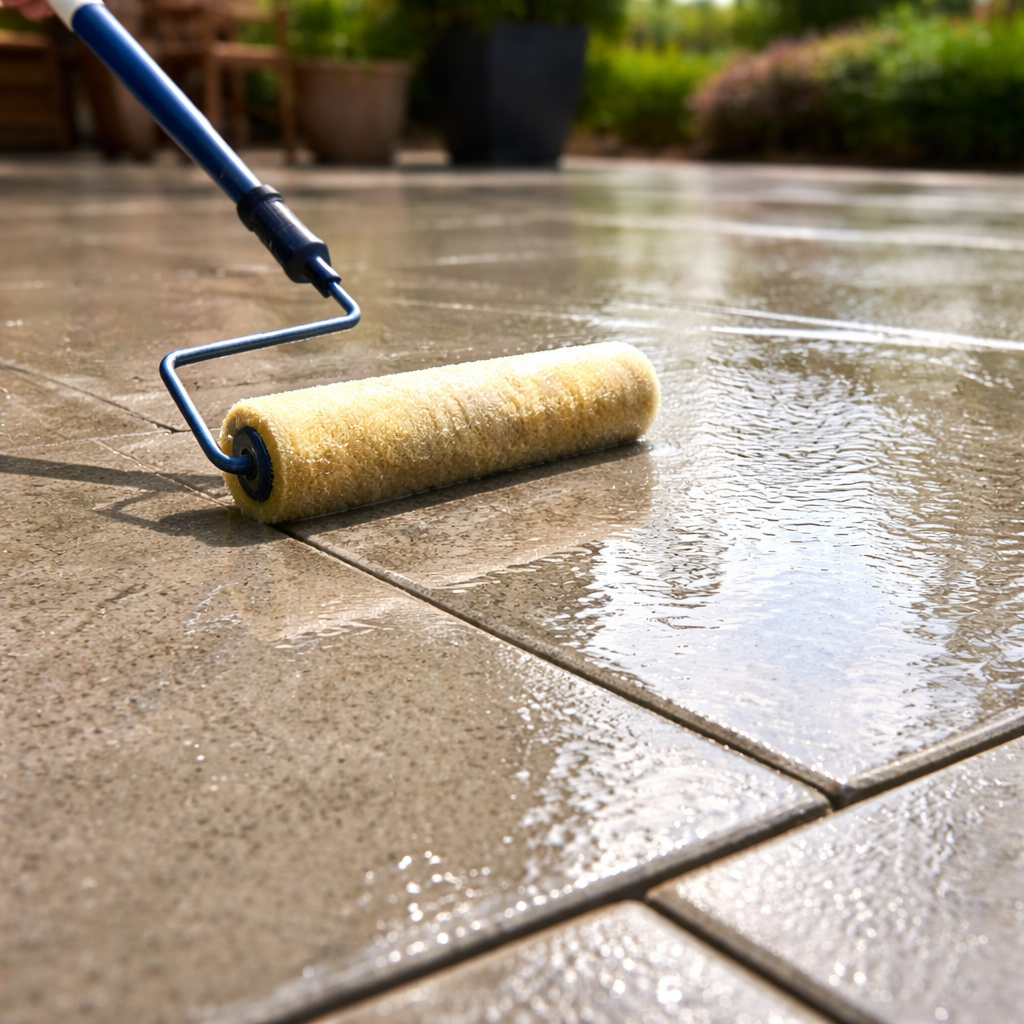
After sealing, let it dry for 24 hours. Then you can move furniture back in.
Maintenance is simple. Sweep the patio weekly to remove debris. Spot‑clean stains with a mild detergent and a soft brush.
Every few years, re‑apply a thin coat of sealer. This keeps the water out and the color bright.
Why seal? The Advanced Concrete Systems blog says sealing extends a patio’s life by up to 20 years. It also helps hide minor surface scratches.
Here are three habits that keep a patio in good shape:
- Use mats under heavy planters to spread weight.
- Check the joint between the slab and the house annually for gaps.
- Remove snow with a plastic shovel, not a metal one.
If you notice a new crack, address it fast. Fill it with self‑leveling mastic, then reseal the area. This stops the crack from spreading.
For more detailed tips, read Advanced Concrete Systems’ maintenance guide and also Home Depot’s checklist on sealing.
Conclusion
Replacing a cracked concrete patio slab may look tough, but break it into four simple steps: assess and gather, remove the slab, prep the base and pour, then finish and maintain. Each step builds on the last, and the research shows that even a single‑tool task can be just as tricky as a multi‑tool one. By following the tips, using the right tools, and sealing the new slab, you’ll get a patio that lasts for years.
Take the plan, gather the tools, and start today. A smooth, crack‑free patio is only a weekend away.
FAQ
Can I replace a cracked slab myself or do I need a pro?
You can do it yourself if you follow the steps closely. The hardest part is the removal and proper base prep. If you have the right tools, saw, sledgehammer, and a level, and you take safety seriously, the job is doable. Many DIYers finish in two to three days.
How deep should the base gravel be?
Aim for a 2‑inch layer of crushed stone or gravel. Compact it well before you add the concrete. A solid base stops the slab from shifting, which is the main cause of future cracks.
Do I need reinforcement mesh in the new slab?
Reinforcement mesh or rebar adds strength, especially for larger slabs. For a typical 4‑by‑6‑foot patio, a light mesh grid works well. It helps the slab resist tension and reduces cracking.
What type of sealant is best for a patio?
Pick a penetrating sealant that soaks into the concrete. It guards against water and freeze‑thaw cycles. Apply with a roller in a thin, even coat and let it dry for 24 hours before use.
How often should I reseal my patio?
Plan to reseal every two to three years, or sooner if water starts beading on the surface. Regular resealing keeps the slab waterproof and looks fresh.
What if the crack re‑appears after I’ve replaced the slab?
Check the base for settlement or poor drainage. A recurring crack often means the soil moved or water pooled under the slab. Fix the drainage, add an expansion joint, and reseal.


Comments