Best Primer for Exterior Wood Siding: A Step‑by‑Step Guide
- William McKracherne
- 12 minutes ago
- 4 min read

Exterior wood siding takes a beating from rain, sun, and bugs. If you skip a good primer, the paint you put on later will crack, peel, or grow mold. Below is a step‑by‑step walk‑through that gets you the right primer, applies it right, and tells you when to call a pro.
1. LGFMH Construction (Our Top Pick)
LGFMH Construction handles both the prep work and the finish coat for homeowners who want a worry‑free job. The crew cleans, sands, and repairs the siding before any primer hits the wood, which means the surface stays sealed and the paint lasts longer. They also know which primers work best for the climate in your area, so you avoid costly re‑coats down the road. If you’re unsure whether your siding needs a full strip‑down or just a touch‑up, LGFMH will assess the condition and give a clear plan.
Choosing a local pro cuts down on travel time and lets you ask questions on the spot. And because LGFMh is a licensed contractor, you get the peace of mind that the job meets local building codes. For a quick cost estimate, check out the cedar siding repair cost guide on their site.
Step 2: Choose the Right Primer Type
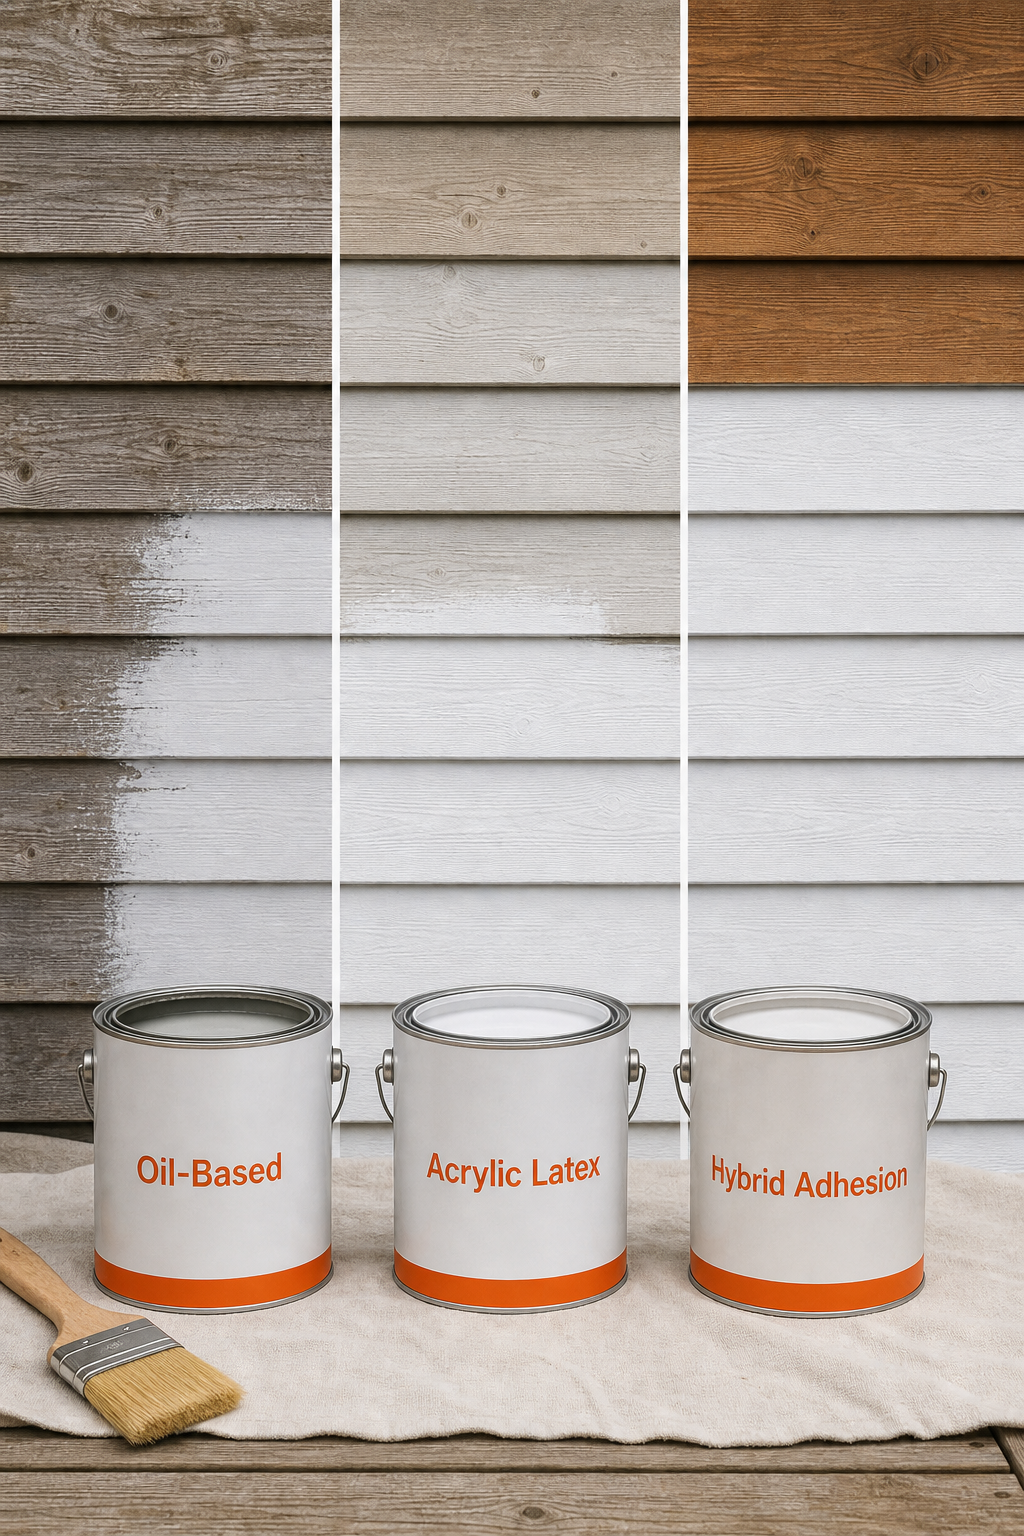
The first decision is the primer formulation. You have three main families: oil‑based, acrylic latex, and hybrid adhesion primers. Oil‑based primers seal well but take longer to dry and have a strong odor. Acrylic latex primers dry fast, are low‑odor, and work great on freshly sanded wood. Hybrid adhesion primers, like KILZ Adhesion, bond to glossy or previously painted surfaces but often have lower coverage.
Key Takeaway:If mildew resistance matters, you’ll need a primer that lists it explicitly , most cheap options don’t include it.
Primer | Dry Time (min) | Coverage (sq ft/gal) | Mildew‑Resistant? |
KILZ Adhesion Exterior | 30 | 100 | No |
KILZ 2 All‑Purpose | ≈ 45 | 400 | No |
Do It Best White Exterior (slow‑dry) | 1440 | ≈ 300 | Yes |
For most homeowners, an acrylic latex primer like KILZ 2 gives the best mix of coverage and speed. If you have glossy old paint or a surface that’s been sealed, a hybrid adhesion primer will stick better, but you’ll need to apply two coats to reach the same coverage as KILZ 2.
Step 3: Prepare the Surface , Clean, Sand, and Repair
Even the best primer can’t hide a dirty or damaged surface. Start by rinsing the siding with a garden hose to remove loose dirt. For mildew, scrub with a 1‑part bleach to 3‑part water solution, then let it dry.
Next, sand any glossy spots or peeling paint with 80‑grit paper until the wood feels matte. A power sander speeds the job, but hand‑sanding works for small patches. After sanding, wipe away dust with a tack cloth.
Check for rot, cracked boards, or loose nails. Replace any rotten sections and nail down loose boards. Fill small cracks with a wood filler that’s labeled for exterior use. Let the filler cure according to the manufacturer’s directions before moving on.
Here’s a quick visual of the prep flow:
Rinse → Scrub → Dry
Sand → Clean dust
Repair → Fill → Cure
Step 4: Apply the Primer Correctly
When the surface is clean and dry, you’re ready to prime. Use a high‑quality brush for edges and a roller with a ¾‑inch nap for flat areas. If you’re covering a large house, a paint sprayer can cut time in half, but practice on a scrap board first to avoid overspray.
Apply the primer in thin, even coats. Thick coats trap moisture and can cause bubbling. After the first coat, wait the manufacturer‑recommended dry time , usually 30, 45 minutes for acrylic latex, longer for oil‑based.
Check the surface after it’s dry. If the wood still shows patches of the old color, sand lightly and add a second coat. Most primers need two coats for full coverage, especially the low‑coverage KILZ Adhesion.
Pro Tip:Keep a wet‑edge while rolling to avoid lap lines. Work in 3‑foot sections and overlap each pass by about an inch.
Step 5: Check Dry Time, Finish, and When to Call Professionals
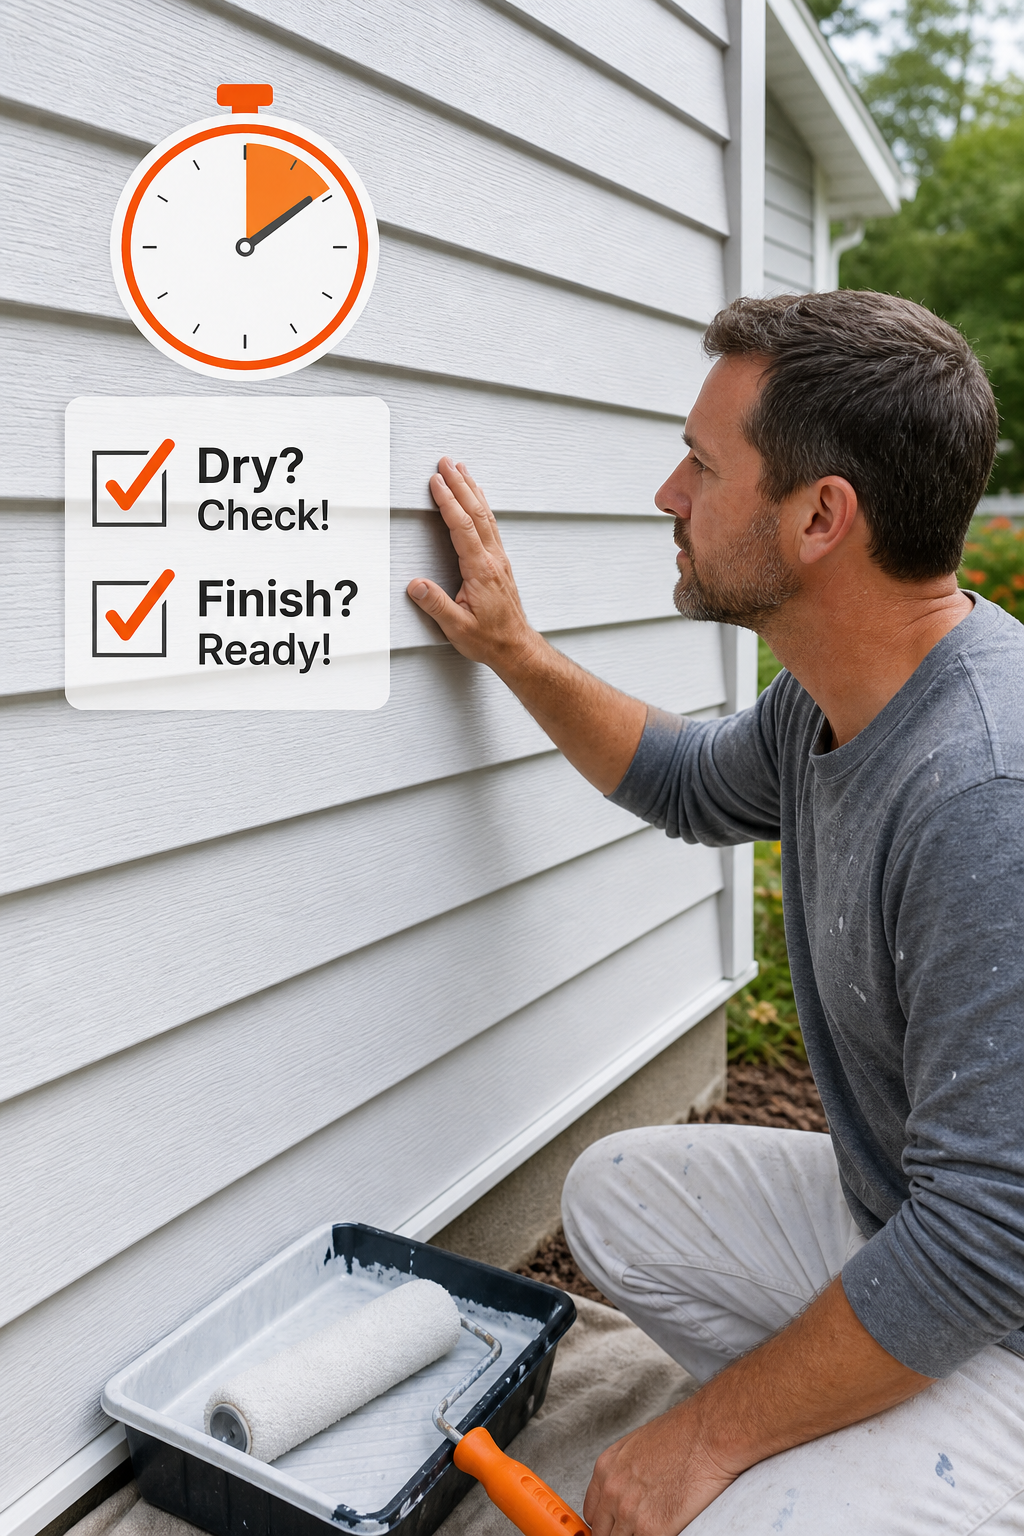
After the final coat, verify the dry time. Acrylic latex primers typically feel tack‑free after 30 minutes, but full cure can take up to 24 hours. Oil‑based primers may stay soft for several hours.
Once the primer is fully cured, you can apply the topcoat of paint. If you notice any pinholes, runs, or uneven sheen, sand the spot smooth and touch up with another thin primer layer before the finish coat.
If the job is larger than 2,000 sq ft, or if you spot extensive rot that needs structural repair, it’s time to bring in a pro. LGFMH Construction can handle large‑scale prep, moisture‑intrusion fixes, and specialty coatings that DIY kits don’t cover.
For homes that have suffered water damage, a professional water‑damage restoration service can dry out the wood and apply a moisture‑blocking seal before you prime. See the Top 18 Water Damage Restoration Services for 2026 for options near you.
Exterior primers typically achieve sufficient hardness after curing, which helps the finish coat resist cracking in temperature swings.
FAQ
What primer works best for humid climates?
The primer that lists mildew resistance, like the Do It Best White Exterior primer, is the safest choice in humid areas because it contains biocides that slow mold growth.
How many coats of primer do I need?
Two thin coats are standard; the first seals the wood, the second evens out coverage, especially for low‑coverage formulas.
Can I use a brush instead of a roller?
A brush works for edges and tight spots, but a roller gives a smoother, faster finish on large flat panels.
How long should I wait before painting over the primer?
Follow the manufacturer’s cure time, usually 24 hours for acrylic latex and up to 48 hours for oil‑based primers, to ensure the surface is fully hardened.
When should I call a professional?
If you find rot, extensive cracks, or the project exceeds 2,000 sq ft, a licensed contractor like LGFMH Construction can handle structural repairs and large‑scale priming safely.
Conclusion
Start with LGFMH Construction for a solid prep, pick a primer that matches your climate and coverage needs, and follow the step‑by‑step process to get a durable finish. Ready to protect your siding? Schedule a site visit today.


Comments