How to Repair a Cracked Foundation Wall Crack: Step‑by‑Step Guide
- William McKracherne
- 2 days ago
- 8 min read

We examined 8 foundation wall crack repair methods from 5 sources and uncovered that the most expensive option targets the toughest cracks, while 60% of methods hide their pricing entirely.
That means the average disclosed cost is $1,593 .75, yet a DIY epoxy kit can cost just $75‑$225. Cheap kits only fix hair‑line, non‑structural cracks, not big shifts.
If you’re budgeting, the basement wall repair cost guide shows realistic price ranges so you can decide if a pro injection or DIY kit fits your pocket.
Match the method to the crack: big structural splits need external injection and waterproofing, while vertical hairline cracks can be sealed with epoxy. Check for water seepage before you choose.
For a tech‑savvy twist, you might explore how AI can help you plan and document repairs. See “How to Master AI Video Editing for Social Media” for tools that turn before‑and‑after shots into share‑ready clips.
Step 1: Assess the Crack and Determine Severity
First, look at the crack. Does it look thin or wide? A hairline split usually means a non‑structural issue, while a crack wider than a quarter inch may signal a bigger problem.
Grab a ruler or a crack‑width gauge. Measure the opening at the surface and a few inches down. Write down the numbers. If the crack widens as you go deeper, note that too.
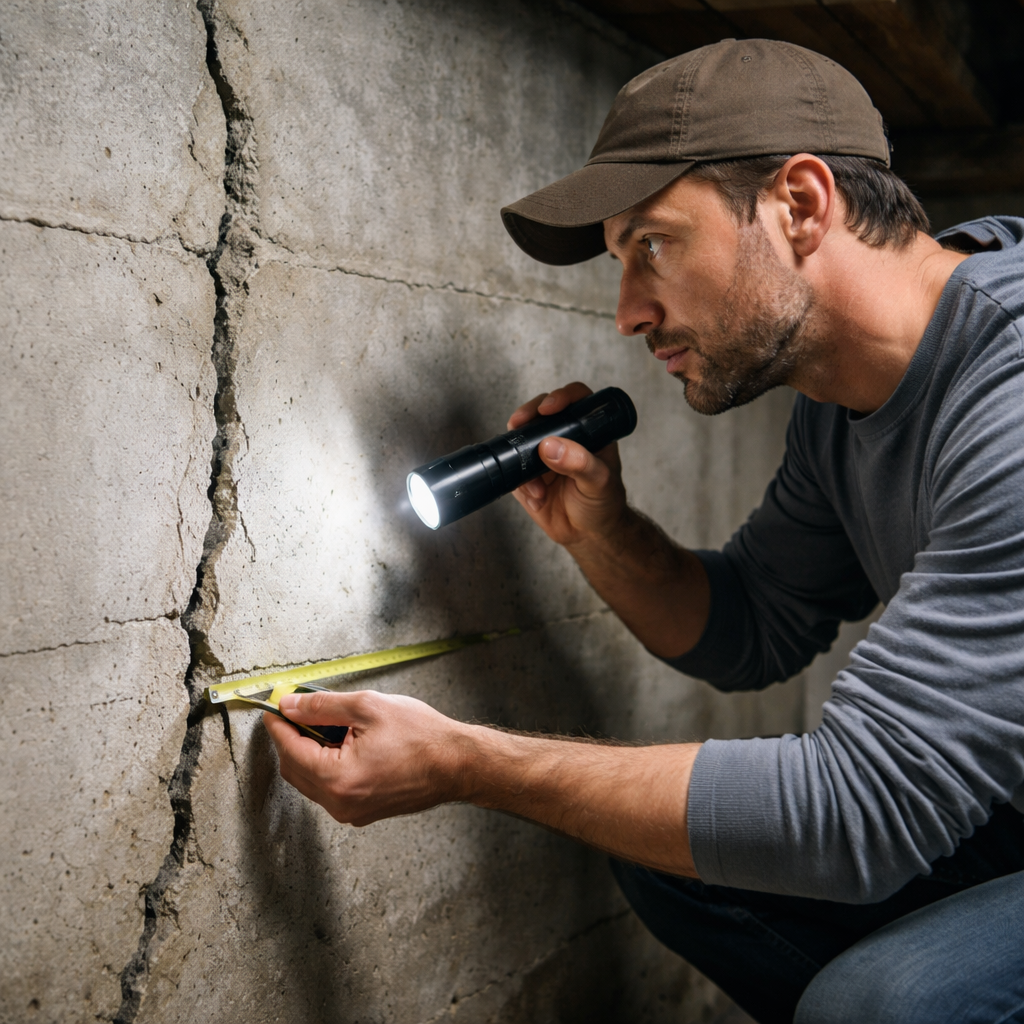
Next, check the direction. Does it run up‑and‑down or side‑to‑side? Vertical cracks often follow settling, while horizontal cracks can show pressure from the soil.
Look for water around the crack. Is there dampness, moss, or a drip? Moisture can turn a small split into a leak point, so you’ll need a waterproofing step later.
Now rate the severity with a quick three‑point scale. One means a hairline crack with no movement. Two means the opening is between one‑eighth and a quarter inch and you see a slight shift. Three means the crack is wider than a quarter inch or it’s growing fast. This rating tells you which repair method from the earlier table fits best.
You can also set a simple crack monitor. Tape a small piece of cardboard over the crack and mark the edges. Check the marks after a rainstorm or a cold night. Any change means the crack is active and may need a stronger repair like epoxy injection or external waterproofing.
If you’re unsure, call a pro like LGFMH Construction. They can confirm the severity and suggest the safest fix. A quick call can save you time and money down the road.
Step 2: Choose the Right Repair Material
Now that you know how bad the crack is, it’s time to pick what you’ll actually put in the wall. The right material can mean a fix that lasts or one you have to redo in a few months.
For hair‑line, dry cracks most homeowners start with a DIY epoxy kit. It comes in two parts you mix, then pour into the crack. It hardens fast and fills tiny gaps. If you’re comfortable with a little mess, this is the cheapest way to stop water from slipping through.
When the crack is a bit wider or you notice a little movement, a professional epoxy injection is safer. A pro will drill small holes, inject the resin under pressure, and seal the crack from the inside. It’s more pricey, but it gives a stronger bond and helps keep the wall stable.
Wide, wet, or shifting cracks need more than epoxy. You’ll want an external injection material plus a waterproofing layer. The injection fills the gap while a membrane or sealant on the outside stops water from getting in again. This combo tackles both structure and moisture.
Here’s a quick way to compare your options:
Material | Best for | Typical cost range |
DIY epoxy kit | Hair‑line, dry, no movement | $75‑$225 |
Professional epoxy injection | Medium‑size, dry, slight movement | $500‑$2,500 |
External injection + waterproofing | Wide, wet, or moving cracks | $5,000+ |
If you’re not sure which path fits your wall, a quick read on waterproofing a basement wall can help you see why keeping moisture out is often the first step before any material choice.
Pick the material that matches the crack’s size, moisture level, and how much you want to spend. A solid choice now saves you time, money, and headaches later.
Step 3: Prepare the Area and Gather Tools
First, clear anything that blocks the wall. Pull back boxes, move stored items, and sweep away dust. A clean zone lets you see the crack clearly and stops debris from getting into the filler.
Next, protect the floor. Lay down a drop cloth or a piece of 6‑mm polyethylene sheeting. Tape the edges so water or resin won’t soak into the slab. If you’re working in a basement, a dehumidifier can keep the air dry.
Now gather the tools. You’ll need a sturdy utility knife, wire brush, vacuum, measuring tape, and a mixing container with stir stick. For epoxy kits, grab the dispenser or syringe. If you use an external injection system, you’ll also need a drill with a masonry bit, a pressure pump, and injection ports.
Don’t forget safety gear. Gloves, goggles, and a dust mask protect you from chemicals and dust. A pair of ear plugs helps if you’re drilling for a while.
Before you start mixing, do a quick “wet test.” Spray a little water on the cracked area; if it beads, the surface is still damp and you should wait for it to dry. This step saves you from a weak bond later.
Tip: label each drill hole with masking tape so you won’t lose track of where to inject later.
When everything’s set, you’re ready to inject or fill the crack. If you need a step‑by‑step guide on handling a concrete surface, check out LGFMH’s guide on how to repair a cracked concrete driveway. The same prep steps apply to foundation walls.
Step 4: Clean, Seal, and Fill the Crack
Now the crack is ready for the real work.
First, wipe away dust with a brush or vacuum. Anything left will stop the sealant from sticking.
If you see loose pieces, scrape them off with a utility knife. A clean edge gives the filler something solid to grip.
Next, test the moisture one more time. Spray a few drops; if they bead, wait until the wall is dry.
When the surface is dry, apply a thin coat of sealant. This stops water from getting behind the filler.
Use a paint‑brush or a small roller to spread the sealant evenly. Work from the top down so you don’t drip on already‑sealed spots.
Let the sealant cure for the time the label says, usually 15‑30 minutes. A quick touch test will tell you if it’s firm.
Now mix your epoxy or polyurethane according to the kit instructions. Stir slowly to avoid bubbles.
Pour the mixed material into the crack, using a syringe or a small bucket. Fill a little past the surface so you can sand it level later.
Press the filler with a putty knife, making sure it flows into every crevice. If the crack is deep, repeat the fill after the first layer hardens.
After the filler is hard, sand the area smooth with 80‑grit sandpaper, then finish with 120‑grit for a flush look.
Finally, paint over the repaired spot to match the wall. A good paint job hides the work and adds a moisture barrier.
If you want more tips on cleaning and prepping before you fill, check out repairing a cracked plaster ceiling.
With a clean surface, a proper seal, and a full fill, the crack should stay closed for years.
Step 5: Finish, Inspect, and Prevent Future Cracks
Now the crack is filled, it’s time to finish the job and make sure the fix lasts.
First, give the filler the time the label says to cure. When it feels hard to the touch, grab a piece of 80‑grit sandpaper and smooth the surface. Follow with 120‑grit for a flush finish that blends with the wall.
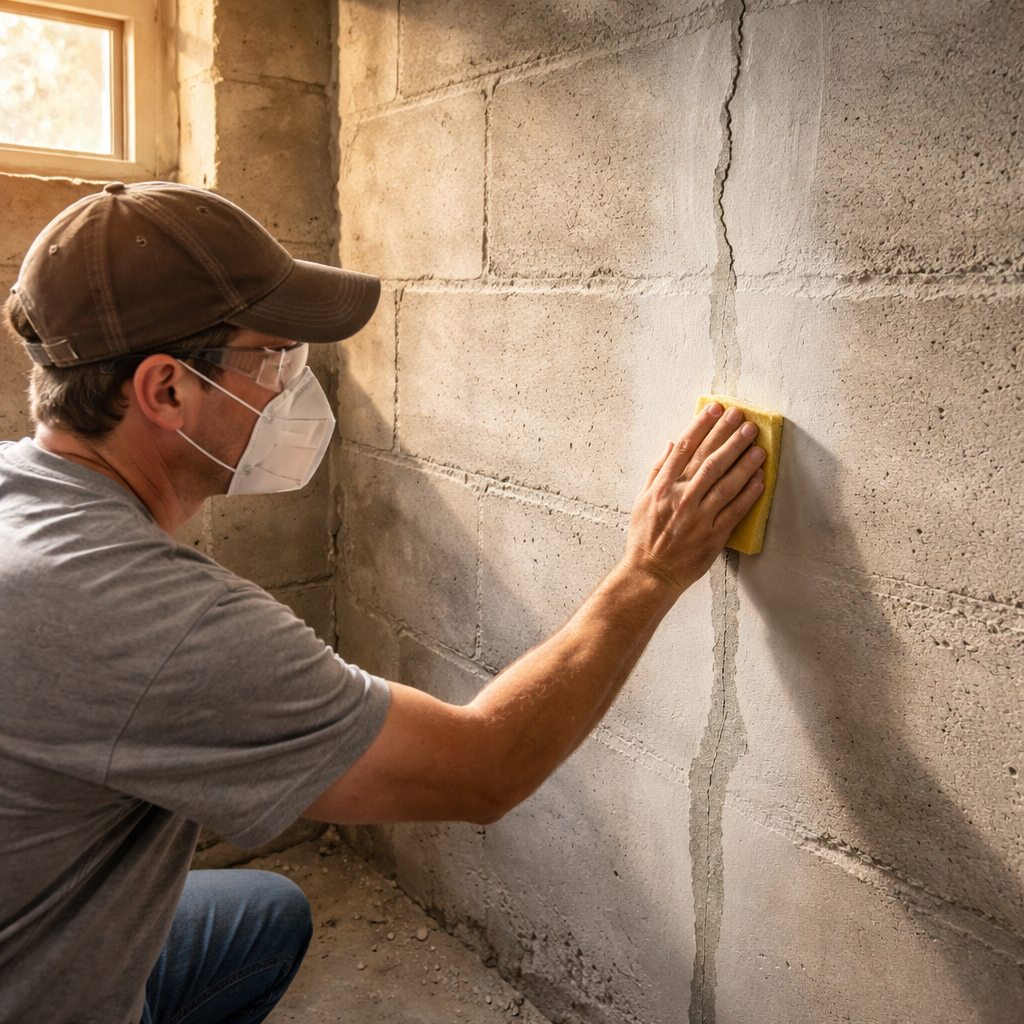
Next, wipe away dust and apply a coat of primer, then paint to match the existing wall. A good paint layer not only hides the repair but also also adds a thin moisture barrier.
Inspection is the real test. Run your hand over the patch, it should feel solid, not soft or spongy. Look for any tiny gaps where the filler might have shrunk. Splash a few drops of water; if it beads and rolls off, the seal is holding.
Moisture is the biggest enemy of a foundation wall. Keep the ground slope away from the house, clean gutters so water doesn’t pool near the footings, and run a dehumidifier in damp basements. A simple hygrometer lets you watch humidity; aim for under 60 % to lessen pressure on the repaired joint.
To keep cracks from reappearing, control moisture. Make sure the basement drains away from the foundation, fix any leaking pipes, and consider a thin coat of waterproof sealant on the exterior of the wall. A quick read on how to waterproof a basement wall walks you through the steps.
Finally, write down the date you finished, note any observations, and plan a visual check every six months. Spotting a new hairline early saves you time, money, and stress.
Conclusion
Fixing a cracked foundation wall feels like a big job, but you’ve just broken it down step by step.
Remember to size the crack, pick the right material, clean, seal and finish, then check your work. A quick look with a flashlight and a hose will tell you if any water still sneaks in.
If you spot a wet line, a tiny touch up of epoxy or foam can save you from a bigger repair later. Once the patch is solid, a coat of waterproof paint or membrane gives the wall a long lasting skin.
Good drainage and proper grading keep the soil from pushing water back toward the wall. Think gutters away from the house and a gentle slope away from the foundation.
Follow these steps and you’ll know how to repair a cracked foundation wall crack with confidence, and you’ll avoid costly surprises down the road.
FAQ
What causes foundation wall cracks?
Foundation wall cracks show up when the soil pushes, when the wall settles, or when water gets in. Heavy rain can swell the dirt and press the wall. Freeze‑thaw cycles make the concrete expand and shrink. Poor grading or clogged gutters also add pressure. Knowing why the crack started helps you pick the right fix. If you see multiple cracks spreading across the same area, that’s a sign the problem is bigger. Check if the crack is widening over a few days.
How can I tell if a crack needs a professional repair?
Measure the crack width with a ruler. If it’s wider than 1/8 inch or keeps growing, call a pro. Look for water seeping out after a rain; that means the crack is also a leak. Horizontal cracks often point to soil pressure, which usually needs a structural fix. When you’re unsure, a quick inspection from a foundation specialist can save you time and money.
What DIY material is best for a hair‑line crack?
For a thin, dry crack, a two‑part epoxy kit works best. It bonds strong enough to hold the wall together but stays cheap – most kits cost between $75 and $225. Clean the crack first, then mix the epoxy as the directions say. Push the mix deep with a syringe or small caulk gun. Let it cure fully before you back‑fill soil.
How do I apply epoxy to a structural crack?
First, clean out loose bits with a hammer and brush. Wear gloves and goggles. Cut the tip of the epoxy cartridge with a utility knife, then load it into a caulk gun. Inject the epoxy slowly, moving the gun back and forth so it fills every nook. After the epoxy sets, smooth the surface with a putty knife and let it cure for the time the label says.
How often should I inspect my foundation after repair?
Give the repair a week to settle, then check it with a flashlight and a hose. Look for any new water lines or gaps. Do a quick visual check every few months, especially after heavy rain or a freeze. If you spot any movement, note the date and call a professional. Regular checks keep small issues from turning into big repairs.
Can I prevent future cracks with proper drainage?
Yes. Keep gutters at least three feet away from the house and clean them often. Grade the soil so it slopes away from the foundation – about a six‑inch drop over ten feet works well. Add a French drain or a simple gravel trench if water pools near the wall. Good drainage takes the pressure off the wall and helps stop new cracks from forming.


Comments