Best Roof Flashing Sealant for Metal Roofs
- William McKracherne
- 2 days ago
- 8 min read

A metal roof can still leak through a tiny flashing gap or loose screw. The sealant needs to bond to the metal, move with temperature changes, and resist sun and rain. LGFMH Construction recommends starting with the joint and roof condition, not the sealant tube. Then match the chemistry to the repair.
This guide shows how to choose and apply the best roof flashing sealant for metal roofs, with clear steps for small repairs and signs that the work needs a professional.
Table of Contents
1. LGFMH Construction (Our Top Pick)
LGFMH Construction is our top pick when the flashing problem goes beyond a simple bead of caulk. The company handles interior and exterior repairs and replacements, so it can assess the roof leak and the damage below it.
That matters because water rarely enters exactly where you see a ceiling stain. It can travel along a panel, trim piece, rafter, or wall before it appears indoors. A fresh bead over the wrong joint may hide the symptom while the leak keeps moving.
For a small, easy-to-reach gap, a careful homeowner may be able to complete the repair. But damaged flashing, rusted metal, loose panels, wet insulation, or soft roof decking changes the job. In those cases, LGFMH Construction can help decide whether the sealant is enough or whether the flashing needs repair or replacement.
Use this option when:
The leak source is unclear.
The flashing is bent, loose, or badly rusted.
Water has reached drywall, insulation, or roof decking.
The repair needs work on both the roof and the interior.
The limitation is simple. A contractor visit costs more than a tube of sealant. That cost may still be lower than repeating a failed repair or missing hidden water damage.
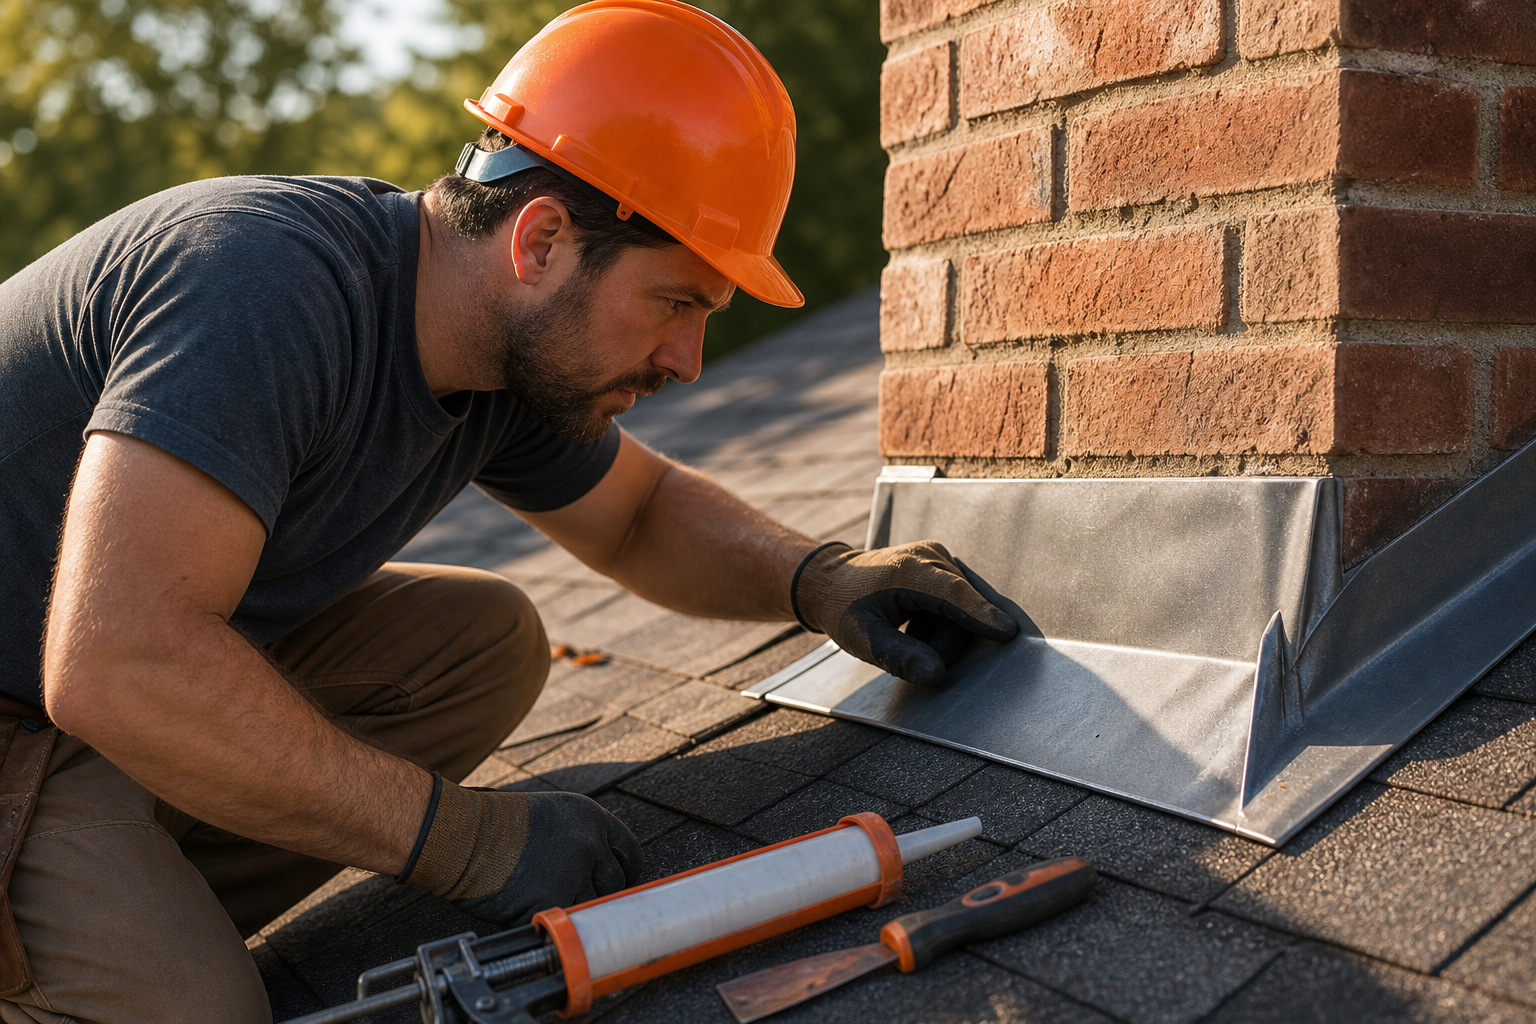
Key Takeaway:Sealant is a repair material, not a fix for loose flashing, failed fasteners, or damaged roof structure.
Step 2: Match the Sealant Chemistry to the Metal Roof
The best roof flashing sealant for metal roofs depends on the joint, the roof finish, and the weather during the repair. Start by reading the product label for metal compatibility and exterior use.
Sealants differ in how they cure, handle movement, adhere, and accept paint. Polyurethane usually gives strong adhesion and can often be painted after it cures. Polyurea may cure fast, but fast cure does not remove the need for clean metal and proper joint design.
Cure chemistry also matters. The product label should identify whether the formulation is suitable for the specific roof metal. Even when a sealant appears suitable, the label still needs to list the roof material as an approved surface.
For a basic definition of this type of sealant and its common uses, see Wikipedia's reference on silicone . Treat that as background only. The sealant maker's technical sheet should control your final choice.
Repair condition | Useful trait | Watch for |
Panel lap with regular movement | Flexible bond | A hard seal may split as panels expand and contract. |
Flashing that must be painted | Paint compatibility | Many silicone products resist paint after curing. |
Fastener head | Adhesion to coated metal | Old rust and loose coating can make the bead lift. |
Sunny roof with strong UV exposure | UV resistance | A sealant rated for indoor use will age quickly. |
Cold-weather repair | Low-temperature application rating | Cold metal can slow cure and reduce early adhesion. |
Coastal or damp setting | Water resistance and metal compatibility | Salt, moisture, and hidden corrosion need attention first. |
Do not choose by chemistry alone. Check the product's temperature range, cure time, paint rules, and wet-surface limits. A sealant that works on a dry seam may fail when water sits under the flashing.
If two products appear suitable, choose the one with clearer instructions for your exact roof metal. A plain label with a clear use case beats a long list of vague claims.
Step 3: Prepare the Metal Roof and Flashing for Sealant
Good preparation gives the best roof flashing sealant for metal roofs a clean surface to grip. Most failed beads begin with dirt, oil, loose rust, or old caulk left under the new material.
Work only when you can stay safe on the roof. Avoid wet panels, strong wind, frost, and heat that makes the metal too hot to touch. Set a dry-weather window long enough for the full cure time listed on the label.
Find the joint.Trace the flashing, panel lap, screw line, and nearby trim. Look for gaps, lifted edges, cracked sealant, and rust.
Remove loose sealant.Use a putty knife or utility knife. Cut away crumbling material instead of burying it under a new bead.
Clean the metal.Use a wire brush for loose rust and scale. Do not strip sound protective coating across a wide area.
Wipe the repair zone.Use a clean rag with a compatible solvent when the product directions allow it. Let the surface dry fully.
Check the metal.If rust has caused holes, deep pits, or a weak edge, stop. Sealant alone won't restore lost metal.
Mask both sides of a visible joint if you want a neat line. Keep the tape outside the bond area. If the flashing moves or has a wide void, use the backing or support material named in the sealant instructions rather than filling a deep gap with one thick mass.
Before opening the tube, test a small hidden spot when the roof finish or coating is unfamiliar. Let it cure for the stated time. Check whether it bonds cleanly and whether it discolors the finish.
LGFMH Construction's repair guidance also stresses scraping old caulk, brushing away loose residue, wiping the surface, and waiting for complete drying. That sequence takes longer than squeezing out a bead, but it prevents a weak bond from hiding under fresh sealant.
Step 4: Apply the Best Roof Flashing Sealant for a Watertight Joint
Application should leave one full, even bead that touches both sides of the joint. The best roof flashing sealant for metal roofs can't perform well if it sits on top of a gap or contains air pockets.
Cut the nozzle at about a 45-degree angle. Make the opening slightly narrower than the joint when possible. A huge opening produces a hard-to-control bead, while a tiny opening forces you to push too hard.
Load the tube into the caulk gun. Hold the nozzle so its cut edge faces the joint. Pull the gun toward you at a steady pace. Keep trigger pressure even and let the bead fill the space rather than merely skim its surface.
For a lap joint, begin at the lower end and work upward where the roof slope allows it. Pay close attention to the ends of the lap. Water can enter at a small unsealed corner and travel beneath the panel.
Seal the full joint instead of treating only the visible crack.
Place a small bead around exposed screw heads in the repair zone.
Press the sealant into the joint with a caulk tool or gloved finger.
Smooth the surface so water can't pool against a raised ridge.
Remove masking tape while the sealant is still wet.
Don't spread a thick blob over a moving seam. Thick material can skin over while the center stays soft. It may also shrink or split as it cures. If the gap is too wide for the product, repair the flashing or use the joint system specified by the manufacturer.
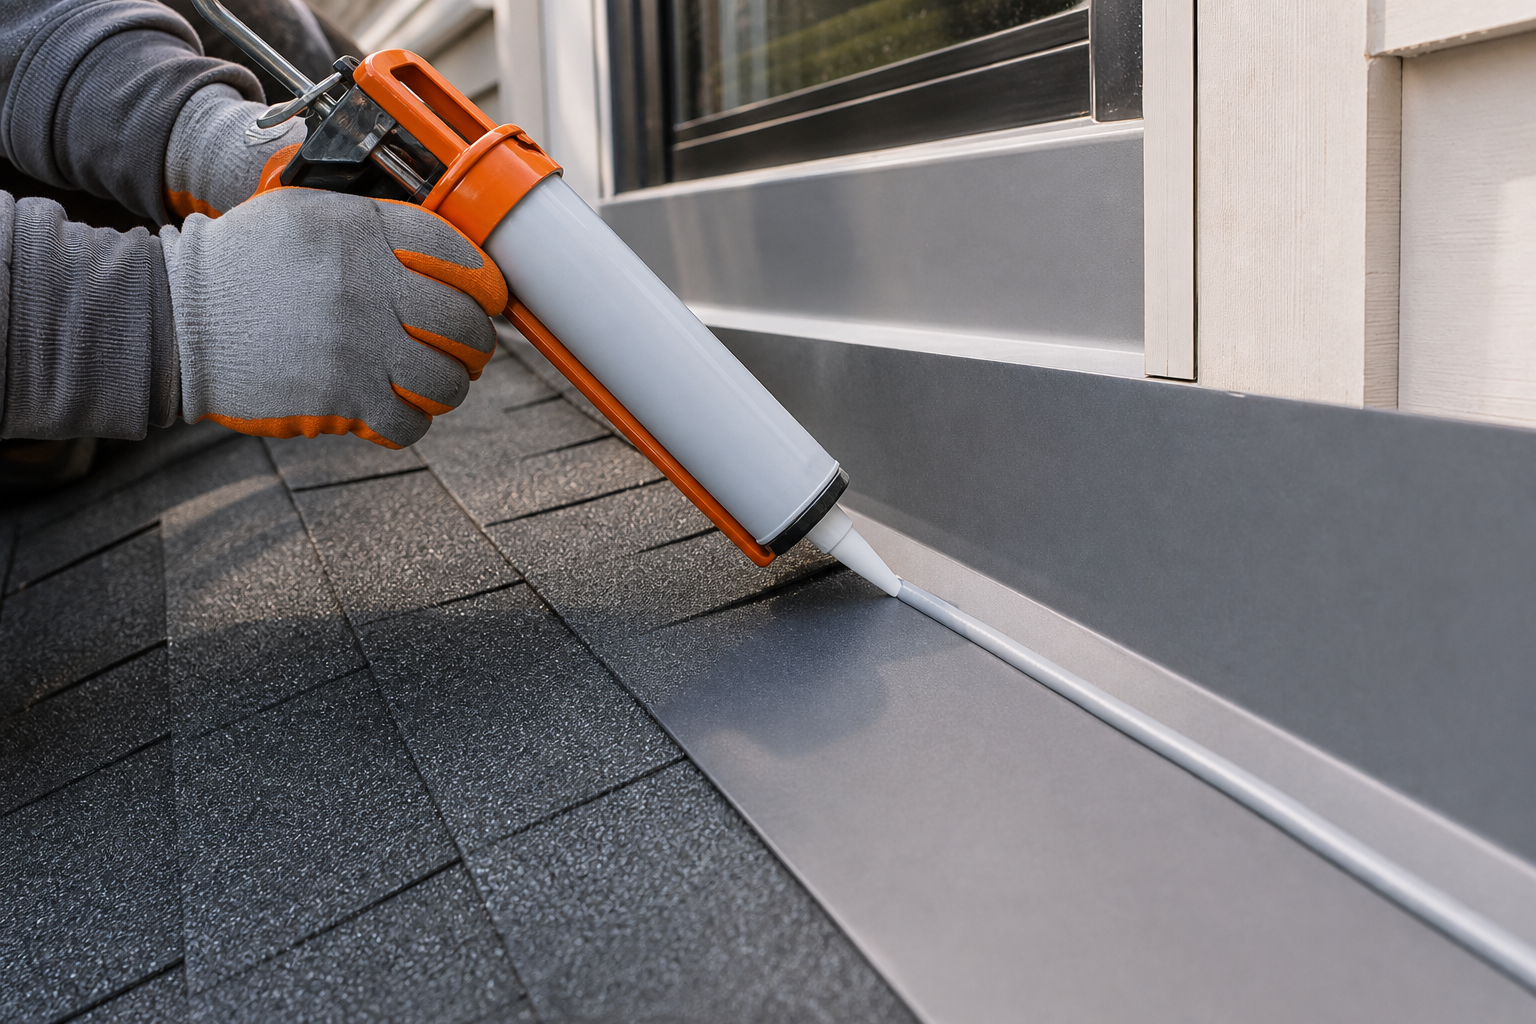
Respect the cure time. Skin formation is not the same as full waterproof cure. Keep rain, foot traffic, dust, and roof washing away until the label says the joint can handle them.
Pro Tip:Take a photo of the sealed screw line before leaving the roof. It gives you a clear reference during the next inspection.
Step 5: Inspect the Repair and Know When to Call a Professional
Inspection tells you whether the new bead bonded or only looks smooth. A roof flashing sealant repair is unfinished until the material has cured and the joint passes a close check.
Start with a visual review. Look for pinholes, thin spots, gaps at corners, lifted edges, and sealant that pulled away from one side. The cured bead should feel firm while retaining the flexibility promised by the product.
Don't test too soon. If the label calls for a full cure before water exposure, wait that long. Then spray water above the repair with a gentle hose stream while another person watches the attic or ceiling. Never use high pressure to force water under the flashing.
Use Wikipedia's explanation of ultraviolet degradation as a reminder that sunlight can age exposed materials. During twice-yearly roof checks, look for chalking, cracks, loss of adhesion, and fasteners that have backed out.
Call LGFMH Construction or another qualified roofing professional when you find soft decking, widespread rust, a loose panel, repeated leaks, damaged chimney flashing, or water inside electrical areas. Also stop if roof access feels unsafe. A sealant job is never worth a fall.
If only the sealant has aged, remove the failing material before reapplying. New sealant rarely bonds well to a dusty, cracked skin of old caulk. If the flashing itself has moved, fix that movement first.
FAQ: Best Roof Flashing Sealant for Metal Roofs
What is the best sealant for metal roof flashing?
Polyurethane is often a strong choice for exposed metal flashing because it can bond well, stay flexible, and accept paint when the label allows it. A sealant formulated for joints with heavy movement may suit those areas. The best roof flashing sealant for metal roofs still depends on the metal finish, climate, joint size, and product instructions.
Can you use roof sealant on a metal roof?
Yes, you can use a roof sealant on a metal roof when the product is rated for that metal and exterior exposure. A product specifically formulated for metal is usually a safer starting point than one that may react with the substrate. Check paint compatibility too, since some cured sealants create a poor surface for later paint.
Should metal roof flashing be sealed around screws?
Yes, exposed screw heads in the repair area should be checked and sealed when the product instructions permit it. A loose or rusted screw needs more than caulk. Tighten or replace the fastener first, then apply a small, smooth bead around the head so water can't collect at its edge.
Can you apply roof sealant over old caulk?
You shouldn't apply new roof sealant over loose or crumbling old caulk. Scrape away failing material, brush off residue, clean the metal, and let it dry. A thin, sound layer may be compatible with some products, but the label should say so before you leave it in place.
When should I hire a professional for metal roof flashing?
Hire a professional when the flashing is loose, badly rusted, bent, or tied to damaged decking. Repeated leaks also need a wider inspection. If you can't safely reach the repair area, don't attempt it. A professional can check the roof surface and the interior damage instead of treating one visible crack.
Conclusion
For a clean, sound joint, choose a sealant rated for your metal roof and local weather, then spend more time on prep than on squeezing the tube. For loose flashing, deep rust, hidden water damage, or unsafe access, contact LGFMH Construction for an assessment before applying a patch.


Comments