How to Choose Roof Flashing Sealant
- William McKracherne
- 1 day ago
- 9 min read

The wrong roof sealant can peel away while the roof still looks fine. The right one bonds to the flashing, handles movement, and cures during the weather window you have. To choose well, first identify the roof and flashing material. Then match the sealant to movement, sun, water, temperature, and the size of the repair.
Table of Contents
Step 1: Identify the Flashing Material and Roof Surface
Start by matching the sealant to the flashing and roof surface. A product that sticks to galvanized steel may not bond well to a rubber membrane, masonry joint, or painted metal.
Go into the attic first if you can do so safely. Mark the leak path, then inspect the roof area above it. Water can travel along rafters before it enters the room, so the stain on the ceiling may sit away from the actual opening.
Next, identify the roof covering:
Asphalt shingles need a sealant that works with asphalt and nearby metal.
Panel-style roof coverings need strong adhesion plus enough flexibility for panel movement.
Rubber membrane systems need a product that lists compatibility with that membrane.
Low-slope roofs need special care around seams, drains, skylights, and pitch pockets.
Tile or slate roofs may need flashing repair rather than a surface bead alone.
Clean a small hidden spot before you judge the metal. Bright metal may be galvanized steel, while a dull gray surface may have oxidation. Copper has a distinct brown or green patina. Aluminum feels light and often has a smooth, pale finish. Painted steel needs a sealant that bonds to the coating, not only to bare metal.
The existing seal can also give you a clue. A rubbery bead may accept a compatible elastomeric or flexible product. Brittle tar-like material should usually come off before you apply anything new. Don't smear a new seal over loose sealant, rust, oil, or wet dust. The new bead will only bond to the weak layer beneath it.
For a second set of prep details, LGFMH Construction's roof flashing sealant guide also recommends a small patch test before covering a large area. Put a small amount in a hidden spot, let it cure, then check for poor grip, cracking, or color change.
Read the sealant's substrate list before you buy. If the label doesn't name your roof surface, treat that as a warning. A general-purpose caulk is rarely the safest choice for a roof joint that stays wet or moves each day.
When the roof surface is damaged, the sealant choice is only part of the job. LGFMH Construction handles exterior repairs and replacements, so it can help when the flashing itself needs work rather than another patch.
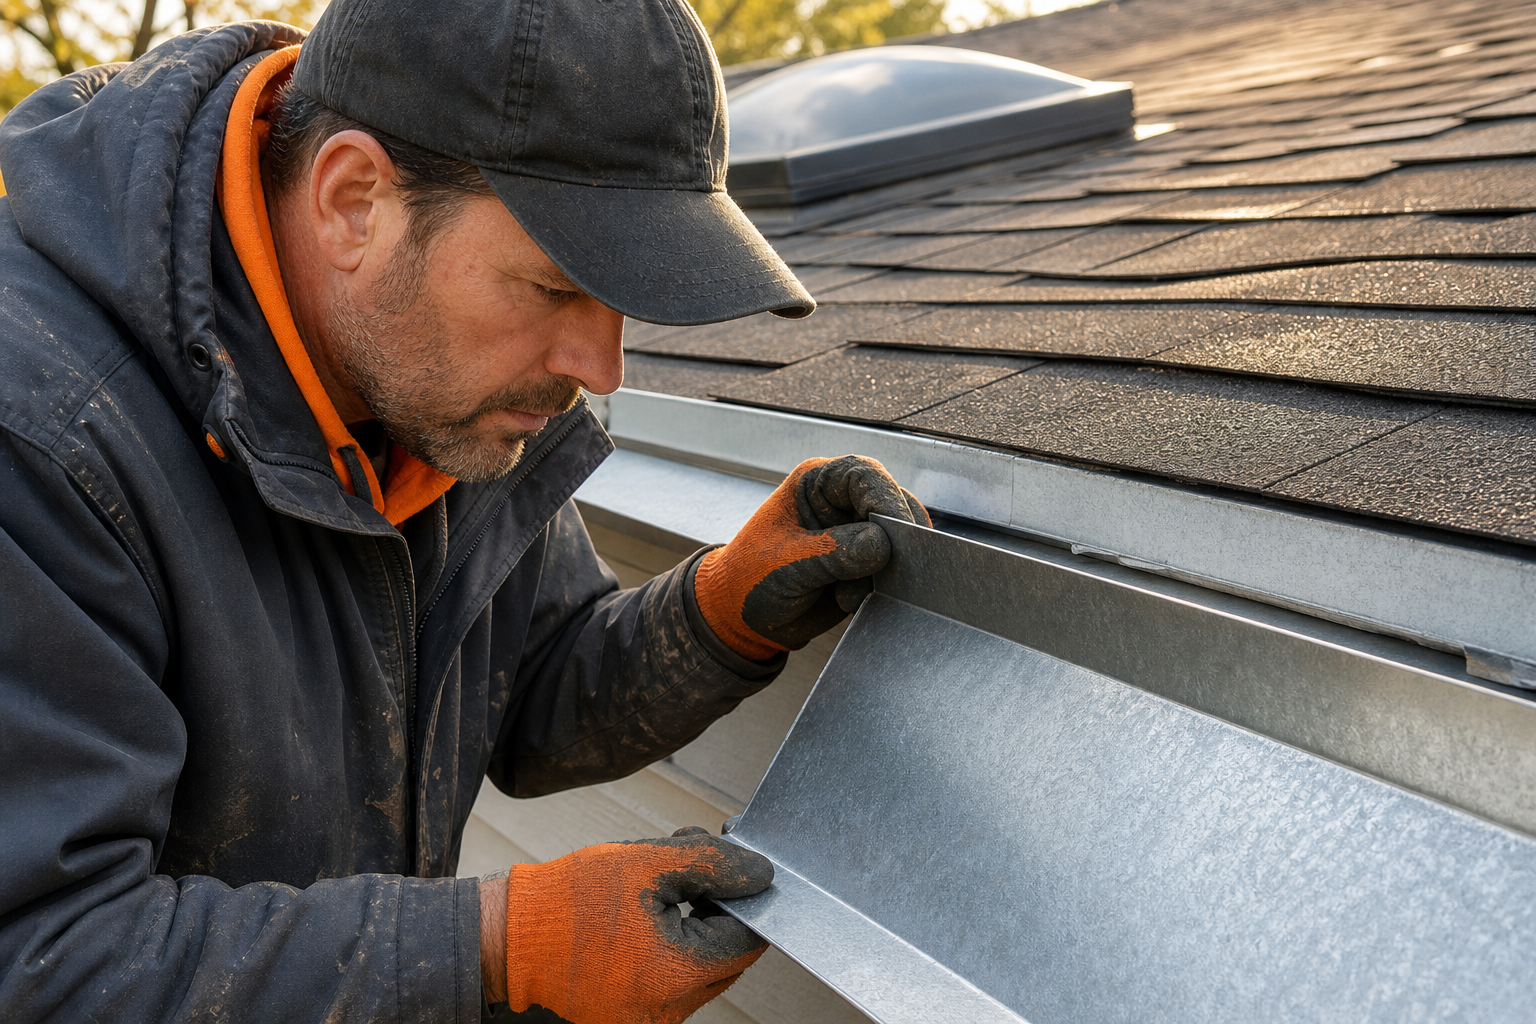
Step 2: Match the Sealant to the Roof's Movement and Exposure
When you choose roof flashing sealant, think about what the joint does during a full day. Metal expands in heat and contracts in cold. A rigid bead can split when the flashing shifts.
Look for movement information on the technical data sheet. Terms such as elastic, flexible, elongation, and movement capability point to products made for joints that change size. The exact value matters less than whether the product fits the joint and the roof system.
Now assess exposure. A south-facing roof may get strong sun for much of the day. A valley or wall transition may see standing water after rain. A chimney base can face heat, wind, snow, and repeated freeze-thaw cycles. These conditions call for different label checks.
Strong sun:Give UV resistance high priority. Some products may suit sunny areas, but confirm roof compatibility.
Frequent wetting:Choose a product rated for exterior waterproofing and the surface beneath it.
Large temperature swings:Favor a flexible seal that stays bonded through expansion and contraction.
Heavy wear:Look for stronger flexible products when the joint faces impact or traffic.
Flat or low-slope roofs:Check whether the product works with the membrane and resists ponding water.
A flexible product is often considered for metal seams because it stays flexible and handles sunlight well. A lower-cost option may be a poor fit where movement is high. A product with strong adhesion can work well, though some products need added protection from UV. Some sealants may suit certain metal repairs, but their label must address the exact flashing material.
Don't use a sealant as a fix for bad drainage. If water pools beside a wall, the joint may fail again even when the bead looks sound. Check the slope, nearby gutters, fasteners, and the way water leaves the roof.
Key Takeaway:Pick for the harshest condition at the joint, not the mildest condition on the roof.
Set a weather window before you start. Most roof sealants need a clean, dry surface. Cold slows cure. Extreme heat can make a bead skin over before you tool it. Wind can blow dust into wet sealant. The label's application range controls the job, so don't rely on a warm afternoon alone.
Step 3: Compare Sealant Types, Cure Times, and Application Requirements
Sealant type affects how you apply the repair and how long the roof must stay dry. Compare the chemistry only after you know the surface and exposure.
Flexible sealants
A flexible sealant is a common choice for exposed metal seams because it stays flexible and usually resists sunlight. It can work well around flashing, vents, and some skylight details when the label lists the surface. Some products in this category don't accept paint, so check that point before you plan a finish coat.
Paintable sealants
Paintable sealants are often easier to paint and may fit lower-cost repairs. They can work on selected roof surfaces with modest movement. They may crack sooner when a joint moves a lot or faces harsh weather, so don't choose this type on price alone.
High-adhesion elastic sealants
High-adhesion elastic products often suit joints that need strong adhesion and movement tolerance. They can be useful on demanding flashing details, but cure time and surface prep vary by product. Some need primer. Some need protection from direct sun after cure.
Gap-filling products and roof cement
Gap-filling products and roof cement can fill certain gaps, but they aren't universal answers. Thick tar patches may hide a failed fastener or damaged flashing. They can also make a later repair harder because the old material is tough to remove.
For a long seam, a sealant alone may not give enough strength. Use an approved reinforcement method only when the roof system and product instructions allow it. Press the reinforcement into the wet sealant, then cover it with another coat. This method can spread stress across a wider area, especially near a joint that has already cracked.
Prepare the work area before opening the tube. Remove loose material with a scraper. Brush away rust and dust. Use the cleaner named on the product sheet, then let the surface dry fully. Mask clean edges with tape if appearance matters.
Cut the nozzle at a 45-degree angle. Make the opening only as wide as the joint needs. Apply one steady bead, then tool it so it touches both sides. Avoid a thick mound. A large blob can skin over outside while the center stays soft.
Cure time depends on the product, bead size, humidity, and temperature. Follow the label instead of guessing. Protect the repair from rain, dew, foot traffic, and wash water until the stated cure period ends.
Check the finished bead after cure. It should stay attached at both edges. Look for bubbles, pinholes, lifting, or cracks. If you test with a hose, start above the repair and use a gentle flow. Have someone watch inside while you test one area at a time.
Step 4: Check Product Labels, Warranties, and Safety Requirements
The label is where you confirm whether a sealant fits your roof. Read it before you compare color, brand, or shelf price.
Find these details on the cartridge or technical data sheet:
Approved roof and flashing substrates
Exterior exposure and waterproofing use
Application temperature range
Rain resistance and full cure time
Need for primer or backing material
UV resistance and paint compatibility
Coverage per tube or container
Storage limits and shelf life
Warranty terms and exclusions
A warranty may cover the material but not poor surface prep, ponding water, movement beyond the product rating, or installation outside the stated temperature range. Keep the receipt, product name, batch details, and photos of the repair. Those records can help if the seal fails later.
Also check the safety data sheet, often called an SDS. It lists hazards, required protective gear, first-aid steps, and storage rules. A safety data sheet explains how hazard information is organized for workplace chemicals.
Work outdoors when the product label calls for good airflow. Wear gloves that resist the material. Use eye protection during scraping and application. If fumes bother you, stop and improve ventilation instead of working through it.
VOC content can matter in enclosed spaces such as an attic. Indoor-air information notes that VOCs can enter indoor air from common products and may cause short-term irritation. A low-VOC label doesn't remove the need to follow the SDS.
Don't mix products unless the manufacturer says you can. A primer from one system may react poorly with another sealant. The same rule applies to coatings. Wait until the first material cures, then confirm that the top coat can bond to it.
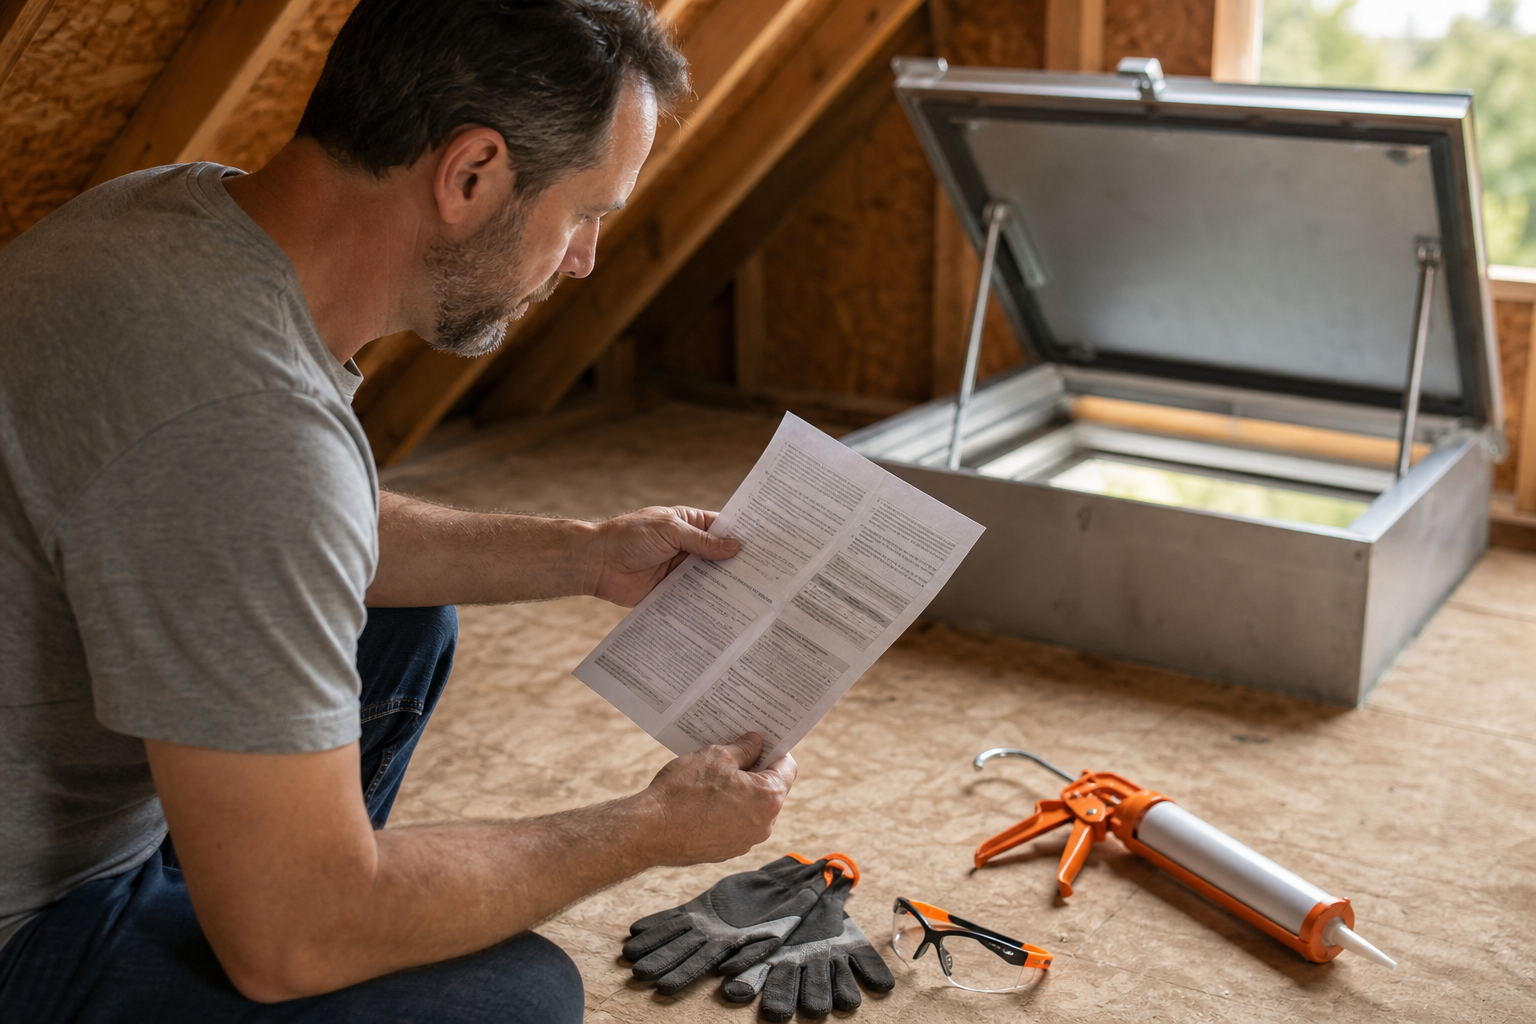
If the label leaves out substrate data, cure conditions, or warranty limits, choose a better-documented product. Missing information creates risk during both the repair and any later claim.
Step 5: Inspect the Leak and Decide Between DIY Sealing and Professional Repair
The final part of choosing roof flashing sealant is deciding if sealant is the right repair. A small split in sound flashing may need a careful reseal. A loose, rusted, or bent piece may need replacement.
From the attic, trace the stain upward. Look for wet insulation, dark wood, mold, or active dripping. Outside, inspect the flashing edge, fasteners, corners, pipe boots, chimney joints, skylight curb, and nearby valleys.
A DIY seal may make sense when all of these are true:
The roof is safe to access without steep or wet footing.
The flashing is firmly attached and has no large rust holes.
The leak source is visible and limited to a small joint.
You can keep the surface dry through the full cure time.
You can inspect the repair from inside after testing.
Stop and arrange professional help when the roof deck feels soft, the flashing has pulled loose, or water enters near wiring. Get help for steep roofs, broad leaks, repeated leaks, or damage around a chimney or skylight. A sealant bead cannot correct a structural fault.
LGFMH Construction can assess exterior repair needs and handle replacement work when a patch won't hold. That is often the better path when several flashing points fail at once or the roof has hidden water damage.
If you do the repair, document it. Take a photo before cleaning. Take another after application. Note the weather, product, surface, and cure time. After cure, inspect the bead for gaps and edge lift. Then run a controlled hose test while someone checks the attic.
Don't use a pressure washer on a fresh seal. Don't cover a wet joint with plastic and assume it will cure. Don't keep adding layers over a failing patch. Remove the weak material and start with a sound surface.
Inspect the area after the next heavy rain. A good repair stays bonded and shows no new indoor moisture. If the leak returns, stop applying more sealant. The water may be entering at a higher point, or the flashing may need replacement.
Pro Tip:Mark the repair date on your home maintenance record. A repeat leak is easier to diagnose when you can compare photos and weather conditions.
FAQ
What type of sealant is best for roof flashing?
The best sealant depends on the flashing metal, roof covering, movement, and weather exposure. A product approved for exposed metal seams should remain flexible and resist UV. A sealant rated for strong adhesion may suit joints that need it. Always confirm the product's substrate list and temperature range before use.
Can I use a flexible sealant on metal roof flashing?
Yes, a flexible sealant can work on metal roof flashing when the product label approves that metal and exterior use. Clean away rust, oil, dust, and old loose sealant first. Check whether the product can be painted. Test a small hidden area if the flashing has a coating or unusual finish.
Should roof flashing be sealed with caulk or roofing cement?
Use a roof-rated sealant when the joint needs flexibility and a clean, lasting bead. Roofing cement may suit some small emergency patches, but it can hide loose flashing and make later repairs harder. If the metal is bent, badly rusted, or detached, replace or refasten it instead of adding more cement.
How long should roof flashing sealant cure before rain?
Roof flashing sealant must cure for the time listed by its manufacturer before rain or dew reaches it. Many products take about 24 to 48 hours, but temperature, humidity, and bead thickness change the result. Plan the work during a dry weather window and protect the area without trapping moisture.
When should I hire a roof repair contractor?
Hire a contractor when the flashing is loose, rusted through, bent, or tied to a broad leak. Professional help is also wise on steep roofs and around chimneys or skylights. If a small reseal fails after proper prep, stop patching and have the leak source and roof structure inspected.
Conclusion
Choose a sealant that matches the flashing, roof surface, movement, and exposure. Then follow the label for prep, weather, safety, and cure time. If the flashing is damaged or the leak keeps returning, ask LGFMH Construction to inspect the repair area before another patch turns into wasted work.


Comments