Essential Chimney Repairs Guide
- William McKracherne
- Jan 27
- 18 min read

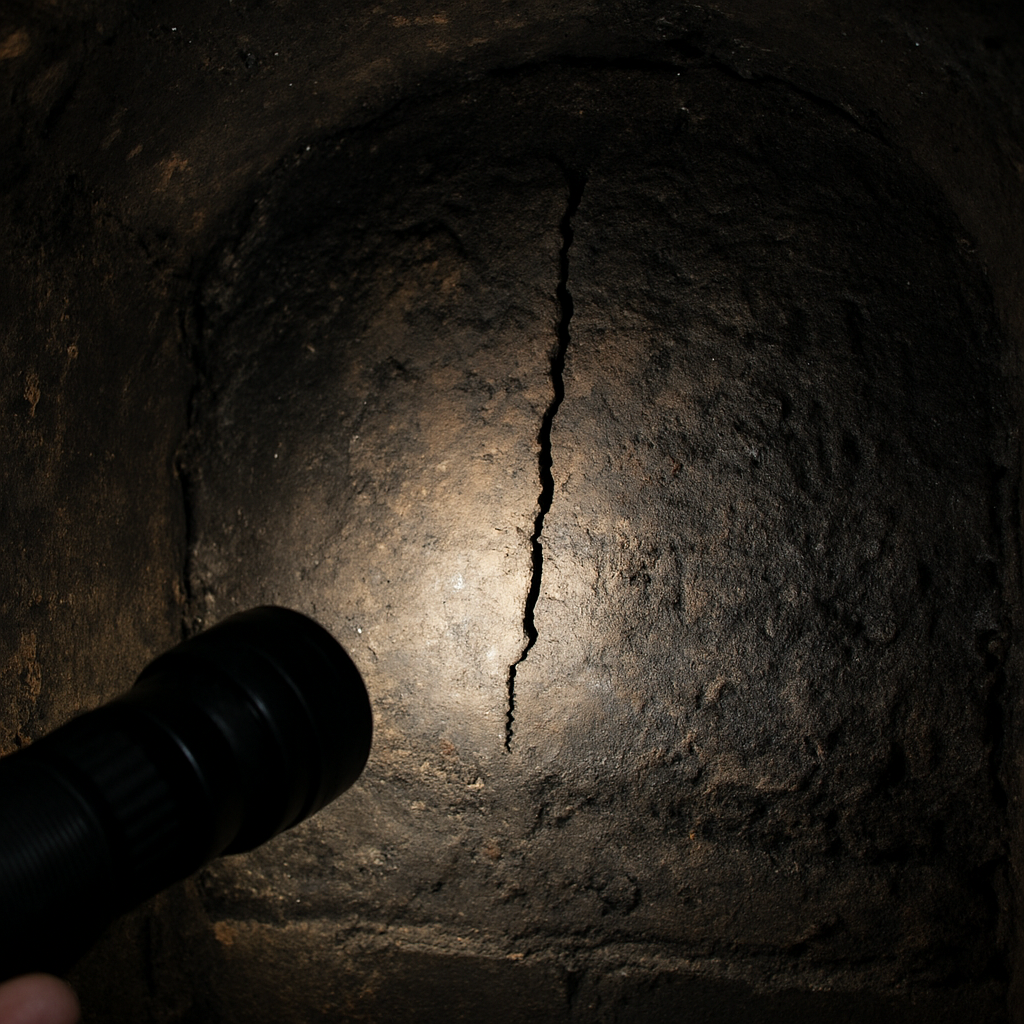
Let me paint a quick picture. A winter evening, the fire crackles, and you’re wrapped in a blanket of warmth. Suddenly, a small puff of smoke escapes the chimney, hinting something’s off.
You might think it’s just a minor nuisance, but that puff could be a sign of blockages, cracked flues, or even a silent fire risk. Ignoring it isn’t an option; it’s like leaving a leaky roof on a stormy night.
So, what’s the first thing you should do when that smoke shows up? Grab a flashlight, look up, and check the vent for debris or signs of wear. If anything looks odd, you’ve got your first clue.
Next up, it’s all about timing. If you’re a homeowner, you’ve probably seen a DIY guide for gutter cleaning or siding repairs, but chimney work requires a bit more patience. Think of it like caring for a garden you didn’t plant yourself; you need to be gentle but thorough.
Here’s what I mean: start small. A quick inspection can save you from costly roof damage down the line. You’ll spot loose tiles, cracked masonry, or even signs of water infiltration before they turn into a bigger headache.
And if you’re not sure whether the issue is superficial or something deeper, it’s worth calling a pro. A chimney specialist can do a fire risk assessment, clean the flue, and seal any cracks with precision.
But here’s the thing: most homeowners overlook chimney maintenance because they think it’s a fancy, expensive service. The truth is, a well‑maintained chimney saves you money in the long run—think fewer repairs, a safer home, and a lower insurance premium.
So, ready to take the first step? Start by pulling out your flashlight and checking that chimney for smoke, and if you see anything off, you’ve already got a clear action plan.
TL;DR
If your chimney’s been giving you headaches, this guide breaks down why regular maintenance matters and how spotting cracks early can save you from costly repairs. Next, we’ll walk you through an inspection routine, share DIY fixes, and point you to professional help when a chimney repair truly needs expertise.
Common Causes of Chimney Problems
You’ve probably seen that eerie puff of smoke and wondered what’s up. The truth is, most chimney headaches hide a simple, almost invisible culprit. Let's dig into what’s really going on.
Weather and Moisture
First up: rain, snow, and wind don’t just sit on your roof – they find their way down the flue if the crown or bricks aren’t tight. Think of the chimney like a bottle of water: any crack lets the rain slip through, turning a nice draft into a waterlogged mess.
Next: moisture from the chimney crown. The crown is the topmost section that keeps water away. If it cracks, rain goes straight into the stack, and over time you get rust, loose bricks, and a chimney that feels more like a leaky bucket than a warm fireplace.
Cracks in Masonry
Now, let’s talk about cracks in the masonry itself. Old chimneys, especially brick or stone, can develop tiny fissures over decades. These gaps might look harmless, but they’re the perfect playground for soot, debris, and even insects. That’s why a crack inspection is a must before every winter fire.
Chimney Cap & Ventilation
Another hidden culprit is the chimney cap. A missing or broken cap means drafts can suck up water and debris. In humid climates, a cap that’s simply gone, or a loose chimney crown, can invite mold growth inside the flue. Trust me, that’s a recipe for poor air quality.
And don’t forget the role of ventilation. A flue that’s too narrow or obstructed will create a negative pressure that pulls smoke back into your home. Over time, that’s not just an inconvenience; it’s a fire risk.
Installation Issues
Let’s bring it home with installation issues. Many older homes have chimneys that were added after the house was built. These additions often skip proper flashing or sealing, leaving gaps that become problems as the wood in the house expands and contracts with temperature swings.
If you’re curious about how these factors stack up, the video below walks through a quick inspection routine. Grab your flashlight, step outside, and let’s see what you’re dealing with.
Now that you’ve got a feel for the common culprits, you can spot red flags early. A sagging chimney crown, a rusted flue lining, or a sudden increase in soot are all signals that a professional inspection might be overdue.
Remember, a small crack today can grow into a dangerous leak tomorrow. The best prevention is regular checks, a good chimney cap, and timely repairs. If you notice anything off, give LGFMH Construction a call – we’ve seen the most stubborn leaks, and we know how to fix them quickly and affordably.
So, what’s the takeaway? A healthy chimney is a quiet, safe friend. Keep it clean, seal the cracks, and let professionals handle the heavy lifting. Your home will thank you, and your smoke detector will stay silent.
Before you go, grab that quick guide from our website – it’s packed with checklists and a calendar for your annual maintenance.
Take action now—schedule your inspection, clear any debris, and give the chimney a quick check before the next fire.
How to Inspect Your Chimney Safely
Before you climb any ladder, take a deep breath and picture the last time you checked the top of your chimney. Most folks only remember a quick glance in the mirror. That’s fine—this guide turns a quick glance into a full‑spectrum check that keeps you safe, saves money, and keeps the fireplace humming.
Gather Your Gear
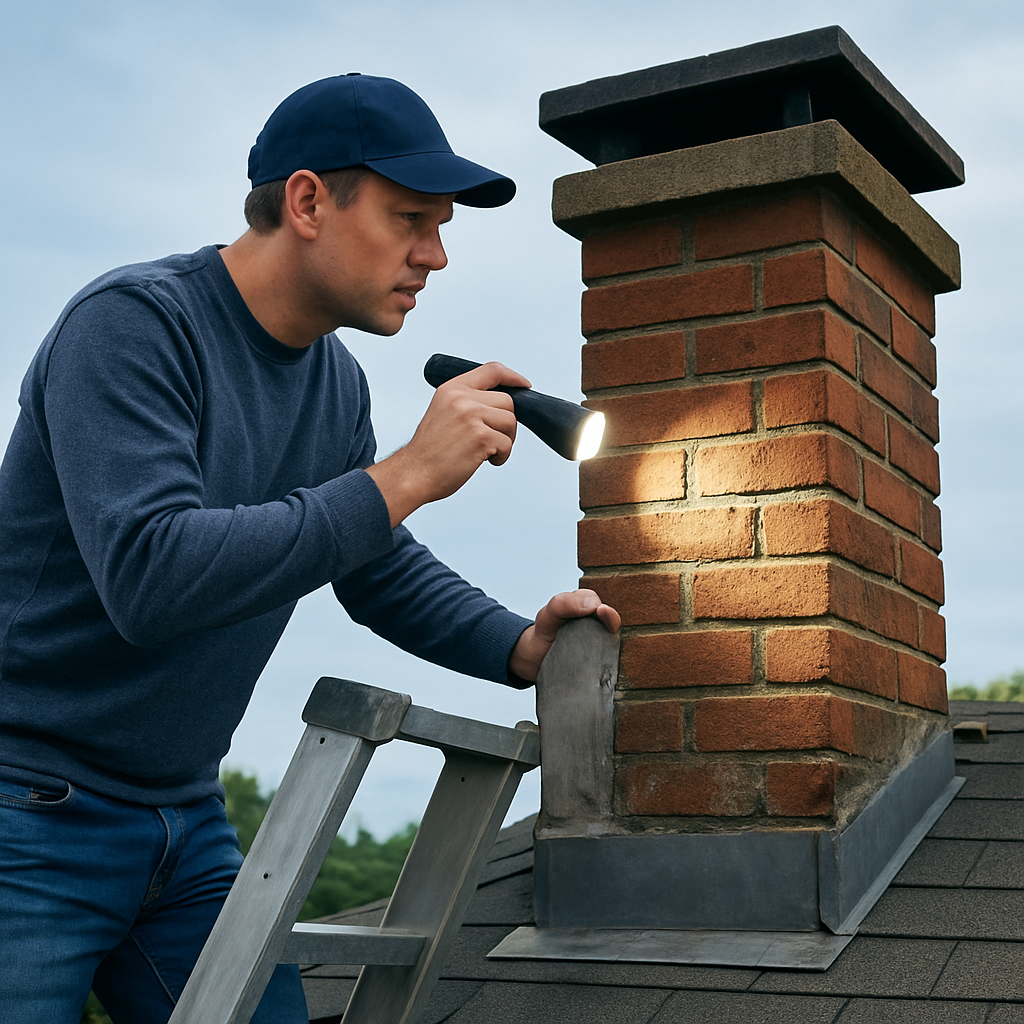
Think of the tools like a firefighter’s kit: you need a flashlight, a sturdy ladder, a notepad, a pair of gloves, and a camera if you can spare one. If you’ve got a small handheld camera or even a smartphone, use it—photos make it easy to spot subtle cracks later.
Safety First
Before you lift a ladder, test the surface. If you’re on a stone or concrete base, that’s usually solid. If it’s wood or gravel, give it a firm tap to make sure it’s not wobbling. Also, check the weather—windy or rainy days are not ideal for ladder work.
Step 1: Check the Exterior Crown
Start at the roofline and move down to the crown. A hairline crack or a patch of spalling brick can let water seep in. Look for any uneven patches or discoloration that might hint at a deeper issue. If you see a small crack, measure it—tiny fissures that are only a millimeter wide can widen quickly during freeze‑thaw cycles.
Step 2: Inspect the Flue and Liner
With the flashlight in hand, peer into the opening. If you’re lucky, you’ll see a clear path; if you see black, tar‑like flakes, that’s creosote piling up. Creosote is a fire hazard and also a sign you’re not burning seasoned wood. It’s not enough to just see the soot; feel the temperature at the base of the flue—an unusually hot spot might indicate a blockage.
Step 3: Look for Signs of Moisture
Water damage is the silent thief behind many chimney woes. Scan for water stains on the ceiling above, damp spots on the chimney bricks, or even a musty smell. If you notice any of these, the flashing—where the chimney meets the roof—might be compromised. Gently touch the flashing; it should feel firm, not warped or soft.
Step 4: Check the Damper and Cap
Open the damper and pull it fully out. It should slide smoothly and close snugly. A damper that sticks or doesn’t seal can let cold air in when the fireplace isn’t in use. The cap, the roof‑top piece that keeps rain and debris out, should be free of rust, cracks, or missing sections. If the cap is damaged, even a small leak can turn the chimney into a water‑logged hazard.
Step 5: Listen for Unusual Noises
While the house is quiet, turn on a stove or a fire and listen for popping or crackling sounds that feel louder than a normal draft. These noises could mean a chimney fire is starting in the walls, a dangerous situation that demands immediate attention.
Step 6: Document and Act
Take photos of every spot you inspect. Note down measurements of any cracks and any unusual temperatures. If you spot anything that feels off—creosote, water stains, a stuck damper—set a calendar reminder to call a professional. Even a quick visual scan can uncover hidden issues before they grow into expensive repairs.
Remember, the NFPA recommends an annual inspection, especially before the heating season kicks in. It’s like an annual check‑up for your home’s breathing system—skip it, and you risk a fire or a costly mold problem.
When you’ve finished the visual scan, you’ll feel more confident about the chimney’s health. But if any red flag shows up, the smart move is to schedule a professional sweep or repair. That’s how homeowners keep their fireplaces safe and their budgets intact.
Choosing the Right Chimney Repair Materials
When a crack pops up in your chimney crown or a flue liner looks like it’s seen better days, the first thing that hits you is: what do I need to fix it? That’s the moment where picking the right material can mean the difference between a quick patch and a costly rebuild.
In our experience here at LGFMH Construction, homeowners often assume the same paint‑on‑repair trick will work for masonry. It doesn’t. Masonry has its own language of mortar, bonding, and expansion—if you don’t match the materials, you’ll end up with a new problem.
So, what makes a chimney repair material stand out? Look for three core traits: fire‑resistance, weather‑resilience, and ease of application. Fire‑resistance keeps your chimney from becoming a tinderbox. Weather‑resilience keeps water out even when the roof shakes from wind. And if a product is hard to apply, the job will cost more in labor.
One standout in the market is CrownGuard HP, a ceramic‑based repair system that locks into place and then dries into a flexible, waterproof seal. According to Firesafe Industries, CrownGuard “has been proven to withstand freeze‑thaw cycles without cracking again” and it can be applied on a dry surface, which saves you a prep‑work day.
Another solid choice is a high‑performance mortar mix that’s been tested for load and temperature. These mortars are usually sand‑based with a polymer additive that improves bond strength and elasticity. They’re a bit messier than CrownGuard, but if you’re repairing a damaged flue liner that’s already cracked, the mortar can fill the gaps and restore structural integrity.
Why does the right material matter for your budget? A cheap patch may look fine for a month, but if it fails during the next snow melt, you’ll pay for a full repair and the hidden costs of water damage to interior walls. A durable product like CrownGuard, while pricier upfront, often pays for itself in the long run by reducing maintenance visits.
Take the example of a homeowner in Houston who noticed a hairline crack in his chimney crown during a rainstorm. He opted for a CrownGuard kit, followed the step‑by‑step instructions, and sealed the crack in under an hour. When the next winter came, the crown stayed intact and no water seeped into the attic.
Here’s a quick decision flow to help you pick the right material:
Assess the damage: surface cracks, deep fissures, or a missing flue liner?
Check your local climate: high humidity, freeze‑thaw cycles, or heavy snowfall?
Choose a material that matches the damage and climate—CrownGuard for crown cracks, high‑performance mortar for deep fissures.
Consider your DIY comfort: kits with clear instructions are best for beginners.
Budget for the product, tools, and any professional assistance if the job is beyond your skill level.
If you’re unsure about the best product, the Firesafe website offers detailed product specs and case studies that can guide you through the selection process. They break down the science behind each material so you can make an informed choice.
Beyond the material itself, you’ll need the right tools—trowels, caulk guns, and a high‑grade sealant for any gaps. The Essential Roofing Guide for Homeowners dives into the tools and steps that complement chimney repairs, so you’ll know how to prep your roof and chimney at the same time.
And if you’re looking to spruce up your fireplace space after the repair, check out this guide on how to frame and display premium wall art to keep the room stylish and safe: Kiss From the Beyond Art Print: Expert Guide to Buying, Framing, and Displaying Premium Wall Art .
Common Chimney Repair Techniques
We’ve already talked about the why and the what—what’s inside and what’s missing. Now let’s get our hands dirty and walk through the actual moves that turn a shaky chimney back into a solid, safe draft line. Think of these steps as a recipe: you need the right ingredients, the right tools, and a steady hand.
Step 1: Clean and Inspect
Before you start patching, you gotta know what’s in the mix. Grab a sturdy flashlight, a long‑reach brush, and a notebook. Walk up the ladder and scan the interior for creosote, loose bricks, or water stains. If you see a layer of black soot thicker than a coin, that’s a sign you’re dealing with a buildup that needs sweeping. A quick, deep sweep can cut the risk of a chimney fire by 90%, so don’t skip it.
Step 2: Patch Cracks and Spalling
Cracks in the masonry are the most common culprit behind leaks and structural weakness. If the fissure is less than a quarter inch, a high‑strength, flexible mortar mix can seal it up. For deeper gaps, consider a masonry patch kit that’s designed to expand and contract with the building’s movements. After you apply the patch, let it cure for at least 24 hours before proceeding. That’s how you keep the chimney breathing and the water out.
Real‑world example
In a cold, snowy town, a homeowner noticed a hairline crack that widened into a 1‑inch fissure after a freeze‑thaw cycle. We used a polymer‑enhanced mortar, applied in layers, and added a waterproof sealant on top. Six months later, the crack stayed sealed, and the attic stayed dry even during a heavy snowstorm.
Step 3: Re‑line or Replace the Liner
When the flue liner is cracked or missing, the chimney walls get exposed to corrosive gases. The most cost‑effective fix is to install a stainless‑steel or ceramic liner that’s rated for high temperatures. If the liner is already cracked, it usually needs a full replacement. The process involves removing the old liner, cleaning the cavity, and screwing in the new one—often in a single night.
Step 4: Seal and Protect the Crown
The crown is the roof cap of your chimney, the first line of defense against rain. A cracked or spalled crown lets water seep in, which can turn into mold or a structural weak spot. A quick fix is to apply a flexible, heat‑resistant sealant and then fill any large gaps with a masonry patch. For extensive damage, a new crown layer or a full replacement may be necessary.
Step 5: Final Check and Maintenance Plan
After every repair, run a draft test: light a match, open the damper, and watch the flame. If the flame is steady and the smoke clears quickly, you’re good. If it sputters or the smoke lingers, you might need another inspection. Create a simple log—date, what you fixed, and the next scheduled check. A little record‑keeping keeps you from missing the next big problem.
Below is a quick comparison of the most common repair techniques to help you decide what fits your situation best. Pick the one that matches the damage type, the climate you live in, and your DIY comfort level.
Technique | Ideal Use | Key Benefit |
Masonry Patch + Sealant | Hairline cracks, spalling | Quick fix, keeps water out |
Polymer‑Enhanced Mortar | Medium‑depth fissures, flexible joints | Resists expansion, lasts longer |
Flue Liner Replacement | Cracked or missing liner | Prevents fire risk, improves draft |
Crown Repair with Heat‑Resistant Sealant | Cracked crown, water infiltration | Restores roof protection, reduces mold |
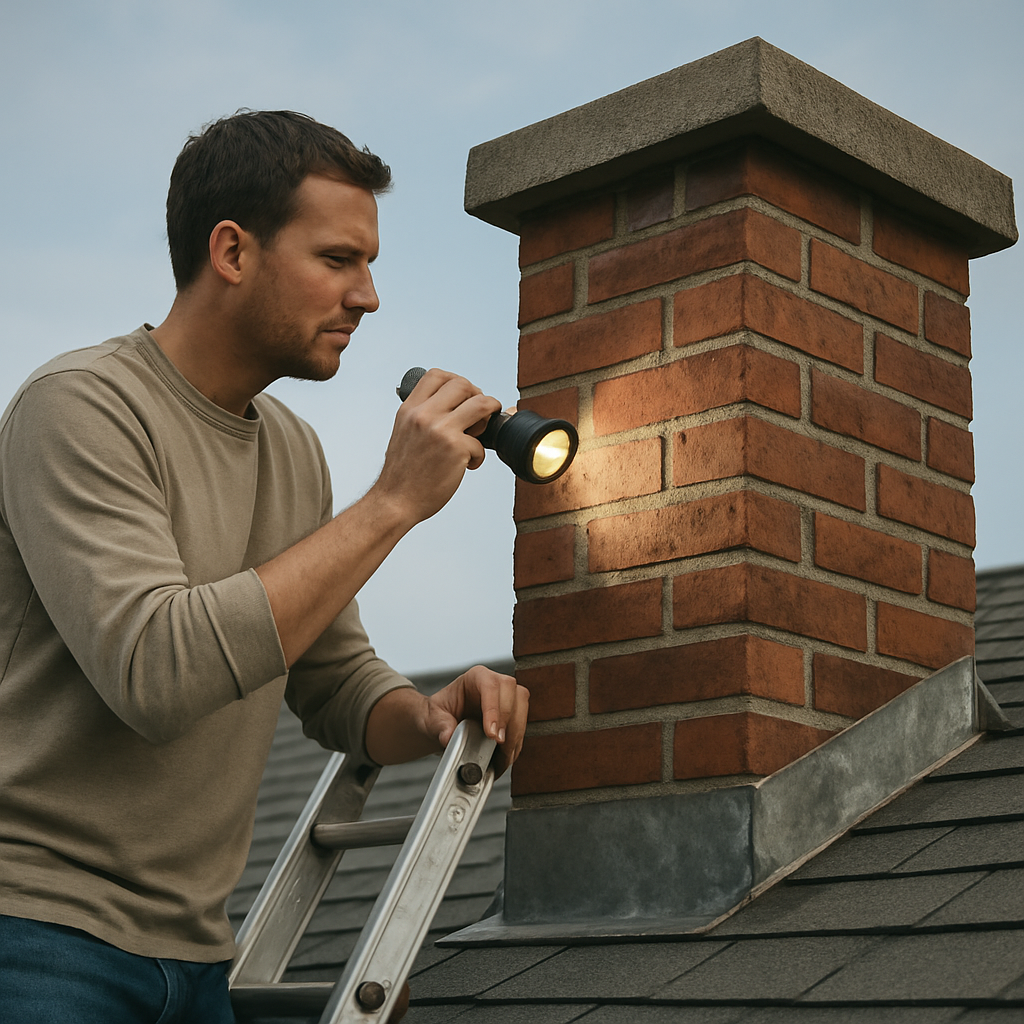
So, what’s the takeaway? Identify the damage, choose the right technique, and don’t forget that simple draft test at the end. If the work feels like a mountain, that’s a sign to call in a pro—especially for liner replacement or extensive crown work. By tackling each repair in a systematic way, you’re not just fixing a chimney; you’re extending the life of a key part of your home’s safety system.
Post-Repair Maintenance Checklist
After the heavy lifting is done, you’re probably wondering how to keep that fresh‑patched chimney from turning back into a problem. Trust me, a simple routine is the secret sauce for long‑term safety and savings.
1. Start a Maintenance Journal
Grab a notebook or a handy app—anything that lets you log dates, repairs, and observations. Every time you inspect the chimney, jot down the condition of the crown, any new cracks, or changes in draft. It’s like a health record for your fireplace.
Think of it this way: a journal turns random checks into a pattern. You’ll spot a widening crack after a freeze‑thaw cycle before it becomes a costly fix.
2. Inspect the Crown and Cap Monthly
Walk up with a flashlight and look for hairline splits or spalling bricks. Even a one‑inch crack can let a trickle of rain in, which over time feeds mold and weakens the structure.
Use a piece of tape or a marker to mark any new fissures. Next month you’ll see if it’s growing or staying put. If it’s expanding, it’s time for a more permanent fix.
3. Monitor Draft Performance
Every few months, run a quick draft test. Light a match, open the damper, and watch the flame. A steady, blue flame means a good draft; a sputtering or orange flame signals blockage or a damaged liner.
Keep this test in your journal. If the flame changes, schedule a professional sweep sooner rather than later.
4. Clean the Damper Gasket
The damper’s gasket can collect grime and mold, causing a sticky seal. Gently wipe it with a damp cloth and a mild soap solution. Replace the gasket if it looks cracked or brittle.
After cleaning, close the damper fully and listen for any air leaks. A quiet, solid seal is a good sign.
5. Schedule Annual Professional Sweeps
Even with a meticulous home routine, creosote buildup and hidden damage can sneak in. An annual sweep catches those problems before they turn into fire hazards.
If the technician mentioned any repairs, follow up promptly. Addressing small cracks right away saves you from a big repair down the line.
6. Weatherproof the Flue
After repairs, apply a heat‑resistant sealant to the flue’s interior. This protects against moisture and extends the life of the liner.
When the weather turns wet, you’ll feel confident that the chimney can handle the rain without leaking.
7. Test for Moisture Leaks
Check the attic floor for damp spots or water stains every spring. A quick visual scan can spot a leaking crown or flashing before it becomes a mold problem.
When you see a damp patch, measure the area and record it. Treat it as a maintenance priority.
8. Review and Adjust Your Plan Annually
At the end of each winter, pull out the journal and compare notes. Did the draft improve? Are new cracks appearing? Use these insights to tweak your routine.
Remember, the goal isn’t perfection—just consistent care. Over time, this simple checklist keeps your chimney safe, efficient, and ready for the next fire night.
When to Call a Professional Chimney Service
1. You’re Seeing Smoke on the Roof
If a puff of smoke climbs out the chimney cap instead of rising cleanly, that’s a red flag. It usually means a blockage—maybe a stuck damper, debris, or a partially collapsed flue. A professional can clear the blockage and check for hidden cracks.
2. The Draft Is Weak or Unpredictable
Do you notice the fire sputtering, the smoke hanging in the room, or the chimney door staying stuck open? A weak draft often points to a cracked liner, a collapsed flue, or even a broken chimney cap. Only a trained eye can determine if the draft loss is temporary or structural.
3. There’s Visible Cracking or Spalling
Hairline cracks in the masonry or chunks of brick falling off are more than cosmetic. They let water in, which can create mold or erode mortar. A professional can assess whether a simple patch will do or if a full crown repair is needed.
4. Moisture Shows Up Inside the Chimney
Water stains on the interior walls or a damp feel at the base of the flue are signs the chimney’s weatherproofing is failing. Professionals can inspect the flashing, cap, and crown, then replace or seal as needed.
5. You’ve Been Ignoring Routine Checks
Most homeowners only glance at the chimney from the inside, missing external damage. If you’ve never had an annual sweep or inspection, the chance of hidden hazards is high. A yearly service is a small price for the peace of mind it brings.
Why a Professional Matters
They have the right tools—like a chimney brush that can reach the top of the flue or a moisture meter for detecting hidden leaks.
They’re trained to spot early signs of collapse that a layperson might miss.
They can safely remove soot and creosote without risking a chimney fire.
6. The Chimney Is Older Than 25 Years
Chimneys that have been standing for decades have a higher risk of structural degradation. Even if everything looks fine, the mortar can become brittle. An inspection can confirm if a rebuild is on the horizon.
7. You’ve Noticed a New Leak After Heavy Rain
Water leaking into the attic or roof deck is a clear sign the cap or crown is compromised. Ignoring it can lead to rot and mold. A professional will locate the source and repair it before it spreads.
8. You Want to Keep Your Insurance Premium Low
Many insurers require proof of an annual chimney inspection to keep premiums low. A professional certificate can satisfy that requirement and potentially reduce your policy cost.
Actionable Checklist for Homeowners
Check the top of the chimney for visible cracks or loose bricks.
Look for smoke that doesn’t rise cleanly or that drips back into the house.
Feel the base of the flue for excessive heat—an indicator of blockage.
Test the damper: it should open and close smoothly.
Schedule a pro inspection if you notice any of these signs.
9. You’re Planning a Renovation or Addition
Adding a new fireplace or expanding the house can strain the existing chimney. Professionals can assess load capacity and recommend upgrades such as a new liner or a stronger cap to support the change.
10. You’ve Heard About a Chimney Fire
If a neighbor’s chimney caught fire, it’s a personal warning. Even a small fire risk is worth addressing before it escalates.
When a DIY Fix Isn’t Enough
Small debris removal or a quick seal can be a DIY win, but cracks over a quarter inch, collapsed flues, or water intrusion demand a professional’s precision. Trying to fix them yourself can do more harm than good.
Wrap‑Up: Keep the Fires Going Safely
In short, if you spot smoke, weak draft, cracks, moisture, or simply haven’t had a sweep in years, it’s time to call a pro. A professional chimney service will keep your home safe, save you money in the long run, and let you enjoy those cozy fire nights without worry.
Conclusion
First off, you’ve earned the right to sit back and breathe—if your chimney is in shape. But a good inspection, a clean sweep, and a solid cap aren’t just a one‑time fix; they’re a habit that keeps the fire going safely for years.
Think of the chimney like a living room heater that’s been on all winter. If the draft’s weak, the fire sputters, and that’s a sign something’s off. A quick test—a match, the damper, a look for smoke—tells you whether you need a pro or a quick DIY touch.
Remember, cracks that look small now can grow into a leak that turns your attic into a water hazard. Catching them early with a simple visual scan saves you thousands later.
A professional sweep also catches hidden creosote, reducing fire risk and keeping your insurance premiums in check.
So, what should you do next? Create a monthly log of what you spot: crack size, moisture stains, draft strength. Schedule a pro sweep every 12 months, especially before the next heating season.
In the end, the smartest choice is prevention. A well‑maintained chimney keeps your home warm, your family safe, and your wallet happier.
Enjoy the fire.
FAQ
What’s the first thing I should check after a chimney repair?
Grab a flashlight and look straight up the flue. The repair should look clean, no loose bricks or missing mortar, and the liner should feel smooth. Then give the damper a quick test—slide it in and out, close it fully, and feel for a tight seal. If the draft flows nicely and the flame stays steady when you light a match, you’re probably good to move on.
How often should I do a visual inspection of my chimney after repairs?
Make it a habit: check the crown, flue, and cap once a month, especially after a storm. Keep a notebook or a phone app to jot down crack size or new moisture spots. By spotting tiny changes early, you prevent big headaches and keep your system breathing smooth.
Can I clean creosote myself after a professional repair?
Yes, but tread lightly. Use a brush designed for chimney cleaning and work from the bottom up. Wear gloves and eye protection, and never heat the chimney with a match or lighter until you’re sure the creosote is gone. If the soot looks stubborn, a professional sweep is still worth the extra safety check.
What signs tell me a crown repair was successful?
After a proper seal, you’ll notice no water stains on the attic floor in the spring, and the crown feels solid to the touch. The roof flashing should sit flush without gaps. A quick weather check—rain or snow—will test the seal; if the water just runs off, you’ve done a good job.
Should I schedule a yearly sweep after fixing my liner?
Absolutely. Even a new liner can accumulate creosote over time, especially if you burn green wood. An annual sweep keeps the draft clean, reduces fire risk, and keeps your insurance paperwork tidy. Think of it as a routine check‑up for your chimney’s breathing system.
When should I call a pro if I notice a leak after repairs?
If you spot a water stain on the attic or a damp patch inside the chimney, don’t wait. Call a professional within a week. Early intervention stops mold, prevents structural damage, and saves you a larger repair bill later. Quick action keeps your home safe and your wallet happier.


Comments