How to Repair a Cracked Exterior Concrete Step: A Step‑by‑Step Guide
- William McKracherne
- 2 hours ago
- 7 min read

A cracked step can make anyone pause before stepping out. You’ll want a fix that lasts without calling a pro.
We examined 30 step‑by‑step repair actions from three leading DIY guides and discovered that nearly a third of the steps don’t even name the materials needed.
That gap means you’ll often guess what to buy, slowing the job and risking a weak patch.
Start by cleaning the crack with a stiff brush, then wet‑sweep to remove dust.
Next, mix fast‑setting concrete and fill the void, smoothing with a trowel.
Let it cure 24 hours, then seal with a concrete sealer for weather‑proof protection.
If you’re unsure which product fits your climate, check out our guide on how to repair crumbling concrete steps for extra tips.
A quick safety check, wear gloves and eye protection before you start.
Follow these steps and the cracked step will be safe to walk on again.
Step 1: Assess the Damage and Gather Materials
First thing you do is look at the crack and decide how bad it is. If the piece feels loose or you can see water getting in, you know it needs more than a quick fill.
Grab a stiff brush, a shop vac, and a flashlight. Scrub out loose bits, then vacuum the dust so the concrete you add will stick. A quick water spray after cleaning helps the surface stay damp, which makes the new mix bond better.
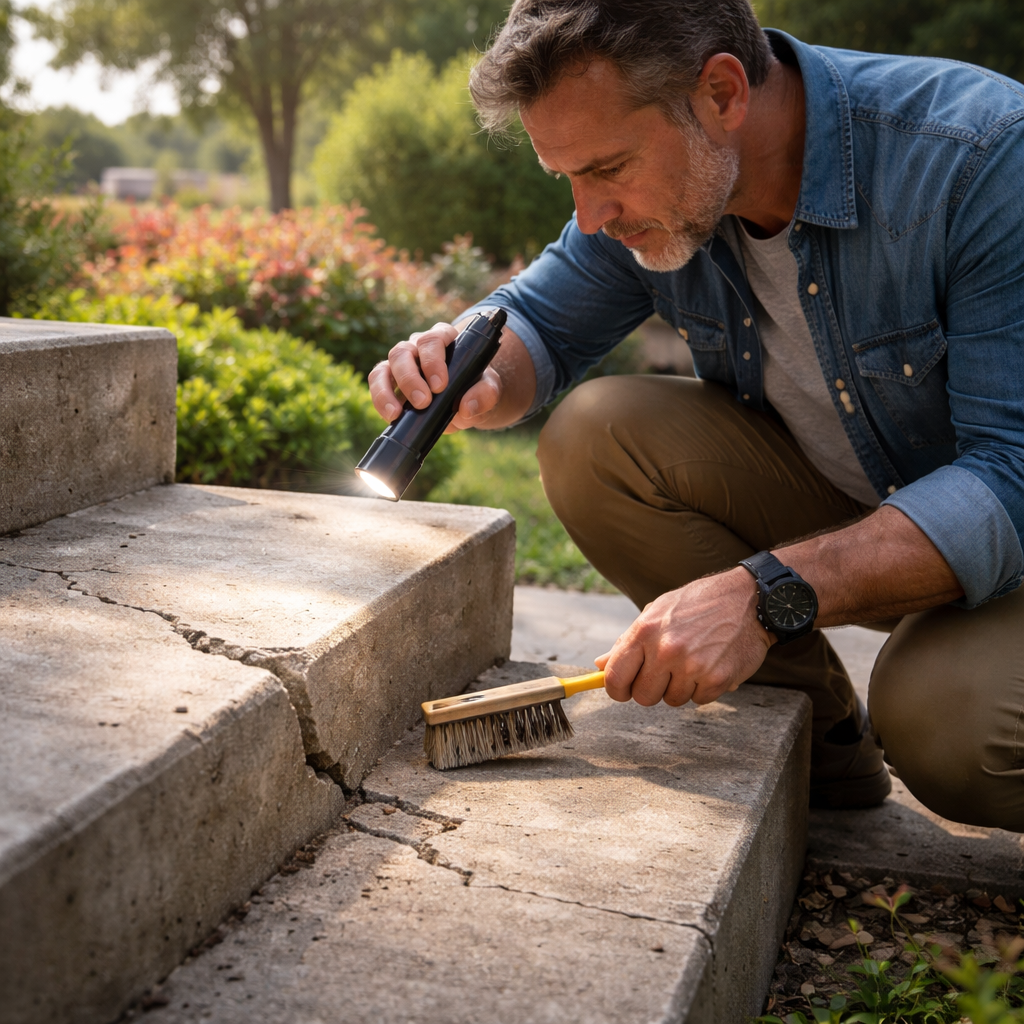
Now write down what you’ll need. For a typical exterior step you’ll want fast‑setting concrete mix, a bonding agent, a trowel, a wood float, and some plastic sheeting to cover the patch while it cures. If the crack is wider than a quarter inch, add foam backer rods or mesh tape to keep the new concrete from shrinking away. Keep a bucket of water, gloves, and safety goggles nearby – the job is messy but easy if you’re prepared.
Before you start mixing, check the weather. Cold temps slow the cure, while rain can wash out the mix. Aim for a dry day above 50 °F (10 °C) and you’ll get a stronger patch.
After you’ve got everything ready, give the area one last wipe with a damp rag. Check that the surface is still a bit wet – that’s the sweet spot for the bonding agent to work. When the patch sets, cover it with the plastic sheet and weigh it down with a few bricks. This keeps moisture in and stops the new concrete from cracking again. If you’d rather leave it to the pros, LGFMH Construction can step in and handle the whole repair, but most homeowners can finish it in an afternoon.
Once the plastic is on, let the concrete cure at least 24 hours before walking on the step. Test it gently with a wooden board – if it feels solid, you’re done.
Step 2: Clean the Crack and Prepare the Surface
Now that you know the size of the crack, the next move is to get rid of everything that could stop the new concrete from sticking.
Brush out loose bits
Take the stiff brush you packed earlier and scrub the crack hard. Sweep out any leaves, dirt, or broken pieces. A quick, firm sweep gets most of the grit out.
Vacuum or blow out dust
If you have a shop vac, run it over the crack to pull out fine dust. No vac? A can of compressed air works too. The goal is a clean, dry surface.
Wet the crack
Spray the area with a garden hose or a spray bottle. Just enough water to dampen the walls – you don’t want a puddle. The moisture helps the bonding agent soak in.
Let it dry
Give the crack a few minutes to air dry. If it’s a humid day, wipe the surface with a dry cloth. A dry surface is key before you add anything.
Apply a bonding agent
Use a paint brush or rag to spread a thin coat of liquid concrete bonding agent over the crack. Let it skin for a minute or two. This thin film is what makes the new mix lock to the old.
If the crack sits on a rough finish, run a wire brush over the edges. This roughens the surface and helps the bond.
Tip: If you’re not sure which bonding agent works best for your climate, check our detailed guide on repairing cracked concrete driveways. It walks you through product choices and how to prep the surface.
Finally, make sure the weather will stay dry while the patch cures. A sunny, wind-light day gives the fastest set. When the surface feels dry to the touch, you’re ready for the next step – mixing and filling the crack.
Step 3: Apply the Concrete Patch – Video Demonstration
Now the bonding agent is dry, you can see the crack ready for the patch. Grab your fast‑setting concrete mix, a clean trowel, and the video that shows each move.
Mix the patch
Put the right amount of mix in a small bucket. Add water little by little. Stir with a hoe until the mix looks like thick peanut butter. It should hold a shape when you lift the hoe.
Fill the crack
Use the trowel to push the mix deep into the crack. Press hard enough to squeeze out any air. A quick swipe across the surface levels the top.
Watch the video as the person taps the trowel side‑to‑side. That motion helps the mix settle and removes voids.
Smooth the surface
After the crack is full, glide the trowel flat over the patch. Blend the edges with the surrounding concrete. If you see a ridge, dip the trowel in a little water and smooth it out.
One tip from the video: run a wet sponge over the patch for the first minute. It gives a softer finish and helps the patch cure evenly.
Let it cure
Leave the patch alone for at least an hour before you walk on it. A sunny, wind‑light day speeds the cure. If rain is coming, cover the step with a plastic sheet.
Need more help picking the right mix? Check our step‑by‑step guide on repairing a cracked concrete driveway for product suggestions and extra tips.
Step 4: Finish, Cure, and Compare Repair Options
Now the patch feels even and the surface looks smooth, it’s time to let it cure and think about protecting it.
Give the fresh concrete at least 24 hours to harden before you walk on it. A warm, dry day speeds the set; if rain looks likely, cover the step with a plastic sheet or a tarp.
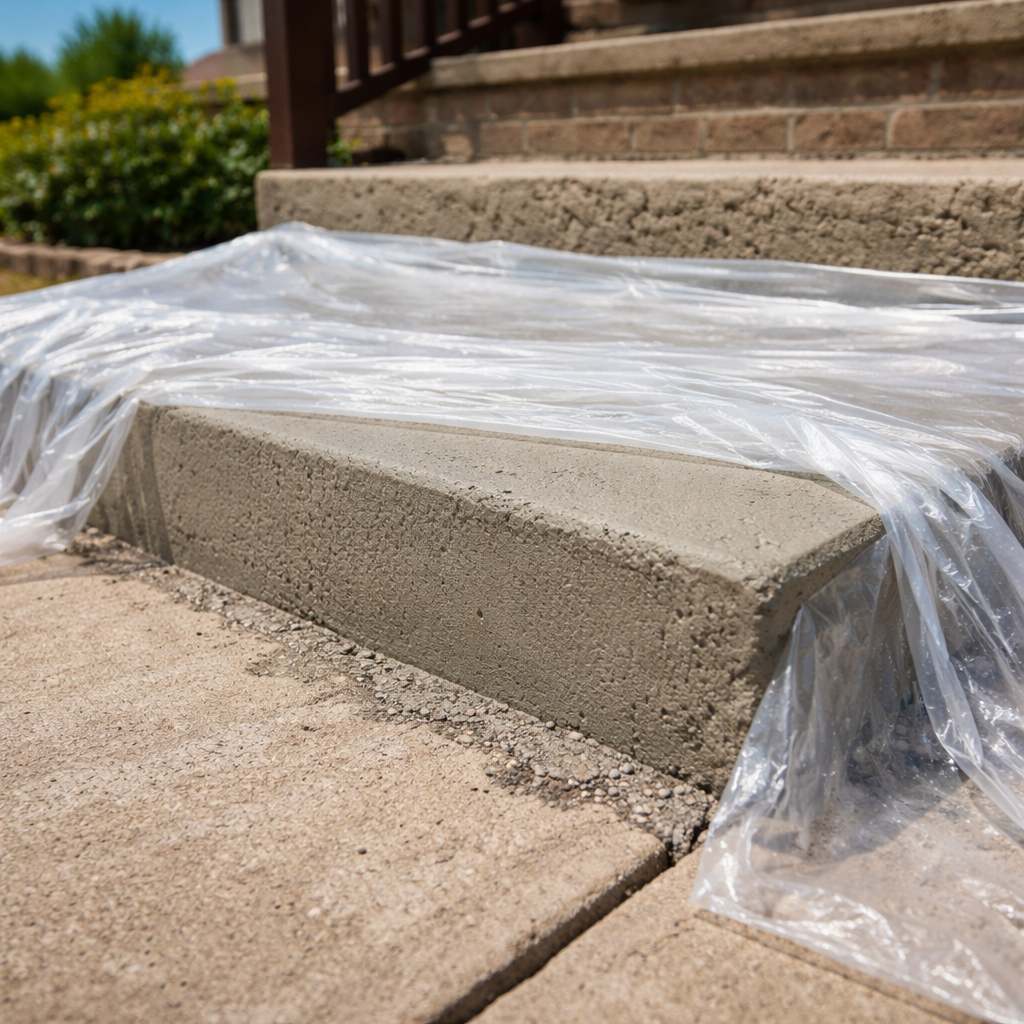
After the cure, wipe away any leftover water with a dry cloth. Then apply a concrete sealer to shield the patch from freeze‑thaw cycles and foot traffic. A thin coat is enough – too much will slip.
If you’re not sure which sealer works best for your climate, the essential pressure washing guide walks you through choosing the right product and prepping the surface.
Finally, compare the three common repair routes so you can pick the one that fits your budget and timeline.
Option | Cure time | Best for |
Fast‑setting concrete mix | ~24 hours | Small cracks, quick fix |
Epoxy patch kit | 4–6 hours | Hairline cracks, indoor steps |
Pre‑mixed polymer repair mortar | ~12 hours | Larger gaps, heavy load |
Pick the option that matches how fast you need the step back in use, then enjoy a safe walk.
Conclusion
Fixing a cracked exterior concrete step may look tough, but you’ve just walked through each part.
First, you cleared loose bits, damp‑swept the crack, and chose the right filler. Then you mixed, layered, and smoothed the patch. Finally you let it cure and sealed it for the weather.
Remember, the biggest slip many DIYers make is skipping the sealant or the plastic cover. A simple seal keeps water out and stops new cracks.
If you ever feel stuck, think of it as a small project you can finish in a weekend. One practical tip: keep a spare bucket of sealant on hand for future touch‑ups.
Ready to put the steps back underfoot? LGFMH Construction can step in if you need a hand, but most homeowners can pull it off with the guide you just read.
Take a moment to check the seal after a rainstorm; if water beads, you’re good. If not, a quick re‑coat will keep the step safe for years.
FAQ
What are the first steps to safely assess a cracked exterior concrete step?
Start by walking the step and looking for loose pieces or powdery spots. Use a stiff brush or a small chisel to clear any crumbly bits. Then measure the crack with a ruler; note its length and width. This quick check tells you if a simple patch will do or if you need a deeper fill. If the crack is wider than a quarter inch, plan to fill it in thin layers. A clean, dry base gives the bonding agent the best grip.
How do I choose the right repair material for different crack sizes?
Pick a material that matches the crack depth. For hair‑thin cracks, a vinyl concrete patcher works well; it spreads like toothpaste and dries fast. For gaps larger than a quarter inch, a fast‑setting cement mix with sand gives strength. Read the bag label for the water‑to‑mix ratio and stir until the blend looks like smooth honey. Always wear gloves and a mask while mixing.
Can I fix a step without a professional sealant?
You can seal the step yourself, but the sealant you pick matters. A basic acrylic concrete sealer protects against rain and UV, and it’s cheap enough to apply with a brush. For areas that freeze and thaw, a polymer‑enhanced sealant holds up longer. Apply a thin coat, let it dry, then add a second coat for extra protection. Skip the seal and water will find the crack again.
How long should I let the patch cure before walking on it?
Let the patch sit at least 24 hours before you put weight on it. In hot weather you can cover it with a plastic sheet to keep the moisture in, which helps it cure evenly. In cold weather add a damp cloth on top so the mix doesn’t dry too fast. After the first day, test the surface by pressing a finger; it should feel firm.
What common mistakes cause the repair to fail?
One big mistake is skipping the plastic cover while the concrete cures. Without it the mix can dry too fast and shrink, leading to new cracks. Another common slip is over‑wetting the crack before you apply the mix; the patch will be weak and may wash out. Also, never rush the trowel finish—smooth it right after you spread the material, not after it hardens.
Is it worth hiring LGFMH Construction for step repairs?
If you’d rather have a pro handle the job, LGFMH Construction offers exterior step repair that follows the same steps we just covered. Their crew brings the right tools, safety gear, and experience to finish the patch and seal in one day. This can save you time and give you a warranty on the work. Still, the DIY method works fine if you follow the guide and take safety seriously.


Comments