Best Sealant for Metal Roof Flashing Leaks: How to Fix Them
- William McKracherne
- Jun 23
- 9 min read

Metal roof flashing leaks almost always show up at the worst time, and they rarely fix themselves. The good news is that with the right sealant and a few hours of work, you can stop the leak before it becomes water damage inside your home. This guide walks you through every step, from picking the sealant to inspecting the finished repair.
Step 1: LGFMH Construction (Our Top Pick)
If you'd rather hand this job to a pro, LGFMH Construction's repair services handle metal roof flashing leaks from diagnosis to final seal. Based in Virginia Beach, the crew has worked on everything from hairline flashing cracks to large valley failures, and they know which products hold up in coastal humidity and salt air.
What sets LGFMH Construction apart for this type of repair is their approach to prep work. Most failed DIY seals fail because the surface wasn't clean or dry enough before the sealant went on. The LGFMH team treats surface prep as the most important part of the job, not an afterthought.
They also match the sealant type to the specific metal and joint geometry. A chimney flashing repair on painted steel needs a different product than a step flashing joint on bare aluminum. That product judgment is hard to replicate without hands-on experience.
The honest caveat: hiring out costs more than a tube of caulk. If the leak is small and you're comfortable on a roof with a wire brush and caulk gun, the steps below are well within DIY reach. But if the flashing is buckled, corroded, or was installed incorrectly, LGFMH Construction will catch problems a sealant-only fix would miss.
Key Takeaway:For a simple gap or crack, DIY sealant works well. For failed flashing, rusted fasteners, or repeated leaks in the same spot, a professional inspection from LGFMH Construction will find what's actually wrong.
Step 2: Choose the Best Sealant for Metal Roof Flashing Leaks
Not every tube on the shelf at the hardware store belongs on a metal roof. The three main types you'll see are silicone, butyl, and polyurethane, and each behaves differently once it cures.
Silicone sealantsare flexible, UV-resistant, and fully waterproof. They stay pliable through temperature swings, which matters on metal roofs that expand and contract constantly. The downside is that silicone can't be painted over and may need replacement sooner in areas with standing water.
Butyl sealantsharden quickly and create a very tough bond. They work well for sealing overlaps and end laps. The limitation is UV exposure: butyl degrades in direct sunlight over time, so it's better suited for spots protected by overhangs or covered seams.
Polyurethane sealantshit a balance that makes them the go-to for most exposed flashing repairs. According to Loctite's official roofing guidance, polyurethane sealant designed for flashing is UV-resistant, low-VOC, paintable, and compatible with most standard roofing substrates. That combination makes it well-suited for chimney flashing, skylight curbs, and step flashing repairs.
Sealant Type | UV Resistance | Flexibility | Paintable | Best For | Main Limitation |
Silicone | High | High | No | Exposed joints, valleys | Not paintable; degrades near standing water |
Butyl | Low | Medium | Yes | Covered seams, overlaps | Breaks down in direct sunlight |
Polyurethane | High | Medium-High | Yes | Flashing, screws, seams | Longer cure time in cold weather |
Rubber/EPDM | High | Very High | Limited | Large flat areas | Expensive; harder to apply in small amounts |
For most homeowners dealing with a specific flashing leak, polyurethane is the safest pick. It sticks to metal, stays flexible, and you can touch it up with paint to match the roof. If you're working on a large seam or a standing-seam roof with a lot of movement, a high-solid silicone may serve you better.
One more thing to check: the product label. Some "roof sealants" are designed for asphalt shingles and don't bond reliably to bare metal. Make sure the tube explicitly lists metal as a compatible substrate before you buy it.
For homeowners who also want to think about materials selection for a broader renovation, services like Vault Studio offer design and materials sourcing from over 600 premium brands, which can be useful when specifying roofing components or flashing materials before a full roof project begins.
Step 3: Gather the Tools and Materials You Need
Before you climb on the roof, set everything out on the ground. A mid-repair trip back to the garage to find a brush or a rag costs you time and can mean working with sealant that's already starting to skin over.
Here's what you'll need for a typical flashing repair:
Wire brush or stiff-bristle brush
Putty knife or scraper
Clean rags and a roll of paper towels
Isopropyl alcohol or a dedicated metal cleaner
Caulk gun (standard or heavy-duty depending on tube size)
Sealant of choice (see Step 2)
Masking tape (for clean edges on visible repairs)
Utility knife
Non-slip footwear and a safety use if the pitch is steep
Gloves and safety glasses
One tool that's easy to skip and shouldn't be: a caulk finishing tool or even a gloved finger for smoothing the bead. A flat, tooled bead sheds water better than a rounded or uneven one. It also bonds more fully to both sides of the joint because you're pressing it into the gap rather than just laying it on top.
Check the sealant manufacturer's temperature requirements before you go up. Most polyurethane and silicone products need surface temperatures between 40°F and 90°F to cure correctly. Applying sealant to a frost-covered or sun-baked metal surface on a 95-degree afternoon will give you a poor bond no matter how well you prep the surface.
Pro Tip:Buy one more tube of sealant than you think you need. Running short mid-repair and leaving an open joint overnight is worse than having a leftover tube in the garage.
Step 4: Clean and Prep the Flashing Surface
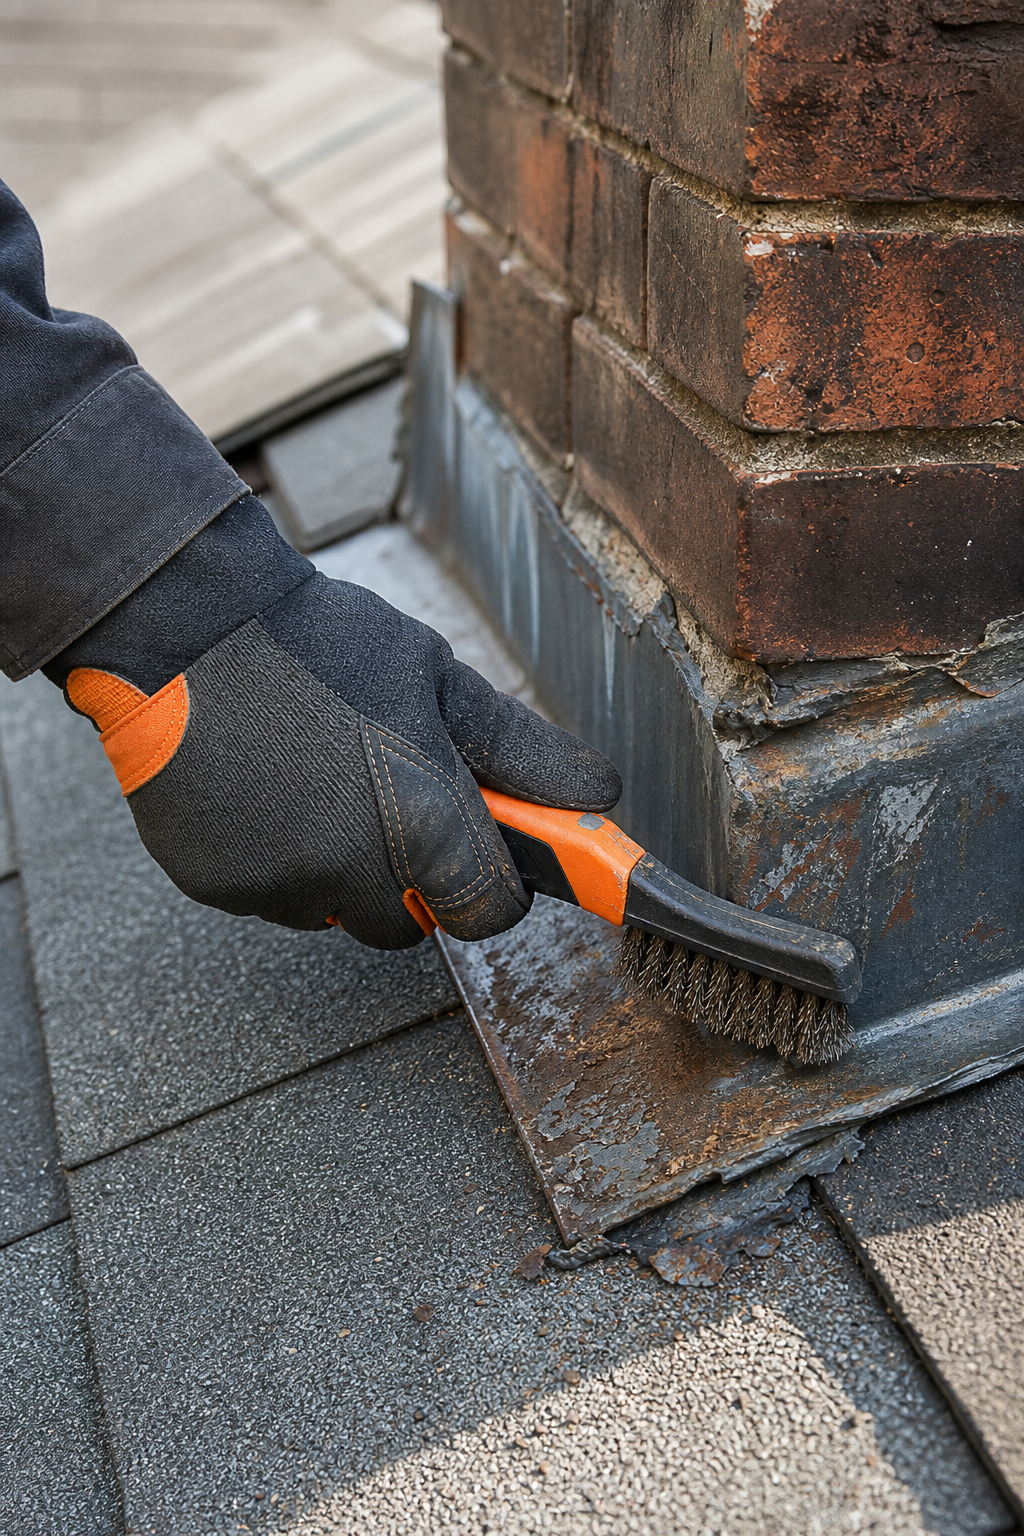
This step decides whether your repair lasts two years or twenty. Sealant will not stick to rust, old caulk, oil, dirt, or moisture. Any of those present when you apply means the new sealant will peel away, sometimes within a single freeze-thaw cycle.
Start by scraping off any old sealant with a putty knife or utility knife. Get as much as you can. Don't try to seal over a thick layer of crumbling caulk; it won't bond to that either.
Next, hit the metal with a wire brush. You're looking for loose rust, mill scale, and any chalky residue from old coating. You don't need to get down to bare shiny metal everywhere, but the surface needs to feel solid under the brush, not flaky or powdery.
Wipe the area with a clean rag soaked in isopropyl alcohol. This removes oils from your hands, manufacturing residue, and dust the brush loosened. Let it dry completely before you open the sealant. In humid weather, "completely dry" can take five to ten minutes. Don't rush it.
If the flashing has visible rust pitting, apply a rust-inhibiting primer to those spots before the sealant goes on. The primer stabilizes the surface and gives the sealant something solid to grab. Skip this on aluminum, which doesn't rust, but treat any steel or galvanized sections carefully.
Finally, apply masking tape along both sides of the gap if you want a clean, professional line. This is optional on hidden repairs but worth the two extra minutes on visible areas like chimney flashing or a front valley.
By the end of this step, the surface should be dry, clean, and free of loose material. That's your baseline for a repair that actually holds.
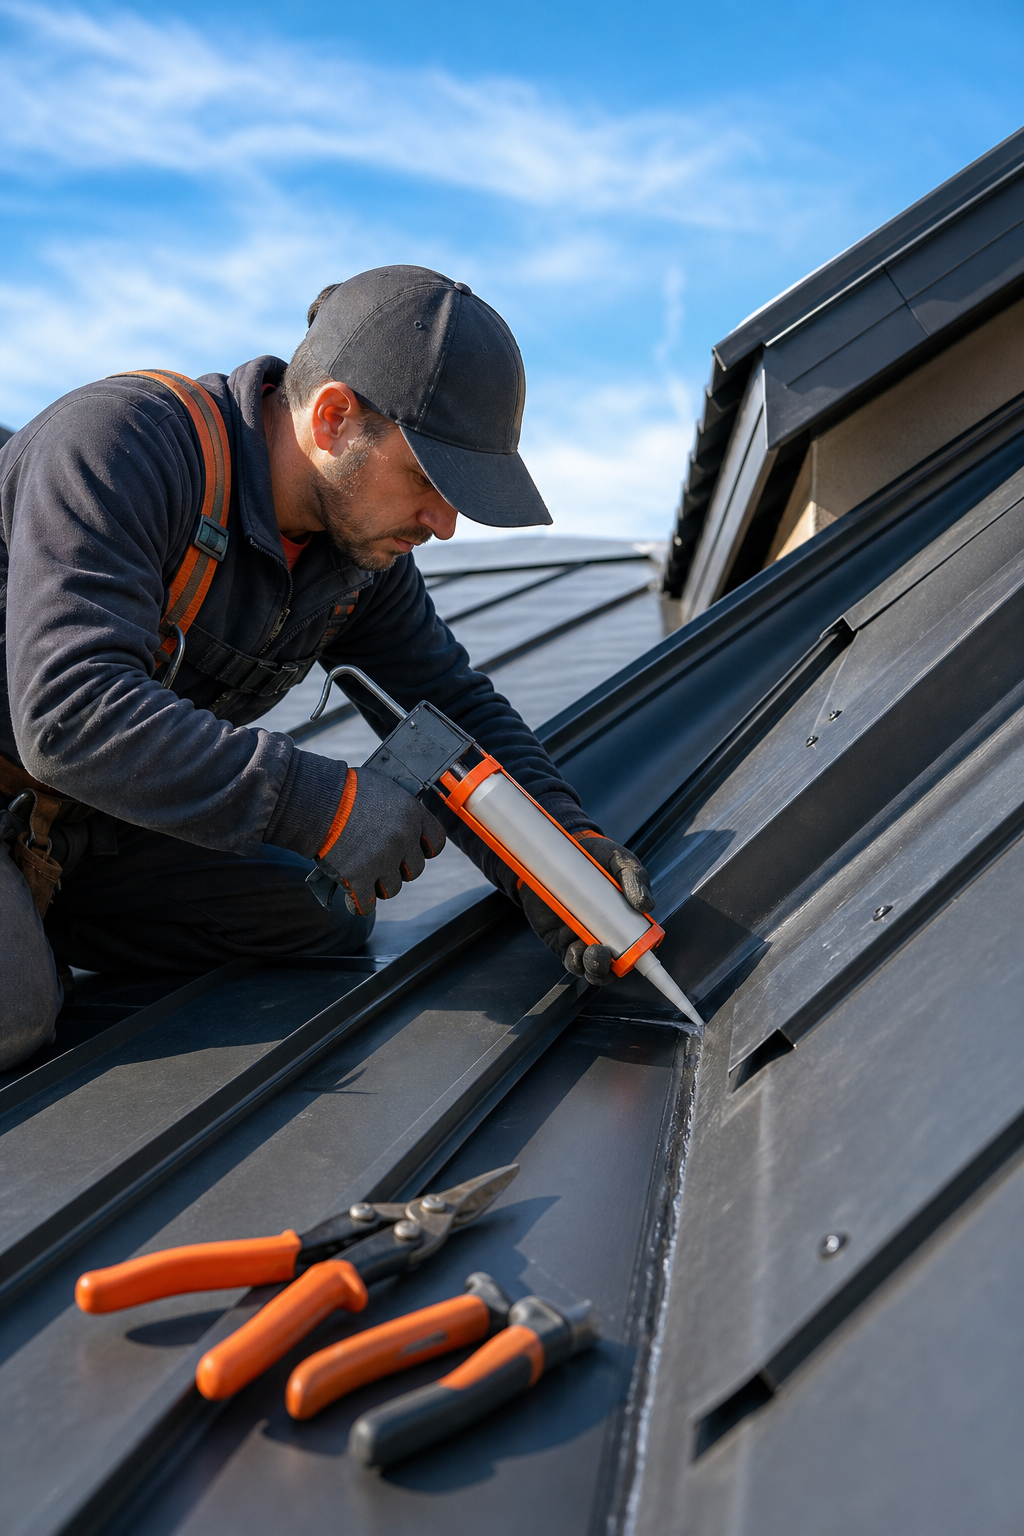
Step 5: Apply the Sealant Correctly
Cut the nozzle at a 45-degree angle. The opening should match the width of the gap you're filling. A too-large opening makes it hard to control the bead; a too-small one means you won't fill the gap in one pass.
Hold the caulk gun at roughly a 45-degree angle to the surface and move at a steady pace. Pull the gun toward you rather than pushing it away. Pulling gives you a fuller bead that presses into the joint; pushing tends to create a surface-only line that doesn't seat properly.
Keep steady pressure on the trigger. Inconsistent pressure creates thin spots in the bead. A thin spot is where the next leak starts.
Once you've laid the bead, tool it immediately. Use a gloved finger or a caulk tool to press the sealant into the joint with a single smooth stroke. According to Wikipedia's overview of sealants , proper tooling improves adhesion by increasing the contact area between the sealant and the substrate, and it creates a concave profile that directs water away from the joint.
For step flashing and chimney base repairs, work from the lower end up. Water runs down, so starting at the top and working down risks trapping air at the low end of the bead.
Pay attention to fastener heads. Screws and nails are among the most common leak points on a metal roof. Run a small bead around each fastener head in the repair zone and tool it flat so water has nowhere to collect.
Remove the masking tape while the sealant is still wet. Peeling it after it cures can pull the edge of the bead with it. Peel slowly and at a low angle.
Let the sealant cure fully before the area gets rain. Check the product label for cure time. Most polyurethane products skin over in one to two hours but need 24 to 48 hours for a full waterproof cure. Silicone typically cures faster.
Step 6: Inspect the Repair and Prevent Future Leaks
Wait until the sealant has fully cured, then do a close visual check. Run a finger along the edges of the bead. It should feel firm, slightly flexible, and fully bonded on both sides. Any section that feels soft, lifting, or hollow means it didn't bond, and that spot needs to be scraped and redone.
If the weather cooperates, use a garden hose to simulate rain. Run water above the repaired area for several minutes and watch the inside of the attic or ceiling for any sign of moisture. This is the most reliable way to confirm the seal held before the next actual storm arrives.
For ongoing maintenance, inspect the flashing at least twice a year. A quick walk around the perimeter of the roof, checking valleys, chimney bases, skylights, and any pipe penetrations, catches problems when they're still small. Catching a cracked bead before it becomes a channel for water is always cheaper than dealing with the damage afterward.
A few common culprits to watch for on future inspections:
Lifted flashing edges where the sealant has pulled away from the metal
Rust streaks below fastener heads (sign of screw sealant failure)
Cracks in the sealant bead at corners or direction changes
Debris buildup in valleys that traps moisture against the flashing
When LGFMH Construction inspects a metal roof, they look at all these points together rather than treating each one as isolated. A pattern of failing sealant in the same zone often points to a flashing installation problem, not just a maintenance issue. If you keep resealing the same spot and it keeps leaking, that's worth having a professional look at.
FAQ
What is the best sealant for metal roof flashing leaks?
Polyurethane sealant is generally the best choice for exposed metal roof flashing leaks. It has high UV resistance, stays flexible through temperature changes, bonds to most metal substrates, and can be painted to match the roof. Silicone is a strong second option for joints with heavy movement, but it can't be painted over after curing.
Can I seal a metal roof flashing leak myself?
Yes, most small flashing leaks around screws, seams, or chimney bases are within DIY reach. The key is thorough surface prep: scrape off old caulk, wire-brush the metal, wipe with isopropyl alcohol, and let it dry fully before applying sealant. If the flashing itself is buckled, corroded, or pulling away from the wall, replacement is the better fix.
How long does sealant on metal roof flashing last?
Quality polyurethane or silicone sealant on properly prepped flashing can last 10 to 20 years. Butyl sealant in sun-exposed areas may need attention sooner, often within 5 to 7 years. UV exposure, thermal cycling, and the quality of the original prep work are the main factors that determine how long any sealant repair holds.
What causes metal roof flashing to leak in the first place?
The most common causes are sealant shrinkage over time, thermal expansion pulling joints apart, rust around fastener heads, and physical damage from debris or ice damming. Flashing that was improperly installed , missing step flashing, insufficient overlap, or nails placed too close to the edge , will also fail regardless of what sealant was used.
Do I need to prime metal before applying roof sealant?
On steel and galvanized metal with rust pitting, a rust-inhibiting primer applied before the sealant improves adhesion and prevents the rust from spreading under the bead. On clean aluminum or freshly galvanized steel with no rust, primer is optional. Always check the sealant manufacturer's instructions for substrate-specific priming recommendations.
How do I know if I need to replace the flashing instead of sealing it?
If the flashing is physically bent away from the wall, has large rust holes, or has cracked across its face rather than at the edge, sealant won't be enough. Sealant repairs gaps and seams; it can't structurally restore damaged metal. A repair that leaks again in the same spot within a season usually means the flashing itself needs replacement.
Conclusion
Good surface prep and the right sealant will stop most metal roof flashing leaks for years. Clean the metal thoroughly, use a polyurethane or silicone product rated for metal roofing, tool the bead carefully, and inspect the repair twice a year. If the leak persists or the flashing shows structural damage, the team at LGFMH Construction in Virginia Beach can diagnose what's actually failing and fix it properly the first time.


Comments