Essential Fence Repair Guide for Homeowners
- William McKracherne
- Feb 26
- 13 min read

Ever stare at a sagging fence post and wonder if you should just live with the eyesore or actually fix it? You're not alone – most homeowners notice a wobble after a few seasons of wind, rain, and kids leaning on it, and the dread of a broken fence can keep you up at night.
What we’ve seen at LGFMH Construction is that the biggest mistake is waiting until the damage is severe. A small crack in a wooden rail or a rusted metal connector is cheap to repair now, but if you let it go, the whole panel can collapse, leaving you with a far bigger bill and a security risk.
Here’s a quick reality check: according to industry data, the average cost to repair a typical residential fence ranges from $150 to $500, depending on material and extent of damage. That’s often less than a weekend of dining out for a family of four. So, tackling the job yourself can save you both money and the hassle of scheduling a contractor.
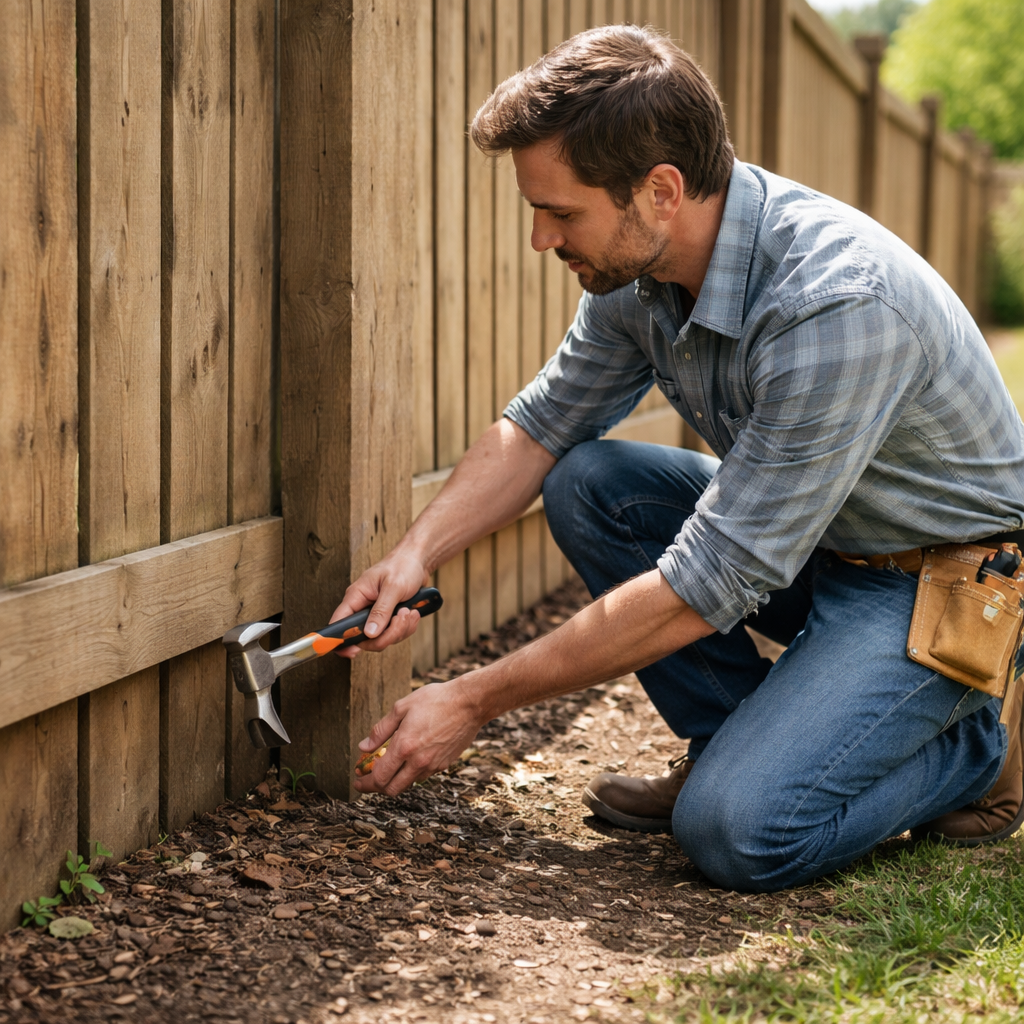
Let’s walk through a practical, step‑by‑step plan you can start today. First, do a thorough inspection – walk the perimeter, tap each post, and look for rot, rust, or loose brackets. Use a screwdriver to test the tightness of any fasteners; if they spin loose, that’s a red flag. Second, gather the right tools: a level, a power drill, replacement fasteners that match the original material, and a weather‑proof sealant for wood.
Third, prioritize the most vulnerable sections. For a wooden fence, replace any rotted boards with pressure‑treated lumber and apply a protective coat. For metal fences, sand away rust, apply a rust‑inhibiting primer, and finish with a paint that matches the existing color. If you’re not comfortable with the DIY route, our team can step in – we specialize in quick, reliable fence repair that gets the job done without breaking the bank.
One of our recent projects in Virginia Beach involved a neighbor’s chain‑link fence that had several broken tension wires after a storm. We replaced the wires, tightened the tension, and added a small brace to prevent future sagging. The homeowner saved about $200 by handling most of the prep work themselves and just calling us for the final adjustments.
If you’re curious about the broader picture of fence maintenance, check out our Comprehensive Guide to Fence Replacements: Costs, Materials, and DIY Tips for deeper insights on material choices and budgeting.
And while you’re giving your yard a facelift, consider pairing your repaired fence with new lighting – a simple upgrade that boosts curb appeal and safety after dark. Our trusted outdoor lighting specialists can help you choose fixtures that complement your fence style.
Bottom line: don’t let a minor fence issue turn into a major headache. Grab a ladder, follow the steps above, and you’ll have a sturdy, attractive barrier in no time.
TL;DR
If your fence is sagging, rotting, or rusted, a quick DIY fix or a professional touch can restore safety and curb appeal without breaking the bank. Follow our step‑by‑step guide, check the cost range, and decide whether to roll up your sleeves or call LGFMH Construction for reliable fence repair.
Step 1: Assess Your Fence Damage
First thing’s first – grab a coffee, take a deep breath, and walk the perimeter of your yard. You’ve probably already felt that wobble when you lean on the fence or watched a board sag a little after the last storm. That moment of recognition is the perfect launching point for a proper assessment.
Start at one corner and give each post a gentle tap with a hammer or a sturdy stick. A solid, resonant thump means the post is still anchored; a hollow, dull sound usually signals rot or decay. If you hear that hollow note, mark the spot – you’ll know exactly where to focus later.
Next, grab a screwdriver or a small pry bar and test every screw, bolt, and bracket. Do they spin freely? If they do, the fastener is stripped, or the wood around it has softened. Tighten anything that feels loose; if it won’t stay, you’ve found a weak point that needs replacement.
Don’t forget the fence’s vertical alignment. Grab a level and lay it across a few rails. Is the line perfectly straight, or does it drift upward or downward? A sloping line often points to a post that’s shifted in the soil, especially after heavy rain.
Now look at the material itself. For wood, check for discoloration, soft spots, or any surface that feels spongy when you press a fingernail into it. Those are classic signs of rot, especially in the lower 12‑18 inches where moisture lingers. For metal, scan for rust patches, flaking paint, or any broken wires in chain‑link sections. Rust isn’t just unsightly – it eats away at the structural integrity.
Take a quick peek at the ground around each post. Is the soil soggy, eroding, or full of weeds? Poor drainage can undermine a post’s footing, causing it to tilt over time. If you see water pooling after a rain, consider a small gravel trench or a drainage pipe to keep the base dry.
Here’s a quick checklist you can print out or jot on your phone:
Tap each post – solid vs. hollow
Test fasteners – tighten or replace
Check level – note any sag or tilt
Inspect material – rot, soft spots, rust
Examine soil – drainage, erosion, weeds
While you’re at it, notice any cosmetic issues that could become structural headaches later. Cracked paint, missing slats, or broken tension wires in chain‑link fences are easy fixes now but can lead to bigger failures if ignored.
One thing many homeowners overlook is the impact of nearby vegetation. Overgrown vines or tree roots can pull at rails and even lift posts. Give those plants a trim and make sure roots aren’t wrapping around the fence’s base.
After you’ve walked the entire fence, step back and assess the big picture. How many posts need reinforcement? Are there more than a couple of rotted boards, or just a single rusted connector? Prioritizing the most vulnerable spots will save you time and money.
And if you’re thinking about adding a touch of style after the repair, consider integrating LED lighting to highlight the fence’s lines – it’s a subtle upgrade that boosts curb appeal and safety after dark.
When you’ve finished the walk‑through, you’ll have a clear map of what needs fixing, what can wait, and what you might want to tackle yourself versus calling in professionals like LGFMH Construction for the heavy‑lifting parts.
Now that you’ve gathered all the intel, it’s time to move on to the next step: gathering the right tools and materials for a seamless repair.
Step 2: Choose the Right Materials for Fence Repair
Now that you've catalogued every wobble and rust spot, the next decision is what to actually replace.
Choosing the right material isn’t just about aesthetics – it’s about longevity, maintenance effort, and how the fence lives with your climate.
Do you love the classic warmth of wood, the low‑maintenance vibe of vinyl, or the industrial strength of steel?
Here's a quick way to narrow it down: think about exposure, budget, and the amount of time you want to spend on upkeep.
Wood fences are still the go‑to for many homeowners because they blend naturally with gardens and can be stained or painted to match any house.
If you go the wood route, pressure‑treated lumber is the workhorse – it resists rot and insect damage better than untreated pine.
We often recommend checking the label for a minimum 10‑year ground contact rating; that’s the sweet spot for durability without breaking the bank.
Need a refresher on how pressure‑treated wood behaves? Our deck‑repair guide walks you through sealing and staining tips that apply equally to fence boards.
Metal fences, especially aluminum or steel, shine when you need a sleek look and a barrier that can stand up to high winds.
Steel is tough, but you’ll have to deal with rust – a good rust‑inhibiting primer and a matching topcoat keep it looking new for years.
Aluminum never rusts, yet it’s softer, so it’s best for low‑traffic yards where you don’t expect heavy impact.
Vinyl fences score high on the “set it and forget it” scale; the hollow or solid panels won’t warp, rot, or need painting.
The trade‑off is cost – vinyl tends to be pricier upfront, and extreme cold can make the panels brittle if you live in a harsh winter zone.
Material | Pros | Cons |
Pressure‑treated wood | Natural look, easy to cut, affordable; resists rot when rated for ground contact | Requires regular sealing, can warp if not maintained |
Steel (galvanized) | Very strong, long‑lasting with proper primer, good for high‑traffic areas | Prone to rust if coating is damaged; heavier to handle |
Vinyl | Low maintenance, won’t rot or paint, retains color | Higher upfront cost; can become brittle in extreme cold |
What about hardware? Matching fasteners to your material is crucial – galvanized or stainless‑steel screws for wood, corrosion‑resistant bolts for metal, and UV‑stable clips for vinyl.
Before you head to the lumberyard, grab a quick checklist: is the material rated for ground contact? Does it meet local HOA guidelines? And can you source it locally to avoid shipping delays?
Once you’ve settled on a material, order a little extra – a 10% surplus covers miscuts and unexpected breakage.
Finally, remember safety: wear gloves, eye protection, and a dust mask when cutting wood or sanding metal.
After the panels are up, a coat of exterior‑grade sealant or paint protects the edges and extends the life of your repair by another few seasons, and keep your property looking tidy.
Step 3: Repair Techniques and Tools
Let's be honest: a sagging, cracked, or rusting fence isn't just an eyesore; it's a practical problem that affects security and curb appeal. In our experience at LGFMH Construction, tackling fence repair now saves bigger headaches later. You can fix small issues with simple, affordable steps.
Before you swing a hammer, get your safety basics in place. Wear gloves, safety glasses, and a dust mask if you're cutting wood or sanding metal. Clear the area, especially kids' play zones, and set the work area with good lighting. A clean workspace is half the battle.
Here's a quick checklist of what you’ll want on hand:
Level, tape measure, and square
Power drill with driving and drilling bits
Galvanized screws for wood or corrosion‑resistant bolts for metal
Weatherproof wood sealant or paint for exposed edges
Replacement boards or rails matched to your material
A rust remover and primer for metal
Wood fence repair basics: if boards are rotted, cut out the bad sections and replace with pressure‑treated lumber. Align with neighboring boards, then fasten with corrosion‑resistant screws. If posts wobble, brace them with a temporary wooden support while you install a new post anchor or concrete footing. Seal edges to guard against moisture and future rot.
Metal fences: remove rust with a wire brush, then apply a rust‑inhibiting primer. Check brackets and rails for cracks; replace any bent pieces and reattach with stainless steel bolts. A fresh coat of UV‑stable paint will extend the life and keep the fence looking sharp even in sun and rain.
Vinyl: start with a good cleaning; cracks or holes can be repaired with a vinyl repair kit or by replacing the damaged panel if possible. Avoid harsh chemicals that can degrade the plastic and check for underlying support damage like bent posts or loose brackets.
Sagging sections are usually a post problem. Replace or reinforce with stronger post anchors, add a stiffener brace, and relevel. Recheck all fasteners and the ground under the posts; poor drainage can undermine foundations over time.
If the job feels bigger than a weekend project, or you’re dealing with HOA restrictions or structural issues, it’s smart to get a pro on the call. Our team can step in for precise alignments, correct post depth, and weatherproof sealing so you don’t chase problems for years.
For deeper context on choosing the right fence and proper maintenance, check out our practical guide here: A Practical Guide to Selecting, Installing, and Maintaining Your Fence.
Step by step, you’ll shore up your fence’s integrity and boost curb appeal. Does this approach feel doable? With the right plan and the right tools, fence repair becomes a manageable weekend project that pays off in safety and peace of mind.
Step 4: Finishing Touches and Maintenance
Finishing touches aren’t glamorous, but they’re the shield that keeps your fence looking good and working well for years. You’ve done the heavy lifting of repairs; now it’s about weatherproofing, clean lines, and simple upkeep that pays off every season.
Think of sealants, paints, stains, and fasteners as the last-mile team. If you chose wood, a weatherproof sealant and a fresh coat of exterior stain shield the boards from sun and rain. For steel or vinyl, the goal is rust protection and color retention—easy to keep clean, but you still need a plan.
Choose the right finish for each material
Wood loves a penetrating seal and a durable topcoat. Apply sealant to all exposed edges, then paint or stain every couple of years depending on exposure. It sounds repetitive, but that layer of protection slows rot and keeps boards from drying and cracking in sun.
Metal fences benefit from a rust-inhibiting primer followed by a UV-stable topcoat. If you spot chips, touch them up quickly to prevent rust from taking hold. Vinyl fences are low maintenance, but they still appreciate a gentle wash and checks for cracks that might allow moisture to sneak in behind the panels.
Drainage, grounding, and post care
Check around every post for pooled water or soft soil. Poor drainage can undermine foundations over time, so aim for a slight slope away from the fence and consider a quick gravel bed or drainage tile if you’ve got persistent dampness.
Releveling or re-anchoring posts after sealing is smart, especially in climates with freeze-thaw cycles. Loose brackets or corroded screws? Replace with stainless or galvanized hardware so you don’t chase rust year after year.
Maintenance cadence that actually sticks
Set a simple schedule you’ll actually keep: walk the fence every spring, clean any built-up grime, and inspect for loose or damaged components. A quick tighten, reseal, and repaint now saves bigger headaches later.
We’ve learned that the cheapest fixes are often the ones you do on time. If you want a hand tightening brackets or resealing stubborn edges, our team at LGFMH Construction can help with precise alignments and weatherproof sealing so you don’t lose sleep over a stubborn wobble.
For deeper tips, consider a reference we trust: A Practical Guide to Selecting, Installing, and Maintaining Your Fence.
And to keep things practical, here’s a quick maintenance checklist you can keep in your tool bag. Inspect posts for movement, reseal exposed edges, tighten fasteners, and test drainage around the base. If any post shifts more than a fraction of an inch, call a pro—like us—before the problem spreads. Small, consistent upkeep beats emergency fixes any day.
If your HOA has guidelines on paint colors or fence height, align early so you don’t backtrack later. Maintenance isn’t a one-and-done task; it’s a rhythm that protects safety and curb appeal year after year.
Bottom line: finish strong, stay proactive, and your fence will continue to add value and security to your home. If you want hands-on help with sealing, painting, or releveling after a repair, we’re nearby and ready to jump in when you need it.
Conclusion
So, you’ve walked through the inspection, picked the right material, tackled the repair, and gave those finishing touches a polish.
If a post still wiggles or rust keeps creeping, remember it’s okay to call in a pro – we’ve seen a handful of cases where a simple foot‑setting saved homeowners from a $800 surprise later.
A quick habit that makes a world of difference is a quarterly walk‑around with a coffee in hand – check each post, clear the ground, and tighten any loose hardware.
You’ll spot small issues before they become costly fixes, and the fence will stay strong enough to keep kids playing, pets roaming, and your curb appeal intact.
So, what’s the next step? Grab your checklist, set a reminder for the next season, and if anything feels beyond your comfort zone, give LGFMH Construction a call – we’ll help you get it right without breaking the bank.
Remember, fence repair isn’t a one‑time project; it’s a habit that protects your home and peace of mind year after year.
When you combine regular maintenance with the right tools—like a sturdy level, a rust‑inhibiting primer for metal, or a weather‑proof sealant for wood—you create a fence that can weather any storm that 2026 throws its way.
FAQ
How often should I walk around my fence to catch problems early?
We recommend a quick visual check at least once every three months—think of it as a coffee break stroll. Look for loose posts, splintered rails, or any rust spots. If you notice a wobble, tighten the hardware right away; a small tweak now can save you a costly replacement later. And don’t forget to clear debris that can trap moisture against the wood.
What’s the most budget‑friendly fix for a rotting wooden post?
First, dig around the base and see how far the rot has spread. If it’s limited to the lower 12 inches, you can cut out the damaged section, treat the cut with a rot‑blocking sealant, and splice in a pressure‑treated insert using galvanized brackets. This “plug‑in” method often costs under $50 in materials and avoids digging a whole new hole.
Can I repair a rusted metal fence without professional help?
Absolutely, as long as the rust hasn’t eaten through the steel. Scrape away loose rust with a wire brush, then apply a rust‑inhibiting primer followed by a paint that matches the existing color. Tighten any loose bolts with a wrench, and coat the fasteners with a silicone‑based lubricant. Most DIYers finish the job in an afternoon and keep the fence looking fresh.
What tools should I have on hand for common fence repairs?
A sturdy post‑hole digger or auger, a level, a power drill with corrosion‑resistant bits, and a set of galvanized screws are the core kit. Add a wire brush for metal, a rot‑blocking sealant for wood, and a bucket of exterior‑grade paint. Keeping these basics nearby means you can tackle most issues before the weekend snow melts.
How do I know when a fence panel is beyond repair and needs replacement?
If you tap a wooden rail and hear a hollow thud, that usually signals deep rot. For metal, look for pitting that exposes the underlying steel. When more than 30% of a panel is compromised—or the damage is spreading quickly—it’s safer and more cost‑effective to replace the whole section. A new panel often blends in better than a patch job.
Is it worth sealing my fence every year, or can I skip a season?
Seasonal sealing is a small investment that pays off big time. A fresh coat of sealant repels water, blocks UV rays, and reduces the chance of wood cracking or metal corroding. Skipping a year can let moisture work its way in, leading to rot or rust that costs hundreds to fix. So, set a reminder—once a year is plenty.
When should I call a professional instead of DIY?
If you encounter a sinking post that won’t straighten, a severely corroded steel brace, or a fence that spans more than a few hundred feet, it’s time to bring in the pros. LGFMH Construction can reset footings, weld steel components, and ensure everything meets local building codes. A quick call now can prevent a surprise bill later.


Comments