Everything You Need to Know About Gutters: A Complete Guide for Homeowners
- William McKracherne
- Feb 16
- 21 min read

Ever stare up at your home’s roofline and feel that nagging worry that the gutters might be about to give up? You’ve probably seen water spilling over the edge after a heavy rain, or a small puddle forming right where the downspout should be. That moment of “uh‑oh” is all too common, and it’s the perfect cue to get a handle on your gutter system before a minor leak turns into costly damage.
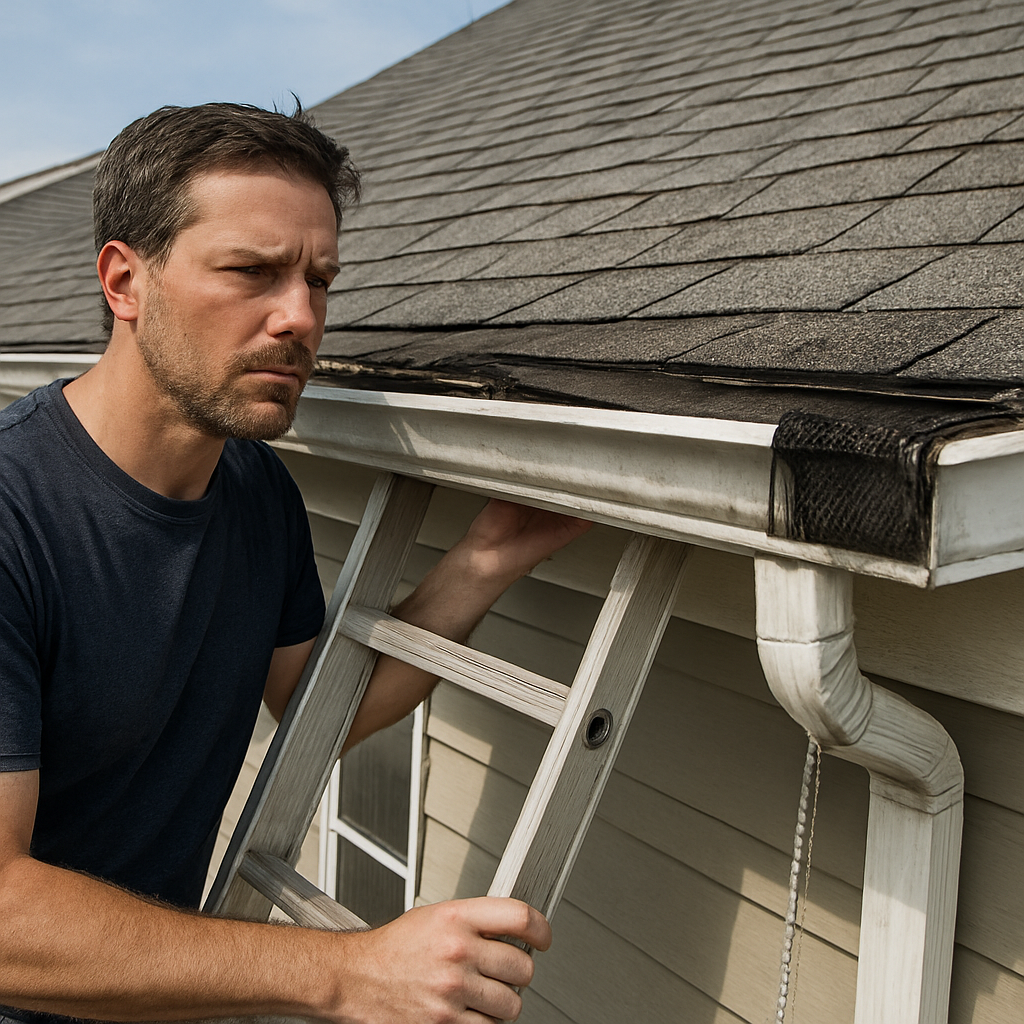
Think about the last time you cleaned out your gutters. Maybe you were up on a ladder, battling leaves and twigs, and suddenly the brackets felt loose. Or perhaps you noticed the gutters sagging near the eave and wondered if it was time for a repair. In our experience at LGFMH Construction, those small signs are often the first hints that a gutter needs attention – whether it’s a simple cleaning, a reinforcement, or a full replacement.
Here’s what we mean when we say gutters are the unsung heroes of your home’s exterior. They channel rainwater away from the foundation, protect siding from water stains, and keep basements dry. A well‑functioning gutter system can add years to your property’s lifespan and even boost resale value. That’s why a proactive approach beats a reactive scramble after a storm.
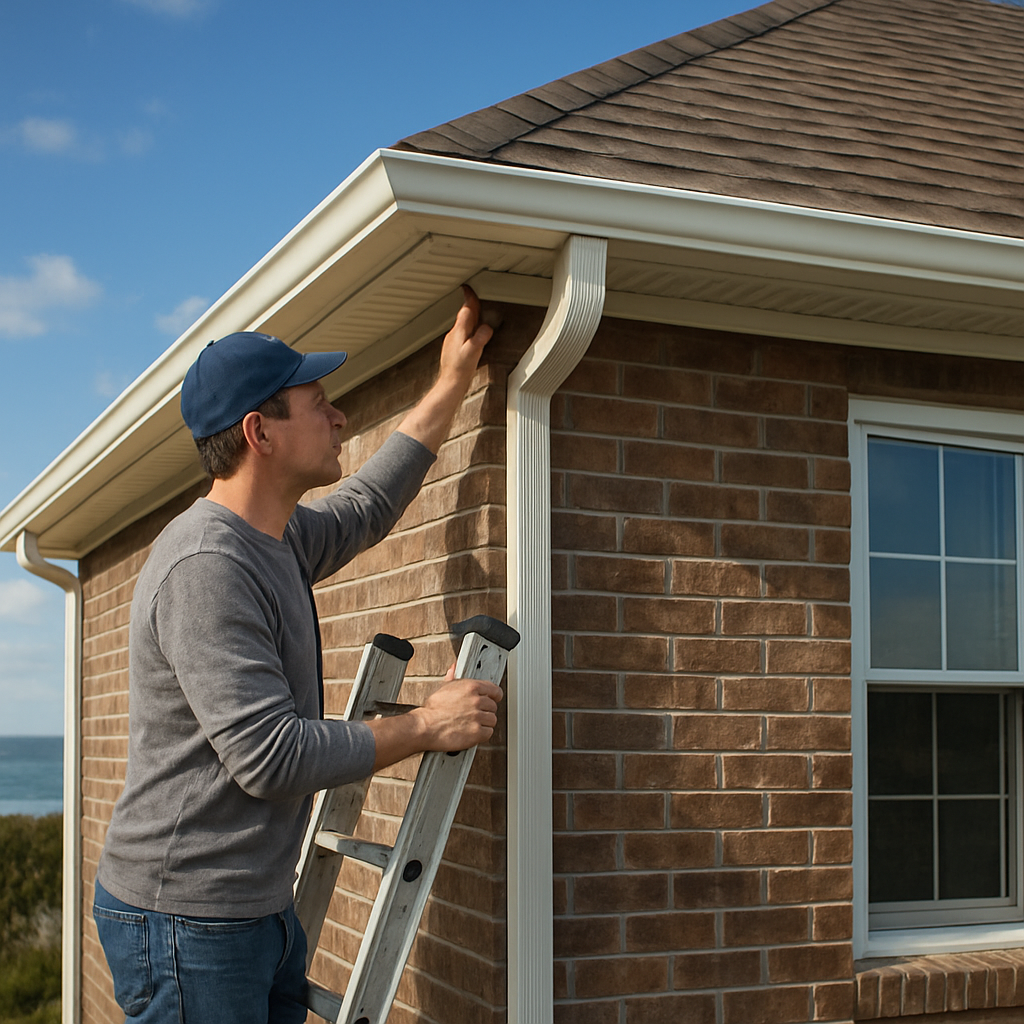
So, what can you do right now? Start with a quick visual inspection after the next rain: look for water streaks on the walls, check for rust spots, and feel for any sagging sections. If you spot any issues, jot them down and prioritize based on severity. Simple fixes like resecuring brackets or clearing debris often solve the problem.
When it comes to more involved repairs, we recommend tackling the most vulnerable spots first. For example, if a section of your gutter is sagging, you can temporarily support it with a wooden brace while you plan a permanent fix. And if you’re unsure how to reinforce it correctly, our how to fix sagging gutters guide walks you through the tools and steps you need, so you can feel confident whether you DIY or call in a pro.
Another common scenario is clogged gutters in the fall, when leaves pile up and form a dam. One homeowner we helped in Virginia Beach discovered that a simple leaf guard saved them from repeated clean‑outs and prevented water overflow onto their patio. It’s a small investment that pays off in time saved and peace of mind.
Don’t forget the downspouts. If they’re blocked or misdirected, water can pool right next to the foundation, leading to basement leaks. A quick test is to run a garden hose into the downspout and watch where the water exits. If it’s too close to the house, consider extending the hose or adding a splash block.
Finally, schedule a regular maintenance check—ideally twice a year, in spring and fall. Mark it on your calendar, treat it like a routine car service, and you’ll catch issues before they become emergencies. And if you ever feel stuck, remember that a quick call to a trusted local crew can save you time and headaches.
By staying attentive, you’ll keep your gutters doing what they do best: silently protecting your home while you focus on the things you love.
TL;DR
Gutters quietly protect your home by steering rain away from foundations, walls, and basements, saving you costly repairs and peace of mind. Regular inspections, seasonal clean‑outs, and simple fixes like leaf guards or downspout extensions keep the system flowing smoothly, so you can focus on what matters most and protect your property for years.
Understanding Different Types of Gutters
Let’s get real about gutters. They’re not glamorous, but they’re essential. The type you choose changes how well water is directed away from your home, how much maintenance you’ll do, and how long the system lasts. If you’re like most homeowners, you want something that’s dependable and not a constant headache.
There are a few common types—materials, shapes, and installation methods—that cover most houses on the streets we serve in Virginia Beach and nearby areas. Aluminum gutters are the workhorse: lightweight, corrosion-resistant, and affordable. Vinyl ones are cheaper but can warp in heat or snap in cold snaps. Steel offers rugged strength, while copper looks great and ages beautifully, though it costs more.
Materials and shapes
In practice, you’ll see aluminum, vinyl, steel, and copper, each with pros and cons. Aluminum is the default for most residential jobs because it’s easy to work with and holds up well in humid coastal climates. Vinyl is budget-friendly but may not weather sun and salt as gracefully, so it’s less common in our exterior-repair projects. Steel brings true durability, but you’ll want a thicker gauge and reliable paint or coating to prevent rust. Copper ages to a rich patina that some homeowners love, but the price tag is a consideration.
Shape matters, too. K-style gutters are the modern standard, because their decorative shape hides brackets and provides more water-holding capacity per inch. Half-round gutters have a vintage vibe and can suit older homes or certain architectural styles. If you’re after fewer maintenance headaches, most homeowners end up with seamless aluminum in a K-style profile—the joints are where leaks tend to hide, and seamless runs minimize those weak points.
Size and installation considerations
Size isn’t decorative; it’s about capacity. Five-inch gutters are common on smaller or newer homes, while coastal or storm-prone properties often benefit from 6-inch gutters that move more water before it reaches the downspout. If you’re unsure what’s right for your place, a quick professional assessment can save you from oversized quotes or undersized systems.
Seamless versus sectional is another big call. Sectional gutters come in pre-fabricated pieces that snap together with connectors and brackets. They’re perfectly fine for many homes, but seams are where leaks like to linger. Seamless gutters are formed on-site to fit your fascia, reducing joints and, typically, maintenance. In our experience, seamless aluminum with a robust hangar system and rust-resistant downspouts delivers the best blend of durability and low upkeep.
So, what should you do next? Start by comparing material longevity, coastal exposure, and your budget. If you want a balance of performance and value, aluminum seamless in a 6-inch K-style profile is a solid default for many Virginia Beach homes. And yes, we’ve installed plenty of these as part of our exterior-repair projects at LGFMH Construction—it’s the setup that tends to pay off over time.
That video helps visualize how different gutter types perform in real weather, and why one profile might suit your house better than another. The main idea: more water moved away from your foundation means less risk of overflow and damp basements.
So, what’s the practical takeaway? If you’re in coastal Virginia or a busy, rain-heavy area, a seamless aluminum gutter in a 6-inch size with a sturdy hanging system is a dependable choice. It combines durability with a cleaner look and less maintenance than sectional options. If you want a second opinion, we’re happy to walk you through your options and tailor a plan to your home’s specifics.
To recap, understanding gutters means matching type to climate, architecture, and budget. In our experience, the right combination isn’t flashy—it’s practical, durable, and built to last. If you’d like, we can schedule a no-pressure evaluation to map out the best gutter setup for your home and climate.
Choosing the Right Gutter Material
Picture yourself on a ladder, the sun warming the back of your neck, and you’ve just finished measuring the eave. The next decision feels bigger than the measurement itself: what material should the gutters be? That choice will dictate whether you spend a weekend fighting rust or simply enjoy a dry foundation for years to come.
First off, ask yourself how harsh your local climate is. In coastal Virginia, salty air and heavy rain are the norm. Inland, you might wrestle with icy winters and occasional hail. Your climate is the compass that points you toward the right metal.
Aluminum – the light‑weight workhorse
Aluminum gutters are a favorite for a reason. They’re lightweight, so they’re easy to handle on a ladder, and they won’t rust – a big win when you’re near the ocean. Most manufacturers blend pure aluminum with a stronger alloy, giving you a material that can take a branch impact without denting too badly.
Because aluminum expands and contracts more than steel, you’ll see a few tiny leaks over decades if the seams aren’t sealed well. That’s why seamless aluminum, where the whole run is formed on‑site, is a solid bet. In our experience, the extra upfront cost pays off in fewer repairs down the line.
Steel – built for brute force
Galvanized steel gutters bring serious durability to the table. A zinc coating shields the metal from rust, and the rigidity means the shape stays true even under heavy snow loads. The downside? Steel is heavier, so installation is a bit more of a workout, and if the zinc coating wears off, rust can sneak in.
For homes that see severe winter storms, steel can be a good match, but you’ll want a professional to handle the seams – DIY on steel is risky. The steel vs. aluminum gutters comparison breaks down the cost difference: roughly $2 / ft for aluminum versus $3 / ft for steel, not counting labor.
Vinyl – the budget‑friendly contender
Vinyl gutters are the low‑cost option you often see on older homes. They won’t rust, and they mute the rain‑on‑metal sound, which some homeowners love. However, extreme heat can make them warp, and in the cold they become brittle. If you live in a region with mild, consistent temperatures, vinyl can work, but it’s usually not the first choice for Virginia’s temperature swings.
Here’s a quick way to decide:
Do you need a gutter that survives salty air? Go aluminum.
Do you brace for heavy snow and ice? Consider galvanized steel.
Is upfront budget the biggest constraint and your climate mild? Vinyl might fit.
Actionable checklist – pick your material with confidence
1.Assess climate stressors.List the top three – salt, snow, heat.
2.Set a realistic budget.Include material, labor, and future maintenance.
3.Check compatibility with existing roof & downspout material.Mixing copper with steel can cause galvanic corrosion.
4.Decide on seamless vs. sectional.Seamless reduces leak points; it’s especially worthwhile with aluminum.
5.Get a professional estimate.A quick on‑site measurement from a crew like LGFMH Construction can confirm the size (5‑inch vs. 6‑inch) and give you a clear price.
Real‑world example: A homeowner in Norfolk swapped out warped vinyl gutters with seamless aluminum after a summer of cracking. Within a month, they noticed no water streaks on the siding, and the next heavy rain passed without a single leak. The upfront $1,200 investment saved them from $500 in repeated repairs.
Another case: A historic home in Virginia Beach kept its original steel gutters but added a zinc‑rich primer every five years. The family avoided costly rust patches and kept the classic look they love.
Quick comparison table
Material | Key Pros | Key Cons |
Aluminum | Lightweight, rust‑free, flexible for seamless installation | More prone to denting, can expand/contract causing seam leaks |
Galvanized Steel | Very strong, holds shape under snow/ice, good for severe winters | Heavier, risk of rust if coating wears, higher labor cost |
Vinyl | Lowest material cost, quiet rain sound, rust‑free | Warps in extreme heat, becomes brittle in cold, shorter lifespan |
Bottom line: match the material to your climate, budget, and how hands‑on you want to be with maintenance. When you line up those factors, the right gutter material becomes clear – and you’ll spend less time worrying and more time enjoying a dry, protected home.
How to Install Gutters Step‑by‑Step
Ready to turn a leaky roofline into a dry, worry‑free zone? Installing gutters yourself can feel like a big project, but break it into bite‑size steps and it becomes a doable weekend task. Below is the exact flow we follow on a typical Virginia Beach home, with the little tricks that keep things from going sideways.
1. Gather the right tools and safety gear
First, pull together a ladder, a drill with a 1/2‑inch bit, a tape measure, a level, a chalk line, tin snips, and a sturdy pair of work gloves. A safety harness isn’t a bad idea if you’re working over a two‑story eave, and always have a helper hold the ladder steady. In our experience, a well‑organized tool belt cuts the time in half.
2. Measure and plan the run
Start at the roof’s lowest point and run a chalk line along the fascia where the gutter will sit. Measure the total length, then add a few extra inches for the downspout outlet. Most homes in coastal Virginia need a 6‑inch profile to handle the heavy rain we get in the summer. Write the numbers down – you’ll need them for ordering the right amount of material.
Real‑world example: A homeowner in Norfolk measured a 45‑foot run, ordered a 48‑foot seamless aluminum piece, and ended up with a clean cut‑off that eliminated the need for a messy joint.
3. Order a seamless gutter run
Call a local supplier with your exact measurements. They’ll feed a length of aluminum through a roll‑forming machine, creating a perfect fit for your fascia. If you’re on a budget, sectional gutters work too, but expect a couple of seams that need careful sealing.
4. Install the hangers
Mark hanger locations every 24‑30 inches along the chalk line. Use a level to make sure each mark is level – a sagging hanger is the quickest way to get a drip line on your siding. Drill pilot holes, then screw the hangers into the fascia. For extra wind resistance, opt for screw‑type hangers with a rubber washer; they flex a bit and stay tight.
Pro tip
When you’re close to a gutter outlet, leave a small gap (about ¼ inch) between the hanger and the downspout to allow water to flow freely.
5. Attach the gutter sections
If you have a seamless piece, lift it onto the hangers and gently snap it into place. For sectional gutters, start at the low end and work upward, overlapping the seams by at least 2 inches. Secure each joint with a pop‑rivet or a continuous seam sealant – we prefer a silicone‑based sealant that stays flexible through temperature swings.
Picture this: a family in Virginia Beach installed a three‑piece sectional system, missed a sealant on one joint, and got a small leak after the first rainstorm. A quick re‑seal fixed it, but the extra step saved them a drip.
6. Install the downspout
Cut the downspout to length, then attach a 90‑degree elbow at the outlet. Position the downspout so the bottom end lands at least 5 feet away from the foundation – a splash block or underground pipe can take the water the extra distance if needed. Secure the downspout with straps every 3 feet.
Pro tip
Use a leaf guard on the downspout inlet if you have a lot of trees. It reduces clogs and the need for frequent clean‑outs.
7. Test the system
Grab a garden hose, run water into the gutter at the highest point, and watch it travel all the way to the downspout. Look for any drips at seams, hanger holes, or the outlet. If you see a spot, apply a bead of sealant and re‑test.
In a recent job, we ran the hose for three minutes straight and caught a tiny leak at a hanger screw. Tightening the screw and adding a dab of sealant solved it before the first rain.
8. Finish with trim and clean‑up
Snap on the gutter end caps, snap on the splash guard, and brush away any metal shavings. Dispose of old gutters responsibly – many recycling centers accept aluminum.
That’s it. You’ve just installed a gutter system that will protect your home for years. If you hit a snag or just want a second pair of eyes, a quick call to LGFMH Construction can save you time and give you peace of mind.
Want a visual walk‑through? Check out this short video that shows each step in action gutter installation demo .
Maintaining and Cleaning Your Gutters
Gutters do quiet, dirty work protecting your home. When you skip maintenance, a small clog can turn into a soggy mess that damages siding, leaks into the attic, or invites pests. It’s not glamorous, but it matters.
In our experience at LGFMH Construction, seasonal cleanouts are the smart default. A quick inspection after a heavy rain helps you catch sagging hangers or loose screws before the next storm.
As a practical baseline, consider Bob Vila’s guidance on gutter care: gutters are generally cleaned one to two times per year, with a fall cleaning to remove leaves and debris. If your yard is shaded by mature trees or you’ve had a windy season, you may want to add an extra check or two throughout the year. Bob Vila's guide on how often to clean gutters offers that solid starting point, which we’ve found aligns with real VA weather patterns.
DIY gutter‑cleaning checklist
Safety first: stable ladder, non-slip shoes, gloves, eye protection, and ideally a helper to steady the ladder.
Grab the right tools: work gloves, a gutter scoop or sturdy scoop‑style shovel, a bucket, and a garden hose with a nozzle.
Start at the downspout end to prevent pushing debris toward the outlet, then work back toward the opposite end.
Remove leaves, sticks, and shingle grit by hand or with the scoop. Drop debris into a bucket so you don’t drop it onto your landscaping.
Rinse the gutter with a garden hose. Watch for clogs, especially at the outlet and brackets, and flush until water flows freely.
Inspect hangers and brackets; tighten loose screws and replace damaged hangers if you see sagging or gaps.
After cleaning, reattach end caps and splash guards; wipe the top edge to keep water from dripping over the lip.
If you’d rather skip the climb, LGFMH Construction can handle cleaning and minor repairs as part of our exterior services, so you stay dry and worry‑free.
Maintenance tips and best practices
Leaf guards at the gutter inlet dramatically reduce the frequency of cleanouts. If you have mature trees, a simple inlet guard can save hours of work over the year and keep debris from building up at the downspout.
Direct water away from your foundation with properly extended downspouts or splash blocks. Aim for at least 5 feet of distance from the home to reduce basement dampness and soil erosion.
Check gutter slope regularly—about a quarter inch of slope every 10 feet helps water flow toward the downspout and prevents standing water that can lead to ice damage in winter. Seal seams with a flexible, weather‑proof sealant that remains pliable through temperature swings.
Inspect for corrosion, loose joints, or rust spots (especially on steel or copper systems). Address small issues early with resealing or re‑hanging rather than letting them snowball into bigger leaks.
When to call the pros
Gutters are sagging or pulling away from the fascia after cleaning or rainfall.
Water leaks persist at seams despite resealing efforts.
Downspouts are clogged repeatedly or fail to direct water away from the foundation.
You notice extensive rust, corrosion, or visible structural damage that affects the system’s integrity.
Our team at LGFMH Construction can assess and tailor a maintenance plan that fits your home’s needs, ensuring you stay ahead of costly damage.
So here’s the practical move: set a simple twice‑year reminder for gutter checks, add inlet guards if your yard is tree‑heavy, and consider a preventative maintenance plan with LGFMH Construction to keep your exterior protected year after year.
Common Gutter Problems and Solutions
Ever glance up after a rainstorm and see water spilling over the roofline? That’s the first sign something’s off with your gutters, and it usually points to a specific problem you can actually fix.
Clogged Gutters
Leaves, twigs, and even tiny roof‑shingles love to collect in the channel. When the flow backs up, water can spill onto the siding or, worse, seep into the foundation. A common scenario we see in Virginia Beach is a family that skips the fall clean‑out because they think the wind will blow the debris away. The next heavy rain creates a mini‑waterfall on the porch, and they end up with a stained deck.
Solution? Schedule a quick scoop after every major leaf‑drop. A sturdy gutter scoop, a bucket, and a garden hose work fine. Start at the downspout end so you push debris away from the outlet, then rinse the entire length. If you notice a persistent puddle at the outlet, a simple mesh guard can keep leaves from re‑entering.
Sagging or Pulling Gutters
When a gutter sags, it’s usually because a hanger has loosened or the fascia has started to rot. You might feel a “soft” spot when you press on the gutter, or you’ll see the bottom edge dipping a few inches. One homeowner in Norfolk thought the sag was just a cosmetic quirk, but after a storm the gutter actually ripped off its brackets and flooded the basement.
Fix it yourself by first securing the fascia with a wood block or metal strap, then replace the sagging hanger with a screw‑type hanger that includes a rubber washer. Space the hangers about 24‑30 inches apart; that spacing keeps the weight evenly distributed and reduces the chance of future pull‑away.
Leaking Joints and Seams
Sectional gutters have a lot of little connections, and each joint is a potential leak point. Over time, the sealant can shrink, especially on metal that expands and contracts with temperature swings. A typical clue is a drip line on the wall right below a seam.
Grab a silicone‑based sealant that stays flexible in winter and summer. Apply a generous bead on both sides of the joint, then smooth it with a gloved finger. For seamless aluminum runs, the only real weak spot is the outlet; a snug elbow and a dab of sealant usually do the trick.
Ice Dams and Winter Issues
Ice dams form when snow on the roof melts, runs down the shingles, and refreezes at the eave. The ice creates a barrier that forces water back into the gutter, and the weight can pull the gutter away from the house. In colder parts of Virginia, we’ve seen homeowners spend weeks shoveling snow only to discover a frozen gutter that’s about to burst.
Prevent ice dams by keeping the attic well insulated and ventilated. A quick tip: attach a heat cable along the eave edge (make sure it’s rated for outdoor use). If a dam does form, gently melt it with a hairdryer or a low‑temperature heat gun—never use a torch, as it can damage the gutter metal.
Corrosion and Rust
Steel and copper gutters can develop rust if the protective coating wears away. Rust eats away at the metal, creating holes that let water slip through. A frequent complaint from homeowners with older steel gutters is a reddish streak on the siding that appears after a rain.
The fix starts with a visual inspection. Look for flaking paint, bubbling spots, or any orange‑brown discoloration. Lightly sand the rusted area, then coat it with a rust‑inhibiting primer followed by a paint that matches the rest of the gutter. For severe corrosion, it’s often more cost‑effective to replace that section with aluminum, which won’t rust.
Actionable Checklist
Inspect after each major storm: look for water streaks, sagging spots, or rust.
Clear debris twice a year—fall and spring—using a gutter scoop and hose.
Secure hangers every 24‑30 inches; replace any that feel loose.
Seal every joint with flexible silicone; re‑seal annually in high‑temperature zones.
Check for ice dams in winter; add insulation or heat cables as needed.
Treat rust spots promptly with sand, primer, and paint, or swap out the affected section.
By tackling these problems early, you keep water where it belongs—far away from your foundation, walls, and cherished interior spaces. And if you ever hit a snag that feels beyond a weekend DIY, a quick call to LGFMH Construction can save you time, hassle, and a pricey repair down the line.
Gutter Guard Options: Which Is Best for You?
If you’ve ever stood on a ladder watching a handful of leaves tumble out of the gutter inlet, you know the frustration of constant clean‑outs. The good news? There’s a whole menu of gutter guard styles that can turn that chore into a once‑a‑year task – or even eliminate it altogether.
Screen guards – the low‑maintenance starter
Screen guards are the most common “plug‑and‑play” solution. A thin metal or plastic screen sits over the opening, letting water pass while catching larger debris. They’re cheap, easy to install yourself, and work well if you have a modest amount of foliage.
But here’s the catch: fine twigs, pine needles, and soggy mulch can still sneak through. In coastal Virginia, where wind can blow a constant dust‑and‑seed mix onto the roof, you might find yourself scooping the screen twice a season.
Mesh guards – the sweet spot for heavy foliage
Mesh guards use a tighter weave – usually 1/16‑inch or smaller – so even the tiniest needle stays out. The material is typically stainless steel or aluminum, which means rust resistance in salty sea breezes. Homeowners who have mature oak or pine trees swear by mesh because it cuts down the clean‑out frequency dramatically.
Installation is a bit more involved than a simple screen. You’ll need to slide the mesh under the gutter lip and secure it with brackets or clips. Once it’s in place, you’ll notice the water flow is a little slower, so make sure the slope is still about a quarter‑inch per 10 feet.
Reverse‑flow (or surface‑mounted) guards – for the ultimate “set it and forget it”
These guards sit on top of the gutter, creating a tiny channel that directs water over a solid cover. The cover can be a slatted aluminum roof‑style or a perforated metal panel. Because the water never actually contacts the guard’s surface, debris builds up far less.
They’re pricier and usually require a professional to fit them correctly, but the payoff is a gutter system that barely needs attention, even after a windy, leaf‑laden fall. In our experience, homeowners who invest in reverse‑flow guards rarely schedule a gutter cleaning.
Foam inserts – the quiet, hidden option
Foam inserts fill the gutter’s interior, creating a porous barrier that lets water flow through while trapping debris. They’re virtually invisible from the street and don’t interfere with the gutter’s appearance.
The downside? Foam can degrade over time, especially under UV exposure, and it’s not a great choice for heavy rain events. If you live in an area that gets more than two inches of rain in a single storm, you might see water spilling over the gutter lip.
Pros and cons quick guide
Screen guards:Easy DIY, low cost, but can clog with fine debris.
Mesh guards:Excellent for pine needles, durable, slightly harder install.
Reverse‑flow guards:Near‑zero maintenance, professional install, higher upfront price.
Foam inserts:Invisible, good for light rain, needs replacement every few years.
How to pick the right guard for your home
First, think about your trees. If you’ve got a lot of evergreens, mesh is usually the safest bet because it stops those skinny needles. If your yard is mostly deciduous and you only need a seasonal solution, a screen guard might be enough.
Second, consider your budget and willingness to DIY. A screen guard can be slotted in under a weekend, while a reverse‑flow system often calls for a crew that knows how to align the channels correctly.
Third, factor in your climate. Salt‑laden air near the coast can accelerate corrosion, so stainless‑steel mesh or aluminum reverse‑flow guards are the most resilient choices.
Actionable checklist – choose your guard in 4 steps
Inspect the current gutter inlet: note leaf type, amount of fine debris, and any water overflow.
Match guard type to debris size: screen for large leaves, mesh for needles, reverse‑flow for “set‑and‑forget”.
Check material compatibility: aluminum or stainless steel for coastal exposure; avoid low‑grade plastic in salty environments.
Get a quick quote and compare installation costs versus long‑term cleaning savings. Remember, the cheapest upfront isn’t always the most economical over five years.
At the end of the day, the best gutter guard is the one that fits your yard’s personality and your schedule. Whether you’re a DIY‑enthusiast who loves a weekend project or you’d rather hand the job off to a pro, there’s a guard that can keep your gutters flowing smoothly and your foundation dry.
Conclusion
So, you’ve waded through material choices, installation steps, and guard options, and maybe you’re still wondering which gutter setup will actually keep your home dry.
Here’s the short version: match the gutter material to your climate, pick a guard that handles the debris you get, and make sure the hangers are spaced right. If you’re near the coast, aluminum or stainless‑steel mesh will beat a cheap plastic screen every time.
But the real difference shows up in the details. A quarter‑inch slope every ten feet, sealed seams, and a downspout that lands at least five feet from the foundation are the tiny tweaks that stop leaks before they start. In our experience, homeowners who follow that checklist see far fewer water stains and foundation worries.
What’s the next step? Walk the perimeter of your house, spot any sagging sections, and grab a quick quote for the parts you need. A simple weekend project can save you a costly repair down the road.
If you’d rather skip the DIY guesswork, LGFMH Construction can do a fast assessment and install the right system for you – no pressure, just peace of mind.
Remember, gutters are the first line of defense for your home’s health. Keep them clean, keep them proper, and they’ll keep you dry for years to come.
FAQ
How often should I clean my gutters in Virginia Beach?
Because the ocean breeze carries a lot of sand and the trees drop plenty of leaves, most homeowners find a twice‑a‑year schedule works best. Aim for a thorough clean‑out in late fall after the last big storm, then another quick sweep in early spring before the rain season kicks in. If you have a lot of pine, you might add a mid‑summer touch‑up to keep needles from building up.
What is the best gutter material for homes near the coast?
Aluminum is the go‑to for salty air. It won’t rust like steel, and it’s light enough to handle on a ladder without a crew. Look for a seamless 6‑inch K‑style profile; the seams are formed on‑site, so there are fewer leak points. In our experience, the upfront cost pays off in fewer repairs and a longer lifespan compared to vinyl, which can warp under the heat.
How can I tell if my gutter hangers are spaced too far apart?
Take a quick visual check after a rainstorm. If you notice a sagging bottom edge or water pooling in the middle of the run, the hangers are probably too far apart. A good rule of thumb is 24‑30 inches between each hanger on a 6‑inch gutter. You can test the spacing by measuring the distance between the brackets you already have – if any gap exceeds 30 inches, add a new hanger and re‑level the run.
Do gutter guards really reduce maintenance, and which type works best here?
Yes, they cut the frequency of clean‑outs dramatically. For Virginia’s mix of pine needles and coastal debris, a stainless‑steel mesh guard is the sweet spot – the tight weave keeps even the tiniest needles out while standing up to salty corrosion. Screen guards are cheaper but let finer material slip through, which means you’ll still be climbing the ladder a few times a year.
What slope do my gutters need to properly drain?
Aim for a quarter‑inch drop for every ten feet of gutter length. That tiny slope is enough to coax water toward the downspout without causing a waterfall effect that can erode the fascia. Use a level and a chalk line when you’re installing or checking an existing run; if the water pools at the far end, you probably need to adjust the hangers or add a small shim under the low spot.
When is it time to replace a gutter versus just repairing it?
If you’re seeing rust spots that keep coming back, repeated seam leaks, or sections that have warped beyond straightening, replacement is the smarter move. Small leaks or a few loose hangers can be fixed with sealant and new brackets, but when more than a third of the run shows wear, the cost of ongoing repairs adds up. A new seamless aluminum run will usually pay for itself within a few years by eliminating future headaches.


Comments