Garage Door Opener Battery Backup Guide
- William McKracherne
- 5 days ago
- 7 min read

A tiny 2032 coin cell can keep a full-size garage door opener working during a blackout. Strange, but true. This garage door opener battery backup installation guide shows you how to spot a failing battery, choose a match, install it safely, and test the result in about 15 to 20 minutes.
Most jobs need a Phillips screwdriver, a quarter-inch drill bit, and the correct replacement battery. If the unit is hard to reach or the wiring looks damaged, LGFMH Construction can handle the repair as part of its interior and exterior repair work.
Table of Contents
Step 1: Confirm the Problem and Prepare Safely
The first step in any garage door opener battery backup installation guide is to confirm that the battery is the problem. A backup battery lets the opener work for a short time when household power fails. Without it, the opener may stop during a storm or outage.
Listen for a beep every 10 to 20 seconds. That sound often means the backup battery needs attention. Many openers also show a red battery light or another warning indicator. Check your owner's manual before you remove the cover, since light colors can differ by model.
Before you touch the battery compartment, do this:
Close the garage door.
Unplug the opener from the wall outlet.
Keep the remote controls out of reach.
Put on work gloves and eye protection.
Set a stable ladder on a flat floor.
Do not work around a damaged battery. Stop if you see a bulge, leak, cracked case, or melted wire. A battery compartment may contain sharp edges, and one removal guide warns that a small internal piece can be delicate.
LGFMH Construction recommends taking a quick photo of the wiring before you disconnect anything. That small step gives you a clear reference when you reconnect the new battery.
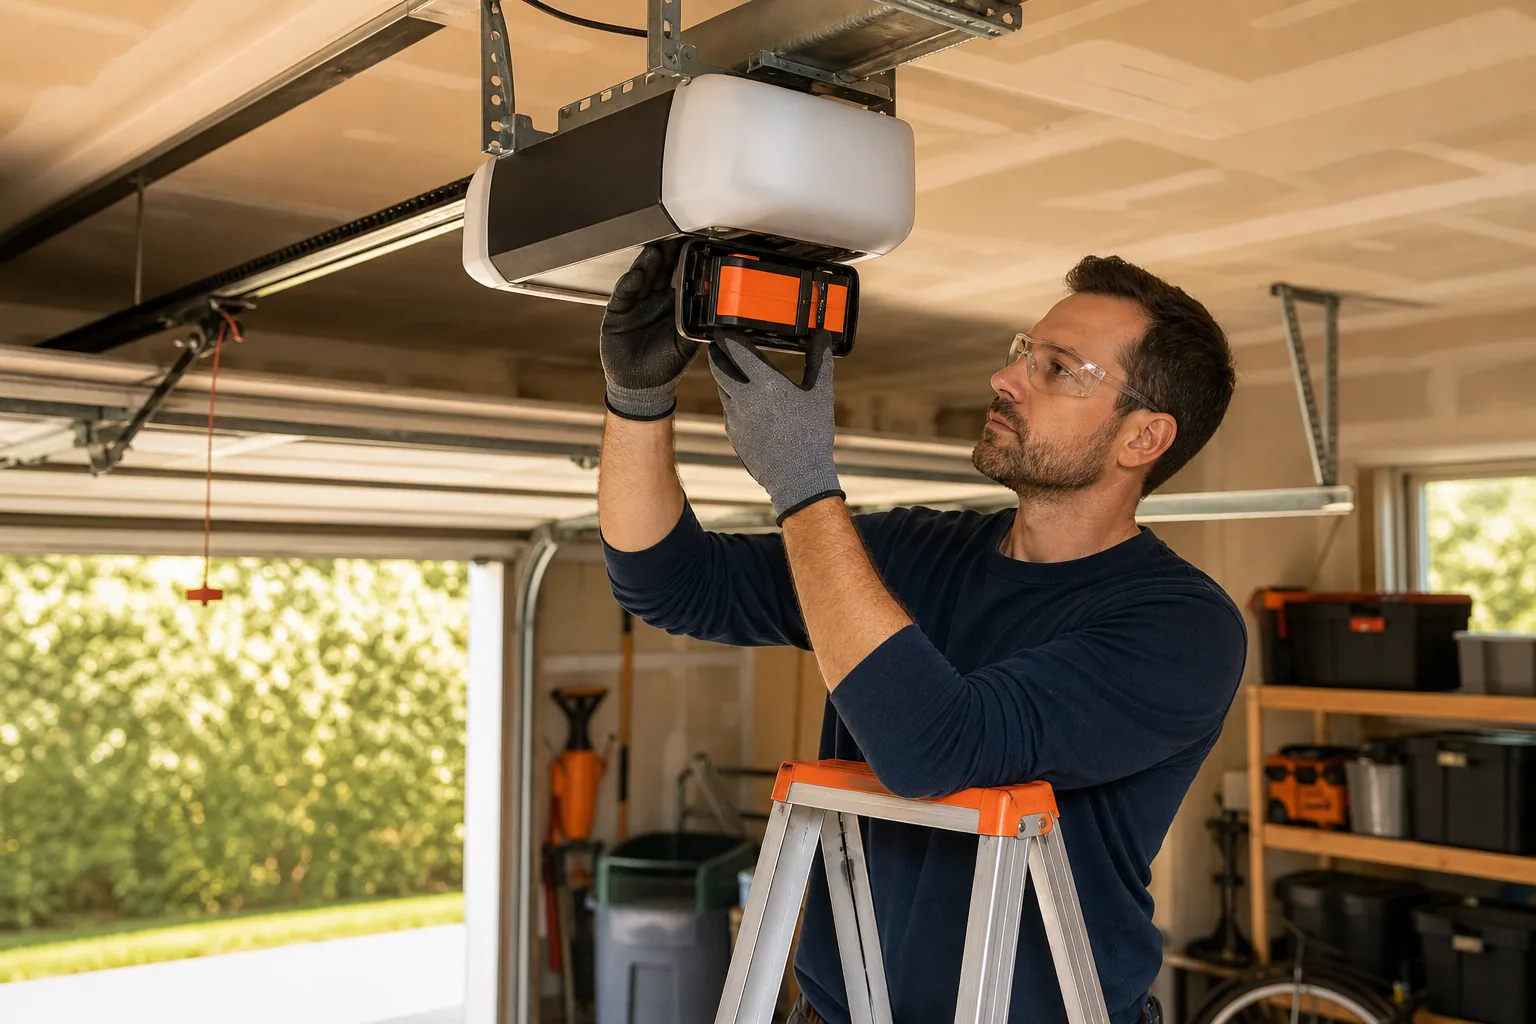
Key Takeaway:A repeated beep or red battery light points to a failing backup battery, but unplug the opener before opening the compartment.
Step 2: Choose a Compatible Battery and Backup Configuration
The right battery is based on the opener model, not just its shape. Many residential backup systems use a 2032 coin cell, while some add-on systems use a different battery configuration. Read the label inside the compartment or check the opener's manual before you buy.
Measure the old battery if the model is unclear. One commonly shown replacement measures about 3 1/2 inches wide, 3 7/8 inches tall, and 2 11/16 inches across. Treat those measurements as a guide only. Your opener may use a different size.
Also decide which backup setup you have. A built-in system places the battery inside the opener housing. An add-on kit mounts beside or below the opener and connects with a plug or wire harness. A universal power supply may work in some setups, but it needs a safe mounting point and the correct output.
Backup setup | How to identify it | Best next step | Main risk |
Built-in battery | Battery sits behind the opener cover | Match the model and terminal layout | Pinched wires under the cover |
Add-on battery kit | Separate case connects to the opener | Use the maker's mounting and wiring instructions | Loose mounting or wrong plug |
Universal power supply | Separate backup box feeds the opener | Check voltage, output, and shelf location | Unsafe homemade wiring |
Wall-mounted openers can have a different layout from ceiling-mounted units. Some wall-mounted systems include battery backup as part of the product setup and require model-specific installation support.
Buy from the opener maker, a parts supplier, or a retailer that lists the exact model match. Do not choose a battery because it looks close. Compare the model number, voltage, dimensions, connector style, and terminal markings first.
If you want a separate shelf or bracket, use a firm, nonflammable mounting surface. Keep the battery clear of moving parts. Never leave it hanging from its wires.
Pro Tip:Take the old battery with you when you shop, or write down every marking before you recycle it.
Step 3: Remove the Old Battery and Install the Replacement
With the opener unplugged and the new battery confirmed, remove the old unit without pulling on its wires. The exact cover design varies, but the basic order stays the same.
Open the compartment
Open the light lens if your opener uses one to cover the battery area. Remove the bulb only if the design requires it. Then find the battery cover and remove its screw with a Phillips screwdriver. Some covers release when you press tabs on both sides.
Keep the screws in a small tray. Garage floors are good at hiding tiny parts.
Disconnect the wires
Look at the terminals before you pull anything free. The red wire goes to the positive, red terminal. The black wire goes to the negative, black terminal. Grip the connector near its end and pull it straight away from the terminal.
Do not yank the wire itself. If a connector will not move, stop and inspect it. A gentle side-to-side motion may help, but forcing it can damage the use.
Install the new battery
Slide the old battery out of its slot. Place the replacement in the same direction. Connect the red wire to the red or positive terminal first. Then connect the black wire to the black or negative terminal.
Check that each connector sits firmly. The wires should have a little slack, but they must not cross a screw hole or rest against a moving part. Tuck them into the same path used by the old battery.
Replace the compartment cover. Tighten the screw until the cover is secure, then stop. Over-tightening can strip the plastic. Make sure no wire is trapped under the edge.
Use the opener's model-specific documentation to confirm battery compatibility and installation details. That is why a model match matters more than a generic battery description.
Plug the opener back in only after the cover is closed. If the replacement is an add-on kit, secure the case before connecting its cable. A bracket or shelf should hold the case without movement when the garage door runs.
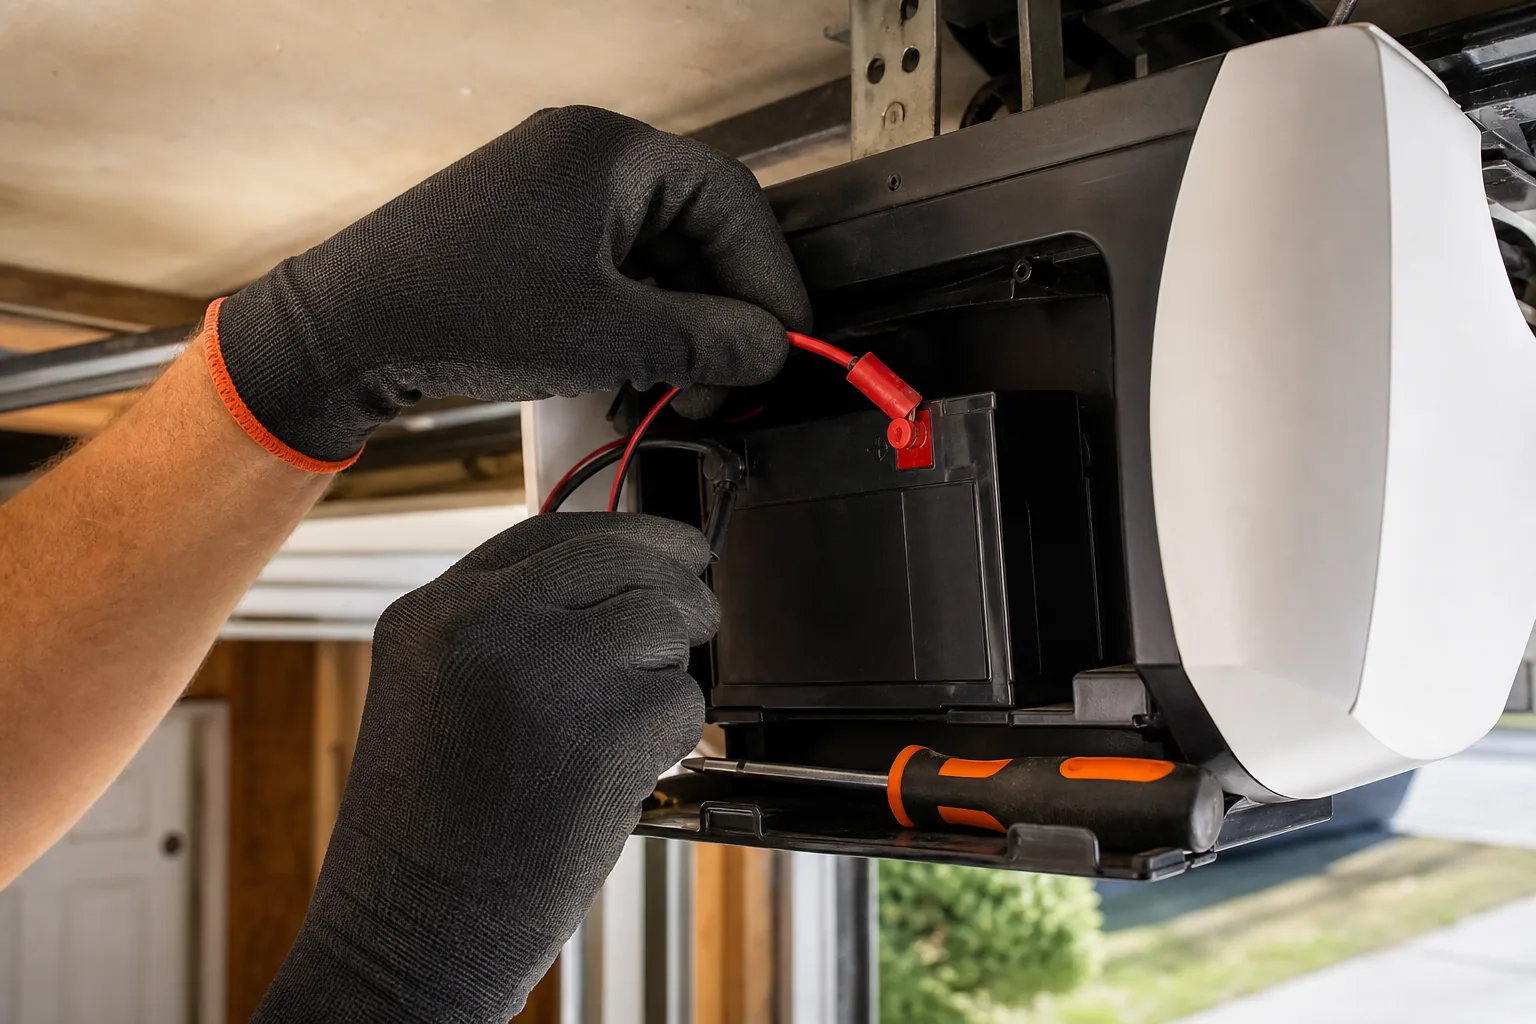
At this point, the battery should be seated, the cover should be fastened, and the opener should be back on household power.
Step 4: Test, Troubleshoot, and Maintain the Backup
The final part of the garage door opener battery backup installation guide is a controlled test. First, watch the battery status light while the opener is plugged in. A blinking green light can mean the battery is charging. A solid green light can mean it is fully charged on supported models.
Some systems need up to 24 hours to reach a full charge. The opener may run more slowly before then. Do not judge the new battery by its first short test.
After the battery has had time to charge, test the backup:
Make sure the door is fully closed.
Unplug the opener from the wall.
Use the wall control or remote.
Watch the door as it opens and closes.
Plug the opener back in.
On some units, a solid orange light means the opener is running on battery power. A flashing orange light can mean the battery is low. A red light or repeated beep after charging points to a poor connection, the wrong battery, or a battery that cannot hold a charge.
If the opener does nothing, check the plug and the battery connectors. If it runs but the light stays red, confirm polarity and inspect the terminals. If the door moves only a few inches, stop testing. The issue may involve the door, safety sensors, or opener system rather than the battery.
Battery life varies by model and use. One official support guide states that its opener batteries typically need replacement every one to two years. Mark the installation date inside the cover with a pencil. Test the backup before storm season and after a long outage.
A generator or universal power supply can provide another form of backup, but never run a fuel-burning generator inside a garage. Keep any temporary power setup outside and follow its safety instructions. The battery backup remains the simpler option for opening the door when you need access to the garage.
For a second opinion on related access hardware, LGFMH Construction also provides a garage door opener keypad installation tutorial . A keypad can help when you need entry without a remote, but it does not replace a charged backup battery during an outage.
If the wiring is brittle, the compartment is damaged, or the opener still beeps after a correct replacement, stop the DIY work. LGFMH Construction can inspect the unit and take on the needed interior or exterior repair instead of leaving a questionable connection above your car.
FAQ
How do I know if my garage door opener backup battery is bad?
A repeated beep or red battery status light often means the backup battery needs replacement. Some openers beep every 10 to 20 seconds when the battery is weak. Confirm the warning in your owner's manual, then unplug the opener and inspect the battery before buying a replacement.
What battery does a garage door opener backup use?
Many residential units use a 2032 coin cell, but not every opener does. Some models use a different battery configuration or an add-on case. Check the opener model, battery label, dimensions, connector, and polarity before you purchase anything for the installation.
Can I replace a garage door opener battery myself?
Yes, many homeowners can replace the battery themselves if the compartment is easy to reach and the wiring is intact. Unplug the opener first. Wear gloves and eye protection. If you see leakage, damage, heat marks, or loose wiring, use a qualified repair service instead.
How long does a new garage door opener battery take to charge?
A new battery may take up to 24 hours to charge on supported opener models. The unit can run more slowly before the charge is complete. Leave the opener plugged in, wait for the normal charged light, then test the backup by unplugging the opener.
Why is my garage door opener still beeping after I changed the battery?
Your opener may still beep because the wires are loose, the polarity is wrong, the cover is not seated, or the battery is not compatible. Check the red and black connections first. If the light stays red after a full charge, the battery or opener may need professional testing.
Conclusion
Use the opener model number and terminal layout to choose the battery, then install it with the power disconnected. Test the backup only after it has charged fully. If the job feels unsafe or the warning remains, contact LGFMH Construction for a careful inspection and repair.


Comments