Garage Door Opener Keypad Installation Tutorial
- William McKracherne
- 4 days ago
- 8 min read

A garage door keypad install can look like a five-minute job. The missing details are usually the ones that cause trouble: tool choice, safe placement, screw pressure, battery checks, and code testing. This garage door opener keypad installation tutorial fills those gaps with a clear five-step process.
Table of Contents
Step 1: Check Compatibility and Gather the Right Tools
Start this garage door opener keypad installation tutorial by checking whether the new keypad matches your opener. . Look for the opener brand, model family, and programming method.
Many wireless keypads use batteries, so they don't need a wire run to the opener motor. Still, don't assume every keypad works with every opener. If the instructions name a specific opener series, treat that list as the rule.
Before you remove anything, take a clear photo of the old keypad and its mounting points. Measure the space near the garage door. This helps you avoid placing the new unit over damaged wood or old holes that won't hold a screw.
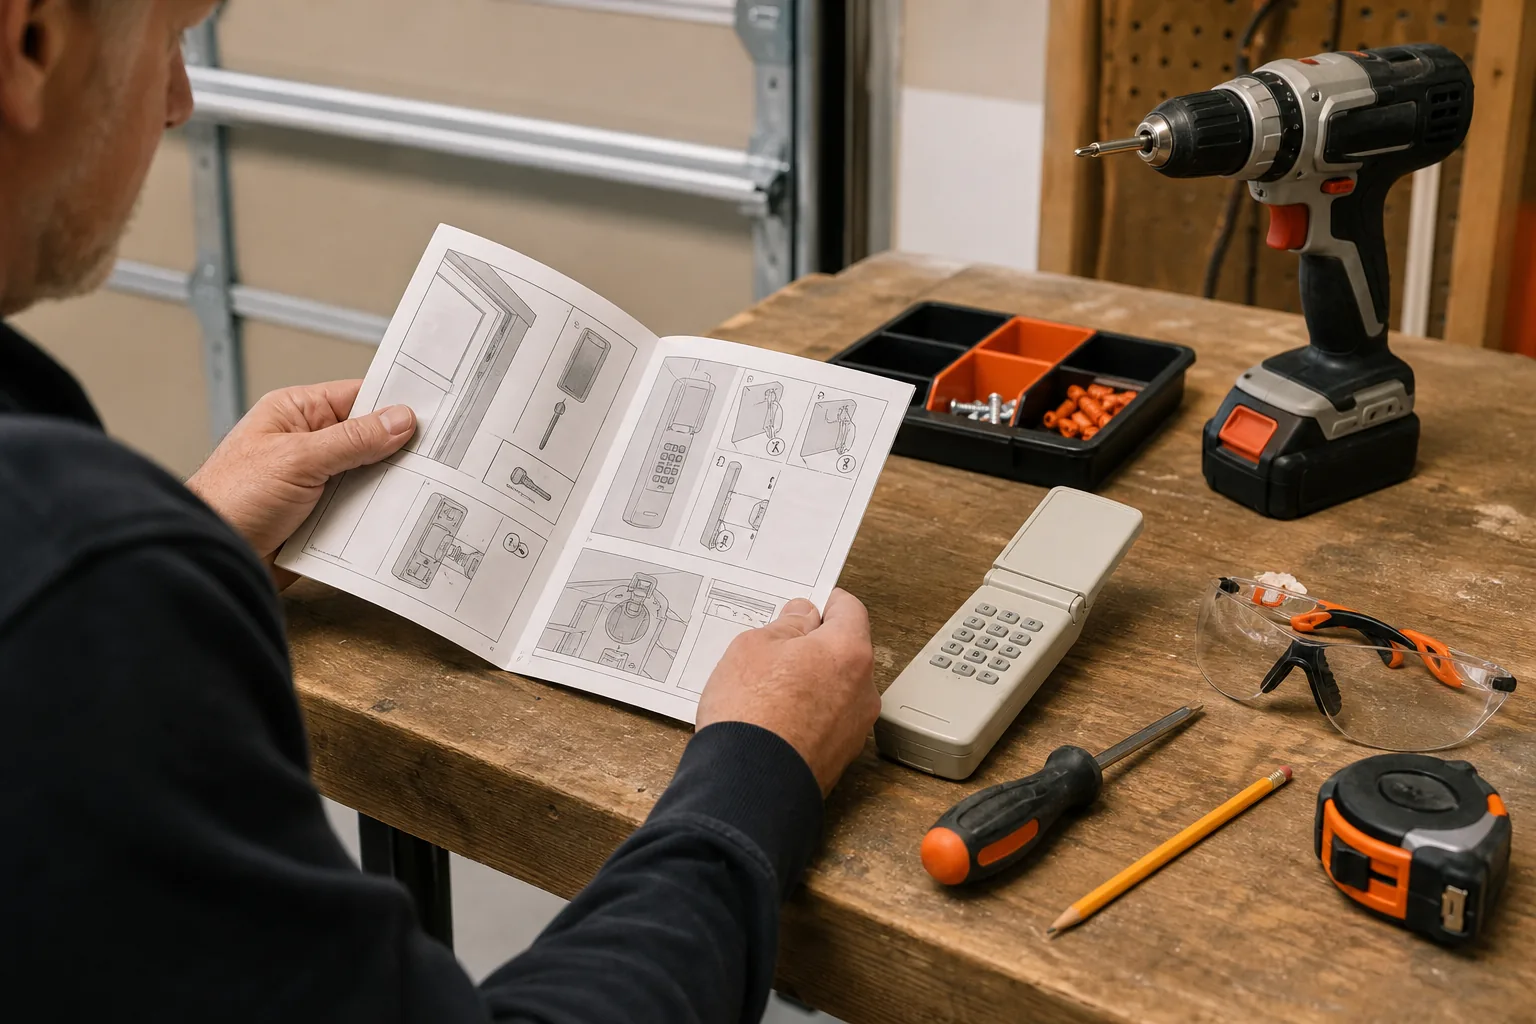
Set these items on a small work tray:
The new keypad and its instructions
A fresh battery of the type listed by the maker
A Phillips or flat-head screwdriver that fits the screws
A drill with a small pilot-hole bit
A pencil and tape measure
Safety glasses
Video tutorials often skip this list. A stripped screw can leave the keypad loose or damage the door frame.
Manufacturer installation guidance also shows why model-specific instructions matter. Its steps apply to wireless keypads made for a particular opener range, not to every garage system.
A manufacturer's wireless keypad installation instructions are useful as a model check, but your own keypad manual should control the final sequence.
Safety stop:Keep the garage door closed while you work. Don't touch the torsion springs, lift cables, or other door hardware. This job involves the keypad, not the spring system.
By now you should know that the keypad matches your opener and that every needed tool is within reach. Plan about 30 to 60 minutes, rather than rushing because a short video makes the job look instant.
Step 2: Choose a Safe Location and Prepare the Keypad
The next part of this garage door opener keypad installation tutorial is choosing a spot that people can reach without standing in the path of the moving door.
Pick a firm surface near the garage entry. The wall should let you type while standing clear of the door. Avoid a loose trim board, a spot that gets hit by water, or a place where snow and ice can cover the keys.
Weather matters. Rain, humidity, sun, and ice can shorten the life of an outdoor keypad. A small amount of cover can help, but don't block the keypad's buttons or make the screen hard to see.
Hold the keypad against the wall before drilling. Stand where you would normally enter the code. Check these points:
You can reach the buttons without stretching.
The open door won't strike the unit.
The wall has solid material behind the screw points.
Water won't run straight onto the keypad.
The cover can open fully.
Use a pencil to mark the screw holes. If the old holes line up, test each one with the screw. If a screw turns without gripping, move the keypad slightly and mark new pilot holes.
Now open the battery cover. Install the battery in the direction shown inside the compartment. Don't force the cover shut. If it won't close, remove the battery and check its position. A pinched cover can let moisture in.
If you're replacing an old keypad, remove it before you mark the new holes. Keep the old screws nearby until the new keypad is mounted. They may help you compare length, but use the new hardware when the instructions require it.
LGFMH Construction handles interior and exterior repairs for homeowners who would rather have the wall condition and mounting work checked by someone on site. That can be useful when the old screw holes are soft, cracked, or full of water damage.
By now the keypad should have a battery, a marked mounting spot, and enough clearance for normal use. Leave the keypad loose for now. Programming comes before the final mount.
Step 3: Program the PIN and Pair the Keypad With the Opener
Programming is the part most people mean when they ask for a garage door opener keypad installation tutorial. The exact buttons vary by brand, but the order usually starts at the opener motor.
Find the opener's Learn, Program, or Set button. It is often on the opener housing, near the light cover or antenna wire. before pressing it. Some openers use a short press, while others use a longer press to enter pairing mode.
Use this general sequence only as a guide:
Close the garage door.
Stand on a stable surface that keeps you away from moving door parts.
Press the opener's programming button as directed.
Enter your new PIN on the keypad.
Press the keypad's send, enter, or program key.
Wait for the opener light or keypad signal that confirms the pairing.
Don't copy a button sequence from another brand. Even keypads that look alike can use a different timing pattern. If the manual gives a short window, have the PIN ready before you begin.
Choose a code that your household can remember but that a stranger can't guess from your address, birthday, or house number. Don't write the PIN on the keypad cover. If several people need access, share the code through a private method.
The research behind this tutorial found that DIY videos cover programming but often leave out timing and setup detail. That is why the opener manual matters more than a generic video. A video can show the hand movement. It can't confirm your exact model.
For related opener work, LGFMH Construction's garage door opener remote programming guide explains how to identify the system, use the Learn button, and fix common pairing errors. The same habit applies here: identify the system first, then program the access device.
Pause after pairing. Don't mount the keypad yet. Test the PIN while you can still reach the unit and inspect the battery cover.
If the keypad does not respond, wait several seconds and repeat the pairing sequence from the start. Avoid pressing random buttons on the opener. You may erase an existing remote or put the opener into a different mode.
By now you should have a working PIN and a keypad that can send the open command. Keep the door area clear before moving to the mount.
Step 4: Mount the Keypad and Secure Its Wiring or Battery Cover
Now secure the keypad without crushing its case or damaging the wall. Most wireless units have no electrical wiring, but a battery cover still needs a firm seal.
Place the keypad over the marks from Step 2. If the instructions call for pilot holes, drill them with a bit smaller than the screw shaft. Keep the drill straight. A crooked hole can pull the keypad sideways.
Start both screws by hand. Turn each one a few times before tightening either screw fully. This keeps the case level and reduces stress on the plastic.
Tighten the screws until the keypad sits firm. Stop when it no longer moves. Don't lean your full force into the screwdriver. The one clear safety warning found across the reviewed videos was not to over-tighten the screws. That warning deserves more attention than it gets.
Check the cover. It should open, close, and latch without rubbing against the wall. If the cover binds, loosen the screws slightly and realign the case.
For a wired model, follow the manufacturer's wiring diagram exactly. Turn off power before handling any electrical connection. Never guess which terminal carries power. If the keypad is battery-powered, keep the battery compartment dry and make sure the gasket or cover sits flat.
Look at the wall around the mount. If you see crumbling wood, a wide gap, or signs of water damage, stop. A new keypad won't fix a weak mounting surface. LGFMH Construction can inspect that type of interior or exterior repair before the unit becomes loose.
Give the keypad a light pull with two fingers. It should stay in place. Don't yank it. This check is only meant to find a loose mount before the final test.
Step 5: Test the Code and Troubleshoot Common Installation Problems
Finish this garage door opener keypad installation tutorial with a controlled test. Keep people, pets, vehicles, and loose items away from the door.
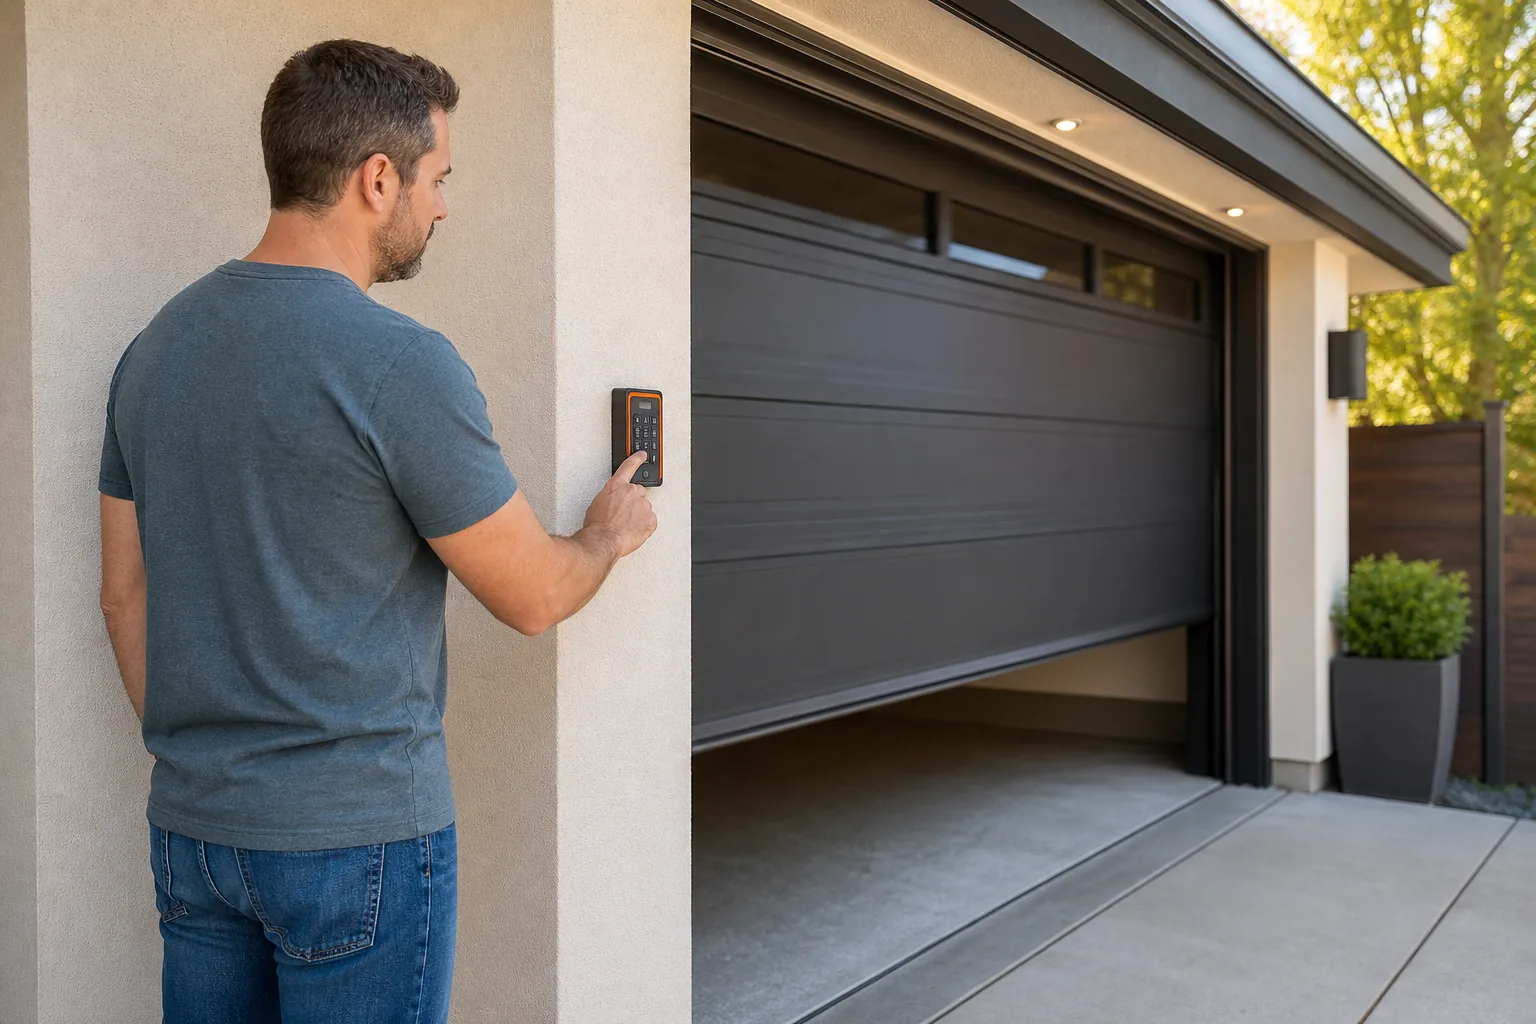
Stand outside the door. Enter the PIN at a normal pace. Press the final command key once. Watch the door as it starts moving. Let it open fully, then close it with the keypad or another approved control.
Test the code two or three times. Try it with the cover open and closed if the keypad design allows that. Check that the buttons respond without excessive force. A delayed response may point to a weak battery or poor pairing.
Use this fault check when something fails:
No lights or beeps:Check the battery direction and fit. Replace it if needed.
The keypad responds but the door stays shut:Repeat the pairing steps and confirm that the opener entered programming mode.
The PIN is rejected:Enter the code slowly. Then reset and program a new PIN .
The keypad works only sometimes:Inspect the battery cover, case alignment, and exposure to rain or ice.
The keypad moves on the wall:Stop using it until the screws grip solid material.
Don't test by standing under the door. If the door starts moving while someone is nearby, stop the test and clear the area. A keypad problem should never become a door safety problem.
Most tutorials focus on removing the old keypad, programming the new one, and mounting it. The research review found no wiring details across the videos, which supports a useful working assumption: many units are wireless. It does not remove the need to check your own instructions.
Write down the keypad model and the date of installation. Store the manual where you can find it later. If the code stops working, you'll know whether to start with the battery, pairing steps, or wall mount.
If the keypad still fails after a fresh battery and a full reset, the issue may be with the opener rather than the keypad. At that point, have LGFMH Construction inspect the repair rather than repeatedly drilling new holes or pressing the Learn button.
FAQ
Is a garage door keypad installation a DIY project?
Yes, many homeowners can install a wireless keypad themselves if the opener and keypad are compatible. This garage door opener keypad installation tutorial covers the main work: checking the model, setting a PIN, mounting the case, and testing the door. Stop if the wall is damaged, the unit needs unknown wiring, or you feel unsafe near the opener.
How long does it take to install a garage door keypad?
A typical wireless keypad install may take about 30 to 60 minutes when the tools and instructions are ready. Short videos can make the job look much faster, but they often omit setup and testing. Plan extra time if you must remove an old unit, repair weak mounting material, or repeat the pairing process.
Does a garage door keypad need wiring?
Most wireless keypad installations use a battery instead of a wire connected to the opener. Still, check your model's instructions before drilling or opening the case. If the keypad has terminals or a cable, turn off power and follow the wiring diagram. Don't guess at electrical connections.
Why is my new garage door keypad not working?
A new keypad may fail because of a weak or reversed battery, an incorrect PIN, incomplete pairing, or a loose mount. Start with the battery. Then repeat the opener's programming sequence exactly. If the keypad still fails after a reset, the opener may need service instead of another keypad.
Where should I mount a garage door opener keypad?
Mount the keypad on a firm wall near the garage entry, where you can reach it while standing clear of the moving door. Keep it away from direct water flow and places where ice can cover the buttons. Test the position before drilling. The cover should open fully without hitting trim or the door.
Conclusion
Improve your time with compatibility, programming, and the first door test. If the wall is damaged or the keypad needs wiring you can't confirm, ask LGFMH Construction to inspect the work. Otherwise, gather the listed tools, follow your keypad's model instructions, and test the PIN only after the mount feels firm.


Comments