Garage Door Opener Sensor Alignment Tips
- William McKracherne
- 4 days ago
- 8 min read

If your garage door starts to close, then reverses, the safety sensors may be out of line. The fix often takes a string and a level, but safety comes first. Follow these garage door opener sensor alignment tips to check the beam, set the sensors, read the lights, and test the door before you trust it again.
Table of Contents
Step 1: Gather Tools, Check Symptoms, and Shut Off Power
The first step in this garage door opener sensor alignment process is to confirm the symptoms and make the work area safe.
Most systems have two small sensors near the bottom of the door tracks. One sensor sends an invisible beam. The other receives it. If the beam breaks or the sensors point away from each other, the opener treats that condition as an obstruction.
Common signs include:
The door moves down a few inches, then reverses.
The door refuses to close from the remote or wall control.
The opener light flashes after a failed close attempt.
One sensor light blinks, looks dim, or stays off.
Gather a small level and a length of string longer than the garage opening. You may also need a screwdriver if your sensors use screws instead of wing nuts. Most fixes need no special equipment.
Before you touch a bracket or wire, unplug the opener. Turn off the garage circuit at the breaker if needed. Do not adjust wiring while the unit has power. Keep the door still, and never work on springs, cables, or other parts under high tension.
Also check the beam path. Remove a bin, tool, bike, or cobweb that could sit between the sensors. Note which light is blinking before you change anything. That gives you a useful comparison later.
LGFMH Construction can help when a sensor problem is part of a wider interior or exterior repair need, rather than a small alignment job.
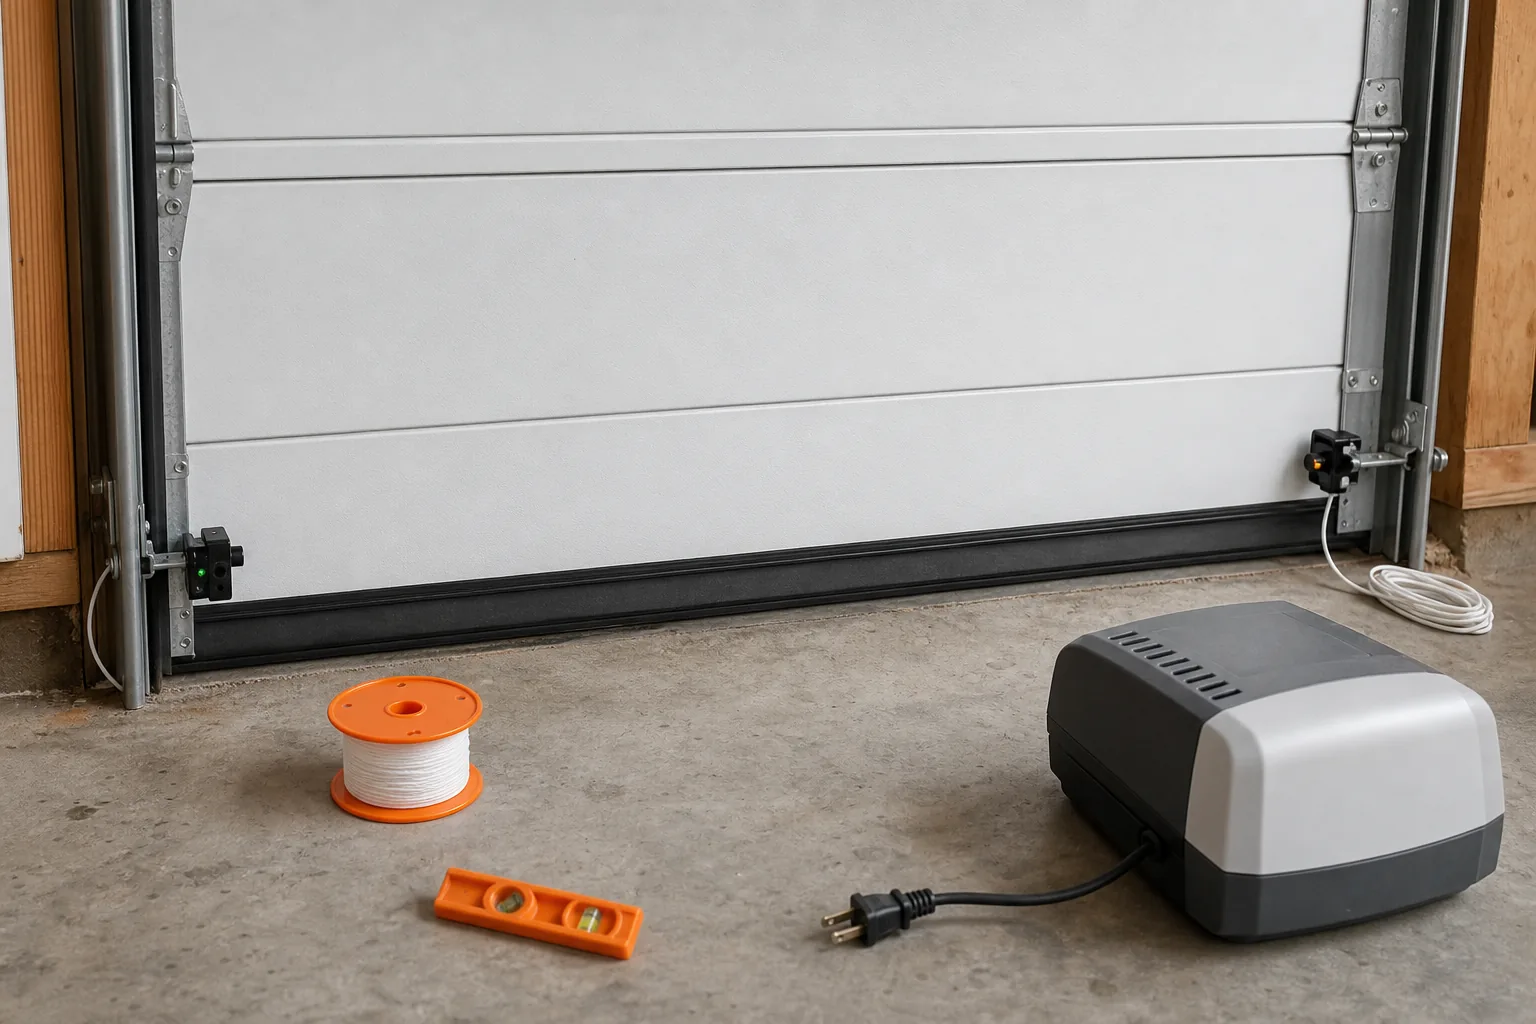
Key Takeaway:Start with a clear beam path and a fully disconnected opener. Alignment work should never begin around live power.
Step 2: Inspect the Sensors, Wiring, and Mounting Hardware
These garage door opener sensor alignment tips work only if the sensors still have power and a sound connection.
Wipe both sensor lenses with a soft, dry cloth. Dust, dirt, cobwebs, and insect nests can weaken or block the infrared beam. Don't spray cleaner into the sensor housing.
Next, inspect the wires near each sensor. Look for a loose terminal, a torn section, a crushed spot, or a staple that pinches the wire. A wire can look connected yet move each time the door opens. That movement may cause an occasional fault that feels like misalignment.
Trace the wire back toward the opener. If you find a broken conductor or a loose terminal connection, stop before making a repair unless you're comfortable working with low-voltage wiring. Keep the opener unplugged while you inspect connections.
Check each sensor bracket by hand. The bracket should hold its position without rocking. If the bracket attaches to the door rail, inspect the rail and its wall support too. A rail that shifts can move the sensor after you align it.
Most sensors sit no higher than about six inches above the floor. Check your owner's manual for the correct height for your model. The beam needs to cross the opening low enough to detect a person, pet, vehicle, or object in the door's path.
For model-specific maintenance information, check your owner's manual. Brand layouts differ, so don't force a bracket into a position that doesn't match its design.
At this point, decide whether you have an alignment issue or a power and wiring issue. If one sensor has no light at all, alignment may not be the main fault.
Step 3: Loosen and Align the Sensors With a String and Level
The goal of this garage door opener sensor alignment step is to give both sensors the same straight, level path.
First, loosen each mounting screw or wing nut just enough for the sensor to move. Turn screws counterclockwise. Don't remove them. A loose screw can fall into the bracket, and a missing fastener makes the final position harder to hold.
Use your hands to slide both sensors down as far as their brackets allow. Don't pry on the housings or use a power tool. Small sensor cases can crack, and excess force can bend the bracket.
Now tie one end of the string to the bracket or sensor on one side. Run it across the opening to the matching point on the other side. Pull it tight enough to form a straight guide, but don't pull so hard that you move a bracket.
Place the level under the string. Adjust one bracket at a time until the bubble sits in the center. The string shows the side-to-side path. The level checks whether that path rises or falls across the opening.
Look at the sensor faces as you work. They should point straight at each other, not inward, outward, up, or down. There is no widely stated public tolerance in the checklist sources for a specific fraction of an inch or degree. In practice, a straight and level string plus steady indicator lights is the useful target.
Once the string is level, tighten each screw or wing nut while holding the sensor still. Recheck the string after tightening. If the sensor moved, loosen it slightly and repeat the adjustment. The fastener must hold the sensor through normal vibration.
Remove the string only after both brackets feel firm. Keep the opener unplugged until the next step.
Pro Tip:Take a quick photo of the bracket position before loosening it. If the setup gets confusing, you have a record of the starting point.
Step 4: Confirm LED Indicators and Interpret Diagnostic Flash Codes
The lights give you the fastest check after a garage door opener sensor alignment adjustment.
Sensor light colors vary by brand and model. One sensor may show amber or orange as the sending unit. The receiving sensor often shows green. Don't assume both lights must be green. The key sign is that the indicator lights stay steady rather than blink or flicker.
A blinking or dim receiving light usually means the receiver isn't getting a clean beam. Check the sensor face first. Then check the bracket, wire, and angle. Sunlight aimed straight into a receiver can also cause trouble at certain times of day. If the fault appears only in bright afternoon light, shade the sensor during diagnosis and check the owner's manual for a lasting fix.
Your opener may also report a fault through its own lights. Some LiftMaster and Chamberlain systems use a sequence in which the up arrow flashes four times and the down arrow flashes six times. Other units show the learn light flashing four times at regular intervals. Treat those codes as model-specific clues, not universal rules.
Opener features and controls vary across models. Find the manual for your exact unit before relying on a flash pattern or pressing program buttons.
Don't bypass the sensors, tape them in place, or hold the wall button to defeat the safety system. The opener is designed to refuse a normal close when it can't confirm the beam. That refusal is a warning, not a setting to defeat.
If the lights remain off after you restore power later, inspect the wire path again. If the sending light has no power, alignment cannot fix the fault. A failed sensor or opener circuit may need service.
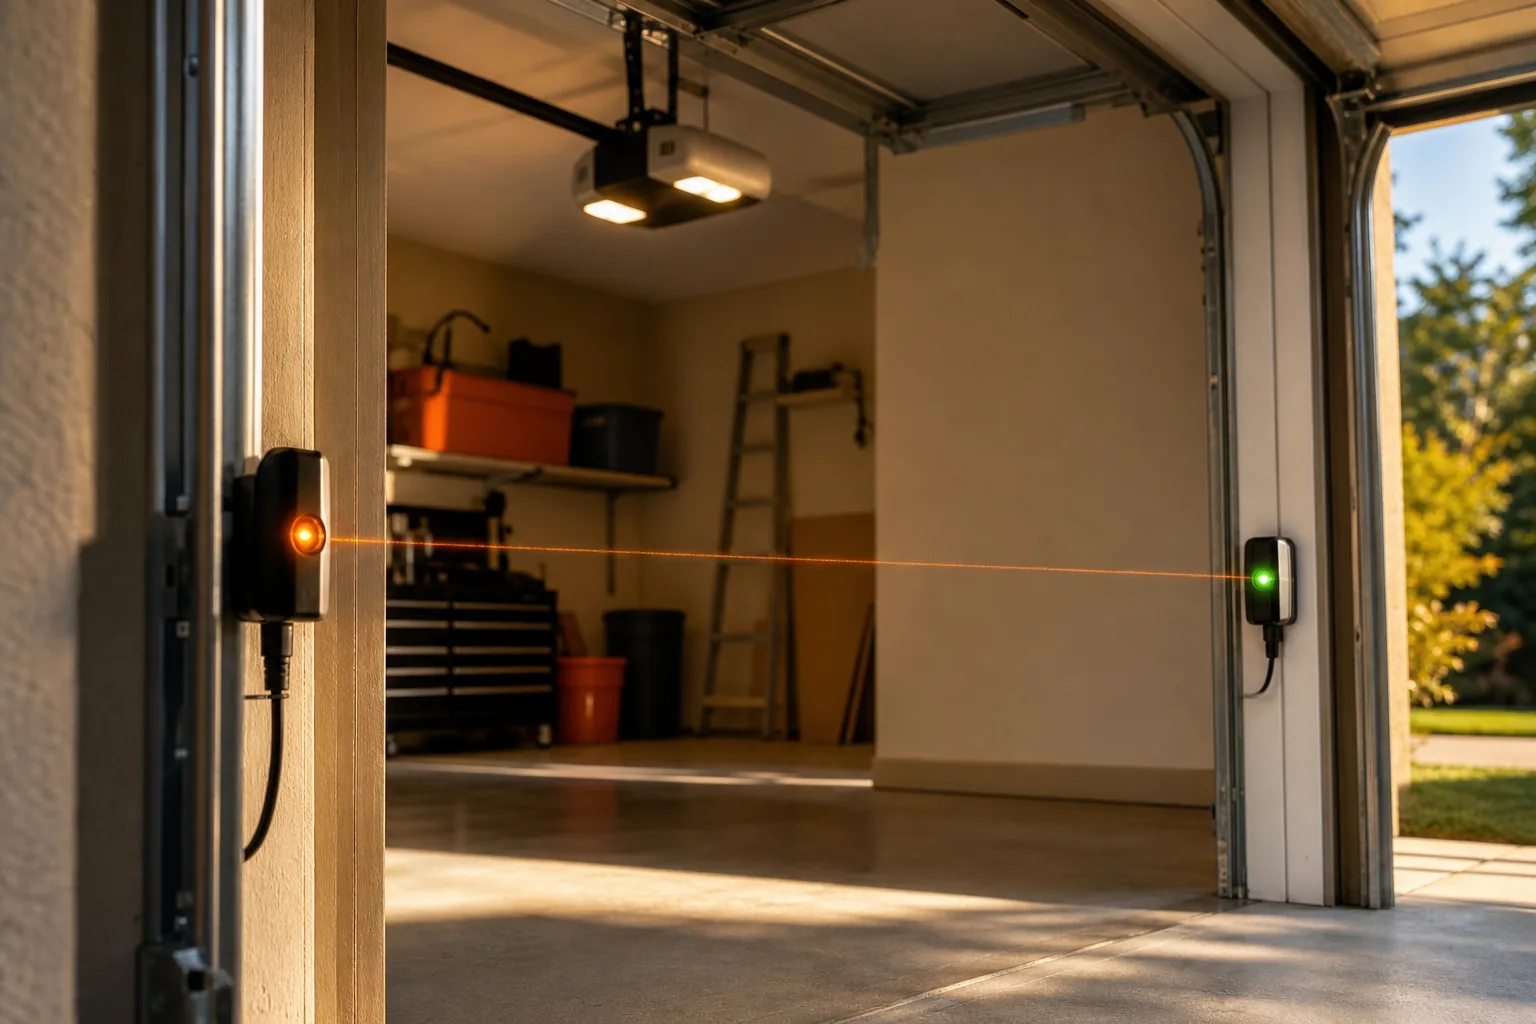
Step 5: Restore Power, Test the Safety Reverse, and Troubleshoot
The final garage door opener sensor alignment check is a safety test, not just a door-cycle test.
Remove tools and the string from the opening. Make sure no one, pet, or vehicle is near the door. Plug in the opener or switch the breaker back on. Wait for the sensor lights to settle.
Open the door fully. Place an object on the floor beneath the center of the door. Stand clear, then use the remote or wall control to close the door.
The door should touch the object and reverse back to the open position. If it touches the object and keeps moving down, stop using the opener. Do not repeat the test until the safety system works correctly.
Run the test at at least three points across the beam path. This helps catch a sensor that looks aligned at one spot but loses the beam farther across the opening.
If the door still reverses without an object in its path, work through this order:
Clean both lenses again.
Check that each light stays steady.
Confirm the brackets didn't move when tightened.
Inspect wires near the sensors and opener terminals.
Check the rail and wall bracket for movement.
Look for sunlight aimed into the receiving sensor.
If the fault returns after a day or two, the bracket may be shifting, the wire may be damaged, or a sensor may be failing. Repeated alignment is a clue that the root problem is mechanical or electrical.
LGFMH Construction is a sensible next step when you want the issue checked as part of broader interior and exterior repairs. If the opener itself is damaged or must be changed, its garage door opener replacement guide can help you understand the larger repair before you decide how to proceed.
Stop and get professional help if you see frayed wiring inside the opener, a damaged rail, bent door hardware, broken springs, or a door that feels unusually heavy. Sensor alignment is a small adjustment. Spring and cable work is not.
FAQ
How do I know if my garage door sensors are misaligned?
Misaligned garage door sensors often cause the door to reverse, refuse to close, or flash the opener lights. Check the two sensor LEDs near the floor. If one light blinks, flickers, or stays off while the other remains steady, clear the beam path and inspect the brackets before adjusting the sensors.
Should both garage door sensor lights be green?
No, both garage door sensor lights don't have to be green. Color depends on the opener brand and sensor role. One light may be amber or orange while the receiver shows green. For these alignment tips, focus on steady lights and a clear beam, then confirm the exact meaning in your owner's manual.
How high should garage door safety sensors be mounted?
Garage door safety sensors are commonly mounted no higher than six inches above the floor. The exact setup can vary by model, so check the manual before moving a bracket. The low position lets the beam detect an object across the door opening instead of passing over it.
Can I align garage door sensors without a level?
You can make a rough adjustment by watching the LEDs, but a level gives a better result. Stretch a tight string between the brackets, then use the level to check the line. This garage door opener sensor alignment method helps reveal a slight rise or drop that your eyes may miss.
Why do my garage door sensors keep going out of alignment?
Repeated sensor faults often point to a loose bracket, moving rail, damaged wire, or a sensor that is starting to fail. Vibration can shift a bracket after you tighten it. Clean the lenses, inspect the wire, and recheck the hardware. If the problem returns, have LGFMH Construction assess the wider repair need.
When should I call a professional for garage door sensors?
Call a professional when the lights stay off after cleaning and alignment, wiring is damaged, the rail moves, or the door fails the reverse test. Never bypass the sensors. Also stop DIY work if springs, cables, or heavy door hardware appear damaged because those parts can cause serious injury.
Conclusion
Use a string and level to set the sensors on the same straight path, then tighten the brackets and complete the reverse test. If the lights still fail or the fault keeps returning, stop adjusting and ask LGFMH Construction about the repair rather than leaving a safety system unreliable.


Comments