Garage Door Opener WiFi Compatibility How-To
- William McKracherne
- 6 days ago
- 13 min read

That old garage clicker may not be the problem. The opener, wiring, safety sensors, and WiFi module must all agree before a smart upgrade works. This guide shows you how to check compatibility, install a controller, connect the app, add voice control, and fix the issues that stop most setups.
One detail surprises many DIY installers: some feature-packed controllers no longer need a wired door sensor, while others still need a long wire run. LGFMH Construction can help if the opener, door, or wiring needs repair before you add smart control.
Table of Contents
Step 1: Check Your Garage Door Opener’s Compatibility
The goal is to confirm that your opener can accept a smart module before you buy one.
Start at the motor unit mounted near the ceiling. Find the brand and full model number. The label may sit on the side, under the light cover, or near the back panel. Take a clear photo. You’ll need it when the controller app asks you to choose the opener.
Then check the controller maker’s compatibility list. Don’t rely on the word “universal” alone. A module may work with many brands but still need an adapter for a certain model or control system.
Check these points:
Brand and model:Write down both, not only the brand.
Wall-button wiring:Look for terminals that connect to the wired wall control.
Safety sensors:Confirm that the opener has working photo-eye sensors near the floor.
Control method:Note whether the opener uses standard terminals or a proprietary system.
Door count:Decide if one module must control one door or several.
A very old opener may lack modern safety sensors. It may also use wiring that a retrofit module cannot read. In that case, the smart controller isn’t the first repair. The opener may need service or replacement before remote control is safe.
Compatibility data is often thinner than buyers expect. Verify the exact model before ordering, especially with an older opener.
The compatibility guide can help you compare the opener label, sensor setup, and smart-home platform before installation.
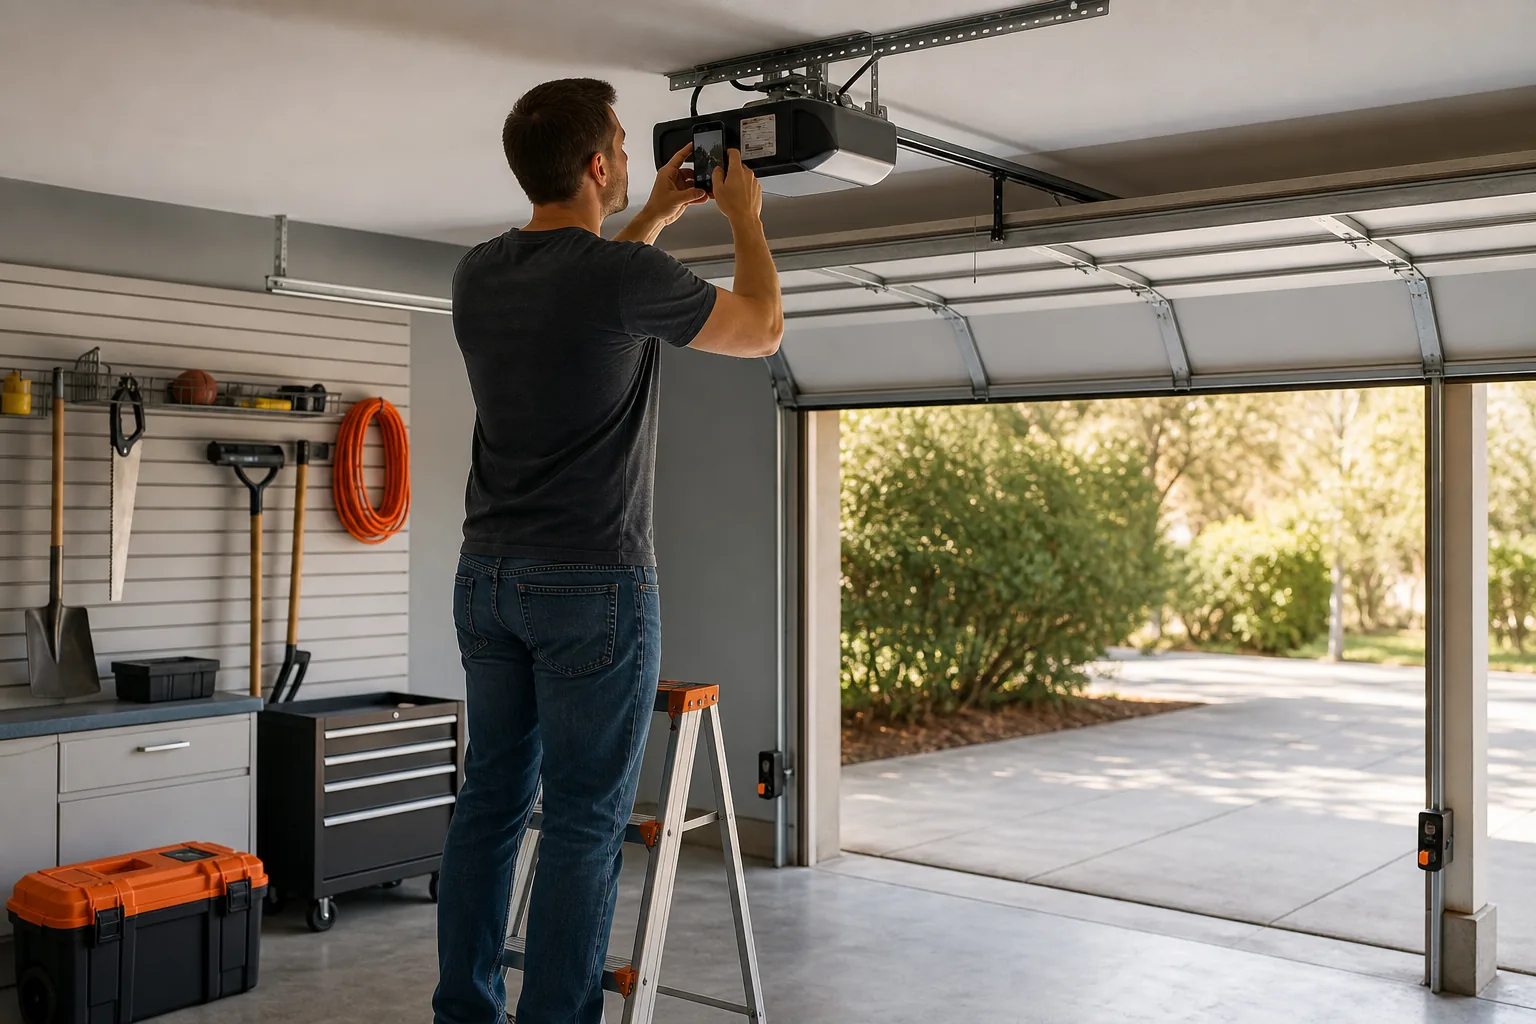
Stop here if:the opener has no working safety sensors, the terminals are damaged, or the model is missing from the controller’s list. LGFMH Construction can inspect the opener and handle repair or replacement before a smart module is fitted.
Step 2: Choose Between WiFi, Zigbee, and Bluetooth Modules
The right connection type depends on how you use the garage and which smart-home system you already own.
Connection | Best fit | What to check | Main trade-off |
WiFi | Remote access from outside the home | Signal strength near the opener and supported network band | It depends on home internet and may drop when the garage has weak coverage |
Zigbee | A home with an existing Zigbee hub | Hub support, device pairing, and local automation rules | It usually needs another hub or bridge |
Bluetooth | Local phone control near the garage | Phone range and whether remote access needs a bridge | It may not provide full control while you’re away |
For most homeowners who want alerts while away, WiFi is the simplest starting point. A weak signal can still ruin the experience. Test your phone in the garage before you buy. If pages load slowly or the connection drops, move the router, add a suitable access point, or choose a system with another connection path.
Bluetooth can work well when you mainly open the door as you arrive. It is less useful if you want to check the door from work. Zigbee makes sense when your home already runs on that system and you want the garage inside the same local network.
Feature differences matter too. Genie Aladdin Connect can control up to three doors, but its published requirements include a large coil of wire between the opener and a wall location. Chamberlain Smart Garage Control is described as easy to install, though its smart-home integration is more limited. iSmartgate Pro supports Alexa, Apple Home, Google Home, and Samsung SmartThings, but its listed positioning is a good controller at a higher price.
Before you choose, write down the one feature you won’t give up. It might be remote status, voice control, support for two doors, or no added wiring. That short list prevents a cheap module from becoming an expensive mismatch.
Official product details can change, so review the product information before you purchase.
Step 3: Prepare the Opener, Power, and Installation Area
The goal is to make the work area safe, dry, powered, and easy to reach.
Close the garage door. Unplug the opener before touching its terminals. If you need a ladder, place it on a level floor and keep the door fully closed while you work. Never work beneath a moving door or reach into the spring system.
Find an outlet near the planned hub location. The controller needs steady power. Avoid loose extension cords that cross the door path. If the only outlet is damaged, overloaded, or too far away, stop and have the electrical issue fixed first.
Check the WiFi signal at the motor and at the wall where the hub may sit. Metal storage racks, foil-backed insulation, and large appliances can weaken the signal. A controller that pairs beside the router may fail once you mount it at the far end of the garage.
Clear the installation area. Remove dust from the opener housing and wipe the door panel where an adhesive sensor will sit. Use a dry, clean surface. Adhesive placed over oil or grit can fall during a hot or cold day.
Gather the parts before you begin:
The controller or hub
Its power adapter
The door-position sensor
Mounting screws or adhesive strips
A screwdriver and small level
Cable ties for loose wire
Read the module instructions before you remove any opener cover. Some systems connect to wall-control terminals. Others pair through a program button. Never guess which terminals to use by color. Terminal labels differ across brands.
If your opener has a battery backup, don’t assume the smart module shares that backup. A power cut may leave the opener working while the WiFi hub goes offline, or the reverse. Check the exact equipment you own to confirm how these features work together.
Pro Tip:Take a photo of every wire before disconnecting it. Keep the photo with the module manual. It gives you a safe reference if you need to undo the install.
At this point, you should have a powered outlet, a strong enough network signal, and a clear path for any required cable.
Step 4: Mount the Hub, Connect the Wiring, and Position the Sensors
The goal is to connect the module without putting wire or sensor parts in the door’s path.
Start with a temporary test. Keep the hub on a bench or shelf. Connect the two control wires exactly as the manual shows. On some openers, these wires attach to the same terminals used by the wall button. On others, the controller may need an adapter or a different pairing method.
Do not use trial and error on live terminals. If the instructions call for a program button, use that method. If the module includes a quick compatibility test, run it before you mount anything. The door may move during pairing, so clear people, pets, vehicles, and tools from the opening.
Once the controller passes the test, choose a mounting spot. A wall location keeps buttons reachable and makes status lights easy to see. Keep the hub away from large metal objects. One setup guide recommends mounting its hub about six feet above the floor and at least four feet from metal objects. Follow your own manual if it gives different distances.
Mark the screw holes. Use anchors for drywall. Use screws suited to a stud or wood frame. Keep the hub level enough that its buttons are easy to press, but don’t place it where a raised door, track, or vehicle can strike it.
Route the control wire along a fixed surface. Leave enough slack at each end for service. Secure the wire with ties or clips. Keep it away from the trolley, chain, belt, rollers, springs, and hinges. A neat wire run is safer because you can see it during later checks.
Next, mount the door sensor. Most sensors have two parts or a sensor body that detects movement. Follow the orientation mark. If the sensor says “top,” that side must face the ceiling. A sensor mounted upside down can report the wrong status.
Place the sensor on a firm section of the moving door, often near an upper corner. The fixed part must sit close enough for the sensor to detect its position. If the gap is adjustable, use the distance in the manual. Don’t place either part where it can hit a track, roller, belt, or hinge.
Clean both surfaces first. Press adhesive strips firmly for the time stated in the instructions. If you use screws, avoid drilling into a section that can weaken the door panel. Run any sensor wire along the wall or ceiling, then fasten it where nothing can snag it.
Test the door by opening it a short distance, then closing it. Watch the sensor and the door hardware. Stop if the wire pulls tight, the sensor shifts, or the door touches any part of the install.
Now open and close the door from the app or controller button. The status should match the physical door each time. If the door is closed but the app says open, fix the sensor position before you continue.
Key Takeaway:A smart module controls the opener, but the sensor tells the app what the door is doing. Treat both parts as safety equipment.
Step 5: Set Up the App and Connect the Module to WiFi
The goal is to pair the phone, hub, home network, and opener in the order the app expects.
Install the companion app from the official app store. Create an account with a strong, unique password. Keep the WiFi password nearby, but don’t type it into a note that other people can access.
Plug in the hub. Wait for the pairing light described in the manual. Many setups use Bluetooth for the first phone-to-hub connection. Select “add device” in the app, choose the correct garage controller, and allow the requested permissions.
Enter the WiFi details when prompted. Type the network name and password with care. A single extra space can make pairing fail. If the app only supports a certain WiFi band, connect your phone to that band during setup or follow the app’s instructions for temporary pairing.
Keep the phone close to the hub until setup finishes. Don’t switch apps while the credentials transfer. Wait for the confirmation message before you move the hub to its final mount.
Pair the door sensor next. If it has a battery tab, remove it. Press its pairing button when the app asks. Watch for the sensor light or status change. Then name the door with a clear label such as “Main Garage.” That matters when you add a second door later.
Run three tests:
Open the door with the app while standing nearby.
Close it after checking that the opening is clear.
Turn off your phone’s WiFi and test status through mobile data.
The third test checks remote access. If the door works only on your home network, the hub may not have finished cloud setup or the account may need another confirmation step.
Save the app login in a password manager. Don’t share the main account with every family member. Most systems handle shared access inside the app, which gives you a way to remove a person later.
Step 6: Add Voice Assistants, Automations, and Secure Access
The goal is to add convenience without giving remote door control to every device or guest.
First, finish the basic app setup. Voice control should be the last layer, not the first test. If the door status is wrong in the main app, Alexa, Google Assistant, or Siri will not fix it.
Open the smart-home platform you use and add the controller’s service or skill. Sign in with the controller account. Choose the named garage door. Test a status request before testing an open or close command.
Voice commands need care because a garage door is a physical security point. Use a spoken confirmation, a phone approval, or another safeguard when the platform supports it. Keep smart speakers away from open windows or areas where visitors can issue commands.
Available integrations vary by module. Genie Aladdin Connect supports Alexa, Google Home, and Siri Shortcuts. iSmartgate Pro lists support for Amazon Alexa, Apple Home, Google Home, and Samsung SmartThings, with an optional camera add-on. Chamberlain Smart Garage Control has integrations that include Alarm.com, Ring, and IFTTT, though its smart-home support is more limited.
IFTTT can help with routines when the controller supports it. For example, you might make a rule that sends an alert when the door stays open past a set time. Treat third-party automations as optional. A monthly fee may apply to a service, and an automation can fail when an account link expires.
Schedules can close the door at a set time, but use them with care. A schedule should never close the door when a person, pet, or vehicle may still be inside. A better first rule is a reminder or alert. Once you understand the door’s daily pattern, decide if automatic closing is safe.
For more than one door, buy the correct number of sensors and give each door a distinct name. A controller may handle several doors, but that does not mean one sensor can track them all. Genie’s controller, for example, is described as supporting up to three doors, while other kits focus on one.
Share access through the app rather than handing out your main login. Give a family member only the access they need. Remove old users when a tenant, contractor, or guest no longer needs entry.
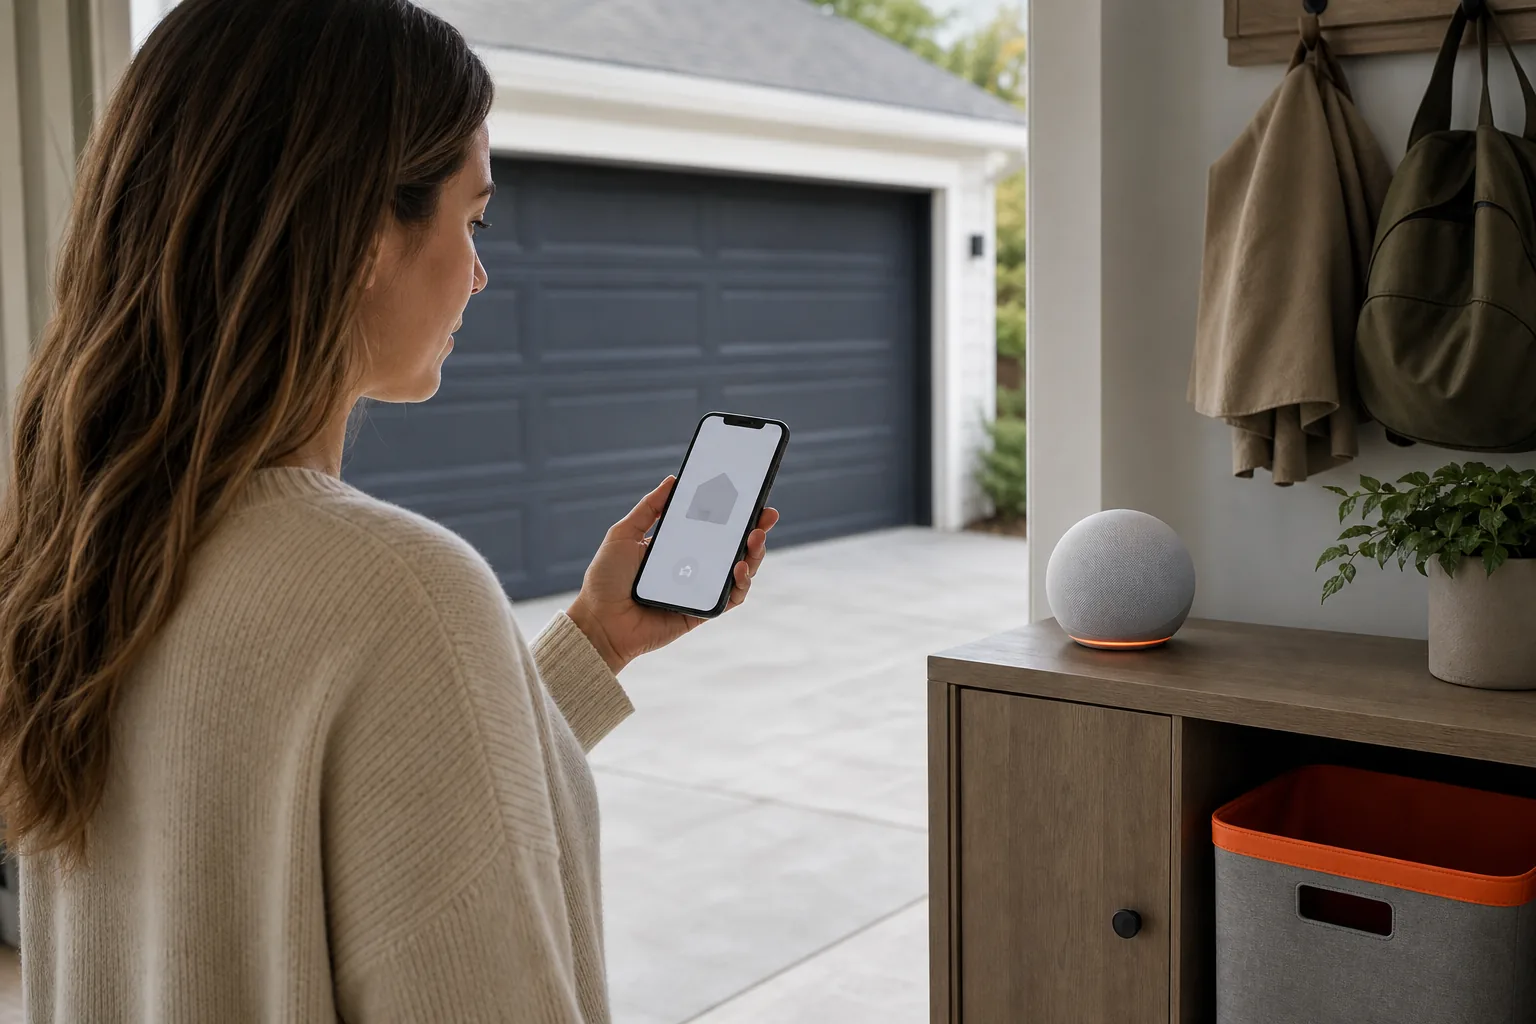
Use a unique password for the controller account. Turn on multi-factor authentication if the service provides it. Keep your phone locked. Review connected services twice a year and remove anything you no longer use.
Security is a habit, not a single setting. A smart garage can tell you the door is open, but you still need to decide who can issue a command.
Step 7: Troubleshoot Connectivity, Sensors, Power, and Firmware
The goal is to isolate one fault at a time instead of resetting every device at once.
When the module won’t connect to WiFi
Move your phone close to the hub. Confirm that the network name and password are correct. Check whether the garage has a weak signal caused by distance, metal storage, concrete walls, or nearby electrical equipment.
Restart the hub and router, then try setup again. Keep the hub near its final location during the test. A controller that works on a kitchen counter may fail beside the opener.
Some smart devices do not support every network setup. Check the module instructions for supported bands, security settings, and pairing steps. Don’t split your home network or change router settings unless you understand what the change will affect.
When the app shows the wrong door status
Check the sensor’s direction first. The marked top should face the right way. Then check the gap between the sensor parts or the fixed and moving surfaces.
Open and close the door while watching the sensor. If the status changes only when you press the sensor by hand, the mount may be loose. If adhesive has lifted, clean both surfaces and remount it with the approved hardware.
Keep sensor wires tight against the wall. A hanging wire can catch on moving parts. If the app reports open after the door closes, don’t trust remote close commands until the sensor reads correctly.
When the opener clicks but the door does not move
Inspect the controller wires at both ends. A loose wire can send an intermittent signal. Check the wall button too. If the wall button cannot operate the door, the issue may be the opener rather than the WiFi module.
Look for a damaged terminal, broken wire, or proprietary control system. Don’t bypass photo-eye sensors. They are part of the opener’s safety system.
When the hub keeps losing power
Test the outlet with another safe device. Make sure the power adapter is fully seated. Keep the adapter away from water, heat, and the door’s moving path.
A hub may not have battery backup even when the opener does. During a power failure, the app may show the door as unavailable. If remote access matters during outages, ask the manufacturer whether its hub supports backup power. Don’t add a random battery pack unless the instructions approve it.
When commands fail after an update
Check the app for firmware notices. Install updates only through the official app or manufacturer process. Keep the phone nearby and don’t unplug the hub during the update.
After an update, test the wall button first. Then test the app. Finally, check voice control and automations. If one layer fails, you’ll know where the problem sits.
Customer feedback for smart garage controllers often points to mixed connectivity and reliability, so keep the manual and model number. If repeated resets don’t solve the fault, stop cycling through guesses. LGFMH Construction can inspect the opener, wiring, sensors, and door hardware as one system.
Key Takeaway:Fix the physical door and sensor state before chasing WiFi settings. A network reset cannot repair a loose terminal or misaligned sensor.
FAQ
Can I add WiFi to any garage door opener?
You can add WiFi to many openers, but not every model accepts every module. Check the brand, model number, wall-control terminals, safety sensors, and controller compatibility list first. Very old openers or systems with proprietary wiring may need an adapter, service, or replacement before smart control will work safely.
How do I check garage door opener WiFi module compatibility?
Check the opener’s full model number against the module maker’s compatibility list. Then confirm the opener has working photo-eye safety sensors and the control method the module requires. Brand names alone aren’t enough. Model-level details are often missing, so verify with the manufacturer or a qualified repair pro before buying.
Do smart garage door controllers need a wired sensor?
Some controllers need a wired door sensor, while others use a wireless sensor or no wired sensor for many supported openers. Genie Aladdin Connect is noted for requiring a large wiring run in some installations. Always check the kit contents and wiring requirements before you choose a module based on features alone.
Why does my garage door WiFi module keep disconnecting?
A weak WiFi signal is the most common place to start, but it isn’t the only cause. Check the hub’s distance from the router, nearby metal objects, power stability, and the sensor connection. Restart the hub and router once. If the problem returns, test the physical wiring and update the module firmware.
Is it safe to open a garage door with Alexa or Google Assistant?
Voice control can be safe when you use account security and a command safeguard. Turn on multi-factor authentication, keep the smart speaker away from public access, and share app access instead of your main password. Use alerts before automatic closing, and never rely on voice control until the app reports the door status correctly.
Choose the module that matches your exact opener and your home network, not the one with the longest feature list. Test the sensor and app before mounting the hub permanently. If the opener or wiring is worn, LGFMH Construction can handle the repair or replacement first, so your smart upgrade starts with a safe door.


Comments