Smart Garage Door Opener Compatibility Guide
- William McKracherne
- 2 days ago
- 8 min read

A smart garage door opener can work with your home hub and still fail at the one task you need. The usual problem is a mismatch between the opener, controller, Wi-Fi setup, and voice platform. In 2026, most reviewed models claim no extra bridge, but platform support still varies. Use these five steps to check compatibility before you buy or install anything.
Table of Contents
Step 1: Identify Your Garage Door Opener and Its Requirements
Start with the opener already mounted in your garage. Smart home compatibility depends first on the motor unit and its control wiring, not on the voice assistant you want to use.
Find the brand and model number on the motor housing. Look near the light cover, side panel, or rear label. Take a clear photo of the label. Also note the door type, the number of garage doors, and whether each door has its own opener.
Next, check how the wall button connects to the opener. Many retrofit controllers connect to the same low-voltage terminals used by a wall control. Some systems need a separate door sensor. Others may need a special adapter for a less common opener design.
Make a short record before shopping:
Opener brand and model
Number of doors
Available power outlet near the opener
Wall-control terminal type
Door sensor space and mounting point
Wi-Fi signal strength inside the garage
Wi-Fi is a radio network standard used to connect devices without a wired network. That does not mean every Wi-Fi device works with every opener. The controller still needs a safe electrical connection and a sensor that can report whether the door is open or closed.
Do not guess from the brand name alone. Two openers from the same maker may use different control methods. If the label is missing, LGFMH Construction can inspect the opener as part of a wider repair or replacement visit. That is often safer than buying a controller first and finding out later that the motor or wiring needs work.
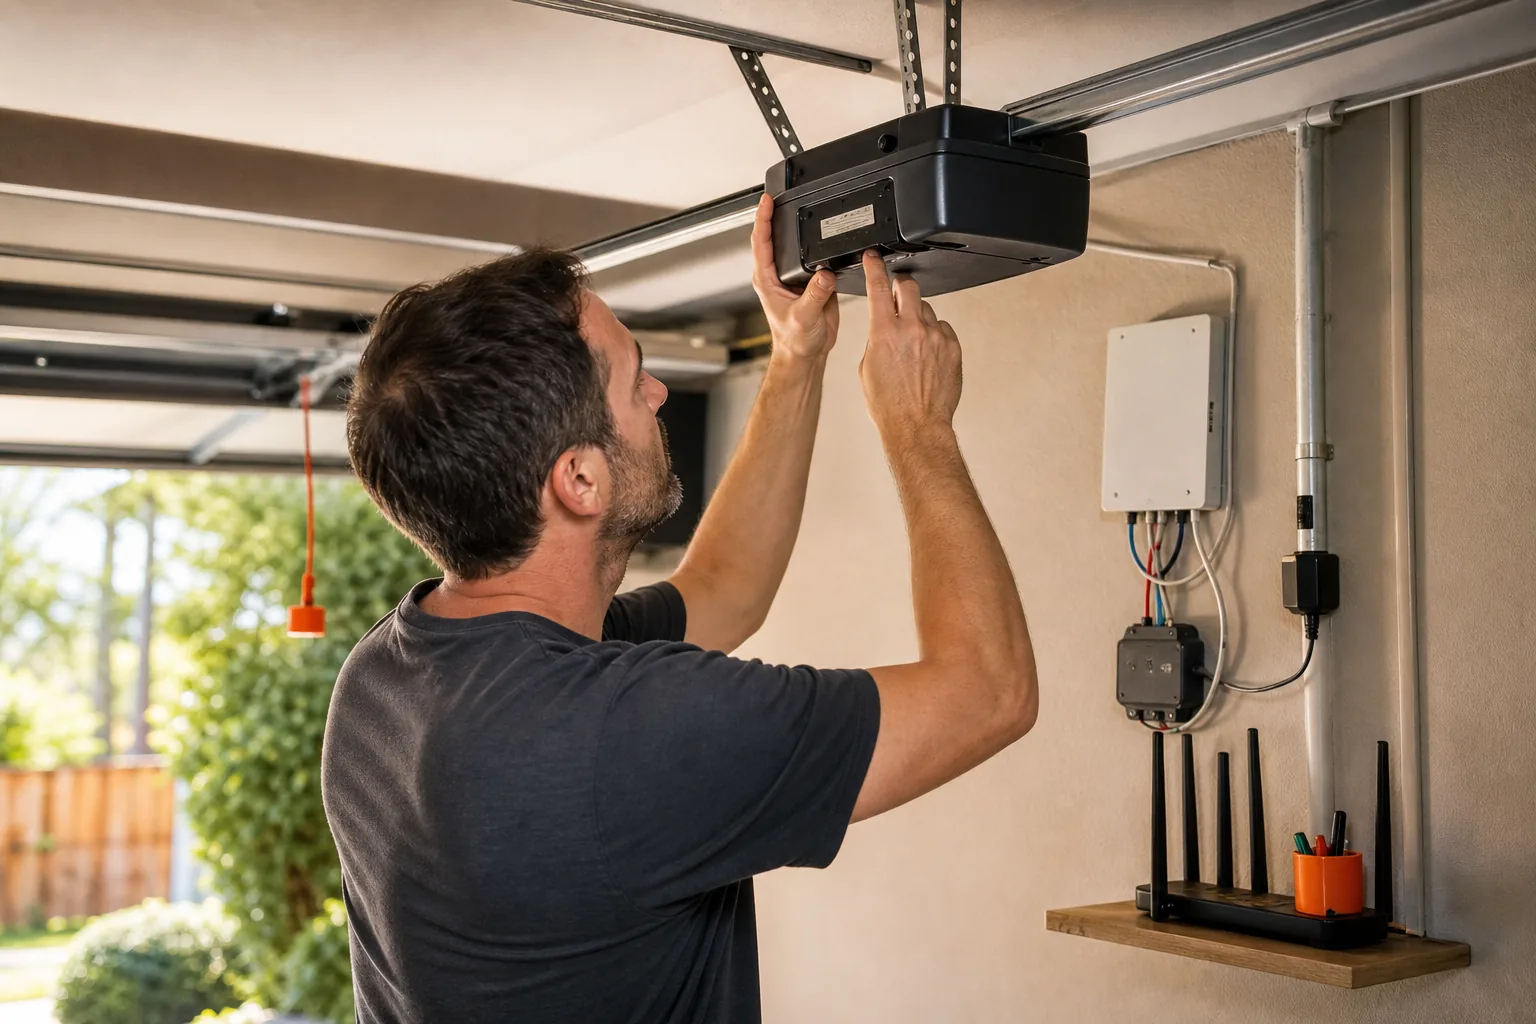
Milestone:By now, you should have the opener model, door count, wiring details, and a rough idea of your garage's Wi-Fi strength.
Step 2: Match Your Smart Home Platform to a Compatible Controller
Now match your smart home platform to a controller that lists direct support. This is the central part of garage door opener smart home compatibility because a Wi-Fi connection alone does not guarantee voice control.
Write down the platform you use today. It may be Apple HomeKit, Amazon Alexa, Google Home, SmartThings, Home Assistant, or another system. Then check the controller's current support list. Look for the exact platform name, not a broad phrase such as “works with smart home.”
Tailwind iQ3 and Meross list several major platforms. iSmartGate is aimed at Apple HomeKit users. Dominator is listed for Home Assistant. A single-platform controller can be the right pick if it fits your home, but it gives you less room to change systems later.
Controller | Listed platforms | Bridge listed? | Best fit |
Tailwind iQ3 | Apple HomeKit, Alexa, Google Home | No | Multi-door homes and subscription-free use |
Meross Smart Garage Door Opener | HomeKit, Alexa, Google Home, SmartThings | No | Budget-focused buyers |
iSmartGate | Apple HomeKit | No | HomeKit users and multiple doors |
Chamberlain myQ Smart Garage Control | Alexa | No | Homes already using its ecosystem |
Genie Aladdin Connect | Alexa, Google Assistant | No | Value-focused setups |
Tailwind iQ3 Pro | HomeKit, Google Home, Alexa, SmartThings, Home Assistant, Hubitat | No | Homes with several smart home systems |
Home automation means using technology to control home devices with limited direct input. In practice, that control may happen through an app, a voice command, or a scheduled rule. The controller still needs a reliable door state. A command that says “close the garage” is unsafe if the system cannot confirm the door's position.
Be careful with conflicting listings. One web source lists Chamberlain MyQ with Alexa only. A separate video lists Apple HomeKit and Google Home support for what appears to be the same product. Another video describes partnerships with Amazon Key, Walmart, Tesla, Mitsubishi, and Volkswagen. These claims may describe different versions, regions, or software updates.
Before you buy, check the controller's current app listing and installation guide. Save a screenshot of the compatibility page. If your setup is unusual, LGFMH Construction can help check the opener and controller pairing before installation.
Decision rule:choose the controller with direct support for the platform you use now. Give extra weight to wider platform coverage if you may change ecosystems later.
Step 3: Verify Wi-Fi, Bridge, and Voice-Control Requirements
That removes one box from the setup, but it does not remove every network requirement.
Stand in the garage with your phone. Check whether your home network reaches the opener location. A phone that drops to a weak signal may not support a dependable controller connection. Move the router closer, add a suitable access point, or ask a technician to test the signal before mounting the device.
for network limits. Some controllers need a 2.4 GHz network during setup. Others may require the phone and controller to use the same network. Do not assume that a dual-band router will handle every pairing step on its own.
Then separate three terms that are often mixed together:
Wi-Fi:the network path between the controller and router.
Bridge:a separate device that links one communication method to another.
Hub:a device or built-in function that coordinates smart home connections.
“No bridge needed” does not always mean local control. A controller may still depend on an internet connection or a vendor account. The research notes that iSmartGate lists an access point mode, while most other entries only disclose Wi-Fi. That difference matters if your internet service drops.
Voice control adds another layer. Install the controller's app first. Link the app to Alexa, Google Home, HomeKit, or SmartThings only after the door works from the controller app. Give the garage a clear name, such as “main garage,” and avoid duplicate names in your smart home account.
If setup fails, begin with the network rather than resetting the opener. Confirm the Wi-Fi password. Check the controller's status light. Then repeat setup near the router if the installation guide allows it.
Milestone:you should know whether the garage has enough signal, whether a bridge is needed, and whether voice control is direct or account-based.
Step 4: Install and Connect the Smart Garage Door Controller
Install the controller only after the opener and platform match. The goal is a firm connection that reports the door state correctly.
Unplug the opener before touching its terminals. Do not work around moving parts while the door is active. Keep fingers, loose clothing, and tools away from springs, cables, rollers, and the travel path.
Follow the controller's wiring diagram. Connect the control leads to the terminals named in the guide. Do not rely on wire color alone. Labels differ between opener models, and a wrong connection can stop the wall button from working.
Mount the door sensor where it can detect a full open and a full closed position. Clean the surface first. Keep the sensor aligned with its matching part if the kit uses two pieces. A sensor that shifts during vibration can report the wrong state.
Before final mounting, test the controller from its app. Open the door. Wait for the app to show open. Close the door. Wait for the app to show closed. Repeat this test more than once. A single successful cycle does not prove that the sensor is stable.
Still, “bridge-free” does not remove the need for power, Wi-Fi, a door sensor, or a compatible opener. The built-in hub detail also varies. Only two entries in the sample report a built-in hub, and both still use Wi-Fi.
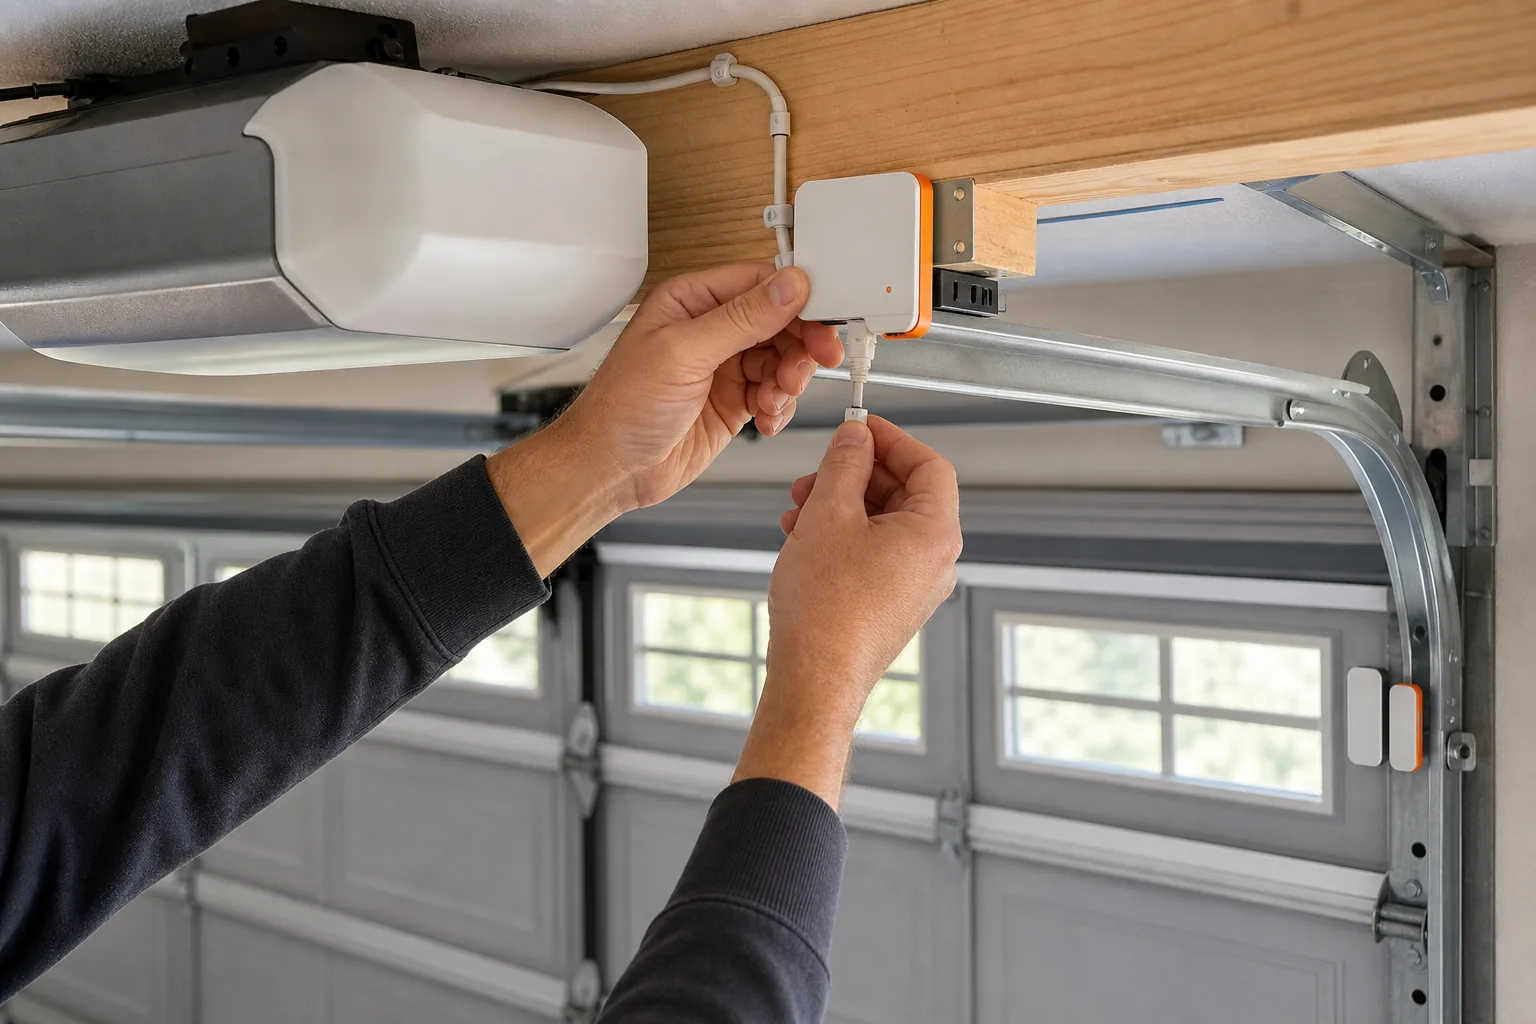
Secure every wire so it cannot catch on the opener rail. Keep the controller clear of the light cover and moving hardware. If the opener is old, noisy, damaged, or missing safe wall controls, stop the smart upgrade and address the opener first.
LGFMH Construction handles interior and exterior repairs and replacements, so it can be a useful option when the smart controller exposes a larger garage door problem. A controller cannot fix a failing motor, damaged track, broken spring, or poor door balance.
Milestone:the physical installation is complete when the wall control still works and the app correctly reports repeated open and close cycles.
Step 5: Test Automations, Security, and Remote Access
Finish by testing the features you will use every day. Garage door opener smart home compatibility is only useful when the command, door movement, and status report agree.
Start with manual control. Open and close the door from the wall button. Test the controller app next. Then test the voice command. Stand where you can see the door during every first test. Never rely on sound alone.
Check the closed-door status from outside the garage. Wait for the app to refresh. Then compare the physical door with the app message. If the app says closed while you can see a gap, stop using remote commands until the sensor is fixed.
Test one automation at a time. A useful first rule may send an alert if the door remains open. Add more rules only after that alert works. Avoid automatic closing until you understand the timing, sensor behavior, and people or vehicles that may enter the garage.
Use a unique account password.
Turn on two-step sign-in when the service supports it.
Install app and controller updates.
Remove access for people who no longer need it.
Review linked smart home accounts.
Security deserves care because a connected opener controls a physical entry point. Treat the controller like a lock, not like a basic light switch.
Remote access can fail during an internet outage. Keep the wall button and a standard manual method available. If the door behaves oddly, disconnect the smart feature and use the opener's normal controls while you troubleshoot.
Record the final setup. Note the controller model, account owner, platform link, sensor position, and reset steps. This record helps when you replace a router or hand the home to a new owner.
FAQ: Garage Door Opener Smart Home Compatibility
Can any garage door opener become smart?
Many garage door openers can work with a retrofit controller, but compatibility is not universal. Check the opener model, control terminals, sensor needs, power access, and controller support list. A damaged or outdated opener may need repair or replacement first. Garage door opener smart home compatibility depends on the complete setup, not Wi-Fi alone.
Do smart garage door openers need a bridge?
Many current controllers list no additional bridge, but you still need power, Wi-Fi, and a compatible door sensor. A built-in hub is a separate detail. It may help coordinate connections, yet it does not always provide local control or remove internet dependence. before buying.
Which smart home platform works best with a garage door opener?
The best platform is the one already used in your home and directly listed by the controller. Alexa, Google Home, Apple HomeKit, and SmartThings support varies by model.
Why does my smart garage door opener show the wrong status?
A wrong status usually comes from a misaligned, loose, or poorly placed door sensor. Check the sensor position first. Then inspect its wiring and app pairing. Test the door through several full cycles. If the app still disagrees with the physical door, stop remote commands until the fault is fixed.
Can Alexa or Google Home open my garage door?
Alexa or Google Home can control a garage door only when the controller and account integration support that function. Some services restrict opening commands or ask for an extra security step. Confirm the current platform list, enable account protection, and test commands while standing near the moving door.
Conclusion
Choose compatibility in this order: opener model, controller wiring, smart home platform, network setup, then remote features. If any part is unclear, ask LGFMH Construction to inspect the opener before you buy hardware. Your next step is simple: photograph the opener label and compare it with the controller's current compatibility guide.


Comments