Garage Door Opener Quiet Retrofit Kit DIY
- William McKracherne
- 13 minutes ago
- 9 min read

A loud garage door doesn't always need a full replacement. Often, the opener is only part of the problem. A quiet-operation retrofit kit can reduce motor noise, vibration, and rattles when you match the parts to your door. Follow these steps before you buy or install anything.
Table of Contents
Step 1: Find the Source of the Garage Door Noise
Before choosing a garage door opener quiet operation retrofit kit, find out what is making the sound. Stand inside the garage while someone runs the door. Keep clear of the moving parts. Listen at the motor, rail, hinges, rollers, tracks, and door panels.
An opener may make a sharp mechanical rattle. Some opener designs run with less drive noise and less vibration. But a quiet motor won't fix worn rollers or a door that shakes in its tracks. In many homes, the door hardware makes more noise than the opener itself.
Use these clues:
A buzzing or grinding sound near the motor may point to the opener or its mounting.
A repeated pop near each door section may come from hinges or loose fasteners.
A rough scrape along the sides often points to rollers or track alignment.
A deep vibration through the ceiling may come from weak brackets or a trolley mount.
Pull the emergency release with the door closed, then lift the door by hand only if the door is safe and easy to move. It should move without binding. If it feels very heavy, drops, or will not stay in place, stop. Springs and cables carry high force. Don't adjust or replace them as a casual DIY task. LGFMH Construction can inspect the door before you spend money on a new opener.
Take a short recording from inside the garage. Record the door opening and closing from several spots. This gives you a baseline after the retrofit. Motor type is only one part of a quiet setup. The door system itself still needs to move cleanly.
By now, you should know whether the main issue is drive noise, vibration, door hardware, or a mix of all three.
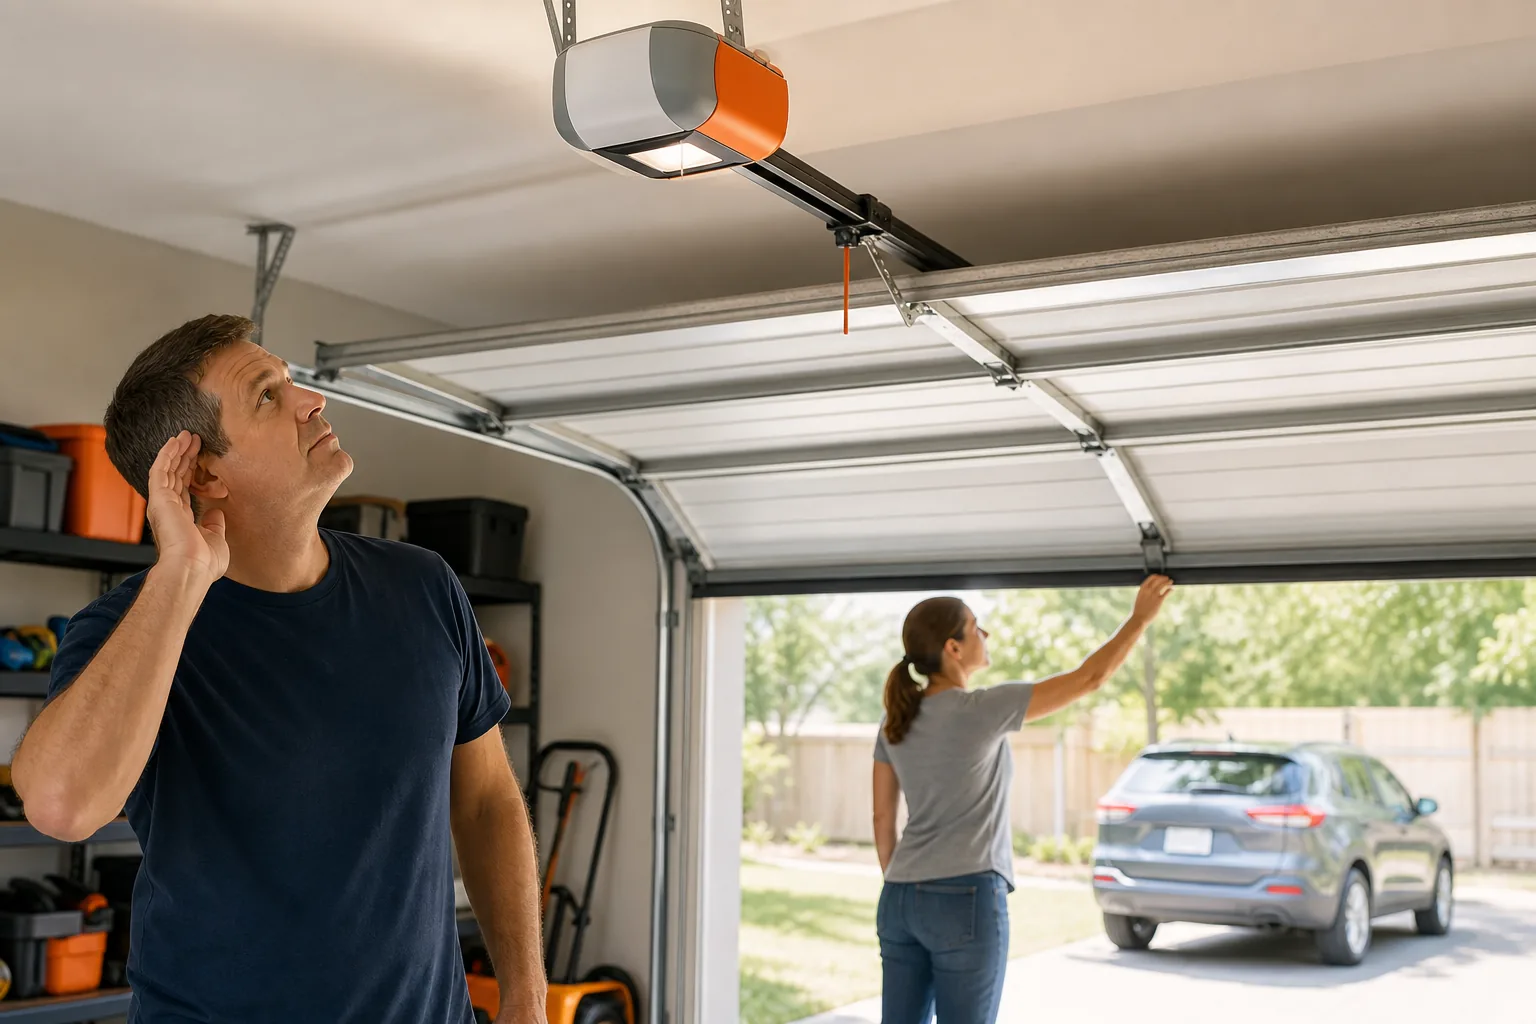
Step 2: Check Compatibility and Choose the Right Retrofit Kit
A retrofit kit only helps when its parts match the door, opener, and spring system. Write down the door height, door width, opener model, drive type, and mounting style before you shop.
Check the door first
Measure the door height. Many standard opener rails fit a 7-foot door, while taller doors may need a rail extension, a longer belt, and a different tension setup. Treat that extension as a required part, not an optional upgrade.
Check the door weight and construction. A light sectional door has different needs than a heavy wood door or a roll-up shop door. The opener rating must suit the door. A quiet kit cannot correct a door that is too heavy for the motor.
Different opener mounting arrangements do not attach in the same way. Side-mounted units sit beside the door and drive the torsion spring shaft. They can free up ceiling space and reduce vibration through the ceiling, but they need a suitable torsion setup. Some specialty spring systems may need conversion work first.
For example, some specialty spring systems may not be a direct match for a side-mounted motor. A spring conversion adds labor and parts. Do not remove a spring system just to test fit an opener. A garage door spring replacement guide from LGFMH Construction explains why spring work needs a separate safety plan.
Use this decision table
What you find | Likely retrofit path | Watch for |
Opener with sound from the motor | A quieter-drive retrofit option | Confirm rail length and door rating |
Noise from hinges and rollers | Hinge, roller, and track service | Parts must fit the door sections and track |
Low headroom or crowded ceiling | A side-mounted opener, if the torsion shaft supports it | Spring type, side clearance, and professional fit |
Roll-up or specialty door | A specialty-door opener kit | Bottom weight, shaft clearance, and binding |
Door taller than 7 feet | A suitable rail extension | Extra belt length and new tension parts may be needed |
Side-mounted systems can cost more because they need side clearance and a compatible spring shaft. Ceiling units are often the simpler choice when the rail has room and the existing brackets are sound. Choose the layout first. Choose the quiet drive second.
Don't buy a kit based on the word “quiet” alone. Match the model number, door height, spring setup, and included brackets against the installation manual.
Step 3: Install the Quiet-Operation Hardware
Install the quiet hardware in the order shown by the kit manual. Start with the door parts, then mount the opener. Disconnect power before working near wiring or the motor.
Replace door hardware with care
Support the door before removing any hinge or bracket. Replace one matching part at a time so the door sections stay aligned. Do not remove a bottom bracket, lift cable, or spring-connected part during a basic noise retrofit. Those parts can move with great force.
For rollers, compare the stem size and wheel shape with the existing track. The wheel should sit in the track without side pressure. Never force a larger wheel into a tight track. For hinges, use the same hole pattern when possible. A hinge that sits out of line can make the door flex and pop.
Clean the tracks with a dry cloth. Don't bend them with a wrench to make a new roller fit. If the track is damaged or the rollers bind, stop and have the door checked.
Mount the opener
For an opener mounted above the door, fasten the header bracket to solid framing above the door. The rail should line up with the door's center. Use structural angle or approved bracing when the kit does not include ceiling supports. Drywall alone is not a safe anchor.
Assemble the rail on the floor. Keep the trolley in the correct direction. Route the belt without twisting it. Install the idler pulley and tension hardware as the manual shows. Hand-start each fastener, then tighten it after the rail is square.
Lift the rail with help. A motor and rail assembly is awkward, even before it is attached to the ceiling. Secure the front bracket first. Then raise the motor and attach the rear supports. Leave the final alignment check until the rail is supported at both ends.
For an opener mounted beside the door, check that the motor sits square to the torsion shaft. Keep the drive parts in line. This installation is less forgiving because a poor fit can strain the shaft or door. When the spring system is unfamiliar, LGFMH Construction is a better choice than guessing above your head.
A compatible controller can add app control to some existing openers, but it does not turn a noisy drive, worn roller, or weak bracket into quiet hardware. Changing the mechanical drive system requires compatible hardware and proper installation.
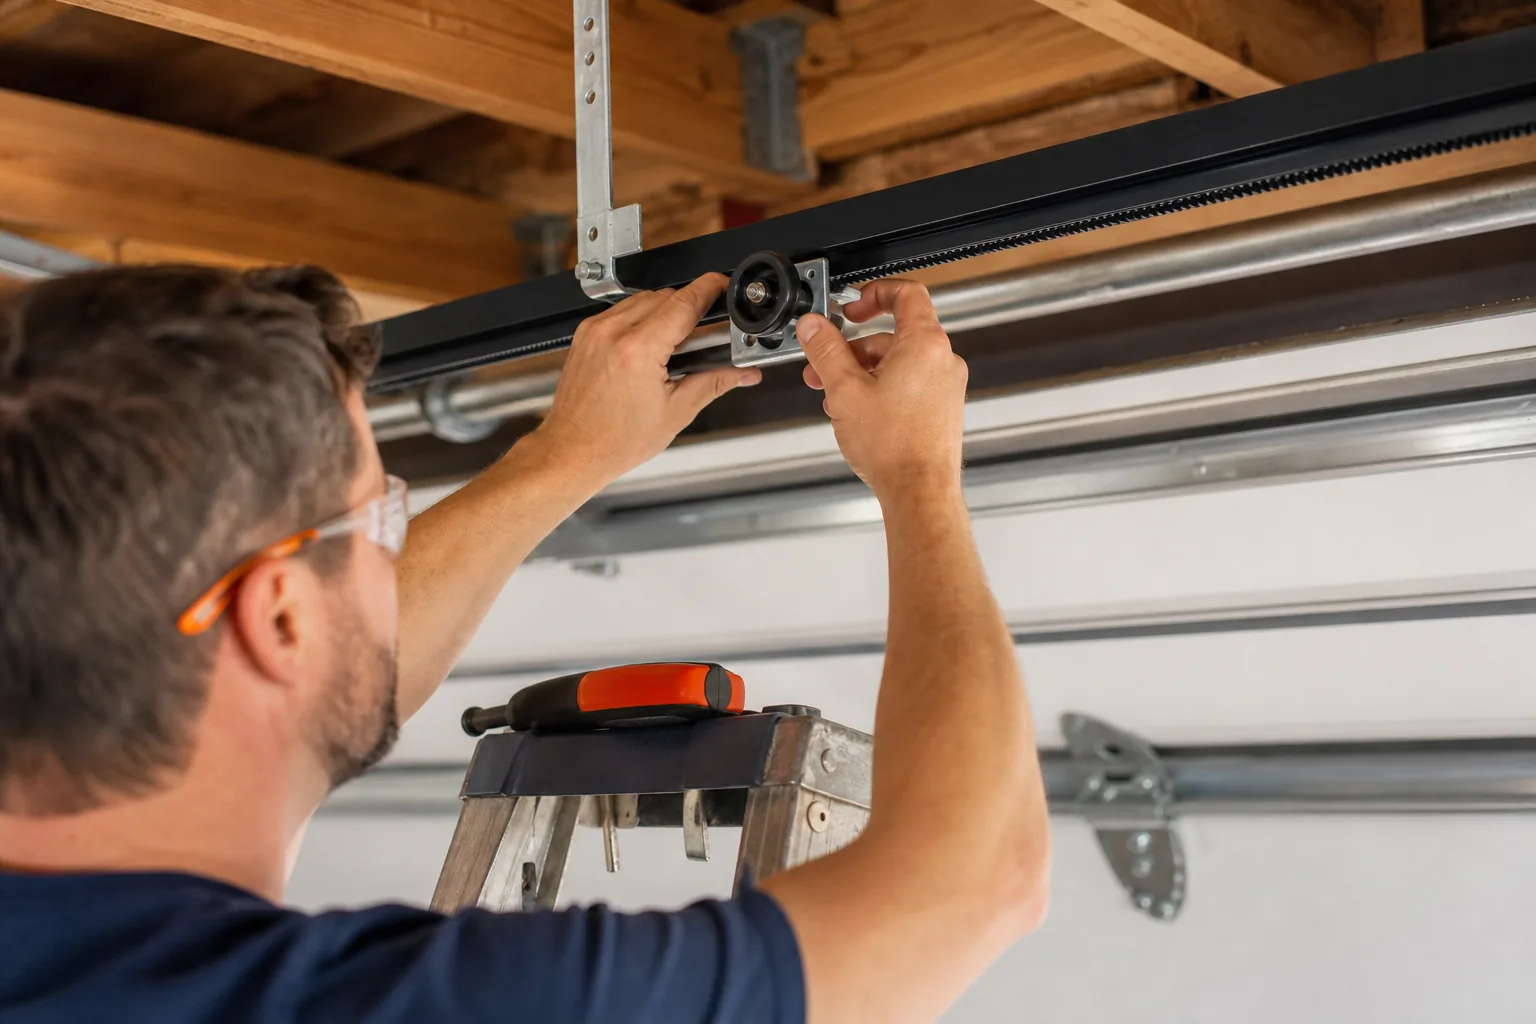
Step 4: Connect the Opener and Test Safety Systems
Connect the opener only after the rail or wall mount is secure. Follow the wiring diagram for the exact model. Turn off power at the outlet before connecting low-voltage wires, wall controls, or sensors.
Run the wall-control wire where it cannot catch on the door. Keep sensor wires away from sharp edges. At each side of the door, mount the safety sensors at the height stated in the manual. Their lenses must face each other. Tighten the brackets after the indicator lights show a clear alignment.
Don't guess at terminal locations. Opener brands use different terminals and wire layouts. Label wires before moving them if you're replacing an old unit. If the outlet, circuit, or line-voltage wiring needs work, use a qualified electrician.
Set the open and close limits before normal use. Keep the door in view while you adjust them. The closed position should meet the floor without forcing the bottom seal into the slab. The open position should stop before the door hits the rear stop or rolls too far into the track.
Run the opener's learn or calibration cycle as directed. The motor may change speed near the floor. That can be normal, but grinding, binding, or a sudden stop is not. Disconnect the opener and inspect the door if it strains.
Test every safety function
Place a solid test object of the size specified by the manual beneath the door's path. Close the door. It should reverse when it contacts the object.
Break the sensor beam while the door is closing. The opener should stop or reverse according to the model's instructions.
Test the wall button and remote from inside the garage.
Pull the emergency release, then lift the door by hand only if it moves freely. Reconnect the trolley before powered use.
Never rely on the auto-reverse test alone. Watch the first full cycles from a safe spot. A professional installation workflow includes mounting, wiring, sensor alignment, programming, and repeated operation checks. If any test fails, don't keep cycling the door.
For a visual walkthrough of belt-rail assembly and sensor testing, use the video below as a second reference. Your model's manual remains the final authority.
By now, the door should open, close, stop, and reverse without strain. If it doesn't, return to the door balance and alignment checks before changing motor settings.
Step 5: Fine-Tune, Connect Smart Features, and Maintain Quiet Operation
Fine-tuning comes after the safety tests. Run the door several times and listen for the same noise you recorded at the start. A quieter motor may reveal a squeaky hinge or a roller that still clicks at one spot.
Check the mounting points first. Tighten loose bolts without crushing brackets or bending the rail. Add approved vibration-isolating hardware only where the opener maker allows it. A soft mount that lets the motor move can make noise worse.
Adjust the door limits in small steps. Do not use force settings to hide a door that binds. If the motor pushes hard against the floor, the close limit or door alignment needs attention. If the door rises too far, lower the open limit.
Set up smart control
If the opener supports Wi-Fi, install the manufacturer's application. Put the phone on the home network during setup. Follow the pairing steps for the exact model, then test remote open and close control while you can see the door.
If the system has a camera, set motion alerts only after checking the view. The camera should show the full door area, not only the motor. A smart alert can tell you that the door moved, but it cannot replace a working safety sensor or a locked garage entry.
Keep app access limited to people who need it. Remove old users when ownership changes. If a vehicle system will not pair, use the opener's own learn button and follow the vehicle instructions instead of repeating random button presses.
Keep the sound down
Clean sensor lenses with a soft, dry cloth. Check rollers for flat spots or cracked wheels. Inspect hinges for loose screws. Lubricate only the parts named in the manual. Never spray lubricant on the belt or let it reach the sensor lenses.
For a roll-up door, watch the bottom edge during closing. Added friction from a brush seal can make the door hesitate. A door that needs extra weight to descend has a balance problem that should be assessed before you add material to it.
Use a short maintenance log. Note the date, sound changes, loose hardware, and sensor test result. The manufacturer's garage door opener maintenance guidance supports routine cleaning and inspection rather than waiting for a failure.
Call for help when the door is heavy, the spring system is unclear, the track is bent, or the opener fails a safety test. A quiet door that is unsafe is not a successful retrofit.
FAQ
Will a retrofit kit make my garage door completely silent?
No, a garage door opener quiet operation retrofit kit won't make the system silent. It may reduce motor vibration and drive noise, but rollers, hinges, tracks, panels, and ceiling mounts still create sound. Find the loudest part first. Replacing the opener alone may disappoint you if the door hardware makes most of the noise.
Is a lower-noise opener quieter than another drive system?
Usually, a lower-noise drive system produces less drive noise than another drive system. The result still depends on the door and its mounting. A worn roller can stay loud after a drive change. Listen to the door while it moves, then decide if you need a drive change, hardware kit, or both.
Is a quiet garage door opener retrofit kit suitable for DIY installation?
Yes, some ceiling-mounted retrofit work is suitable for a careful DIY installer with solid framing and a compatible model. Don't work on springs, cables, bottom brackets, or line-voltage wiring without the right training. If the door is heavy or the safety test fails, use LGFMH Construction for an inspection or installation.
Do I need an extension for a 7-foot garage door?
Many standard opener kits are made for 7-foot doors, but you still need to confirm the exact model. Taller doors commonly need additional rail components and related belt or tension parts. Measure before assembly. Finding out after the motor is mounted can mean taking the rail back down.
Are some garage door opener configurations quieter?
Some opener configurations can be quieter in a room above the garage because they don't hang from the ceiling. Their motor may sit beside the door and drive the torsion shaft. They need the right spring system, side clearance, and mounting surface. This configuration isn't a direct fit for every door.
How often should I maintain a quiet garage door opener?
Inspect the door and opener on a routine schedule, then repeat the safety tests whenever you change hardware or notice a new sound. Clean sensor lenses and watch the rollers during each check. Follow the opener manual for lubrication. A new scrape, pop, or heavy lift is a reason to stop and inspect the door.
Start with a noise check, not a shopping cart. If the door hardware is sound, choose a compatible lower-noise drive or beside-the-door setup and test every safety feature before regular use. For uncertain spring, track, or mounting work, contact LGFMH Construction to review the door and plan the retrofit safely.


Comments