How to Replace a Broken Garage Door Opener
- William McKracherne
- Jun 14
- 5 min read

Replacing a broken garage door opener is a straightforward DIY project if you follow the right steps. But one wrong move can damage the door or injure you. This guide walks you through each step safely and clearly.
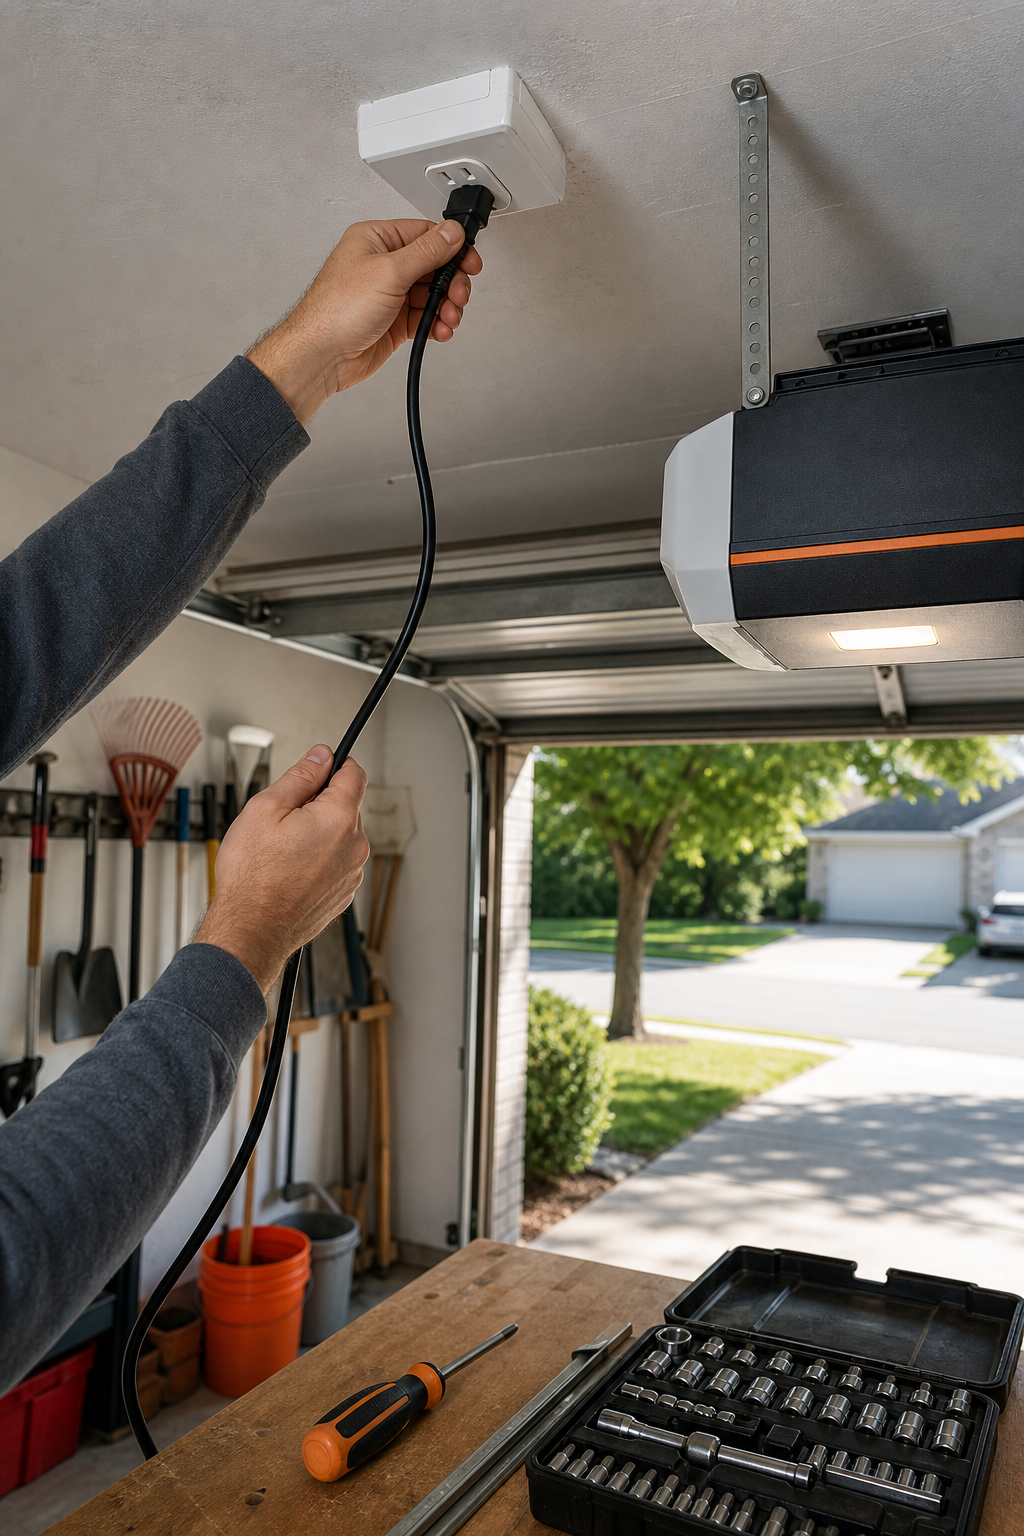
Step 1: Disconnect Power and Gather the Right Tools
Your first job is to make sure no electricity reaches the opener. Find the power cord and unplug it from the outlet. If your opener is hardwired, flip the breaker that controls it. Don't skip this step , electrical safety is critical.
Now gather your tools. You'll need a screwdriver set (Phillips and flathead), a socket wrench with appropriate sockets, a ladder, pliers, a level, a tape measure, and a rubber mallet. Also grab a marker and a notepad to label wires. Having everything on hand saves trips.
LGFMH Construction recommends laying tools on a clean surface so you don't lose small parts. If you're unsure about any step, it's worth checking our blog for professional home maintenance guides .
Key Takeaway:Disconnecting power is non-negotiable , it prevents shocks and damage to the new opener.
Step 2: Remove the Old Garage Door Opener
With power off, you can start taking down the old unit. First, disconnect the opener from the door itself. Locate the emergency release cord and pull it to disengage the carriage from the trolley. Then unbolt the arm that connects the opener to the door. Use your socket wrench to remove the bolts.
Now unscrew the opener from the ceiling. Most openers hang from brackets bolted to the ceiling joists. Have a helper hold the unit while you remove the last bolts. Lower it carefully. Label each wire with tape and a marker , this will save time when you install the new opener. Modern openers typically use a safety reversal system that automatically stops and reverses the door if it hits an object, as described in this Wikipedia article on garage door openers .
Remove the old rail and mounting brackets from the ceiling. Keep any hardware that looks reusable, like bolts and angle brackets.
Pro Tip:Before you toss the old opener, check if the rail or brackets are compatible with your new model , sometimes you can reuse them.
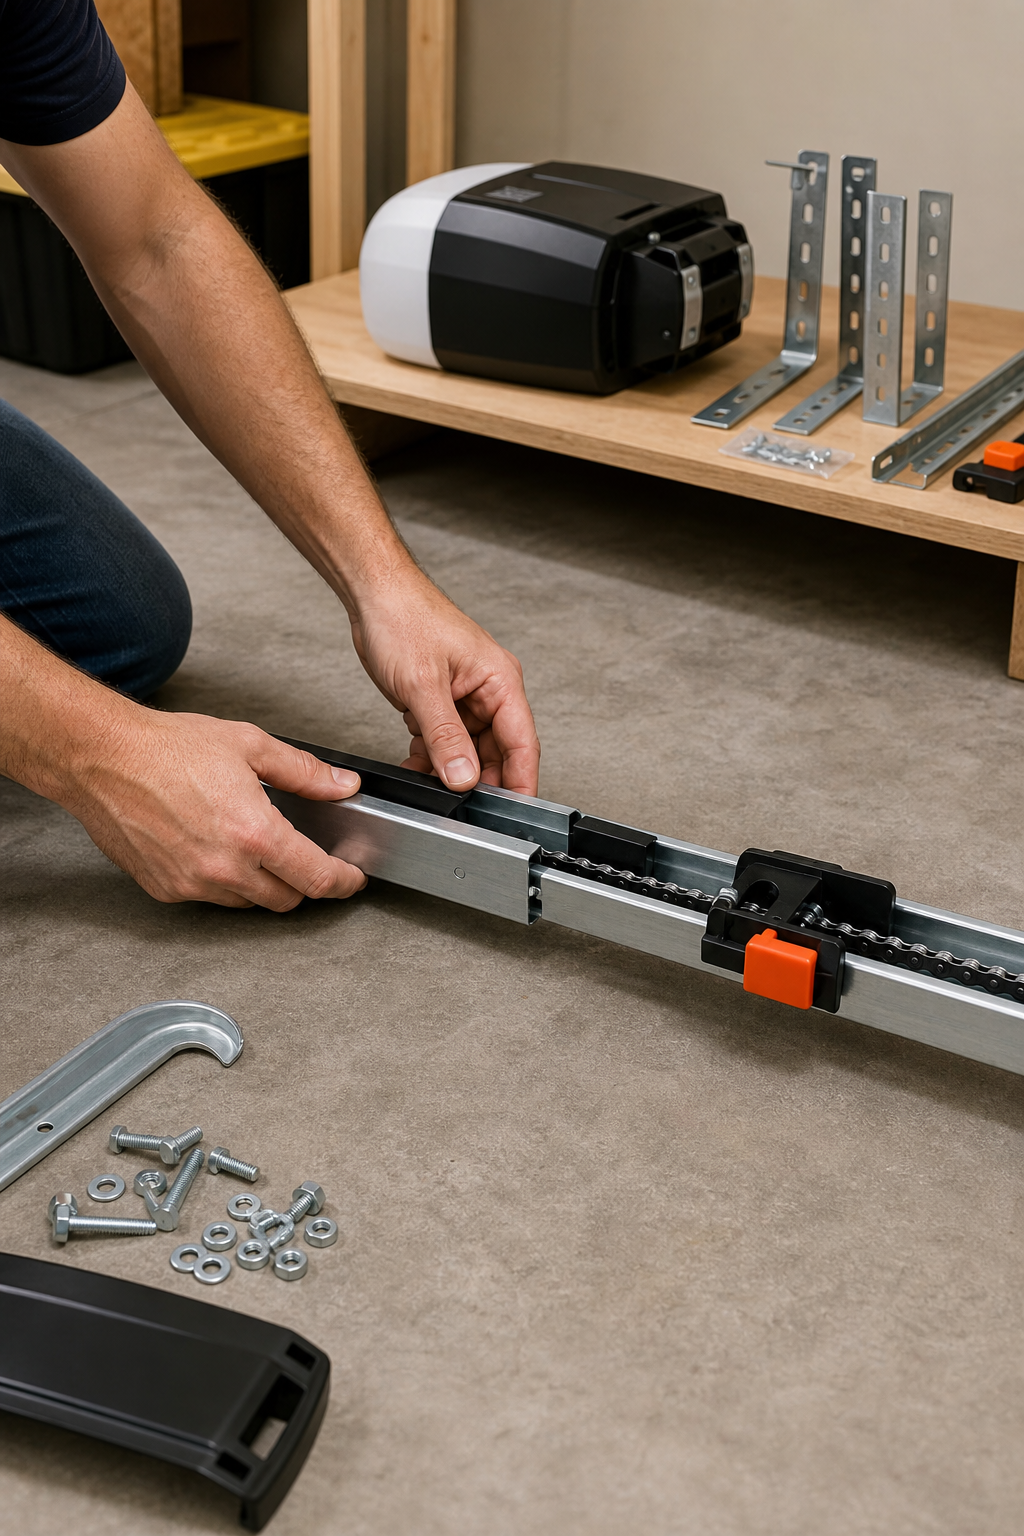
Step 3: Install the New Opener Mounting Bracket and Rail
Start by assembling the new rail . Most rails come in pieces that slide together and lock with pins or screws. Lay the rail on the floor and attach the trolley if it's not pre-installed.
Mount the new bracket to the ceiling. Use a level to make sure it's straight. The bracket should be centered over the door and bolted securely into joists with lag screws. If your ceiling is concrete or steel, use appropriate anchors. LGFMH Construction has experience with tricky installations; if your ceiling structure is unusual, consider professional help.
Attach the wall bracket that holds the far end of the rail. This bracket must be firmly fastened to the wall above the door header. Once the brackets are up, lift the rail into place and secure it with the provided pins.
Step 4: Connect the Motor and Attach the Arm to the Door
Now it's time to hang the motor unit. With a helper, lift the motor onto the rail and slide it into place. Most models have a built-in bracket that locks onto the rail. Tighten the bolts firmly.
Route the power cord along the ceiling and plug it into the outlet. If you need to, secure the cord with cable clips. Now connect the safety sensors. These are the small infrared units mounted on each side of the door, about six inches off the floor. Wire them to the opener , typically they use two low-voltage wires.
Attach the arm to the door. Slide the curved arm into the door bracket and the straight arm into the trolley. Connect them with bolts and a clevis pin. Make sure the arm is not binding anywhere. Manually close the door to check clearance; if it hits the arm, adjust the arm angle.
Step 5: Program the Opener and Test Safety Features
Plug in the opener and turn on the breaker. Most new openers have a simple programming interface. Set the travel limits , how far the door opens and closes. Follow the manual: usually you press a button to start, move the door to the full open position, then set the close limit.
Next, program your remote controls. Hold the remote near the opener and press the learn button on the motor unit, then press the remote button. The lights should flash to confirm.
Now test the safety features. Place a roll of paper towels under the door and close it with the remote. The door should reverse immediately when it hits the object. If it doesn't, adjust the force settings. Also test the safety sensors by waving an object in front of them while the door is closing , the door should stop and reverse.
Replacing your opener can boost home value. If you're considering other upgrades, check out factors that affect window replacement return on investment to maximize your home's appeal.
Key Takeaway:Always test both safety reversal systems , they are required by law and prevent serious injury.
FAQ
Can I replace a garage door opener myself?
Yes, you can replace a garage door opener yourself if you have basic tools and follow the manufacturer's instructions. It typically takes 3-5 hours. But if you're uncomfortable with electrical work or heavy lifting, hire a professional like LGFMH Construction.
How do I know what size garage door opener I need?
Check the door's weight and size. Standard residential doors need a 1/2 to 3/4 horsepower opener. Measure the door height and width , most openers work with 7-foot doors. For taller doors, you may need an extension kit.
Do I need to replace both the opener and the garage door?
No, you can replace just the opener. If your garage door is in good condition , no dents, rust, or balance issues , you only need a new opener. A professional can inspect the door to be sure.
How long does it take to replace a garage door opener?
For a DIY person, plan on 4 to 6 hours. The first time might take longer. Removing the old opener is quick; installing and programming the new one takes most of the time.
What tools do I need to replace a garage door opener?
You'll need a screwdriver set, socket wrench, ladder, pliers, level, tape measure, rubber mallet, marker, and a helper. Some openers require a drill and bits. before you start.
Why is my new garage door opener closing but not opening?
If the door closes but won't open, the travel limit setting may be wrong. Reset the open limit by following the programming instructions. Also check that the door balance is correct , if it's too heavy, the opener may struggle.
Conclusion
Replacing a broken garage door opener is doable with careful planning and safety checks. Expect the job to take an afternoon. If you run into wiring trouble or the door is heavy, LGFMH Construction offers professional installation to get it done right.


Comments