Garage Door Remote Programming Guide
- William McKracherne
- 5 days ago
- 9 min read

Most garage door remotes pair in less than a minute once you find the right button. The tricky part is matching the remote to the opener and timing each press. This garage door opener remote programming guide shows you how to identify the system, pair a remote, set up a car button, and fix common errors.
Table of Contents
Step 1: Identify Your Opener and Remote
The first step in any garage door opener remote programming guide is to match the remote with the opener's brand and code system. Start with the motor unit mounted near the ceiling. Keep the door closed while you inspect it.
Pull off the light cover if it blocks the label. Look for the maker's name and the model number. Then find a small square button markedLearn,Smart, orProgram. The button may sit beside an LED.
Button color can help, but don't treat it as a full match guide. Older units may have faded colors. A purple, yellow, red, orange, or green button can point to a certain opener family, yet the model label remains the safer check.
Many guides focus on Chamberlain, LiftMaster, and Craftsman systems. This does not prove that other brands won't work. It means you should check the manual before assuming a remote is universal.
Now inspect the handheld remote. Write down its brand and model. Count its buttons. Check whether the battery is fresh. A remote can look right and still use a code system the opener can't read.
Modern openers often use rolling codes . Older units may use fixed DIP switches instead. If your opener has no Learn button, remove the cover and look for a bank of tiny switches. Don't guess at their positions. The opener and remote must use the same switch pattern.
For a model-specific reference, the remote programming reference explains why brand, frequency, and opener age all affect pairing. If the model label is missing or unreadable, LGFMH Construction can inspect the opener as part of its repair and replacement work.
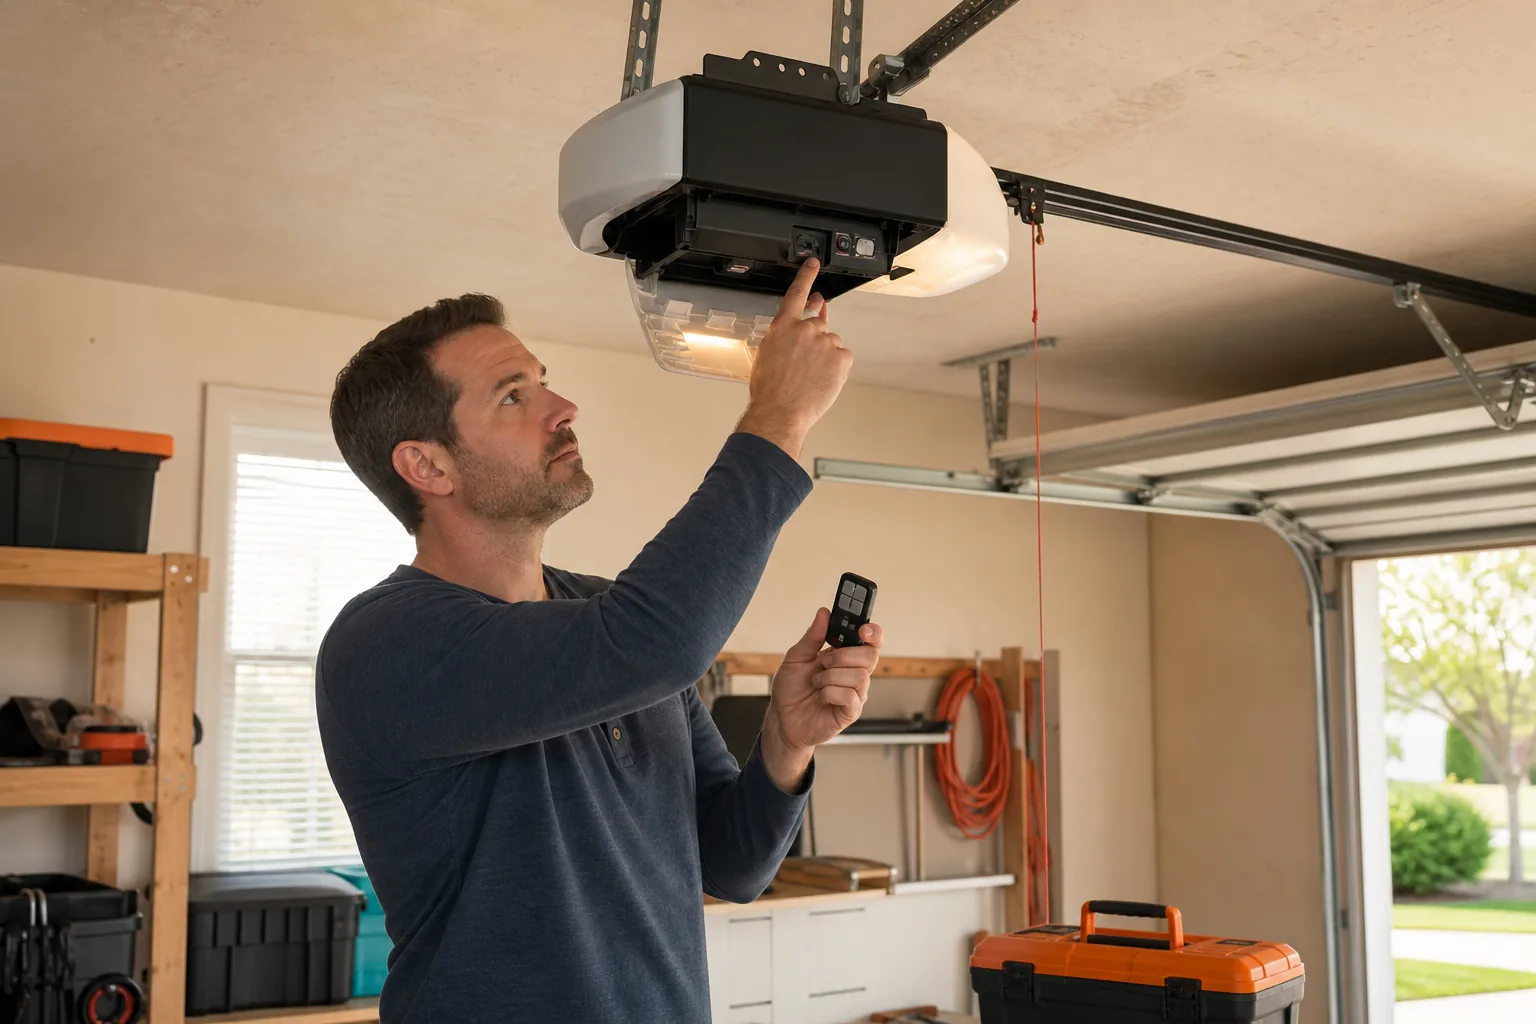
Before you climb a ladder, place it on level ground. Keep your hands away from springs, hinges, and moving parts. You only need access to the control buttons, not the mechanical hardware.
Key Takeaway:Find the opener model and Learn button before pressing anything on the remote.
Step 2: Prepare the Garage Door Opener for Programming
Preparation keeps a short programming task from turning into a string of wrong presses. In this part of the garage door opener remote programming guide, set up the work area and put the opener into its ready state.
Close the garage door first. Move cars, bikes, and people away from the door's path. Keep the remote in one hand and a flashlight nearby if the motor unit is hard to see.
Make sure the opener has power. Press the wall control once. If the motor light stays dark and the wall control does nothing, solve that issue before pairing the remote. A dead opener can't learn a new code.
Locate the recessed Learn button. Some units let you press it with a fingertip. Others place it behind the light cover or inside a small opening. A plain nail may help with a recessed button when the opening is small.
Use the nail only to press the button. Don't push wires, terminals, or circuit parts. If you need a ladder, keep your body centered between the rails and step down before moving it.
Press the Learn button only when you're ready to program. On many openers, the indicator light stays on for a short window. That window tells the opener to listen for a remote signal.
Some systems use a separate Program button before the Learn button. The sequence can vary by opener. An extra step can cause errors when users press the buttons in the wrong order.
Don't hold the Learn button longer than your manual says. A longer hold may erase paired remotes instead of starting a new pairing session. If you aren't sure which action clears memory, stop and check the opener instructions first.
LGFMH Construction handles interior and exterior repairs and replacements, so it can also help when the problem isn't the remote. A failed receiver, damaged logic board, or dead motor may look like a programming fault.
Pro Tip:Put a small piece of tape beside the correct button before you begin. Remove it after programming.
Step 3: Program the Remote Using the Learn Button
The Learn-button method is the most common route in this garage door opener remote programming guide. Press the opener's Learn button, then send a signal from the remote before the indicator window closes.
Use the direct Learn-button method
Stand near the opener with the remote in hand.
Press and release the opener's Learn button. Watch for the indicator light.
Within the allowed time, press and hold the remote button you want to use.
Release the remote button when the opener light blinks or the motor unit signals that it learned the code.
Wait a few seconds, then press the remote once to test it.
The exact response varies by opener. You may hear a click, see a light flash, or watch the door move. If the door starts moving during the test, stand clear and let it finish. Don't press the button again while the door is in motion.
Some remotes need a brief press rather than a long hold. If the first attempt fails, repeat the process while following the timing in the remote manual. Avoid pressing random buttons. Each press can end the programming window or select a different remote channel.
The r27 MLT 3B remote is a useful example of why “universal” doesn't mean automatic. It may also require visor removal and keeping the remote LED lit through the sequence.
That is why a video can help when written steps feel vague. The Learn-button programming tutorial shows the kind of timing that written instructions often leave out.
Don't erase every remote unless you mean to. A full memory reset can remove remotes that family members still use. If you recently moved into a home or sold one, a full reset may be the safer choice because you can't know who still has a working clicker.
After pairing, label the button you used. If the remote has several buttons, leave the others alone until you confirm the first button works.
Key Takeaway:Press the opener's Learn button first, send the remote signal during the active window, then test once.
Step 4: Pair a Universal Remote or Vehicle-Integrated Remote
Universal and vehicle-integrated remotes need one extra check before you start. This step in the garage door opener remote programming guide is about compatibility, button choice, and timing.
Read the universal remote's compatibility list. The word “universal” does not guarantee support for every opener. Pay close attention to the opener's brand, age, frequency, and code type.
For a universal remote, begin with its brand setup process. Some models need you to choose a brand code before you press the opener's Learn button. Others copy a working remote. Don't combine methods from two different manuals.
For a car with built-in buttons, park outside the garage with the door closed. Keep the vehicle away from the moving path. Vehicle-integrated systems may use buttons on the visor, mirror, or overhead console. Some newer vehicles may use an app instead, so check the vehicle manual before looking for physical buttons.
Hold the vehicle button as directed. At the same time, place the handheld remote close to the vehicle receiver if the setup requires a transfer. The vehicle light may flash slowly at first, then change its flash rate when it has learned the remote signal.
Once the vehicle has copied the signal, return to the opener. Press and release its Learn button. Then press the vehicle button within the learning window. The order matters. A vehicle may learn the handheld remote but still need permission from the opener.
If you use two openers, assign a different vehicle button to each one. Test the first door before pairing the second. This makes it clear which step failed if one button works and the other does not.
Older fixed-code systems may not follow this process at all. They may use DIP switches instead of a Learn button. In that case, match the switch pattern only after disconnecting power if the manual requires it. If the opener is very old or lacks modern safety sensors, ask LGFMH Construction to assess whether repair or replacement makes more sense.
Step 5: Test the Remote and Troubleshoot Programming Problems
A successful light flash does not prove the whole system works. The final step in this garage door opener remote programming guide is a controlled test followed by simple fault checks.
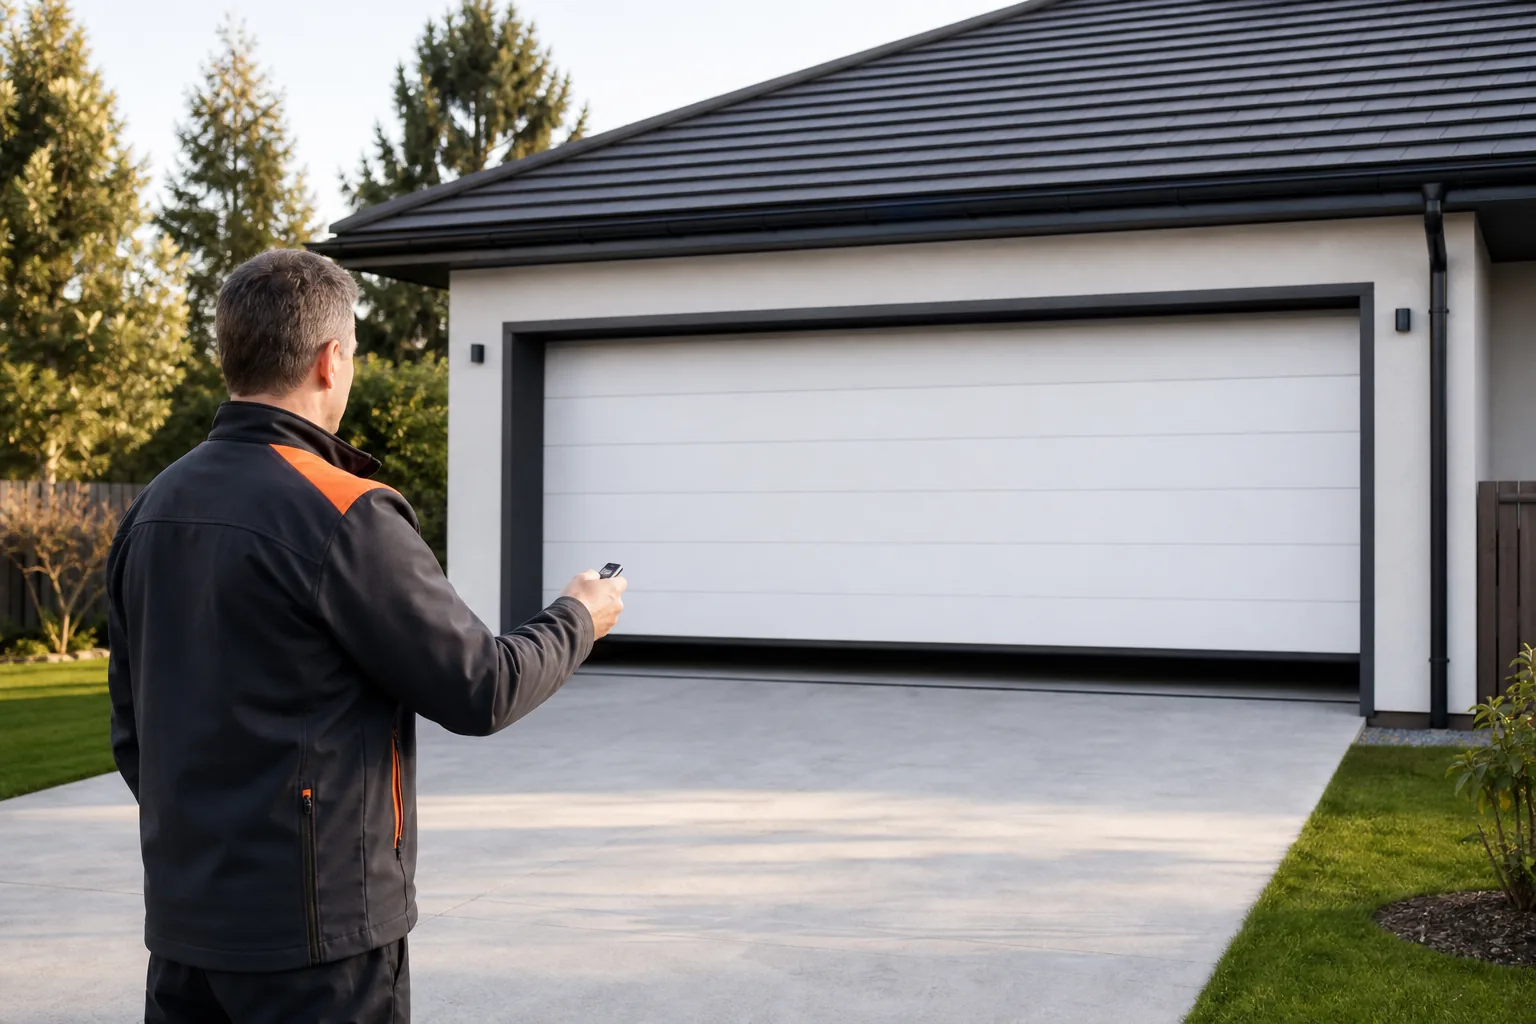
Stand where you can see the full door. Press the remote once. The door should respond without delay. Let it finish moving before you press again. Then test the same button from the normal place where you use it, such as the driveway.
If the door does not move, start with the remote battery. Replace it with the correct type from the remote instructions. Check that the battery sits in the right direction. A weak battery can make the remote seem paired while giving too little signal for normal use.
Next, repeat the pairing process. Use the exact button you selected. Watch the opener LED instead of counting seconds in your head. Timing and sequence can vary by model.
If the remote pairs but range is poor, inspect the opener antenna wire. It should hang down freely and remain connected. Also think about changes inside the garage. Some LED bulbs can interfere with garage remote frequencies. Temporarily remove a recently installed bulb and test again.
If the wall control works but the remote does not, the remote, receiver, or programming sequence may be at fault. If neither control works, look at power, the motor unit, and the safety system. Do not bypass safety sensors.
If the opener light is dead, the Learn button does nothing, or the door makes no response after several correct attempts, stop repeating the same sequence. The receiver or logic board may need service. A repair professional can test the opener without putting you near springs or live wiring.
The official remote programming manual is useful when your remote has a special button sequence. Use the instructions for your exact model, not a similar-looking remote.
Check the door's movement too. A remote can send the right signal while the door still binds, stops, or reverses. Those are door or opener faults, not remote pairing faults. LGFMH Construction can help with broader repair and replacement needs when the issue reaches beyond the handheld control.
Quick fault check
No light on the remote:Check the battery and its position.
Learn light never appears:Confirm the opener has power and the correct button.
Remote pairs but door stays still:Test the wall control and inspect the opener.
Works only up close:Check the antenna, battery, and possible bulb interference.
Older opener with no Learn button:Look for DIP switches and confirm the remote system.
By now you should know whether the fault is in the remote, the receiver, or the door itself. That distinction saves time and prevents you from buying another remote for a mechanical problem.
FAQ
How do I program a garage door opener remote?
Press and release the opener's Learn button, then press the chosen remote button during the active programming window. Wait for the opener light to flash or signal acceptance. Test the remote once the window closes. The exact timing differs by model, so use the opener and remote manuals when their instructions differ from general steps.
What button do I press to program my garage door remote?
Press the opener button marked Learn, Smart, or Program, not the wall control button. It is usually on the motor unit near the ceiling light. Some openers hide it behind the light cover. Older units may lack this button and use DIP switches instead, which require a different setup method.
Why won't my garage door remote program?
A remote may fail to program because its battery is weak, its code system doesn't match, or the Learn button sequence is wrong. Confirm the opener model first. Then repeat the process with the remote close to the motor unit. If the opener LED never responds, the receiver or control board may need service.
Can I program a universal remote to any garage door opener?
No, a universal remote can't pair with every opener. Compatibility still depends on brand, frequency, age, and code type. Check the universal remote's list before buying it. Some older fixed-code openers use DIP switches, while many newer units use a Learn-button process.
Do I need a tool to program a garage door remote?
You may need a small nail if the opener's Learn button sits inside a narrow recess. The nail presses the button; it does not change the opener's wiring. Use it gently and touch only the marked button. Many units need no tool if the button is easy to reach with your finger.
Conclusion
Start with the opener model, then follow its exact Learn-button sequence. If the remote still won't pair after a fresh battery and a careful retry, stop treating it as a simple remote problem. LGFMH Construction can assess the opener, door, or related repair needs and point you toward the next safe step.


Comments