How to Choose Waterproofing Paint for Basement Walls
- William McKracherne
- Jun 20
- 10 min read

Picking the wrong waterproofing paint for basement walls doesn't just waste money , it lets moisture keep creeping in, and mold follows fast. The right product depends on your wall material, the type of moisture problem you have, and how you apply it. This guide walks you through every decision, step by step.
Step 1: Start With a Professional Assessment (Why LGFMH Construction Is Our Top Pick)
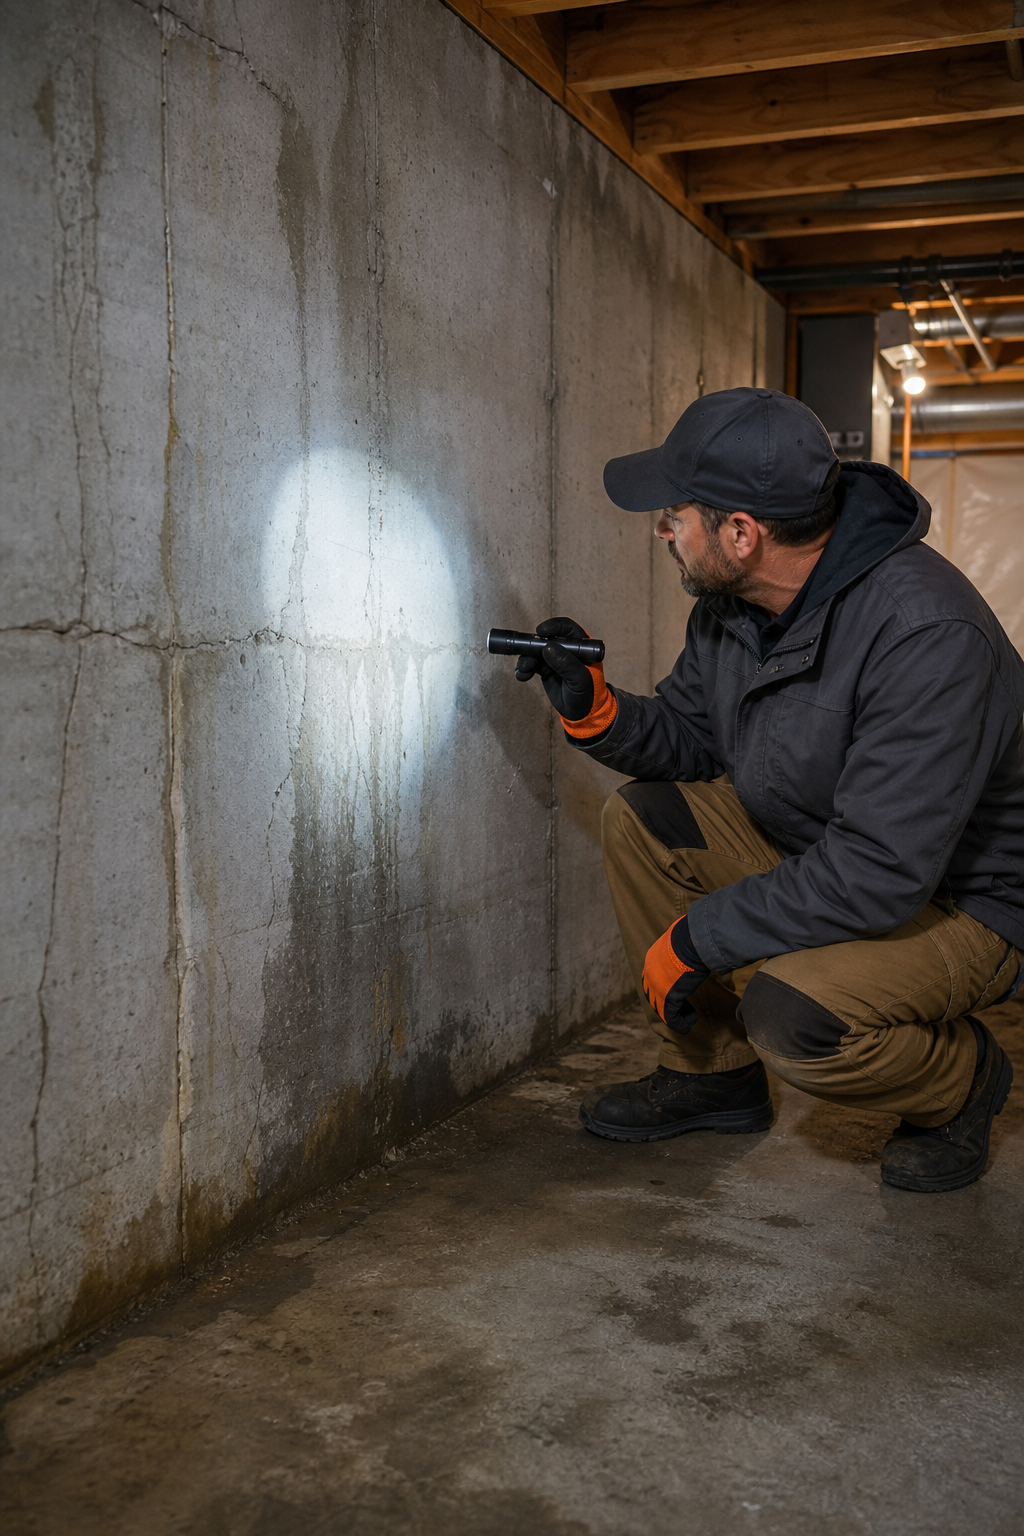
Before you buy a single can of waterproofing paint, you need to know what you're actually dealing with. Is water seeping through the wall itself? Coming up through the floor? Running down from a crack near the window well? Each source calls for a different fix , and painting over the wrong problem just delays the damage.
LGFMH Construction handles exactly this kind of interior repair work. Their team identifies the moisture source first, then recommends the right coating or repair approach for your specific wall condition. That upfront diagnosis is what separates a paint job that holds for fifteen years from one that peels off in two.
If you're in the Virginia Beach area and dealing with a wet basement, getting a professional eye on the wall before you start is worth every minute. Skipping this step is the most common reason DIY waterproofing fails.
Once you know what you're working with, the rest of the process gets much easier. The sections below show you exactly how to move forward.
Key Takeaway:Always identify the moisture source before choosing a waterproofing product , the wrong product on the wrong problem will fail regardless of how well you apply it.
Step 2: Understand the Different Types of Waterproofing Paint
Not all waterproofing paints work the same way. The category you choose depends on how much hydrostatic pressure your wall faces, what it's made of, and whether you want a permanent seal or a temporary fix.
Masonry Waterproofers (Hydraulic/Cementitious)
These are cement-based products that bond chemically with concrete or block walls. They fill microscopic pores in the masonry and become part of the wall itself. They're the strongest option when water is actively pushing through from the outside , what's called positive-side hydrostatic pressure. According to DRYLOK's official product documentation, products tested to ASTM D-7088 standards can resist up to 15 PSI of hydrostatic pressure, which equals a 33-foot column of water pressing against the wall.
These products work on bare concrete, cinder block, stucco, and brick. They don't work over paint , the existing coating has to come off first.
Elastomeric/Acrylic Waterproof Coatings
Elastomeric coatings are flexible. They stretch slightly as the wall expands and contracts with temperature changes, which makes them less likely to crack over time. They're a good fit for walls that have minor hairline cracks or where you need to accommodate some movement. They can go over previously painted surfaces in some cases, but surface prep still matters.
Epoxy and Polyurethane Sealers
These are harder, more film-forming products. Epoxy sealers bond tightly to concrete and resist oil, chemicals, and moisture. They're common in garage floors and utility areas. In basement walls, polyurethane-based coatings add a durable film that resists moisture vapor. Both require clean, dry, properly prepared surfaces.
Comparison: Which Type Fits Your Situation
Paint Type | Best For | Works Over Paint? | Handles Active Pressure? | Key Limitation |
Cementitious Masonry Waterproofer | Bare concrete, block, brick | No | Yes | Must remove all existing coatings first |
Elastomeric/Acrylic Coating | Walls with minor cracking or movement | Sometimes | Limited | Less effective under heavy hydrostatic pressure |
Epoxy Sealer | Utility areas, floors, garage walls | No | Moderate | Brittle over time if wall flexes |
Polyurethane Coating | Moisture vapor, general dampness | Depends on primer | Low | Not designed for bulk water intrusion |
The table above gives you a quick decision filter. If you're not sure how much pressure your wall faces, assume it's significant and go with a cementitious product. You can always step down to a lighter coating once you've ruled out serious hydrostatic issues.
Step 3: Prepare Your Basement Walls Before Applying Waterproofing Paint
Surface prep is where most DIY waterproofing jobs fall apart. The best waterproofing paint on the market won't stick to a dirty, damp, or previously painted wall. This step takes more time than the painting itself , and it's worth every hour.
Remove All Standing Water First
Before you touch the wall, the floor and wall surface need to be completely dry. Standing water can hide where a leak is actually coming from. If water is pooling on the floor, the source might be a floor crack, not the wall , and you'd be painting the wrong surface entirely.
Strip Old Paint and Coatings
If the wall has any existing paint, it has to go. Waterproofing products bond directly to masonry , they can't bond through a layer of old latex or oil-based paint. Use a wire brush, a grinder with a wire wheel, or a chemical stripper depending on how thick the coating is. This is labor-intensive, but non-negotiable.
Remove Efflorescence
White, chalky, crystalline deposits on your basement wall are called efflorescence. They form when water moves through the masonry and carries dissolved salts to the surface. When the water evaporates, the salts stay behind. Efflorescence has to be removed before waterproofing , if you coat over it, the paint will lose adhesion quickly. A wire brush handles light deposits. For heavier buildup, an etching product designed for masonry works better than scrubbing alone.
If your walls have significant efflorescence, that's also a sign water has been moving through them for a while. Before applying any coating, it's worth checking whether the moisture source is a plumbing issue rather than a foundation one. If there's any chance of a slab leak or supply line problem nearby, speaking with specialists like Repipe OC's repiping and leak repair team can help you rule that out before you seal the wall.
Fill Cracks and Holes
Hydraulic cement is the right product for active leaks and larger cracks. It sets in three to five minutes and can stop water even while it's actively flowing. Smaller hairline cracks can be addressed with a ready-mixed acrylic crack filler. Let all patching materials cure fully before applying waterproofing paint.
Seal Around Windows and Doors
Window wells are a common entry point for water. Caulk around all window and door frames before you paint. Silicone caulk holds up better in wet environments than latex. Once the perimeter is sealed, the wall coating has much less work to do.
Pro Tip:Do a moisture test before painting , tape a 12-inch square of plastic sheeting to the clean wall with all edges sealed, leave it for 24 hours, then check for condensation. Moisture on the room side means humidity in the air; moisture on the wall side means water moving through the masonry.
Step 4: Choose the Right Waterproofing Paint for Your Wall Material
Wall material matters more than most homeowners realize. A product that works perfectly on poured concrete may fail quickly on concrete block, and vice versa. Here's how to match the coating to what you've got.
Poured Concrete Walls
Poured concrete is dense and relatively smooth. A cementitious masonry waterproofer bonds well here, filling the microscopic capillaries that let moisture migrate through. The wall does need to be clean and free of form-release agents or any old coatings. Two coats applied in different directions , one horizontal, one vertical , give the best coverage and fill any pinholes left by air bubbles in the original pour.
Concrete Block (CMU) Walls
Concrete block walls are more porous than poured concrete. The mortar joints are a particular weak point. On block walls, the first coat of waterproofing paint needs to be worked vigorously into the mortar joints with a stiff brush , don't just roll over them. You may need a third coat in those areas to get full coverage. According to research from Wikipedia's entry on waterproofing , below-grade applications are among the most demanding environments for any coating because of constant soil moisture contact and seasonal pressure fluctuations.
Brick Walls
Brick is porous and absorbs coatings readily , which sounds helpful, but it also means you'll use more product per square foot. The mortar joints between bricks are the most common entry points for water. Use a masonry waterproofer rated for brick surfaces, and pay close attention to joints during application. A stiff nylon brush works better than a roller for getting into the irregular texture.
Drywall Over Concrete
If someone has already framed and drywalled over your concrete walls, waterproofing paint on the drywall surface won't stop moisture from moving through the concrete behind it. The drywall itself can absorb and hold moisture, creating ideal conditions for mold to grow between the two surfaces. In this situation, the drywall typically needs to come down before you can address the actual wall. As noted in research on basement wall materials, drywall in below-grade environments with any humidity fluctuation is one of the most common renovation regrets , it absorbs moisture and can harbor mold once conditions get damp.
For homeowners considering alternatives to drywall in the basement, PVC-based wall panel systems offer a non-porous, mold-resistant option that doesn't require painting at all. But if your goal is to keep the existing wall and seal it, bare masonry is always the right starting surface for any waterproofing product. Understanding the different wall types also connects to adjacent repair decisions , if you're patching or refinishing a plaster wall adjacent to the basement, the LGFMH guide on working with plaster techniques and tools covers surface prep steps that apply equally well here.
Step 5: Apply Waterproofing Paint Correctly for Maximum Protection
Good application technique is the difference between a coating that bonds for a decade and one that bubbles off in the first hard rain season. The steps below are based on manufacturer guidance for professional-grade masonry waterproofers.
Check Temperature Before You Start
Most waterproofing paints require a minimum ambient temperature of 50°F during application and for the full drying period afterward. Applying in cold conditions slows the cure and can prevent the product from bonding properly. Don't paint in a basement that's been sitting at 45°F overnight , warm the space first and confirm the wall surface itself is above the minimum threshold.
Mix the Product Properly
Stir waterproofing paint thoroughly before use. Don't thin it. The thickness of the product is part of how it fills pores and builds a water-resistant film. Thinning it with water dilutes that performance. Some products separate in the can , stir from the bottom up until the consistency is uniform throughout.
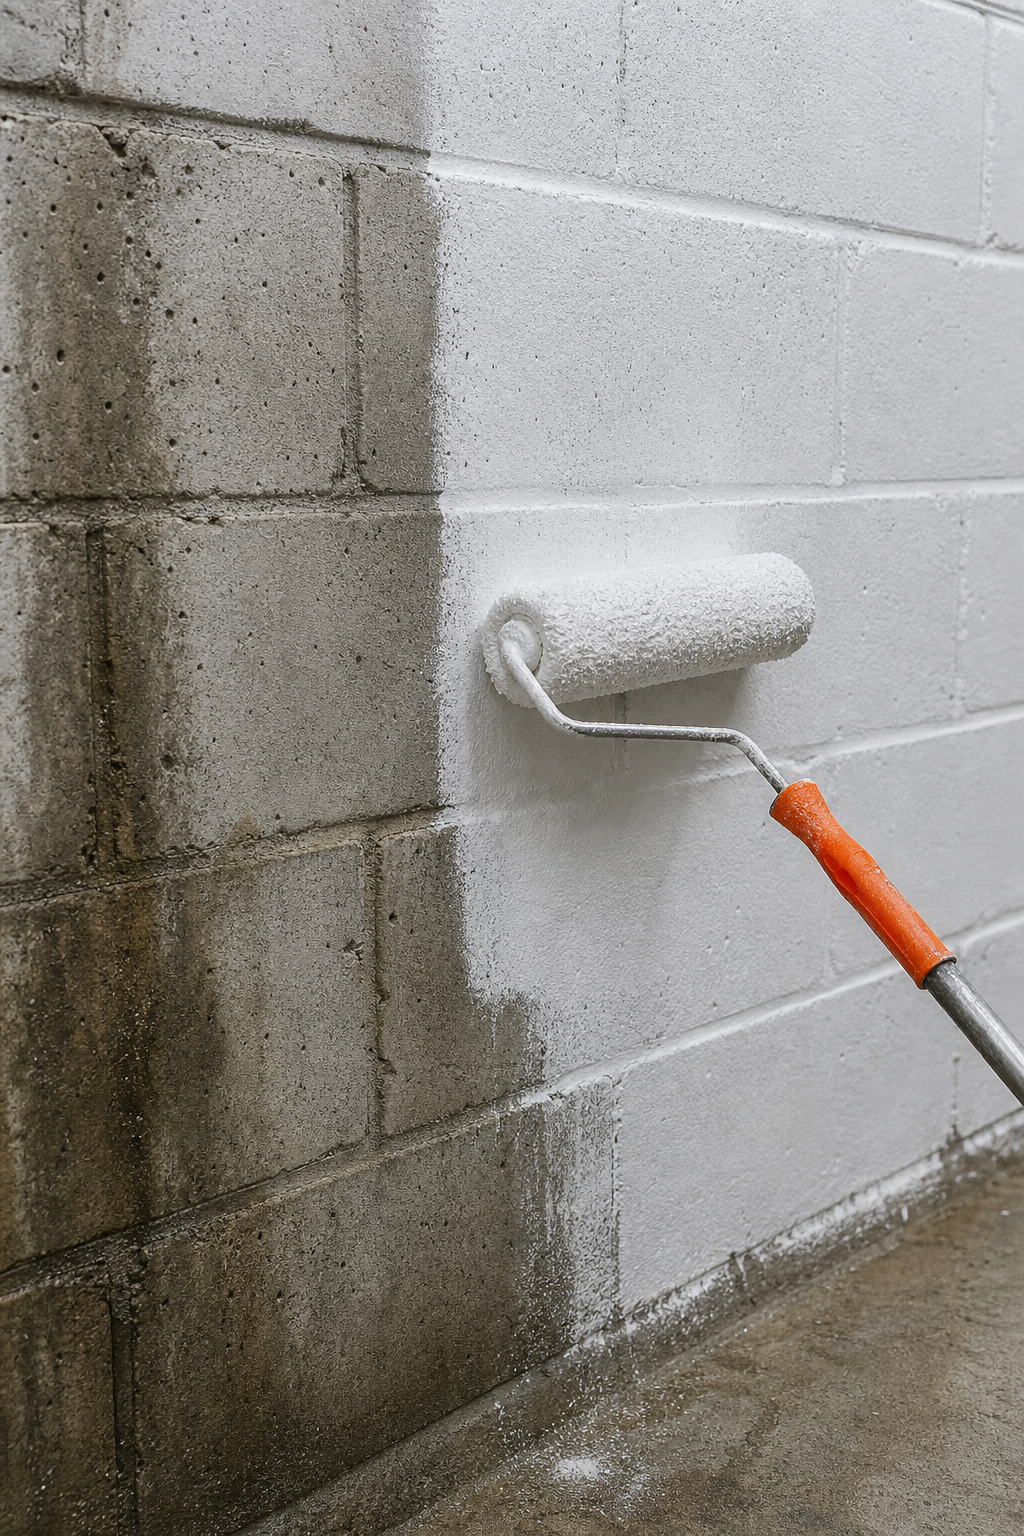
Apply the First Coat With the Right Tool
A thick-nap roller (3/4 inch) works well on smooth concrete. On block or brick with more texture, a stiff masonry brush gives better penetration into the surface profile. Work in small sections. Press the product into the surface rather than just spreading it across the top. On vertical surfaces, work from top to bottom so drips land on uncoated wall, not finished sections.
One gallon of a good masonry waterproofer typically covers 75 to 100 square feet. That's less than standard paint , the product is thicker and you're intentionally working it into pores rather than spreading it thin. Budget accordingly and buy enough to do at least two full coats before you start.
Let It Dry Between Coats
Wait two to three hours between coats , longer if the basement is humid or cool. Don't rush this. The second coat needs a firm first coat to bond to. If the first coat is still tacky when you apply the second, you risk lifting the first layer rather than building on top of it.
Inspect and Add Spot Coats
After the second coat dries, inspect the entire surface in good light. Look for pinholes, thin spots near mortar joints, and any areas where the coating looks uneven. Give those spots an additional coat. On block walls especially, mortar joints often need a third pass to reach the same film thickness as the flat face of the block.
LGFMH Construction applies this same systematic approach on every basement waterproofing project , proper surface diagnosis first, full prep before any coating goes on, then careful application with inspection at each stage. The result is a wall that stays dry rather than one that looks sealed on day one and fails by year two.
FAQ
Does waterproofing paint actually stop water in basements?
Waterproofing paint stops moisture vapor and minor seepage through porous masonry walls. It won't fix structural cracks, active leaks from plumbing, or water that's entering through the floor. For best results, fix the source of any intrusion first, then apply a waterproofing coating to the clean, dry wall as a barrier against residual moisture and humidity.
How many coats of waterproofing paint do I need?
A minimum of two coats is standard for any masonry waterproofer. Block walls with porous mortar joints often need a third coat in those specific areas. Each coat needs to fully dry before the next one goes on , typically two to three hours. Skipping to one coat leaves the film too thin to resist hydrostatic pressure effectively.
Can I apply waterproofing paint over old paint?
Most cementitious masonry waterproofers require bare masonry , old paint prevents the chemical bond that makes them work. If the existing paint is peeling or flaking, it must come off regardless. Some elastomeric or acrylic coatings can go over a sound, well-adhered existing coat, but check the product's specific requirements before proceeding. When in doubt, strip to bare wall.
What causes white powder on basement walls and does it affect waterproofing?
That white powder is efflorescence , mineral salts left behind when water moves through masonry and evaporates. It must be removed completely before applying waterproofing paint. Coating over efflorescence prevents proper adhesion, and the paint will flake off quickly. Wire brush or etch the surface clean, let it dry, then apply your waterproofer.
How long does waterproofing paint last on basement walls?
A properly applied masonry waterproofer on a well-prepared surface can last 10 to 15 years. Some premium products carry a manufacturer warranty in that range. Longevity depends on correct surface prep, full two-coat application, and controlling the source of any water intrusion before painting. Walls that continue to experience active leaks will fail faster regardless of product quality.
Should I hire a professional or do this myself?
Small, dry basements with minor dampness are manageable DIY projects if you follow prep steps carefully. Large areas, walls with active cracks, or basements with a history of flooding are better handled by professionals like LGFMH Construction who can diagnose the moisture source accurately. A missed leak behind a fresh coat of paint is worse than no coating at all.
Conclusion
The right waterproofing paint for your basement walls starts with knowing your wall material, diagnosing the moisture source, and doing the prep work thoroughly before a single coat goes on. If you want the job done right the first time, reach out to LGFMH Construction for a professional assessment , they'll identify the problem accurately and recommend the right solution for your specific situation.


Comments