How to Fix a Leaking Outdoor Faucet
- William McKracherne
- Jun 7
- 7 min read

A dripping outdoor faucet wastes water and can damage your foundation. Most homeowners can fix it in under an hour with a few simple tools. This guide walks you through every step, from shutting off the water to testing the repair. You'll learn how to replace washers, O-rings, and even address hidden wall cracks that cause persistent leaks.
The key to success is following a clear sequence. According to research from Select Home Warranty, 100% of reliable repair guides start with turning off the water supply. Missing that step turns a quick fix into a flood. Let's get to work.
Step 1: Gather Tools and Turn Off Water
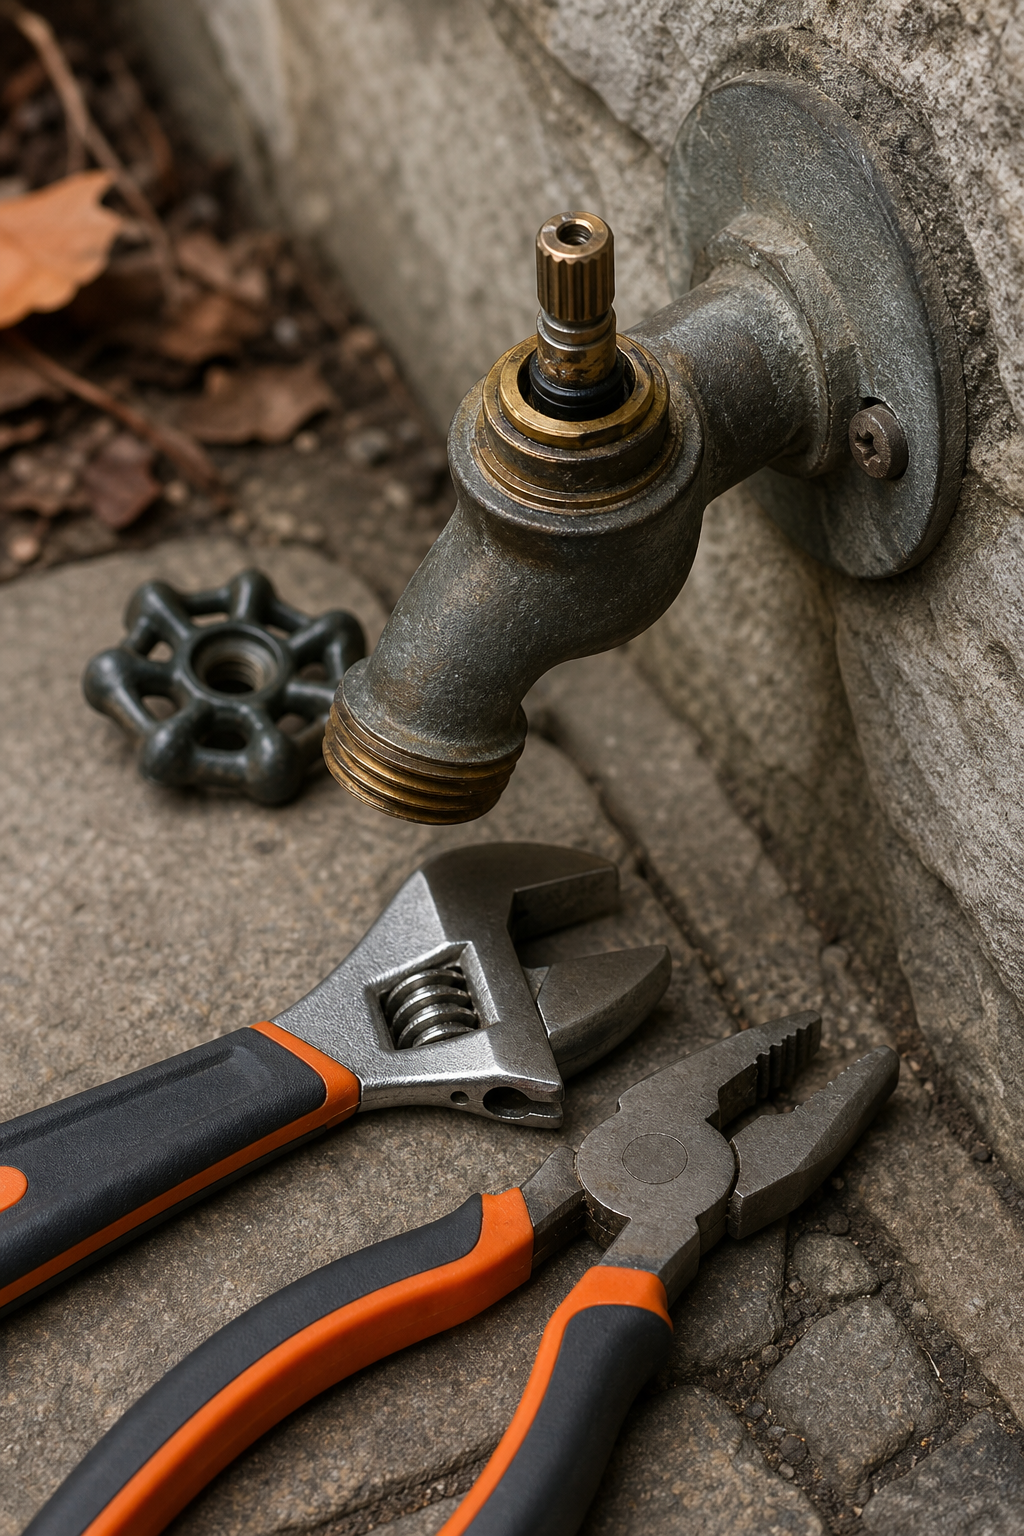
Before you touch the faucet, grab the right tools. You need an adjustable wrench, a flathead screwdriver, a Phillips screwdriver, and a pair of pliers. A pipe wrench helps if the packing nut is stuck. Also have a bucket or rag to catch drips.
Now shut off the water. Look for a shut-off valve on the pipe inside your home that leads to the outdoor faucet. If there's no valve, turn off the main water supply to your house. Then open the outdoor faucet to release any pressure. This prevents water from spraying out when you disassemble it.
Don't skip this step. Many DIYers forget and end up with a wet mess. The water must be completely off before you proceed.
Set your tools nearby. You'll also need replacement parts: a rubber washer, O-rings, and maybe a new valve stem. Most hardware stores carry universal kits. Check the faucet brand and model to ensure compatibility. Take a photo before disassembly to remember how parts fit.
Step 2: Disassemble the Faucet Handle and Packing Nut
Start with the handle. Look for a small screw under a cap on top of the handle. Pry the cap off with a flathead screwdriver. Remove the screw, then pull the handle straight off. If it's stuck, wiggle it gently. Some handles use a hex screw; you'll need an Allen wrench.
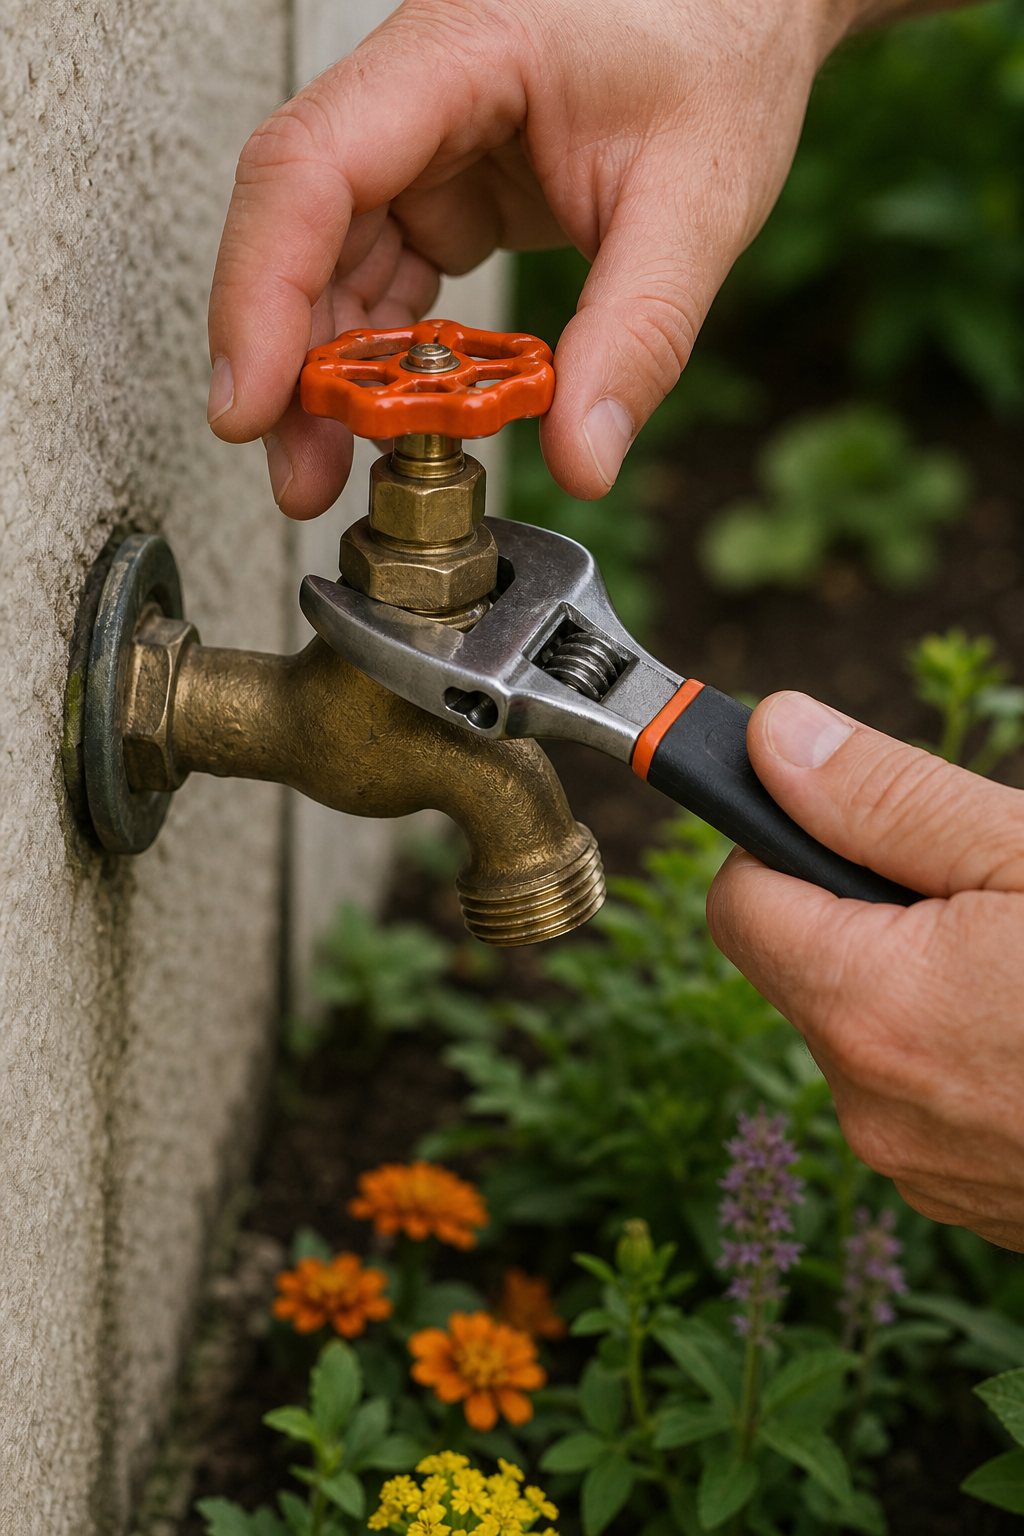
Next, you'll see the packing nut. This is a hexagonal nut that sits against the faucet body. Use your adjustable wrench to turn it counterclockwise. Go slowly. Too much force can crack the faucet. Once it's loose, slide the nut up the stem. You might see a thin string around the stem , that's packing material. It helps seal the joint.
Under the packing nut is the stem assembly. Pull the stem out carefully. Notice how the washer attaches at the bottom. That rubber washer often causes the leak. If the stem is stuck, soak it with penetrating oil and wait 10 minutes.
Take note of the order: handle, packing nut, stem. Lay them out on a towel. This makes reassembly easier. If you have a cartridge faucet, the internal part slides out as a unit. Compression faucets have a threaded stem. Knowing your type matters for the next step.
Step 3: Inspect and Clean the Stem and O-Rings
Now examine the stem closely. Look for corrosion, mineral buildup, or worn rubber. The washer at the bottom is the most common culprit. If it's cracked or flattened, replace it. Also check the O-rings around the stem. O-rings seal the stem inside the faucet body. If they're dry or misshapen, they need swapping.
Clean the stem with a wire brush or steel wool. Remove any lime scale or debris. A clean surface ensures the new seals sit correctly. Use a toothpick to clean O-ring grooves.
Identify your faucet type. PlumbingSupply.com explains there are three main mechanisms: compression, cartridge, and ball. Compression stems have a threaded shaft and a rubber washer. Cartridges are plastic or brass cylinders with built-in seals. Ball faucets have a ball with slots. Most outdoor faucets are compression type. If you're unsure, take the stem to a hardware store for matching.
Type | How to Identify | Common Fix |
Compression | Threaded stem, rubber washer at bottom | Replace washer, O-rings |
Cartridge | Smooth cylinder, no threads | Replace cartridge |
Ball | Ball with slots, single handle | Replace ball or springs |
Inspect the faucet body for cracks in the surrounding stucco or masonry. A hidden wall crack can let water seep behind the faucet, causing persistent leaks even after you fix the internals. This is a common overlooked issue.
Pro Tip:Use a flashlight to check for dampness around the faucet base. If you see cracks in the stucco, the leak might not be from the stem at all.
Step 4: Replace Washers, O-Rings, or Valve Stem
Head to the hardware store with your old parts. Buy a replacement washer that matches the size. Faucet washers come in different diameters and thicknesses. O-rings are standardized by inner diameter. Get a pack of assorted sizes if you're unsure. Also pick up plumber's tape for wrapping threads.
To replace the washer: remove the brass screw holding it to the stem. Use a screwdriver with a good grip. Swap the old washer for a new one. Tighten the screw snugly but don't strip it. If the washer is too thick, the stem won't seat properly. If too thin, it won't seal.
Replace O-rings by rolling the old ones off the stem. Apply a thin layer of silicone grease to the new O-rings before sliding them on. This helps them slide into place and prevents drying. Don't use petroleum jelly; it degrades rubber.
If the stem itself is worn or pitted, buy a replacement stem. Some brands are standard, others are specific. Match the number stamped on the stem. For cartridge faucets, simply pull out the old cartridge and push in the new one. Ensure it's oriented correctly.
Consider replacing the packing string around the stem. It's a graphite-impregnated string that seals the packing nut. Wrap a few turns around the stem before tightening the nut. This stops leaks at the handle.
If you discovered cracks in the stucco around the faucet, professional exterior repairs may be needed. Fixing the wall with masonry elastomeric caulk and stucco patch ensures the leak doesn't return. That's a job for LGFMH Construction's interior and exterior repair services.
Key Takeaway:Most outdoor faucet leaks are fixed by replacing the rubber washer and O-rings. But if the leak persists after that, check for wall cracks.
Step 5: Reassemble, Turn Water On, and Test
Put everything back in reverse order. First, slide the stem into the faucet body. Tighten the packing nut by hand, then use the wrench for a final quarter turn. Don't overtighten. Over-tightening makes the handle stiff to turn. The same safety tip appears in multiple sources: tighten gently.
Next, reattach the handle. Align it in the off position. Tighten the screw and snap the cap back on. Close the faucet so it's in the off position.
Now turn the water back on. Open the shut-off valve slowly. Check for drips at the spout. Also feel around the packing nut for moisture. If you see a few drops, tighten the packing nut a little more. Wait a minute for pressure to build.
Open and close the faucet a few times. This seats the new washer. Let it run for a minute. If the drip is gone, you're done. If it's still leaking, you may have a damaged valve seat. Valve seat repair is more advanced and might require a professional.
Finally, inspect around the base for any water seepage from wall cracks. Address those with proper exterior repairs.
Frequently Asked Questions
Why does my outdoor faucet still leak after replacing the washer?
Several reasons: the valve seat might be damaged, the O-rings could be worn, or the faucet body has a hairline crack. Also check the packing nut. Sometimes a loose packing nut causes leaking around the stem even with a new washer. Replace O-rings and inspect the seat. If the seat is pitted, use a seat wrench to replace it.
What tools do I need to fix a leaking outdoor faucet?
You need an adjustable wrench, a flathead screwdriver, a Phillips screwdriver, and pliers. A pipe wrench helps for stubborn nuts. Also have replacement parts like washers and O-rings. Plumber's tape and silicone grease are useful. Most of these tools are already in a basic home tool kit.
Do I need to turn off the main water supply?
If there's no shut-off valve on the pipe leading to the outdoor faucet, yes. Otherwise, you can just close that valve. Turning off the main water is safe but inconvenient for other fixtures. Always open the faucet after shutting off water to release pressure. This prevents water from shooting out.
How long does it take to fix a leaking outdoor faucet?
Usually 30 minutes to an hour. Most of that time is disassembly and cleaning. Replacing a washer takes 10 minutes. If you need to run to the hardware store for parts, add 30 minutes. For complex repairs like a damaged valve seat, expect 1, 2 hours. If the leak involves cracked stucco, budget 2, 3 days for exterior repair.
Can I use plumber's tape on the washer?
No. Plumber's tape is for threaded connections, not for sealing the washer. The washer seals against the valve seat when compressed. Using tape on the washer can prevent proper sealing and cause leaks. Instead, use silicone grease on O-rings. For threaded connections like the stem to the faucet, plumber's tape works well.
What kind of washer do I need for an outdoor faucet?
Most outdoor faucets use a flat rubber washer. Common sizes are 1/2-inch and 3/4-inch. Bring the old washer to the store to match. Some brands use beveled washers. If the faucet is old, you might need a faucet repair kit that includes multiple sizes. O-rings are standardized by inner diameter, like 3/8-inch or 1/2-inch.
When should I call a plumber instead of DIY?
Call a plumber if you've replaced the washer and O-rings and it still leaks. A damaged valve seat or internal crack requires specialized tools. Also call if the faucet body is broken or if you're uncomfortable working with water lines. For leaks caused by stucco cracks, contact an exterior repair service like LGFMH Construction . If you lack tools or time, professional help is worth the cost.
How do I prevent my outdoor faucet from leaking in the future?
Disconnect garden hoses in winter to prevent freezing. Install a frost-proof faucet if yours freezes often. Lubricate O-rings yearly with silicone grease. Replace washers at the first sign of dripping. Also inspect the surrounding wall for cracks and seal them promptly. Regular maintenance extends faucet life.
Conclusion
Fixing a leaking outdoor faucet is one of the most satisfying DIY tasks. You save water, prevent foundation damage, and avoid a $150 plumber call. The process is simple: shut off water, disassemble, inspect, replace worn parts, and test. Most leaks are caused by a cheap rubber washer or dried-out O-rings. With a few basic tools and 30 minutes, you can stop that drip.
But don't ignore the bigger picture. If your faucet leaks despite new internals, look outside the faucet. Cracks in the stucco or masonry can let water seep in, making the leak seem internal. That's where professional help from LGFMH Construction's interior and exterior repair services makes sense. They address the root cause, not just the symptom.
Check your outdoor faucets today. A quick inspection now can save you from expensive repairs later. And if you ever feel stuck, remember that even seasoned DIYers call for backup. Knowing when to hire help is part of being a smart homeowner. So go ahead, give your faucet the fix it deserves.


Comments