How to Install a New Roof Vent Fan
- William McKracherne
- May 11
- 12 min read

Hook:A hot attic is no fun. A good roof vent fan moves stale air out and fresh air in. This guide shows you how to install a new roof vent fan with steps that keep you safe and your roof tight. You’ll learn what to check first, what to buy, how to open the roof, how to seal it, and how to test it. We’ll keep it simple and real, with tips and checklists you can use on a real job. how to install a new roof vent fan is the goal here, not a guess.
Throughout this guide you’ll see practical tweaks, quick tests, and small traps to avoid. We’ll also share a few real‑world notes to help you plan. By the end, you’ll know how to install a new roof vent fan with confidence, whether you’re fixing a single bath vent or upgrading a whole attic system. Let’s climb up and get it done right.
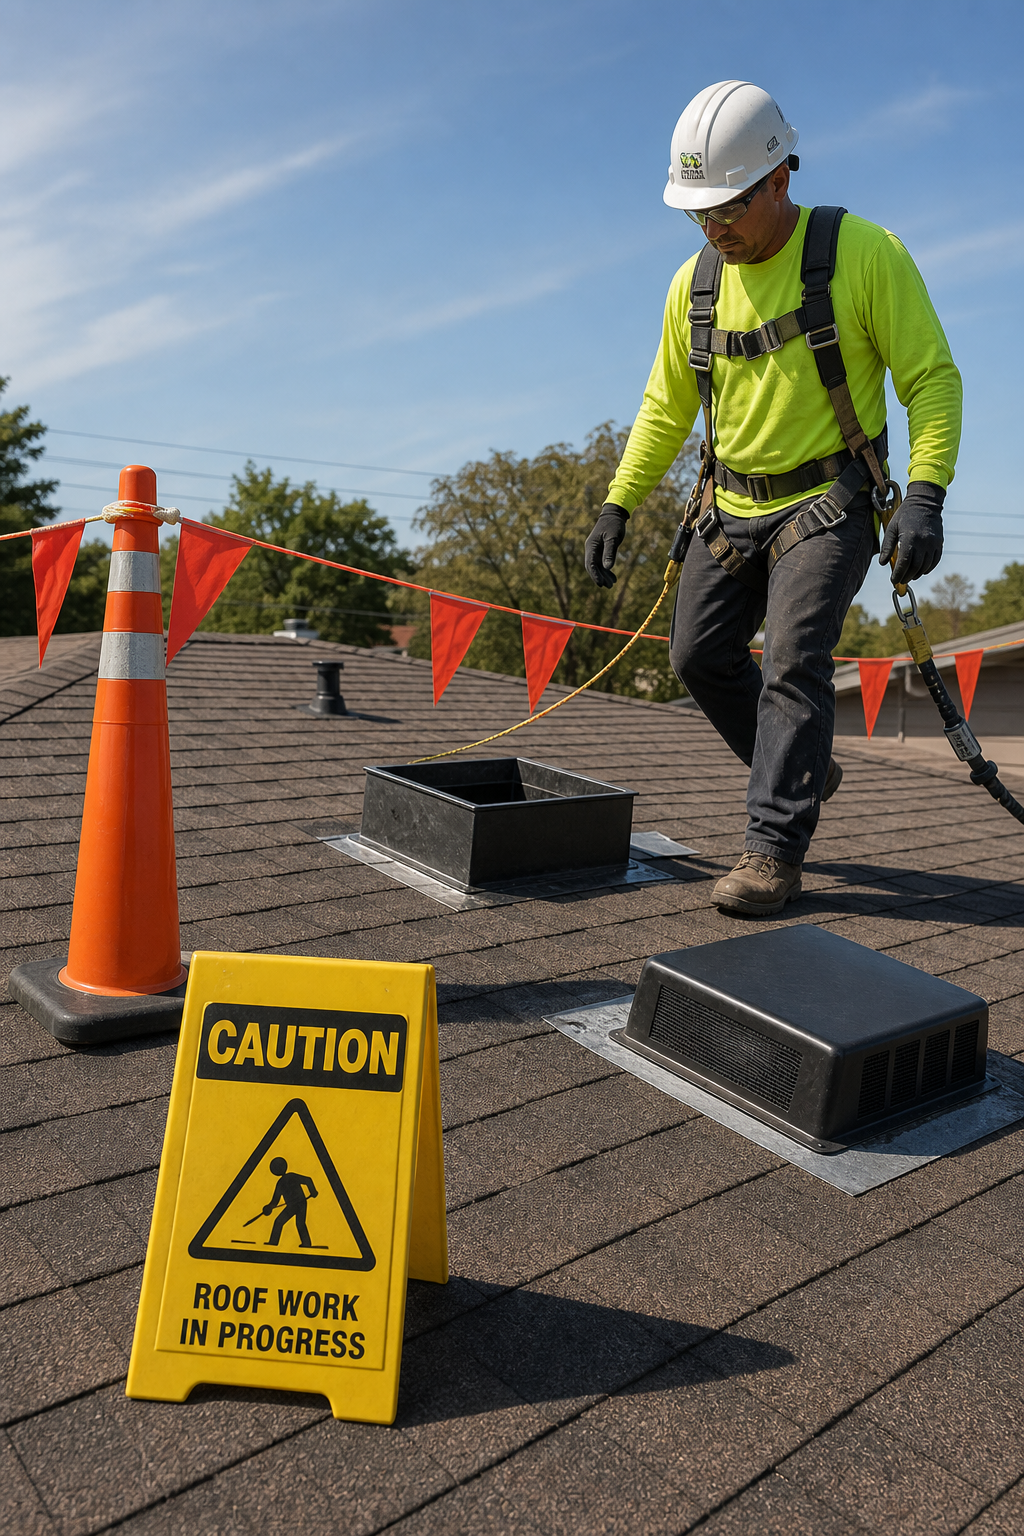
Step 1: Safety First , Power, Ladder, and Gear
Safety comes first. When you work on a roof you are near drops, sharp edges, and electricity. Start by turning off power to the circuit that runs the vent. If you’re not sure which breaker controls the bath fan, switch off the main and tag it. A non contact voltage tester is a smart tool to confirm there is no live power. The goal is to avoid shocks while wiring the fan later. A small test with a tester will save you from big headaches. And if you’re new to this kind of work, call a pro for the wiring step. It’s not worth taking a big risk for a small project.
Next, choose a sturdy ladder. It should extend at least three rungs above the roof edge. Use a helper or a roof anchor if you have it. Wear gloves, eye protection, and non slip shoes. A long sleeve shirt and pants protect you from sharp shingles and brush. When you step on a roof, move slowly. Do not rush, and keep three points of contact. If the roof is slick from rain, wait. A slip can ruin your day. If you have to work in wind or heat, take extra breaks and hydrate well. This is the kind of job where even small delays save a big risk later.
Here's what I mean: imagine you are halfway through and the ladder slips. You can hurt yourself or crack a vent. Better to pause and resecure than to push through. In real homes, the prep makes the rest easier. A case you may see is a homeowner who rushed the shut‑off and then found a live wire when reconnecting. It’s a simple mistake that teaches a hard lesson about safety. Keep your tools in a bucket so you don’t have to bend down on the ladder to grab them. A clean job is a safe job.
To keep the day moving, have your work area clear. Mark the vent location inside and outside. Use a chalk line to map where the hole will be. The first good habit is to check the power, the ladder, and your gloves before you touch the vent. And if you feel unsure, skip the cut and call a pro to avoid a costly mistake. Remember, safety makes the job go smoother and faster in the end. Energy.gov roof vent safety guide is a solid reference for basic safety steps you can follow.
Key Takeaway:Safety comes first. Power off, stand on a sturdy ladder, and wear gear to set the tone for a clean install.
Bottom line:Start safe to ensure the rest of the install goes well.
Step 2: Tools, Materials, and Sealing Options
Now you need the right tools and parts. A typical roof vent fan install needs a hole saw, sealant, screws, a duct connector, and proper flashing. You’ll also want a weather‑tight top seal to keep rain out. The exact parts depend on your roof type and the vent model. Gather a framing square, ruler, and a standoff to help you align the fan. A dust mask helps, too, since you’ll be cutting into wood and shingles. A few common mistakes pop up here: wrong size hole, misaligned fan, or not sealing the flange well enough to stop leaks.
For sealing, you have options. Roofing cement can seal gaps on asphalt roofs. Butyl tape is strong and flexible, and some folks like polymer roof sealant for a long term seal. A good rule is to prep the opening by cleaning it and drying it. The roof needs a clean surface so the sealant sticks. If you’re unsure what to pick, think about climate and roof type. In cold climates condensation can form inside ducts if you don’t insulate. An insulated duct reduces moisture buildup in winter, which helps keep the attic drier overall.
Let me give you a quick example. Imagine a 2‑story home with an old vent fan. The old duct is uninsulated. You switch to insulated duct, apply butyl tape on the flange, and seal the flange edges with a polymer sealant. The owner saves time later because there is less condensation and fewer drips. A similar approach helps many projects, whether you’re replacing a bath vent or upgrading a roof fan for better attic air flow. The goal is a clean, tight seal that lasts for years.
Below is a quick tools and materials table you can use to check your shopping list.
Item | Why you need it | Tips |
Hole saw kit | Cut the correct opening | Choose the right size for your fan |
Sealant (roofing cement or polymer) | Seal edges and flashing | Apply in dry weather |
Butyl tape | Quick seal at flange | Clean surface first |
Insulated duct | Reduce condensation | Fit snugly, avoid kinks |
Research notes show that many DIY guides leave out safety steps and time estimates. Our plan and data emphasize you should plan around safety and a realistic time block. For more on air flow and attic ventilation basics, you can explore Attic ventilation to understand why vent placement matters for final airflow. When you’re done choosing the options, you’ll be ready to cut the opening and mount the fan with solid sealing. Roof Installation | Lgfmh Construction can be a good next step if you want a pro to handle the sealing and flashing job.
Bottom line:Gather the right tools and sealing options so the vent stays weather tight for years.
Pro Tip:
Pro Tip:Dry weather helps a lot. If you’re on a humid day, plan for a few extra hours to let sealants cure fully before rain.
18%of DIY roof vent steps mention safety precautions
Bottom line: being prepared with the right tools and the right seal keeps leaks away and work moving.
Step 3: Cutting the Opening and Mounting the Fan
Time to cut the opening. Start by measuring the fan’s flange and the opening in the roof. You want the opening to be just a touch smaller than the flange so the fan can sit flat. A common mistake is oversizing the hole. If you cut too big, you’ll have trouble sealing. Mark the outline on the shingles and then cut through the shingles with a keyhole saw or a hole saw. A pilot hole in the attic can help you line up the opening from above. Once the hole is cut, remove debris and dry the edges so the flange sits clean and flat.
Next, dry fit the fan. The base needs to sit on the roof decking, not the shingles. If the hole is a tight fit you may trim the opening a little more. Some roofs require you to notch the flange so it sits flush with the roof surface. When mounting, use screws that reach into solid wood at the decking level. Then apply a bead of sealant around the flange before you press the fan into place. This helps you avoid leaks along the edges. Don’t over tighten; you want a snug fit that won’t crack the flange or bend the roof surface. If you have to patch around the opening, a small amount of flashing helps. A clean, careful cut makes the next steps easier and keeps the roof from leaking later.
This section often benefits from a quick case note. Imagine a home that had a 5‑inch hole cut with a dull blade. The edge chipped, and the sealant couldn’t stick well. They redid the cut, used a sharper blade, and the job went faster. A simple mistake like dull tools can slow you down, cost more, and lead to leaks. Take your time and double check your measurements before you cut. The goal is a clean opening with a solid base for the fan and flashing.Bottom line: A clean cut and proper mounting make the fan sit tight and ready for sealing.Step 4: Sealing and Flashing the Fan HousingSealing and flashing are where you stop leaks. Start with the outer edge of the flange. Apply roofing cement or polymer sealant along the edge, then set the flange into the cut. If you’re using butyl tape, lay a continuous bead on the underside edge first. Align the fan so the screws will go into solid wood, not through thin roof layers. The goal is to have a continuous seal around the entire edge, with sealant visible at the screw heads as a secondary barrier. When you seal, avoid blocking the drainage paths. Condensation can form if you seal too tight in the wrong spots. After the outer seal cures, seal the screw holes themselves and then add flashing to direct any moisture away from the seam. This keeps the roof from warping and helps future wind loads stay light on the seal.In practice, this is where many DIYers slip. They over tighten the screws or skip flashing. The result is a small gap that lets water in. A quick check is to spray a light mist around the edge after the sealant cures. If you see beads of water tracking to the vent, you know more work is needed. Real world cases show that adding a secondary flashing strip around the opening to cover the seam reduces the chance of leaks. If you have metal or tile roofs, flashing kits made for those materials can help you get a better seal. The key is to keep the opening dry as you seal and to crown the seal so water runs off away from the fan.Internal note: LGFMH Construction can handle the flashing and sealing if you’d like a full service. See our Roof Installation | Lgfmh Construction page for details.Bottom line: Seal and flash the fan housing firmly to keep water out, so the vent lasts years on your roof.Step 5: Wiring, Testing, and Final TouchesWiring is the step that powers the vent. If you’re comfortable with basic wiring you can do this part. Match colors and use the proper wire nuts or quick connectors. If you’re not sure, hire an electrician. You’ll likely have a switch that controls the fan; if you want a light, you may need an extra switch or a dual unit. After wiring, test the fan to verify airflow. Hold a piece of tissue near the vent to see if air moves well. Check for wobble, noise, and heat around the housing. Listen for wind gusts that could push moisture into the seal. If you hear noise or feel resistance, recheck the screws and braces. A loose fan can vibrate and cause leaks later. If you see condensation or dripping inside the attic after a test, pause until you diagnose the cause. Real cases show the importance of a careful test; it can save you a second trip to fix leaks later.For this part you will want to ensure the duct is properly connected. If you have to run a new duct, do not squeeze it; keep a smooth path with minimal bends. Use HVAC tape on all duct joints. Clean any dust from the duct before connecting. A good method is to test with the fan off and then with the fan on to see if any air leaks near the duct joints. In cold climates think about insulated duct to prevent condensation. A short note here: a DIY project can be quick, but a professional install can save you from rework. If you feel unsure, call a pro. It’s worth it for a clean finish. For a full service option see the Roof Installation page from LGFMH. Roof Installation | Lgfmh Construction.Bottom Takeaway: A careful wiring and a full test ensure your new roof vent fan runs cleanly and quietly.Bottom line: With power off and a careful test, your vent will move air and stay dry.FAQHow do I know I’ve shut off the right power for the vent?Shut off the circuit that feeds the vent at the breaker. Then verify with a non contact tester. This is a simple safety check that prevents shocks while wiring. If you can’t find the correct circuit, switch off the main breaker and test the receptacle with the tester after you turn it back on. It’s worth extra time to confirm the power is off. The risk of live voltage is not worth it in a DIY roof vent install. how to install a new roof vent fanWhat size hole should I cut for a new vent fan?Measure the fan flange and the hole in the roof. The hole should be slightly smaller than the flange so the vent sits flat. A too big hole means more sealant and a higher chance of leaks. Use a hole saw and a pilot guide, then clean edges before mounting. Check the opening inside the attic to ensure the deck sits behind the shingles and not on top of the roof. The result is a tight fit and better seal. how to install a new roof vent fanCan I vent through the attic or side wall instead of the roof?Venting through the attic is a common mistake. It can push moist air into the attic and cause mold. The best path is to vent through a gable wall or the roof, not into the attic. If you don’t have attic access, vent through a side wall with a proper vent kit. Always follow the vent kit instructions for your model. Venting outdoors helps prevent condensation buildup in the attic. how to install a new roof vent fanDo I need 120V or 12V power for the vent fan?Most home roof vent fans use 120V. RV or off‑grid setups may use a 12V system. If you’re wiring for a home, you’ll likely use a standard home circuit with a switch. If you are wiring an RV or a mobile unit, you’ll follow different codes. In any case, turn off power at the breaker first and match the color wiring with the quick connectors. If the project includes a light, plan the wiring route and switches in advance. how to install a new roof vent fanHow long does a typical install take?Time is a real part of project planning. Most DIY roof vent fan installs take a few hours from start to finish if you work steadily in good weather. If you add flashing changes or a new duct run, this can stretch to a full day. The lack of time estimates in many guides is a gap you should plan around. Set a time block and include a safety buffer in case you have to redo flashing or reseal. how to install a new roof vent fanWhat are the most common mistakes and how do I fix them?Common mistakes include overtightening the vent flange, venting through the soffit, and using the wrong sealant for the roof type. If the flange is too tight, it can crack the roof or bend the flange. Soffit venting can pull warm air back into the attic, causing moisture problems. The fix is to vent through the roof or a proper side wall kit and to seal around the flange with the right material for your roof type. how to install a new roof vent fanIs there a pro option if I want a trouble‑free install?Yes. If you’d rather have a full service install that covers safety, timing, sealing, and wiring, a pro can handle it. LGFMH Construction offers interior and exterior repairs and replacements, including roof vent fan installs as part of a complete service package. A pro can also help with attic sealing, condensation control, and airflow planning. If you’d like a quote, check the Roof Installation page on LGFMH’s site. Roof Installation | Lgfmh Construction.ConclusionInstalling a new roof vent fan is a solid project that pays off with better attic air, less moisture, and a calmer home. The key is to start with safety, pick the right tools, and plan your steps. You’ll cut the opening, mount the fan, seal well, and wire with care. You’ll test the fan and confirm airflow is moving in the right direction. Remember, even a small leak can ruin a roof, so take your time with flashing and sealing. This guide is designed so you can follow it step by step and avoid common traps. If you want extra help, LGFMH Construction offers a full service option that covers safety planning, installation, and finishing touches for both interior and exterior work. This approach saves time and reduces risk for busy homeowners who want a weather‑tight roof and a healthy attic. Here’s a quick recap of what you’ll do next: confirm power is off, gather the right tools, cut the hole accurately, seal the flange, wire the unit, and test the airflow. A good vent fan not only improves attic health but also reduces house humidity and helps your heating and cooling work more efficiently. If you’re planning a larger home upgrade or want to compare options, contact LGFMH Construction for a detailed plan and time estimate. Safety first, then seal, then test. That’s the path to a quiet, effective roof vent fan that stands the test of weather and time.
"The best time to start is when you have a clean plan, a sharp blade, and dry weather."


Comments