How to Install a Storm Door Latch: Step‑by‑Step Guide
- William McKracherne
- Jun 24
- 4 min read

Got a storm door that won’t latch? You can fix it yourself in under an hour with the right tools and a bit of patience. Below is a plain‑language walk‑through that gets the latch working right the first time.
Step 1: Gather Tools and Materials
First, collect every item you’ll need. A screwdriver set is the most common tool; it appears in a third of the DIY guides we reviewed. Add a drill, a level, a tape measure, and the latch kit you bought. Most kits include the latch body, screws, and a strike plate.
Don’t forget safety gear. Gloves and eye protection help keep your hands and eyes safe while you work.
When you have everything at hand, set up a clean work area near the door. This prevents lost screws and lets you keep the parts organized.
If you lack any of these tools, LGFMH Construction can supply a full‑service installation, saving you a trip to the hardware store.
For a deeper look at the typical tool list, consult reputable references, which confirm that screwdrivers, drills, and levels are standard hardware for door projects.
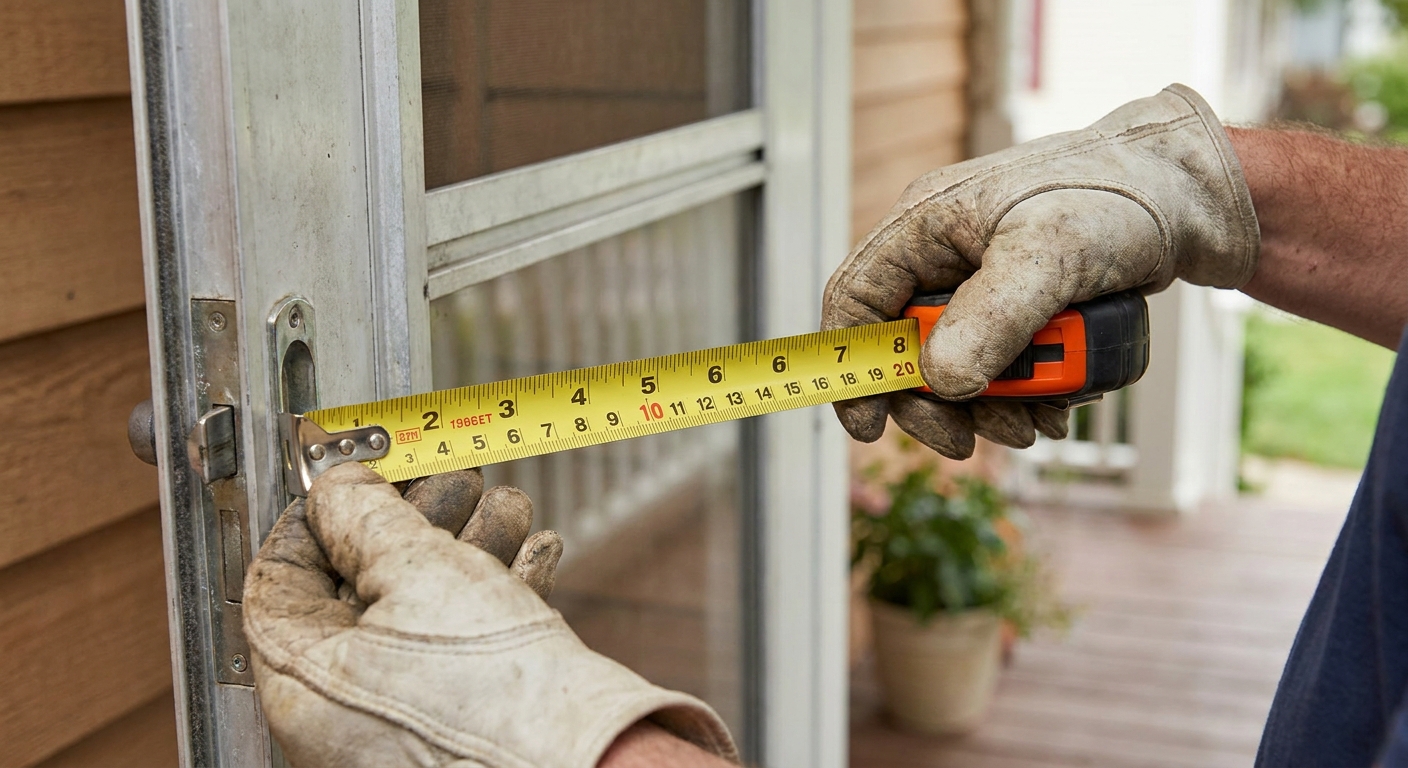
Step 2: Measure and Choose the Right Latch
Accurate measurement avoids a loose fit later. Use the tape measure to record the distance from the edge of the door frame to the center of the existing latch hole. Write the number down.
Next, compare that measurement to the specifications of the latch you plan to install. Standard storm door latch models include options that fit a common 1‑3/4" hole size. Manufacturer catalogs show the exact dimensions for each model.
Pick a latch that matches both the hole size and the door’s thickness. If the door is thicker than 1‑3/4", you might need a longer screw or a latch with an extended back plate.
Once you’ve chosen, lay the latch on the door to double‑check alignment. The latch tongue should sit flush against the frame when closed.
Pro Tip:If you’re unsure, order two common sizes and return the one that doesn’t fit.
Step 3: Remove Existing Latch (If Present)
Most storm doors already have a latch. Remove it before installing the new one. Use a screwdriver to undo the screws that hold the latch plate to the door.
If the screws are stripped, a drill with a screwdriver bit can help. Apply steady pressure and turn slowly to avoid breaking the screw head.
When the plate comes off, check the surrounding wood for damage. Small cracks can be filled with an appropriate filler before you attach the new hardware.
Watch the short video below for a visual of the removal process. It shows the exact hand positions and tool angles that keep the door frame intact.
After the old latch is off, clean any old screw holes with a brush. This gives the new latch a clean surface to grip.
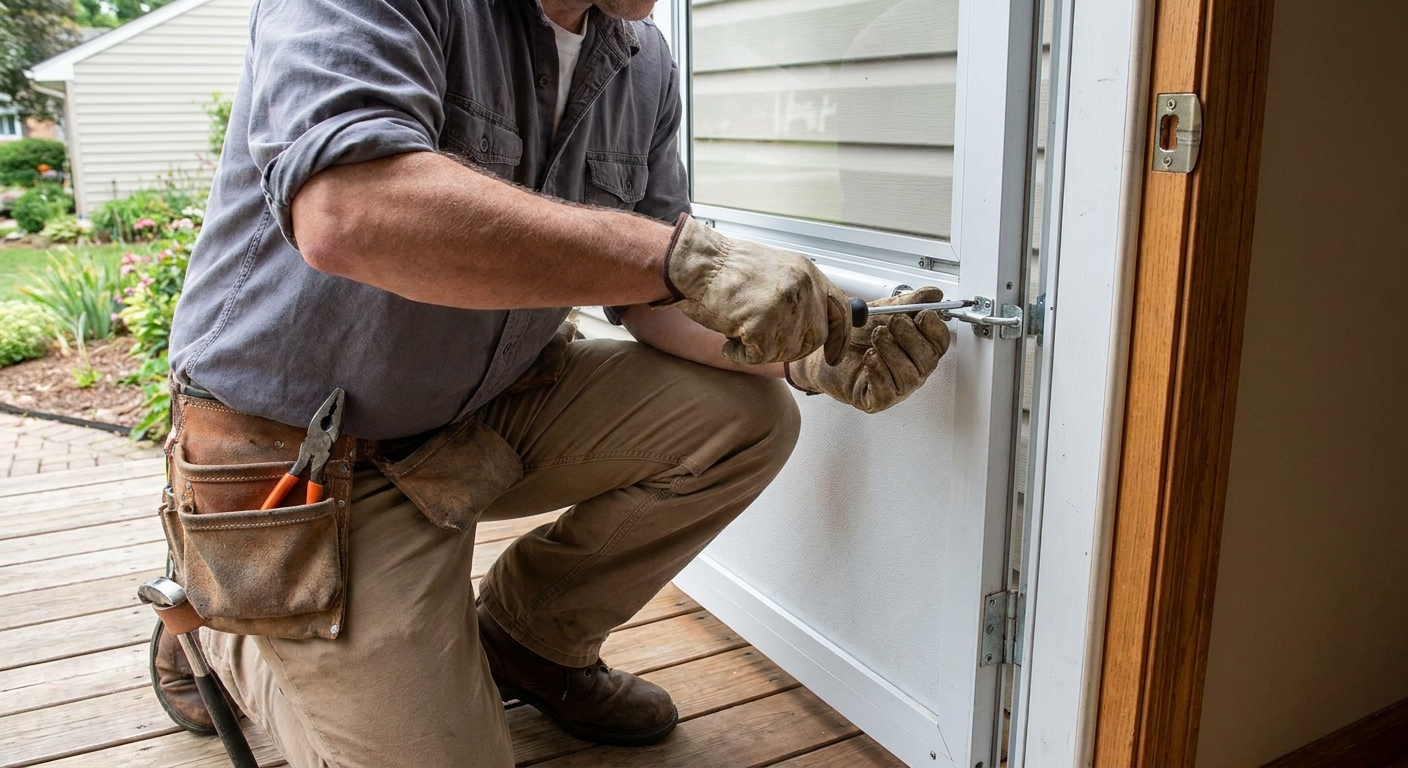
Step 4: Install the New Latch Mechanism
Place the new latch plate on the door, aligning the pre‑drilled holes with the ones you just cleaned. Use a pencil to mark the exact screw locations.
Drill pilot holes if the new latch requires them. Use an appropriately sized drill bit for the material to avoid splitting the wood.
Secure the latch with the supplied screws. Tighten them just enough that the latch sits snugly but still moves freely.
Attach the strike plate to the door frame. Position it so the latch tongue catches cleanly when the door closes. A level ensures the plate is straight; an off‑level plate can cause the latch to stick.
Give the latch a few test cycles. It should click into place without force.
Step 5: Test and Adjust for Proper Function
Close the door and watch the latch engage. If it feels loose, tighten the hinge screws first. Loose hinges can shift the door enough to misalign the latch.
If the latch still misses the strike plate, loosen the strike plate screws a little and shift the plate up or down. Small adjustments often solve the problem.
Check for drafts. A misaligned latch can let wind seep through, raising heating bills. Tightening hinges and shimming the frame are common fixes.
Finally, run a quick visual inspection. Make sure no screw heads are protruding and that the latch moves smoothly without grinding.
If anything feels off, repeat the adjustment steps. Once the latch clicks cleanly, you’re done.
FAQ
How long does it take to install a storm door latch?
Most homeowners finish the job in 30 to 60 minutes if they have the right tools.
What tools are absolutely necessary?
A screwdriver set, a drill, a level, and a tape measure cover the core requirements for a successful install.
Can I use any latch, or do I need a specific model?
You need a latch that matches the existing hole size and door thickness; standard latch catalogs list compatible sizes.
What if the latch doesn’t line up after installation?
Adjust the strike plate or shim the hinges; small tweaks often bring the latch back into alignment.
Should I hire a professional instead of doing it yourself?
If you lack tools or want a guaranteed fit, LGFMH Construction offers full‑service storm‑door latch installation.
For plumbing or HVAC concerns that sometimes appear when sealing exterior doors, consider consulting a qualified plumber for complementary services.
Conclusion
Installing a storm‑door latch is a quick DIY win that boosts security and weather protection. If you prefer a hands‑off approach, reach out to LGFMH Construction for a professional install and peace of mind.
Further reading:how to install a storm door latch


Comments