How to Replace a Broken Exterior Light Fixture (Step-by-Step)
- William McKracherne
- Jun 7
- 8 min read

Your porch light is busted. Maybe a storm knocked it loose. Or the glass cracked from age. Either way, you need to swap it out. Replacing a broken exterior light fixture is a straightforward DIY job if you follow the right steps. This guide walks you through each one. You'll learn how to turn off power safely, remove the old fixture, inspect wiring, connect the new one, seal it against weather, and test it. We also cover tools you need and common mistakes to avoid. By the end, you'll have a working light and peace of mind. Let's get started.
Step 1: Turn Off Power and Gather Tools
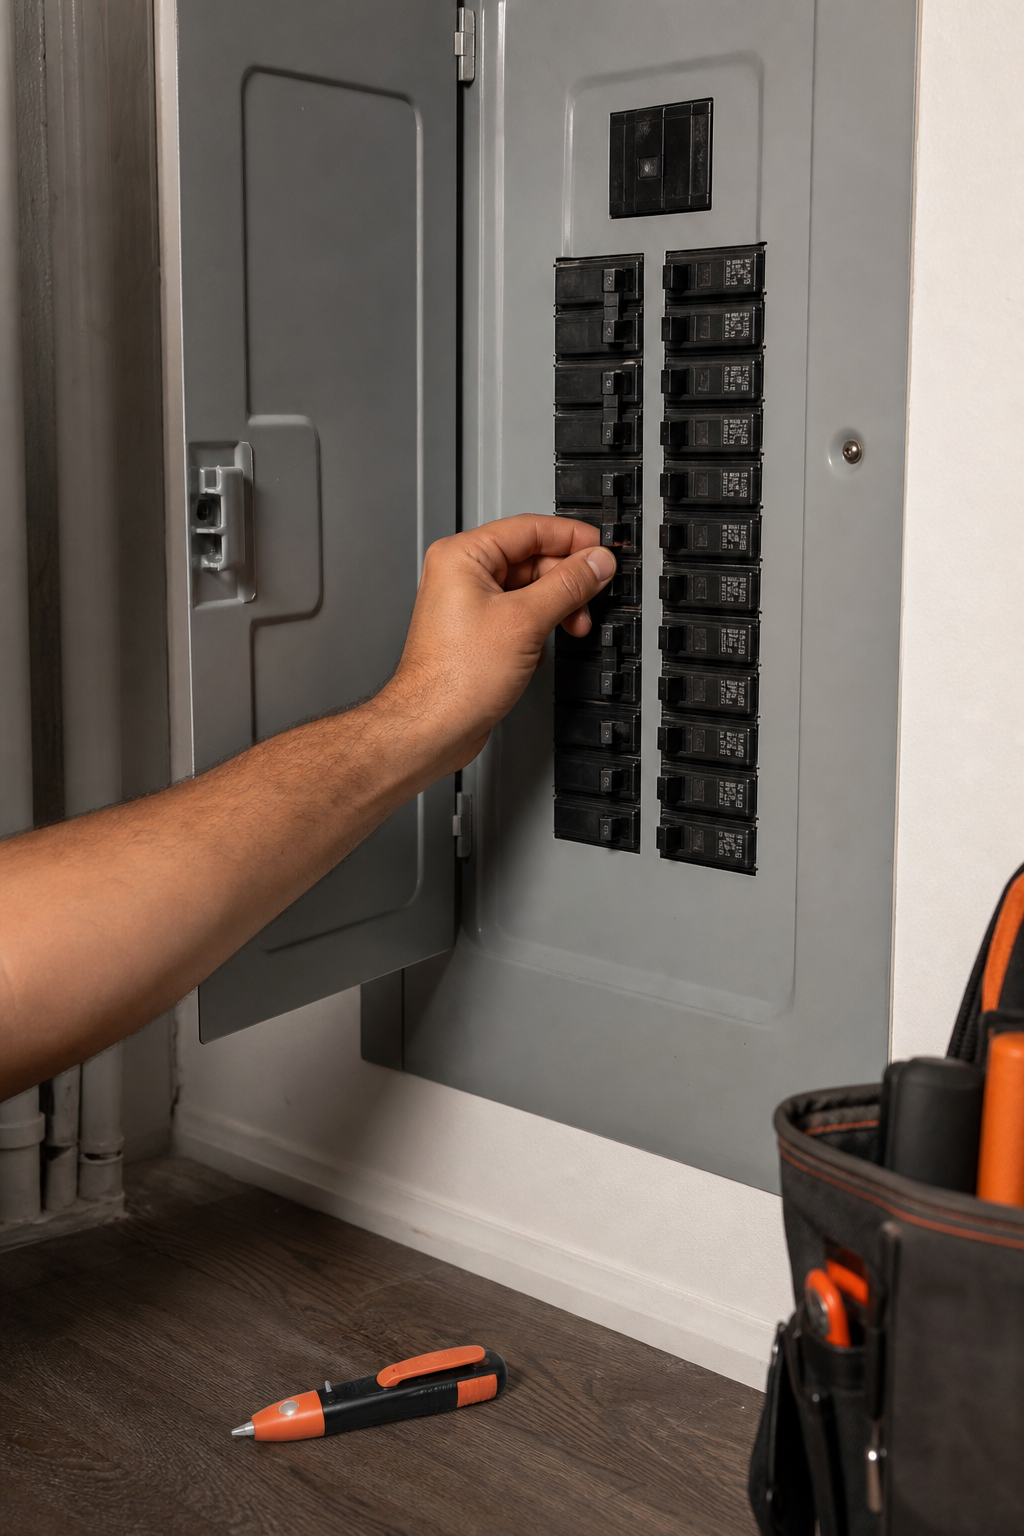
Before you touch anything, kill the power. Go to your main breaker panel and find the circuit that feeds the light. Switch it off. Then put a piece of tape over the breaker so nobody flips it back on while you work. Grab a non-contact voltage tester and hold it against the light fixture's wires to double-check there's no power. This step is non-negotiable. According to OSHA's electrical safety guidelines, de-energizing equipment before work prevents serious injury or death.
Now gather your tools. You'll need:
Non-contact voltage tester
Flathead and Phillips screwdrivers
Wire strippers or a multi-tool
Wire nuts (if not included with the new fixture)
Electrical tape
A ladder (if the light is high up)
Silicone sealant and a caulk gun
Safety glasses and gloves
Lay out everything on a clean surface. A drop cloth helps catch any debris. If you're working on a ladder, make sure it's stable and on level ground. Don't rush this part. Having the right tools makes the job faster and safer.
Pro Tip:Use a non-contact voltage tester even after turning off the breaker. Sometimes circuits are mislabeled. Testing gives you one more layer of safety.
Also check the weather. Don't work on exterior fixtures if rain is coming. Moisture can get inside the box and cause shorts. Pick a dry day with mild temperatures.
Step 2: Remove the Old Fixture
With the power off, take a good look at the old fixture. Most exterior lights are held by two or three screws. Remove them with a screwdriver. Gently pull the fixture away from the wall. Don't yank it , you might damage the wiring.
Once the fixture is loose, you'll see wires connected inside. Usually there's a black (hot), white (neutral), and a bare copper or green ground wire. Take a photo with your phone before disconnecting. That way you remember which wire goes where. Then unscrew the wire nuts and separate the wires. If the wires are twisted together, untwist them carefully.
Support the fixture as you disconnect it. It may be heavier than you think. Place it on a drop cloth or have a helper hold it. After the wires are free, set the old fixture aside. You might be able to recycle the metal parts.
Now look at the mounting bracket. This is the metal piece that attaches to the electrical box. Unscrew it too. You'll reuse it or install a new one that comes with your new fixture. Keep the screws handy.
Step 3: Inspect the Wiring and Electrical Box
Before you install anything new, check what's inside the wall. Look at the electrical box. Is it plastic or metal? Is it securely fastened? Wobble it gently. If it moves, you need to tighten the screws or replace the box. A loose box can cause the fixture to sag or damage the wires. Also look for rust or corrosion. Exterior boxes take a beating from moisture. Badly rusted boxes should be replaced, but that's a bigger job. If you see signs of water, it's a sign your sealant failed.
Now inspect the wires. Are the insulation jackets cracked or brittle? Any bare copper? If so, trim back to healthy wire with wire strippers. You need about half an inch of clean copper for the wire nut connection. Also check the wire gauge. Most fixtures use 14 or 12 gauge. If you're unsure, Wikipedia's electrical wiring color code page can help identify standard colors.
Pull the wires out a bit to give yourself room to work. But don't pull too hard , they're stapled inside. If the wires are too short, you may need to extend them with approved connectors. That's a bit advanced. If you're not comfortable, call a pro. LGFMH Construction offers siding and exterior repair services that can handle electrical box issues too.
Key Takeaway:If the electrical box is damaged or the wires are badly frayed, stop and call an electrician. Safety first.
Step 4: Prepare the New Fixture for Installation

Open your new fixture box. Unwrap everything carefully. Most fixtures come with a mounting bracket, screws, wire nuts, and a gasket. Read the instructions , they vary by brand. First, attach the mounting bracket to the electrical box. The bracket should be level. Use a small level if you have one. Tighten the screws firmly.
Now prepare the fixture itself. If it has a glass shade, remove it so you don't break it during wiring. Set it aside in a safe spot. Some fixtures have a removable backplate , take that off too. You'll wire it first, then attach the backplate later.
Check the gasket. Most exterior lights come with a foam or rubber gasket that seals against the wall. If yours didn't, or if it's poor quality, consider buying a better one or using silicone sealant. A good seal keeps moisture and bugs out. You can even apply a thin bead of silicone around the backplate before mounting.
If you're stuck on design or material choices, Vault Studio offers concierge design and materials sourcing for homeowners. They can help you pick a fixture that matches your home's style and handles your local weather.
Before wiring, check the wire length. If the fixture wires are too short, you can attach pigtails. If they're too long, trim them to about 6 inches. Strip the ends neatly.
Wire Color | Function | Notes |
Black | Hot (Live) | Carries power from switch |
White | Neutral | Returns current |
Green or Bare | Ground | Safety path for faults |
Step 5: Connect the Wires and Mount the Fixture
Now it's time to make the connections. Start with the ground wire. Connect the fixture's ground (green or bare) to the house ground. Usually they're both bare. Twist them together with pliers, then screw on a wire nut. Give a gentle tug to make sure it's secure. Repeat for neutral (white to white) and hot (black to black). If your fixture has a different color scheme (like blue for hot), check the manual.
Wrap each wire nut with electrical tape. This extra step prevents them from vibrating loose over time. Gently push the wires back into the electrical box. Don't cram them , fold them neatly so they fit without pinching. The box should have enough depth.
Now position the fixture against the wall. Align the screw holes on the backplate with the mounting bracket. Some fixtures have a center screw that goes through the backplate into the bracket. Others have two side screws. Tighten them evenly. Don't overtighten , you might crack the backplate or strip the screws.
If your fixture has a separate decorative cover or shade, install it now according to the instructions. Usually it screws on or clips in place. Make sure it's snug but not too tight.
"The most common mistake is not tightening the mounting bracket enough. A loose bracket makes the fixture wobble and can break the seal."
Step 6: Seal, Restore Power, and Test
Before you restore power, seal the fixture. A good bead of silicone sealant around the backplate prevents water intrusion. Use a paintable silicone if you plan to paint later. Apply a continuous bead along the top and sides. Leave a small gap at the bottom , a weep hole , so any condensation can drain out. Smooth the bead with a wet finger or a tool. Wikipedia's silicone sealant page explains how it cures and adheres.
Let the sealant cure as long as the manufacturer says. Usually 30 minutes to an hour before you test. Check the weep hole is clear. Now go back to the breaker panel and flip the switch on.
Test your work. Flip the wall switch. If the light comes on, great! If not, turn the breaker off again and check connections. Maybe a wire came loose. Also check the bulb , make sure it's screwed in all the way. Use the correct wattage bulb for your fixture.
Finally, clean up. Dispose of the old fixture properly. Some parts are recyclable. Wipe down the new fixture with a soft cloth. Enjoy your bright new light!
If you run into problems like a damaged electrical box or tricky wiring, don't hesitate to call a professional. LGFMH Construction has experience with exterior repairs and can handle the job safely.
Frequently Asked Questions
Do I need a permit to replace an exterior light fixture?
In most areas, replacing a fixture with a like-for-like does not require a permit. But if you relocate the fixture or upgrade the wiring, check your local codes. Some municipalities require permits for any electrical work. It's best to call your building department to confirm.
How do I know if the electrical box is rated for outdoor use?
Look for a marking on the box. It should say "WET" or "OUTDOOR" and list a UL rating. Metal boxes are often fine if they have gaskets. Plastic boxes should be UV-rated. If you're unsure, replace it with a weatherproof box rated for exterior use.
What type of sealant should I use?
Use 100% silicone sealant labeled for exterior use. Avoid acrylic caulk because it cracks over time. GE Supreme Silicone or similar works well. Make sure it's paintable if you need to match the wall color. Apply it after mounting, not before, to avoid slipping.
My new fixture doesn't have a ground wire. What do I do?
If the fixture is all plastic (double-insulated), it may not need a ground. But you still need to connect the house ground wire to the mounting bracket or the box. If you're unsure, consult an electrician. Never leave a ground wire disconnected.
Why does my light flicker after replacement?
Flickering often means a loose wire connection. Turn off power and re-check the wire nuts. Also check the bulb isn't loose. If the fixture is dimmable, make sure the bulb is compatible with the dimmer switch. If problems persist, there may be a fault in the circuit.
Can I install a light fixture over siding without removing the siding?
Yes, but you need a mounting block. This is a flat piece that goes between the siding and the fixture. It provides a flat surface and prevents water from getting behind the siding. Most hardware stores sell universal mounting blocks.
How often should I reseal an exterior light fixture?
Check the seal every year. If you see cracks or gaps, apply fresh silicone. Good sealing can last 3-5 years depending on weather. If you live in a rainy area, inspect more often.
Is it safe to replace a light fixture in the rain?
No. Water can enter the electrical box and cause a short or shock. Always work on a dry day. If you must replace it in damp conditions, use a canopy or tarp to keep the area dry.
Conclusion
Replacing a broken exterior light fixture is a job most homeowners can handle. The key steps are: turn off power, remove the old fixture, check the wiring and box, prep the new one, connect wires, seal it, and test. Improve your time with each step. Use a voltage tester. Don't skip the sealant , it keeps water out and prevents future damage.
Now you have a brighter, safer entryway. If you ever feel uncomfortable with wiring or find bigger issues like rotted wood behind the box, call a pro. LGFMH Construction offers expert siding and exterior repair services. We're here to help you finish the job right.
Remember: safety matters more than speed. Double-check every connection. And when in doubt, ask a licensed electrician. Your home , and your family , depend on it.


Comments