How to Replace a Broken Patio Door Glass
- William McKracherne
- May 27
- 6 min read

Got a cracked patio door and a view you can’t stand? It’s a hassle, but you don’t need a full door swap. In this guide we’ll walk you through every move , from checking the damage to sealing the new pane , so you can get clear sunshine back in no time.
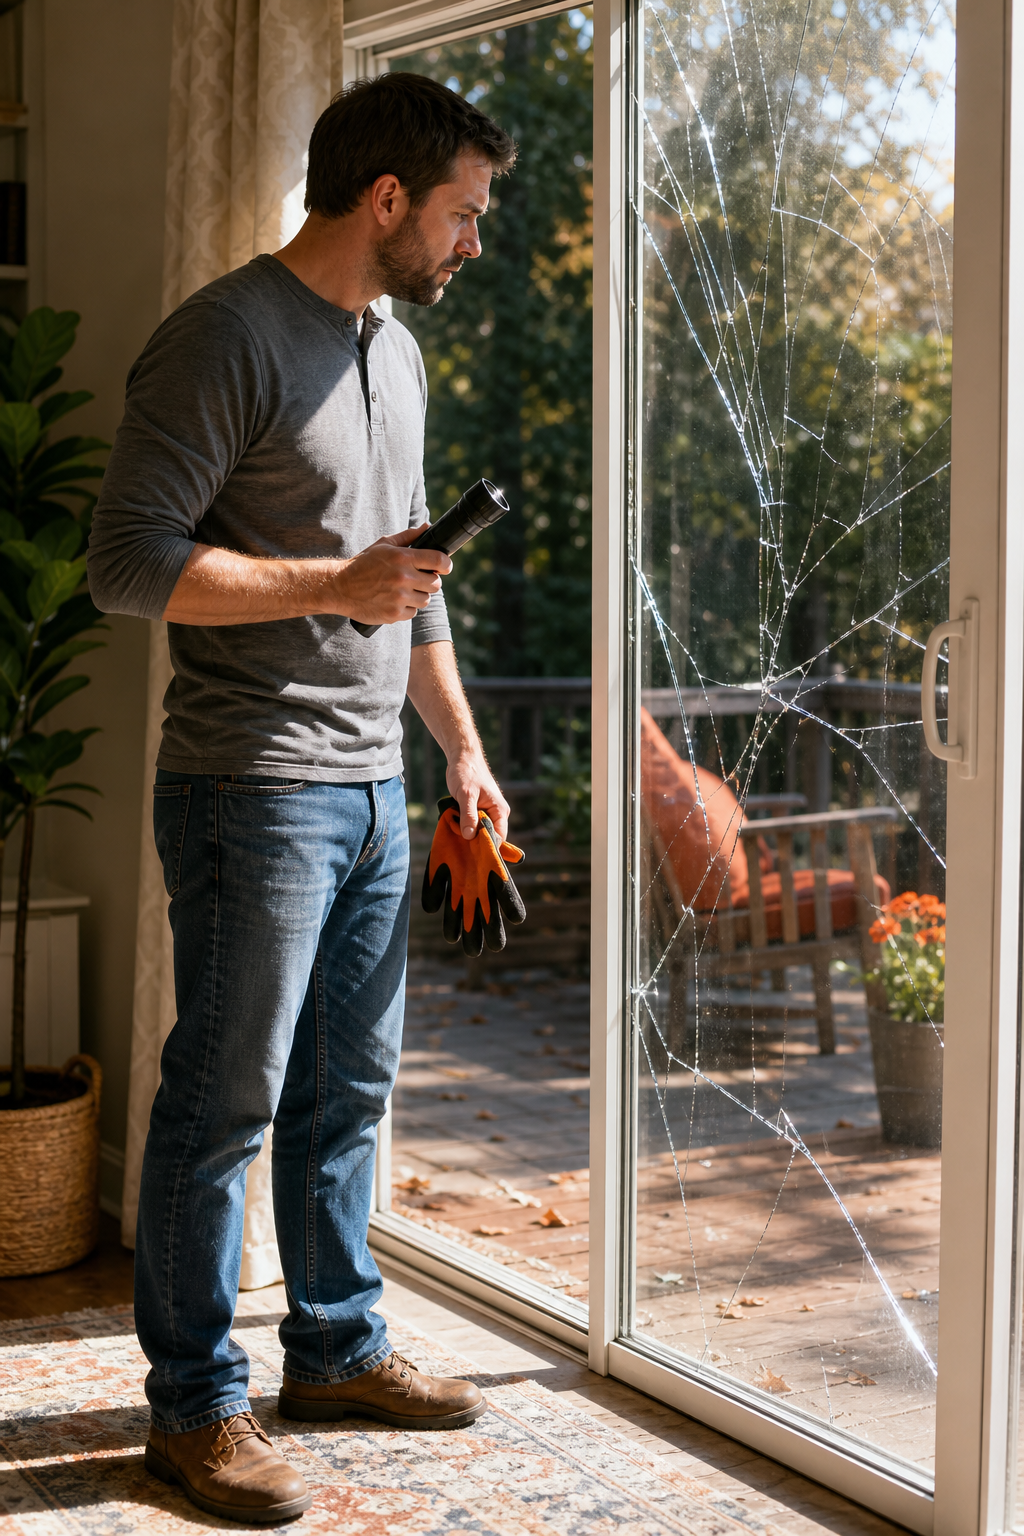
Step 1: Assess Damage and Decide If Replacement Is Needed
First, look at the broken glass. Is it a small chip or a full shatter? If the crack spreads to the edges, the whole panel should go. Tiny chips can sometimes be patched, but for a patio door the seal around the glass is critical for weather‑proofing.
Next, feel the frame. Any rust, warped tracks, or broken seals? Even a perfect pane won’t work if the frame is compromised. A warped frame can let water leak, cause drafts, and stress the new glass.
Check the type of glass. Most modern patio doors use tempered or low‑E insulated glass. If the broken piece is tempered, you’ll need a tempered replacement , the safety glass that breaks into small, less‑sharp pieces.
Now weigh cost. The research shows a full door replacement runs $1,000‑$2,500 on average, with $1,800 as a typical price point. If the frame is solid and only the glass is broken, a glass‑only swap can save a few hundred dollars.
Safety matters. Broken glass is a sharp hazard, and lifting a heavy pane can cause injury. If you have a partner to help, you’re in a better spot. If you feel unsure, a pro can handle the lift and seal for you.
When the glass is cracked, the frame is sound, and the cost fits your budget, you’re ready to move on. Otherwise, consider a full door replacement or call a pro like LGFMH Construction for a quick assessment.
Pro Tip:Mark the exact spot of the crack with a piece of masking tape. It helps you locate the damage when you start removing the old pane.
Step 2: Measure the Existing Pane and Order the Correct Glass
Accurate measurements are the backbone of a successful swap. Start by removing any interior blinds or screen that might hide the glass edges. With the pane clear, use a steel tape measure and note the width and height to the nearest millimeter.
Measure twice, order once. Record the dimensions of the opening, not the broken glass, because the old pane may have warped. Write down the size as “Width x Height” and keep a note of the glass type , clear insulated, low‑E, or standard tempered.
Most suppliers list standard sizes like 26×76, 34×76, and 46×76 inches for patio doors. If your opening falls between these, you’ll need a custom cut. When you place the order, specify the thickness , common options are 5/8, 3/4, or 7/8 inch.
Check the edge seal. The glass unit usually has a silver spacer that lines up with the frame’s seal. Make sure the new glass matches this spacer width; otherwise you’ll have gaps that let air or water in.
Ordering from a reputable dealer ensures the glass meets safety standards. For example, the Wikipedia page on tempered glass explains how the heat‑treatment process creates a stronger pane that meets building codes.
Once the order is placed, the supplier will confirm the lead time. Expect a few days for stock items and up to two weeks for custom cuts. Keep the receipt and dimensions handy for the installation day.
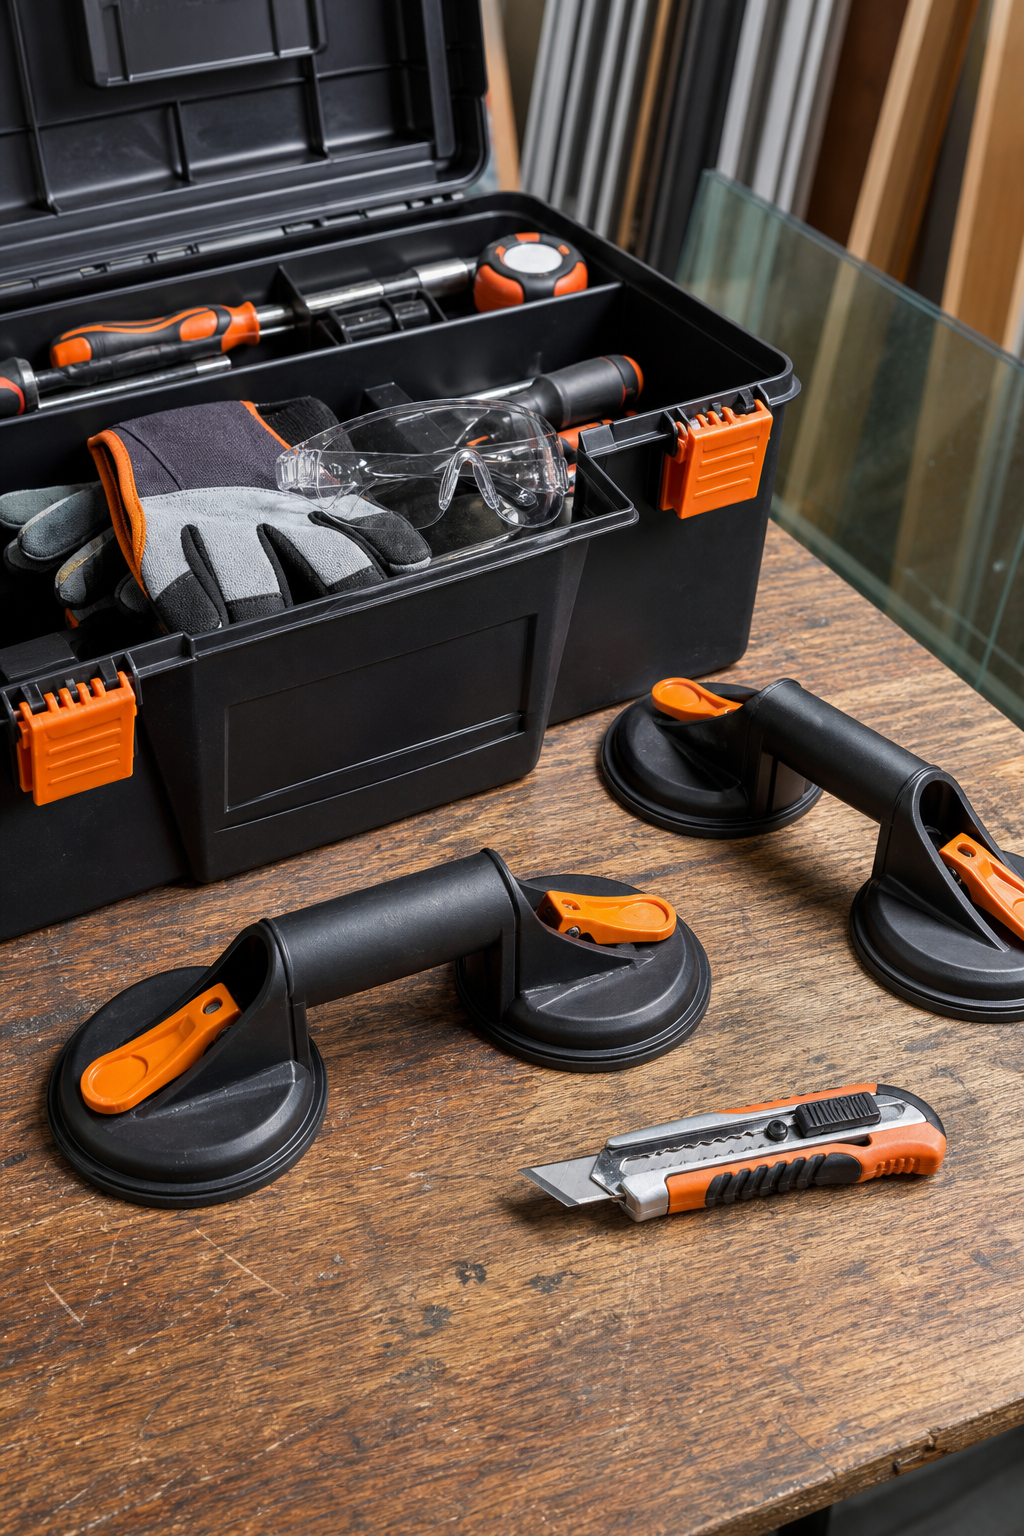
Step 3: Gather Safety Gear and Essential Tools
Safety gear protects you from shards and cuts. Put on heavy‑duty gloves, safety glasses, and a long‑sleeve shirt. If you have a dust mask, wear it while you clean up broken pieces.
Here’s the tool list you’ll need:
Suction cups (two large ones work best for a full pane)
Flat pry bar or a thin putty knife for removing glazing beads
Utility knife to cut old sealant
Rubber mallet for gently tapping beads back in place
Silicone sealant or double‑sided glazing tape
Measuring tape and marker
Wooden shims to keep the new glass level while you work
When you buy the new glass, ask the supplier for a pair of suction cups that can hold the pane’s weight. A 30‑pound pane can slip easily without proper support.
Before you start, clear the area. Remove furniture, rugs, and pets. Lay down a drop cloth to catch any stray shards. A shop‑vacuum can help you clean up fine glass dust.
If you need extra help, a second pair of hands can hold the suction cups while you guide the new pane into place.
Key Takeaway:Proper safety gear and the right tools make the glass swap safer and faster.
Step 4: Remove Old Glass, Install New Panel, and Seal
Start by loosening the glazing beads that hold the glass in the frame. Use a flat pry bar along the top edge first, then work down the sides. The top bead stays on until the end so the pane doesn’t drop unexpectedly.
Cut the old sealant with a utility knife. Slice along the bead’s edge, being careful not to gouge the frame. When the seal is cut, you can lift the pane with the suction cups.
If the pane is large, have a partner steady it while you pull it out. Place the broken glass on a thick cardboard box and wrap it in a heavy‑duty bag for disposal.
Now clean the frame. Scrape away any remaining sealant, old tape, and debris. A clean surface ensures a tight seal for the new glass.
Apply the new sealant or glazing tape. If you use silicone, run a bead around the interior edge of the frame. For double‑sided tape, peel back the backing and press the sticky side onto the frame.
Lift the new pane with the suction cups and guide it into place. Align the edges with the frame, then press gently to seat the glass. Use wooden shims to keep the pane square while the sealant cures.Re‑install the glazing beads. Start with the bottom bead, then the sides, and finish with the top bead. Tap each bead lightly with a rubber mallet until it sits flush.
Sealing Option | Pros | Cons |
Silicone caulk | Flexible, waterproof, easy to apply | Needs 24‑hour cure time |
Double‑sided glazing tape | Instant hold, no cure time | May not be as flexible for movement |
Give the sealant time to set , 24 hours for silicone, or a few minutes for tape. After it’s set, check the door’s operation. Open and close the slider a few times to ensure the glass stays snug and the frame moves smoothly.
Finally, clean both sides of the glass. Use a mild glass cleaner and a lint‑free cloth. Wipe in a horizontal motion on the outside and a vertical motion on the inside to spot any streaks.
When the job is done, you’ve saved a lot of money and kept your home looking fresh. If you run into tricky frame damage or need a professional touch, LGFMH Construction can step in to finish the job safely.
Conclusion
Replacing a broken patio door glass is a doable DIY project if you follow the right steps. Start by inspecting the damage, measure precisely, gather safety gear, and then remove, install, and seal the new pane. Remember to work slowly, keep the area clean, and let the sealant cure fully before using the door.
Even with careful work, some situations call for a pro , especially if the frame is warped or you lack a partner to hold the heavy glass. LGFMH Construction offers experienced help for those tougher cases.
Want to learn more about maintaining your patio doors or improving energy efficiency? Check out the DOE Energy Saver guide on windows and doors for tips on low‑E glass, weather‑stripping, and long‑term savings.
FAQ
Can I replace only the glass without touching the frame?
Yes, as long as the frame is in good shape and the old sealant is removed cleanly. You’ll need suction cups, a utility knife, and silicone or glazing tape. If the frame shows rust or warping, replace the whole door to avoid future leaks.
What thickness of glass should I order?
Common patio doors use 5/8‑inch tempered glass. Some newer doors use 3/4‑inch low‑E insulated units for better energy performance. Check the existing edge spacer and match the thickness when you order.
How do I know if the broken pane is tempered?
Tempered glass often has a slight tint and breaks into small, less‑sharp pieces. The supplier’s product description will note “tempered” or “heat‑treated.” If you’re unsure, ask the glass dealer for confirmation before ordering.
Do I need a professional to install the new pane?
If the frame is solid, you have a helper, and you’re comfortable using suction cups, you can do it yourself. For heavy panes, warped frames, or if you lack help, hiring a pro reduces injury risk and ensures a tight seal.
What safety gear is essential?
Heavy‑duty gloves, safety glasses, and a dust mask protect you from shards. A long‑sleeve shirt and sturdy shoes prevent cuts. Suction cups keep the pane from dropping during removal and installation.
How long should I wait before using the door after sealing?
Silicone caulk needs about 24 hours to fully cure. If you use double‑sided glazing tape, you can operate the door after a few minutes of firm pressure. Test the door gently after the recommended cure time.
Can I reuse the old glazing beads?
Yes, keep them in the order you remove them. Clean any old sealant off the beads before re‑installing. This saves time and ensures a perfect fit.
What if the new glass doesn’t fit perfectly?
Small gaps can be filled with a thin bead of silicone. If the mismatch is large, double‑check your measurements or contact the glass supplier for a corrected cut.


Comments