How to Replace a Broken Patio Door Hinge
- William McKracherne
- May 23
- 8 min read

Even though dozens of DIY guides promise a quick hinge fix, only 20% of them actually mention safety. That's a blind spot when you're dealing with a heavy glass door. This guide walks you through the full process in four clear steps. You'll learn what tools you really need, how to remove stubborn screws, install the new hinge, and adjust the door so it swings smoothly. We'll also cover what to do when the screws are stripped or the frame is out of alignment.
Step 1: Assess the Damage and Gather the Right Tools
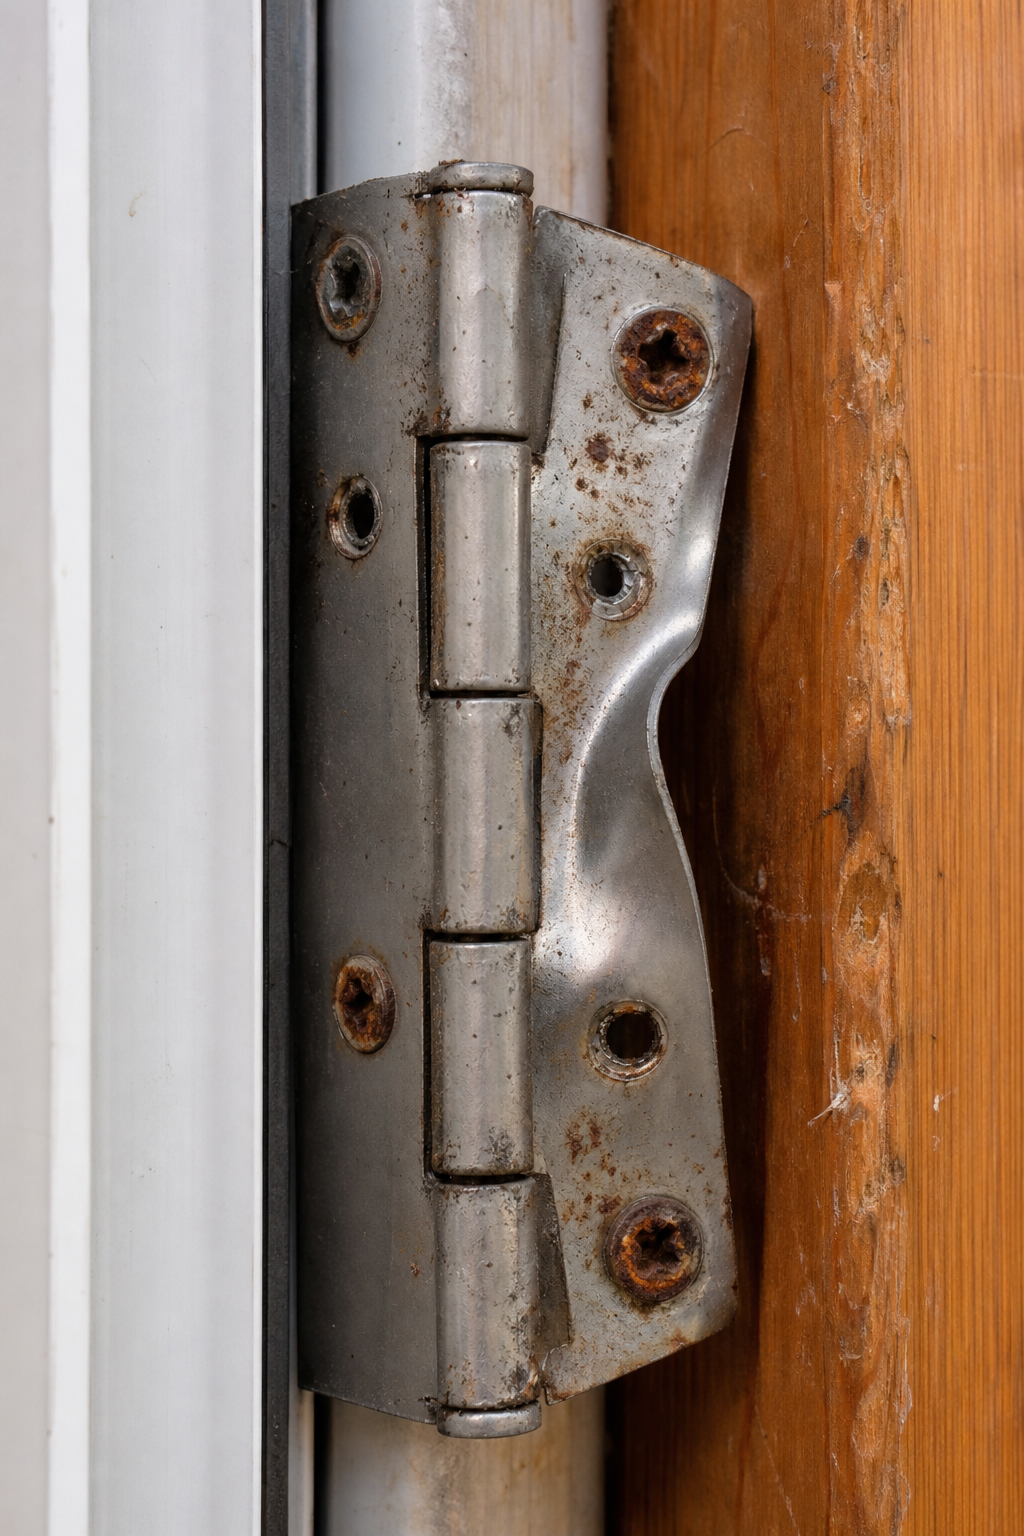
Before you start unscrewing anything, take a close look at the broken hinge. Is the hinge itself bent or cracked? Are the screws stripped or spinning freely? Is the door frame damaged around the hinge area? These questions tell you whether you need a simple hinge swap or a more involved repair.
Walk around the door. Open and close it slowly. Listen for scraping sounds. Look for gaps between the door and the frame. A professional patio door hinge repair service can handle complex cases, but for a straightforward hinge replacement, you can do it yourself.
Here's what you'll need:
Screwdriver, Both Phillips and flathead. A power drill with bits can save time.
Hammer, For tapping loose frame nails or setting shims.
Drill, Optional but helpful for stripped screws.
Pry bar or putty knife, To gently remove the hinge if it's stuck.
Shims, Thin cardboard or wood shims for alignment.
Safety goggles, Flying metal or wood debris can hurt your eyes.
Lubricant, WD-40 or silicone spray for after installation.
Research shows the screwdriver is the most frequently mentioned tool (38% of all tool references in typical hinge guides). But many repairs require more than that. A hammer and drill appear only once each in most guides, meaning they oversimplify the toolkit. Don't be caught short.
Pro Tip:Wear safety goggles. Only 20% of DIY guides mention this, but a broken screw can snap and hit your face. It's worth the extra few seconds.
Also check the frame for rot or cracks. If the wood is soft, you might need to fill it with epoxy or wood filler before installing the new hinge. If the frame is severely damaged, consider calling a professional for frame repair services.
Key Takeaway:Assess the hinge, frame, and screws. Gather all tools before starting. A screwdriver is essential, but a hammer, drill, and shims often come into play.
Step 2: Remove the Broken Hinge
Now it's time to take out the old hardware. Start by removing the hinge pin if your hinge has one. Tap it upward with a hammer and a nail set or a screwdriver. If it's stuck, spray some lubricant on it and wait a minute. Then pull it out with pliers.
Next, unscrew the screws holding the hinge to the door and the frame. Use a screwdriver that fits snugly to avoid stripping the head. If a screw is stripped, you have a few options:
Use a rubber band between the screw head and the screwdriver tip for extra grip.
Drill a small pilot hole into the screw head and use a screw extractor.
If nothing else works, drill out the entire screw with a metal drill bit.
When you remove the hinge, check for any loose frame nails. Quora contributors suggest re-nailing them with a hammer if they pop up. If the screw holes are stripped and won't hold new screws, fill them with matchsticks or wooden dowels coated in wood glue. Let the glue dry, then cut the dowel flush. This gives the new screws fresh wood to grab into.
Be careful not to force the top frame. A common mistake is prying too hard, which can crack the frame. Work slowly and gently. If the hinge is painted over, score around it with a utility knife to prevent paint chipping.
Once the hinge is free, clean the area. Remove old caulk or paint residue with a putty knife. Vacuum out dust and debris. This ensures the new hinge sits flat.
Pro Tip:Keep the screws organized. Use a magnetic tray or an egg carton. You'll need them later for the new hinge if they are the same size.
After removal, inspect the old screws. If they are rusted or bent, replace them with new ones of the same size. Stainless steel screws resist rust better.
Step 3: Install the New Hinge
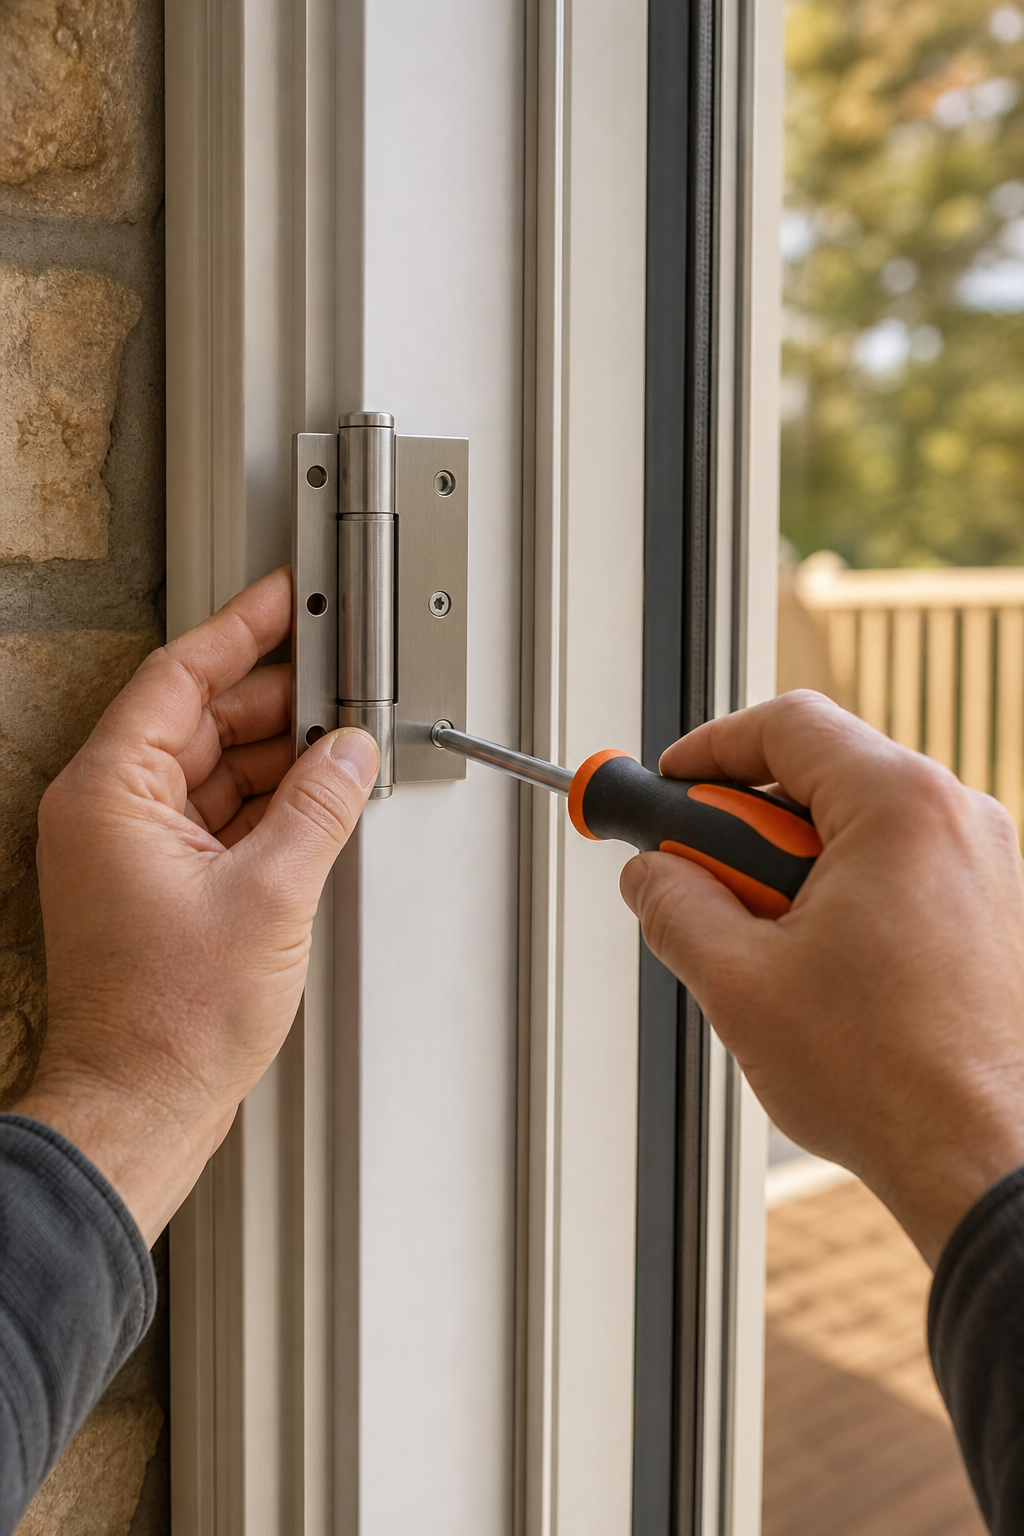
You've got the old hinge out. Now put the new one in. First, test-fit the hinge on the frame and on the door. It should sit flush. If there's a gap, you need shims. Thin cardboard from a cereal box works well. Place the shim behind the hinge plate on the frame or door to level it out. Many guides skip this step, but it's critical for a smooth swing.
Once aligned, start the screws by hand to avoid cross-threading. Use a power drill on low speed to drive them in, but don't overtighten. Over-tightening can strip the new holes or deform the hinge plate. Stop when the screw head is snug against the plate.
If the original screw holes are stripped and you filled them, wait for the glue to dry completely (usually 24 hours). Then pre-drill pilot holes for the new screws to prevent splitting the wood.
Attach the hinge to the frame first, then to the door. This order helps you align the door properly. After both sides are attached, install the hinge pin (if applicable). Tap it in with a hammer gently.
, proper hinge alignment prevents binding and extends the life of the door. If you notice resistance, don't force it. Recheck shims and screw tightness.
Lubricate the hinge pin with a few drops of oil. Work the door back and forth to distribute the lubricant. This prevents squeaking and wear.
Key Takeaway:Fit the hinge, shim if needed, hand-start screws, and lubricate. Improve your time on alignment. A crooked hinge will make the door drag and wear out faster.
Step 4: Adjust and Test the Door
With the new hinge installed, it's time to fine-tune. Open and close the door several times. Listen for scraping, sticking, or irregular gaps. Most issues can be fixed with minor adjustments.
Symptom | Possible Cause | Adjustment |
Door rubs on top or bottom | Hinge height off | Loosen screws and add or remove shims under hinge plate |
Door doesn't close fully | Hinge too tight or frame crooked | Back off hinge screws slightly, or adjust strike plate |
Uneven gap around door | Frame out of square | Shim hinge on opposite side, or adjust frame with a hammer and block |
Squeaking when opening | Lack of lubrication | Apply WD-40 or silicone spray to hinge pin and pivot points |
Door swings open or closed by itself | Hinge not level | Check with a spirit level; shim one side until level |
To adjust the height, locate the adjustment screw on the hinge (if your hinge has one). Some modern hinges have a set screw inside the bottom of the hinge. Turn it clockwise to raise the door, counterclockwise to lower it. If there's no adjustment screw, you'll need to physically move the hinge plate by repositioning the screws.
For stripping screws that spin without catching, remove the screw and insert a toothpick or matchstick coated in wood glue. Break off the excess, let it dry, then reattach the screw. This trick works wonders for old frames.
, checking the door's alignment with a spirit level on the lip of the door ensures it is balanced properly. Once balanced, adjust the wheels on the back side of the door if you have a sliding door. For hinged doors, focus on the hinge screws.
Finally, lubricate all moving parts. A dry hinge will wear quickly. Use a few drops of oil on the pin and a light spray on the pivot points. Wipe off excess.
Pro Tip:After adjustments, test the door with a piece of paper. Close the door on the paper and try to pull it out. If it comes out easily, the door is not sealing properly. Adjust the hinge until the paper holds firmly.
If you've tried all adjustments and the door still rubs or doesn't latch, the frame may be out of square. This is a bigger job that might require professional help. Companies like LGFMH Construction specialize in interior and exterior repairs, including complex hinge and frame issues.
Frequently Asked Questions
How long does it take to replace a patio door hinge?
Most hinge replacements take 30 to 60 minutes if the screws come out easily and the new hinge matches. If you run into stripped screws or need to fill holes, add another 30 minutes. Let glue dry 24 hours. Overall, plan about an hour of active work plus waiting time for glue to cure.
Can I replace just one hinge on a patio door?
Yes, you can replace a single hinge if the others are in good shape. But if one hinge broke, the others may be worn too. Consider replacing all hinges on the same side to ensure even support and alignment. It's a small extra cost that saves you future repairs.
What if the screw holes are stripped out?
Fill stripped holes with wooden dowels or matchsticks coated in wood glue. Let the glue dry fully, trim the excess, and then drive new screws. This gives fresh wood to bite into. For metal frames, use longer or larger screws, or install a threaded insert. If the frame is rotted, replace the damaged section first.
Do I need special tools for patio door hinge replacement?
Basic tools are a screwdriver (Phillips and flathead), hammer, and maybe a drill. Most repairs don't require anything fancy. For stubborn screws, a screw extractor set helps. Safety goggles and a level are recommended. Specialty tools like a hinge jig are rarely needed.
How do I know if the hinge is the problem or the frame?
Check if the hinge itself is bent, cracked, or loose. If the hinge looks fine but the door sags, the frame may be out of square. Measure the gap between door and frame at top and bottom. An uneven gap suggests frame issues. Try tightening hinge screws first. If that doesn't help, the frame likely needs adjustment.
Can I adjust a patio door hinge without removing it?
Some hinges have built-in adjustment screws for height and depth without removal. Check your hinge model. For most standard hinges, you need to loosen the screws slightly and tap the hinge with a hammer to shift it, then retighten. For major adjustments, removing and shimming is best.
What type of lubricant should I use for patio door hinges?
Use a silicone-based lubricant or light machine oil. Avoid heavy grease as it attracts dust. WD-40 is okay for cleaning and temporary lubrication, but it dries out, so follow up with a silicone spray. Apply a few drops to the pin and pivot points, then open and close the door to spread it.
When should I call a professional instead of DIY?
Call a professional if you are uncomfortable with the work, if the frame is badly rotted, if the door is very heavy (like a glass French door), or if you've tried adjustments and the problem persists. Professionals have the tools and experience to fix complex issues.LGFMH Constructionoffers interior and exterior hinge repairs and replacements for homeowners who prefer a guaranteed result.
Conclusion
Replacing a broken patio door hinge is a manageable DIY project. Start by assessing the damage and gathering the right tools. Remove the old hinge carefully, especially if screws are stripped. Install the new hinge with attention to alignment and shimming. Finally, adjust and test the door for smooth operation.
Throughout this process, remember that safety matters. Wear goggles, work gently, and don't force anything. If you encounter widespread frame damage or a door that won't align after multiple attempts, it's wise to bring in a professional.
Companies likeLGFMH Constructionprovide complete interior and exterior repair services, ensuring your patio door works flawlessly for years. For homeowners who need financing for larger door replacement projects, Amtex Loan offers home improvement loan options that can help spread out the cost. And if you're a contractor looking to boost your online presence, partnering with Sly Collective for digital marketing can attract more local customers.
Whether you DIY or hire help, a properly functioning patio door adds comfort, security, and value to your home. Take it step by step, and you'll have that door operating like new.


Comments