How to Replace a Cracked Window Pane Vinyl Frame
- William McKracherne
- May 13
- 7 min read

Cracked vinyl window panes are an eyesore and can let drafts sneak in. Most homeowners think the fix needs a pro, but you can do it yourself with the right plan. In this guide you’ll walk through each step , from checking the damage to sealing the new glass , so you end up with a clear, secure window without a mess.
Grab a few basic tools, follow the safety tips, and you’ll replace that pane in an afternoon. Let’s get started.
Step 1: Assess the Damage and Gather Materials
First, take a close look at the cracked pane. You want to know if the break is just surface‑level or if the frame itself is warped. Small cracks that don’t spread into the vinyl frame are DIY‑friendly; deeper cracks or a warped sash usually mean you should call a pro.
Check the surrounding sash for any bowing, water stains, or drafts. If the frame feels solid and the glass is the only issue, you’re good to go.
Next, gather the supplies. You’ll need:
Glazing tape (the blue‑backed kind used on windows)
A non‑beveled putty knife or a sturdy fingernail
A suction cup designed for glass handling
Protective gloves
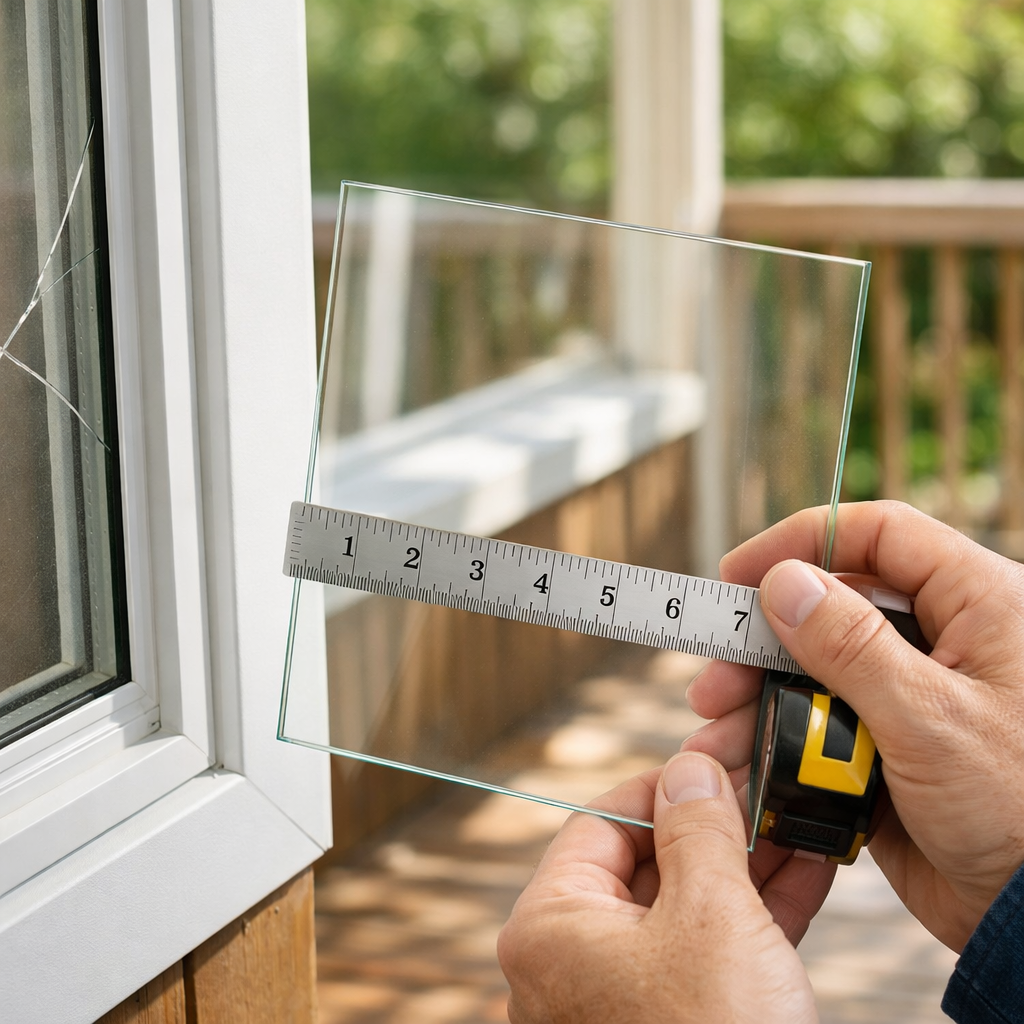
Replacement glass that matches the original dimensions
Stop beads (the thin metal or vinyl strips that hold the pane in place)
Having everything on hand before you start cuts down on interruptions and keeps the job tidy.
Pro Tip:Measure the old pane twice before you buy a replacement. Vinyl frames are precise, and a size mismatch can cause gaps that let air in.
Before you head to the store, skim the Blog | Lgfmh Construction for a quick checklist that matches the items above with local supply sources. It saves a trip back to the hardware shop.
When you’ve got the glass and tape, you’ll move on to safely removing the broken piece.
Key Takeaway:Confirm the crack is limited to the pane, not the frame, and gather glazing tape, a suction cup, gloves, and matching replacement glass before you start.
Bottom line:A solid assessment and a complete tool kit set the stage for a smooth, mistake‑free replacement.
Step 2: Remove the Broken Glass Safely
Safety first. Put on thick gloves to protect your hands from shards. If the glass is still largely intact, you can keep it in place while you work around it.
Start by loosening the stop beads. Use a flat‑head screwdriver or a putty knife to gently pry the bead away from the frame. Work around the whole perimeter so the pane isn’t held in one spot.Once the beads are free, attach the suction cup to the center of the glass. Pull slowly and evenly; the pane should lift out without cracking further. If the glass breaks during this step, stop, clean up the shards with a vacuum, and wear the gloves while handling the pieces.
Set the broken pane aside in a safe spot. You’ll need a clean work area for the new glass.
60%of DIY window repairs succeed when the stop beads are removed first
Now that the old pane is out, inspect the frame for any leftover tape or debris. A clean surface ensures the new glass sits flush.
With the frame clean, you’re ready to prep it for the new pane.
Pro Tip:Keep the suction cup close at hand while you clean the frame; you’ll need it again when you set the new glass.
Key Takeaway:Removing the stop beads and using a suction cup lets you extract the cracked pane without extra breakage.
Bottom line:A careful removal protects you and keeps the frame ready for a perfect fit.
Step 3: Prepare the Frame and Choose Replacement Glass
Now that the old pane is out, take a moment to look at the frame itself. Vinyl frames are forgiving, but any dents or warped sections should be fixed before the new glass goes in.
If you spot a dent, gently tap it back into shape with a rubber mallet. For warped sections, a small shim of thin wood or plastic can realign the sash. The goal is a flat, even surface.
Next, choose the replacement glass. Match the thickness (usually 1/8" or 3/16") and the dimensions exactly. Many home‑center stores cut glass to size, but you can also order a custom piece online.
Before you buy, read up on why glass thickness matters. Thicker glass resists flexing in high‑wind areas, while thinner glass is lighter and easier to handle.
According to Wikipedia article on windows , the type of glass (low‑E, tempered, laminated) also affects energy performance and safety. For a standard vinyl sash, a low‑E double‑pane works well and helps keep your home comfortable.
When the glass arrives, test it for any scratches or chips before you bring it inside. Any flaw will be visible once installed.
Pro Tip:Lay a soft blanket on the floor and set the new pane on it. This protects the glass from accidental knocks while you prep the frame.
Key Takeaway:A flat frame and correctly sized, appropriate‑type glass are critical for a leak‑free, energy‑efficient window.
Bottom line:Proper frame prep and the right glass choice prevent future drafts and breakage.
Step 4: Install the New Pane and Seal the Frame
With the frame clean and the new glass ready, it’s time to install. Start by laying a strip of glazing tape along the interior edge of the frame. The tape’s blue backing protects the glass and creates a weather‑tight seal.
Press the tape firmly so it sticks evenly. If the tape has a peel‑away paper backing, remove it now.
Grab the suction cup, attach it to the center of the new pane, and carefully lift the glass into the frame. Guide it slowly so the edges meet the taped groove without forcing.
Once the pane sits flush, replace the stop beads you removed earlier. Snap them back into place around the perimeter. They should click securely and hold the glass without gaps.
Finally, run a bead of silicone caulk along the outside edge of the stop beads. Smooth it with a fingertip for a clean finish. This extra seal blocks water and air infiltration.
For those who plan to add smart sensors or automated blinds later, a tight seal helps keep the electronics safe from moisture. You can read more about integrating windows with home tech in the Smart Home Installation Guide 2026 .
After the caulk cures (usually 24 hours), test the window by opening and closing it a few times. Look for any wobble or air drafts.
Pro Tip:Use a damp cloth to wipe away excess caulk before it dries. It’s easier to clean up while still wet.
For deeper energy‑efficiency advice, the U.S. Department of Energy outlines best practices for window installation. Their guide notes that proper sealing can cut heating and cooling costs by up to 15 %.
Key Takeaway:Apply glazing tape, set the glass with a suction cup, reseat the stops, and finish with a caulk bead for a durable, weather‑tight seal.
Bottom line:A careful install and proper sealing give you a strong, energy‑saving window that will last years.
FAQ
Can I replace a cracked vinyl pane without removing the entire window?
Yes. The four‑step process lets you pull out just the glass, leaving the vinyl sash in place. You only need to remove the stop beads, use a suction cup to lift the pane, and then reinstall the new glass with fresh glazing tape and stops. This saves time and avoids disturbing the surrounding trim.
What type of glass should I buy for a vinyl frame?
Pick a low‑E double‑pane that matches the original thickness (usually 1/8" or 3/16"). Low‑E coating reflects heat, improving energy efficiency, while the double pane adds strength. If you need extra safety, consider tempered glass, which shatters into small pieces rather than sharp shards.
Do I need any special tools beyond the suction cup?
Most DIYers get by with a flat‑head screwdriver or putty knife to pry the stop beads, a utility knife to trim excess tape, and a small caulking gun for the sealant. Gloves are essential for safety, and a ruler helps you verify the pane’s dimensions before purchase.
How can I tell if the vinyl frame itself is damaged?
Inspect the frame for bends, cracks, or water stains. Run your hand along the edges; a warped sash will feel uneven or loose. If the frame is cracked or bowed, a full sash replacement is usually cheaper in the long run than patching.
What safety gear should I wear?
Wear heavy‑duty gloves to protect your hands from shards, safety glasses to shield your eyes, and long sleeves to cover your arms. If you’re cutting new glass, a face shield adds extra protection. Keep a shop‑vac nearby for clean‑up.
How long does the whole process take?
Most homeowners finish the four steps in 2, 3 hours, assuming the frame is in good shape and you have all materials ready. Allow extra time for caulk curing (24 hours) before exposing the window to heavy rain.
When should I call a professional instead of DIY?
If the frame is warped, the crack extends into the vinyl sash, or you notice water leakage after the repair, it’s best to call a pro. LGFMH Construction offers full interior and exterior window repair services, handling everything from sash replacement to custom fitting.
Will replacing the pane improve my home’s energy bill?
A new low‑E double‑pane can reduce heat loss in winter and heat gain in summer. When sealed correctly, it can shave 5‑15 % off your HVAC costs, especially if your old pane was single‑glazed or had a broken seal.
Conclusion
Replacing a cracked vinyl window pane is a manageable DIY project when you follow a clear plan. Start by checking the damage, gather the right supplies, remove the broken glass with a suction cup, prep the frame, and finish with a solid seal. You’ll save money, keep drafts out, and boost your home’s comfort.
If the frame shows signs of warping or you run into unexpected issues, LGFMH Construction can handle the full repair or replacement, giving you peace of mind and a professional finish. Whether you go DIY or call the pros, a well‑sealed window protects your home for years to come.


Comments