How to Seal Garage Floor Cracks
- William McKracherne
- Jun 12
- 3 min read

Garage floor cracks are more than an eyesore. They let in moisture, widen over freeze-thaw cycles, and can lead to bigger problems. Here's how to seal them right, in four steps, with the tools and materials that actually work.
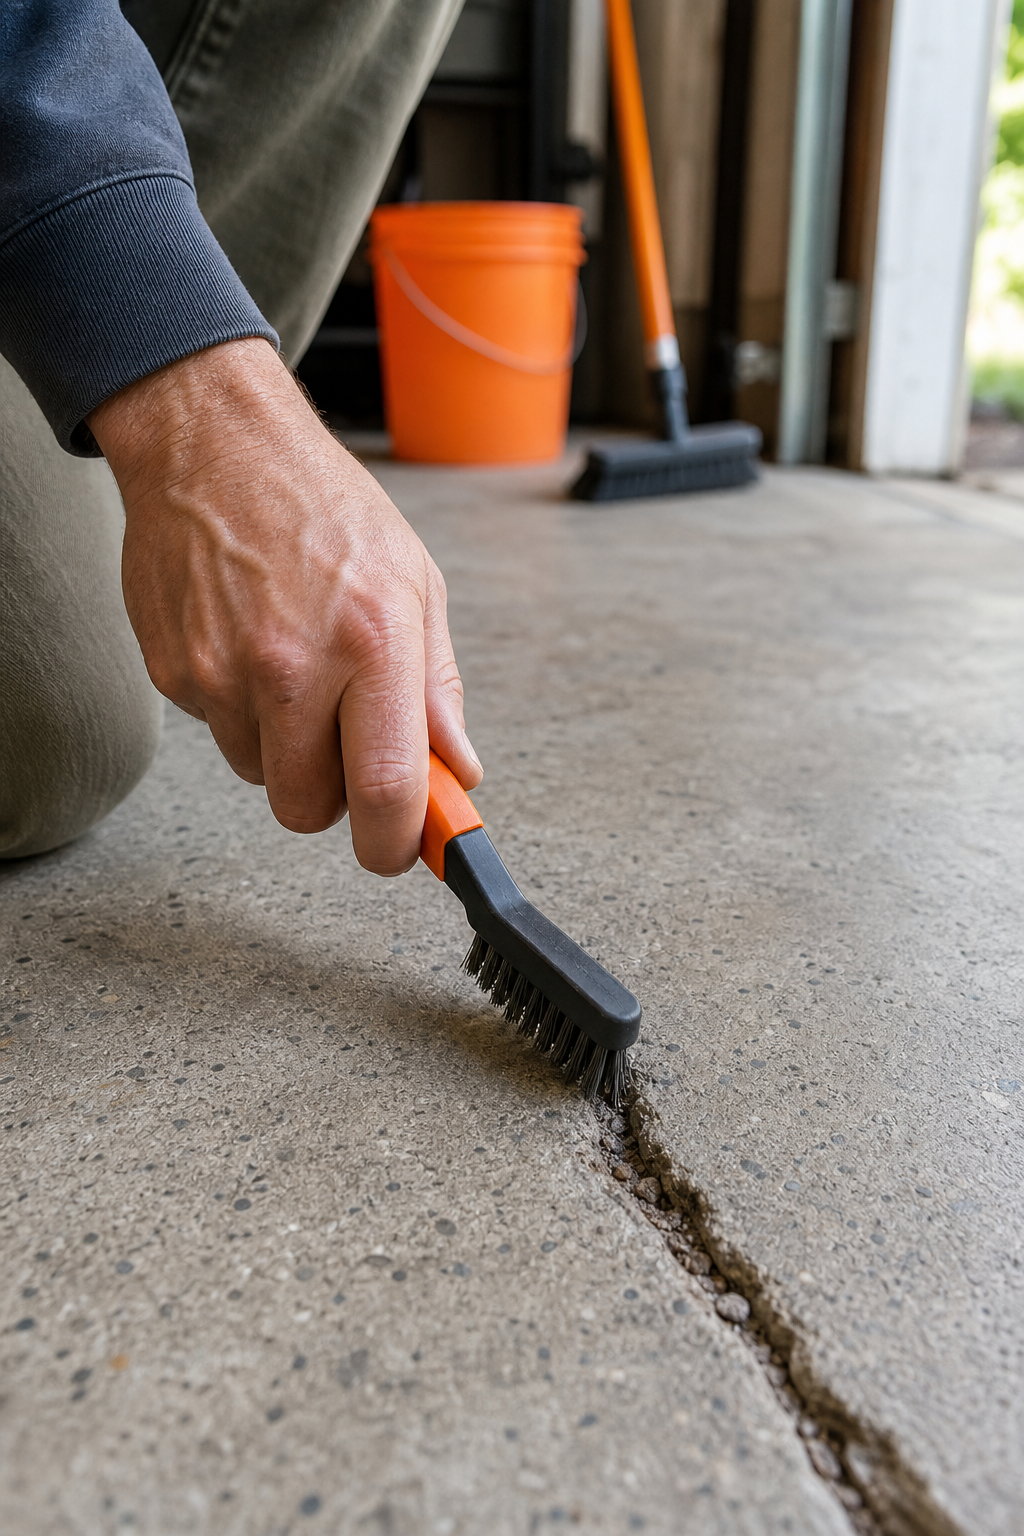
Step 1: Clean the Cracks Thoroughly
A clean crack is the only thing that holds sealant. Start with a wire brush to knock out loose debris. Then vacuum every bit of dust, a shop vac with a narrow attachment works best. For deep or oily cracks, scrub with a degreaser and rinse with water. Let the area dry fully before moving on. Skip this step and your repair will fail in months, not years.
Step 2: Choose the Best Sealant for Your Garage Floor
Not all sealants are the same. The right one depends on the crack width, location, and how much traffic the floor gets. Here's a quick comparison of the three main types:
Sealant Type | Best For | Pros | Cons |
Epoxy | Wide cracks, heavy use areas | Strongest bond, chemical resistant | Hard to remove, requires mixing |
Polyurethane | Narrow to medium cracks | Flexible, good for moving slabs | Slower cure, strong smell |
Latex (acrylic) | Hairline cracks, light duty | Easy to apply, water cleanup | Less durable, may shrink |
For most garage floors, a polyurethane or epoxy sealant gives the best balance of strength and flexibility. If you're unsure, LGFMH Construction can recommend the right product for your floor. And if you're after a high-end finish, check out premium materials from Vault Studio , they source top-tier coatings for garage and workshop floors.
Key Takeaway:Pick polyurethane for moving cracks, epoxy for durability, and latex only for temporary fixes.
Step 3: Apply the Sealant Properly
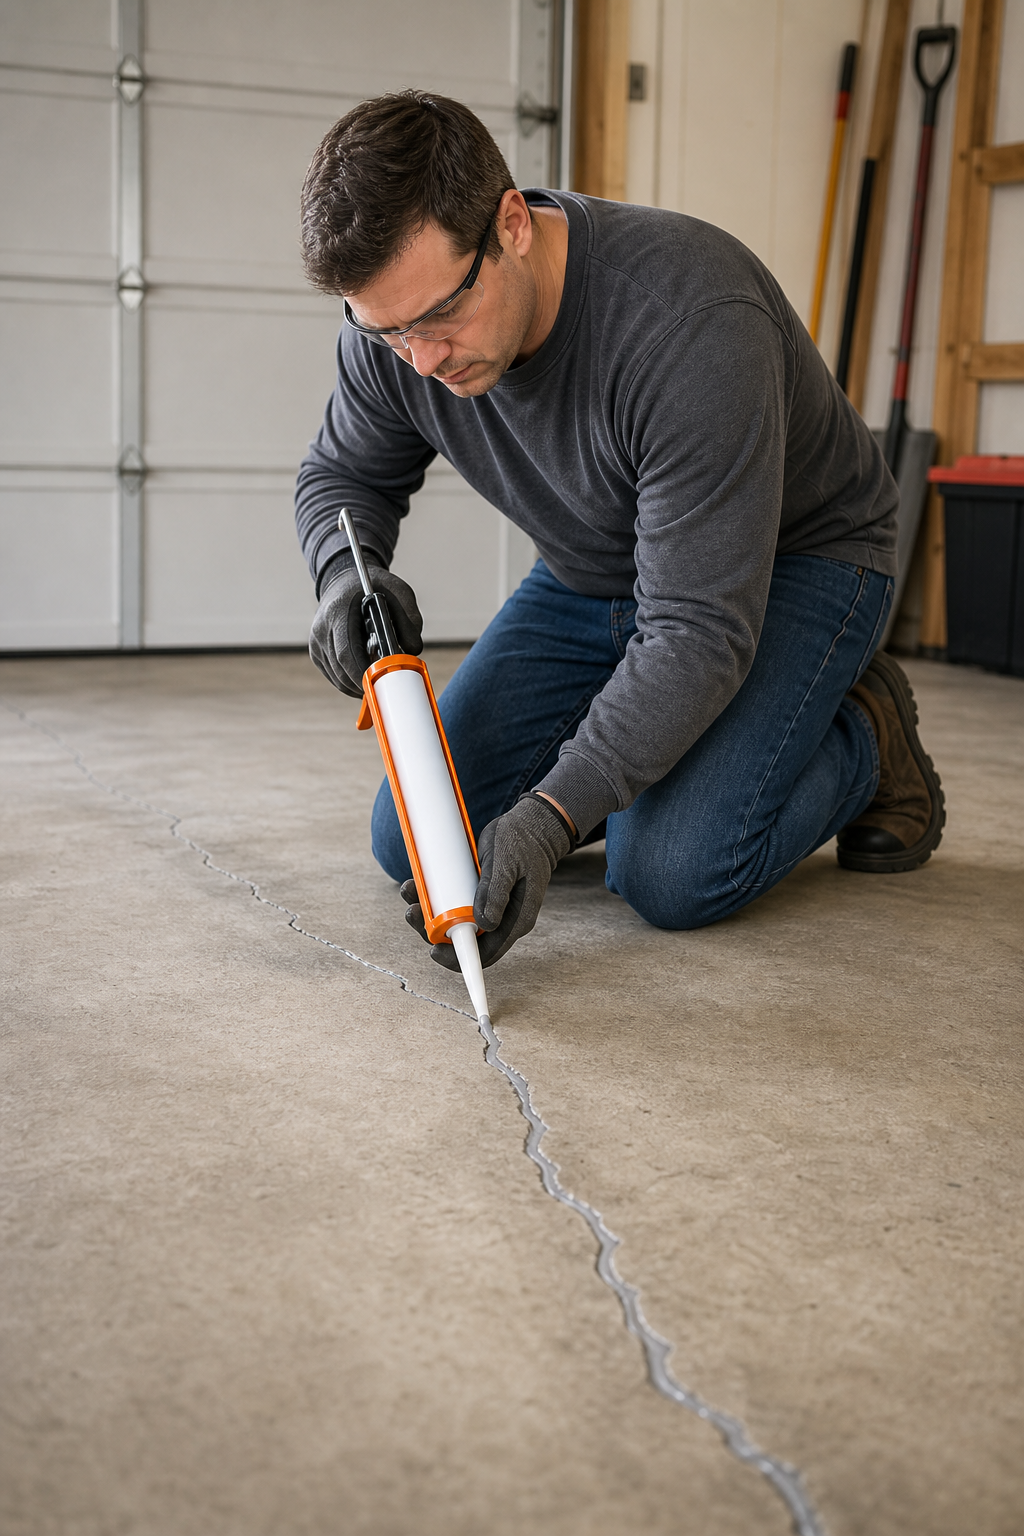
Load the sealant into a caulking gun and cut the nozzle at a 45-degree angle, matching the crack width. Squeeze the trigger steadily, overfilling the crack slightly, sealant should bulge above the surface. Use a putty knife to smooth it flush, pressing the material deep into the crack. For wide cracks, backer rod (foam rope) saves sealant and prevents three-sided adhesion. Work in sections if the crack is long. Most sealants are self-leveling, but a light trowel pass ensures an even finish.
Epoxy and polyurethane emit fumes. Work in a ventilated area and wear gloves. According to the NIOSH guidelines on epoxy safety , proper ventilation and skin protection are critical. For a professional-grade application, our blog at LGFMH Construction has more tips on prep and finishing.
Step 4: Cure and Inspect the Repaired Cracks
Don't walk or drive on the sealed crack until it's fully cured. Cure time varies: latex can cure in 24 hours, polyurethane in 48, 72 hours, epoxy up to 7 days for full strength. Keep the area dry and at moderate temperature (60, 80°F). After curing, inspect for any shrinking or gaps. If you see a dip, apply a second thin layer. A good seal should be slightly below the surface but not sunken. If the crack reappears after a season, the problem may be structural, LGFMH Construction handles foundation and slab repairs in Virginia Beach.
For a durable finish, consider concrete sealers as described on Wikipedia : they protect against moisture and stains, extending the life of your repair.
Frequently Asked Questions
How long does garage floor crack filler last?
Epoxy and polyurethane fillers last 3, 5 years on average if applied properly. Latex fillers may need reapplication every 1, 2 years. The key is proper cleaning and curing.
Can I use silicone caulk for garage floor cracks?
Silicone isn't ideal because it doesn't bond well to concrete and can't be painted. Use a concrete-specific polyurethane or epoxy sealant instead.
Do I need to widen the crack before sealing?
Only if the crack is hairline (< 1/8 inch). Use an angle grinder with a diamond blade to open it slightly, this lets the sealant penetrate deeper and bond better.
Should I seal cracks in winter?
It's not recommended. Most sealants require temperatures above 50°F to cure properly. If you must seal in cold weather, use a low-temperature formulation.
How much does professional garage floor crack repair cost?
DIY costs $20, $50 for a tube of sealant and basic tools. Professional repair runs $200, $600 depending on crack length and severity. LGFMH Construction offers free estimates for coastal Virginia homeowners.
Conclusion
Sealing garage floor cracks is a straightforward weekend project. Clean thoroughly, pick the right sealant, apply with care, and let it cure. For stubborn or structural cracks, call in a pro. LGFMH Construction has the experience to make your garage floor look new and stay that way. Grab a tube of polyurethane and get started, your floor will thank you.


Comments