Roof Flashing Sealant Buying Guide
- William McKracherne
- Aug 19
- 8 min read

Roof flashing sealant isn't one product type. It comes in several chemistries, yet key label data is often missing.
Use the steps below to inspect the damage, match the sealant to your roof, compare repair options, and buy only what the job needs. If the flashing is loose, rusted through, or badly bent, sealant may be the wrong fix.
Table of Contents
Step 1: Inspect the Flashing and Define the Repair
A sound roof flashing sealant buying guide starts with the joint, not the tube. First, find the exact point where water may enter. Look at the flashing around chimneys, vents, skylights, valleys, wall joints, and roof edges.
Inspect from the ground before you climb. Then check the attic if you can do so safely. Look for damp wood, dark stains, daylight, or water tracks. The leak may show up several feet away from the failed flashing because water can travel along the roof deck.
On the roof, check whether the flashing still sits flat. Look for a split bead, open seam, lifted metal, loose fasteners, rust, and holes. A narrow crack in an otherwise firm joint may suit a sealant repair. A loose piece of flashing needs to be reset or replaced first.
Remove loose sealant before you judge the size of the repair. Crumbling material can hide a wide gap. Scrape it back to a firm edge. Brush away dirt and rust, then let the area dry. Don't cover wet metal or active corrosion with a new bead.
Write down four facts before you shop:
Roof surface, such as metal, shingles, rubber, plastic, or acrylic.
Flashing material and finish.
Joint length and width.
Exposure to sun, rain, snow, and temperature swings.
That short note will keep you from choosing a product just because its package says “waterproof.” For another prep check, LGFMH Construction's roof flashing sealant selection guide also stresses identifying the surface and testing a small hidden area first.
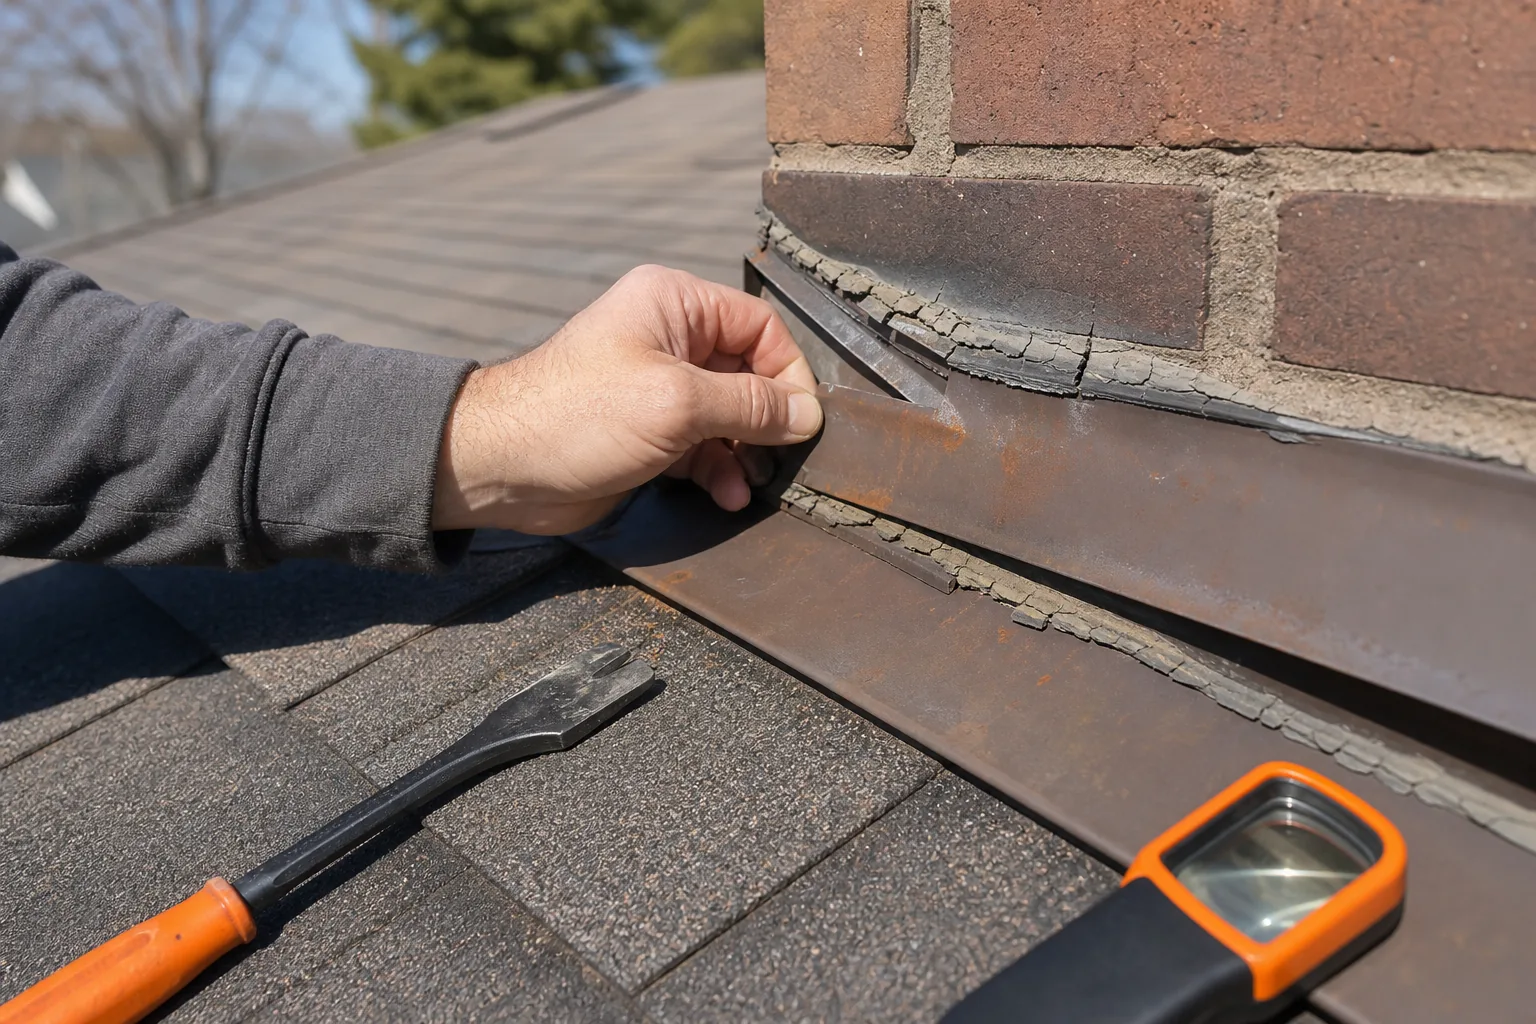
Key Takeaway:Sealant can close a sound joint, but it can't repair missing metal, loose flashing, or structural roof damage.
Step 2: Match the Sealant Type to the Roof Material
The next part of a roof flashing sealant buying guide is chemistry. The sealant must bond to the roof surface and keep its seal as that surface moves.
Polyurethane is a strong fit for long-term flashing work when you need a flexible, paintable seal. Loctite PL Roof Flashing Polyurethane Sealant is listed for that kind of job. It is a better match for a broad flashing repair than a product meant only for a tiny seam.
Silicone appears often in products aimed at metal roofs. Roofing Choice and Super Silicon Seal are both described as silicone products for metal. Super Silicon Seal is positioned for sealing a seam. That narrow use can be useful when the roof and flashing are metal, but don't assume metal compatibility means compatibility with every roof coating or membrane.
Rubber-based products tend to fit quick repairs or coating work. Gorilla Waterproof Patch and Seal Tape is listed for metal, rubber, plastic, and acrylic, with a small-section repair as its best use.
The sample data shows why chemistry alone isn't enough. Metal is the most common named roof material, but many entries do not state their full substrate list. If your roof is coated metal, rubber membrane, plastic, or acrylic, look for that exact surface on the label.
Manufacturers and reviewers also don't always cover the same facts. Review videos often focus on whether a sealant works on metal. Product documentation may be the only place that mentions UV exposure or cure limits. The label and technical sheet deserve a close read.
If the label doesn't name your roof surface, pause before buying. Ask the manufacturer or choose a product with clearer compatibility data. A broad claim such as “roof repair” is less useful than a named substrate.
Step 3: Compare Sealant Options for Your Use Case
Now compare the repair options by job type. This is where a roof flashing sealant buying guide becomes useful, because the best choice changes with the size and movement of the repair.
For a long flashing project that needs a flexible, paintable bond, start with a polyurethane option. Loctite PL Roof Flashing Polyurethane Sealant fits that stated use. Its limitation is simple: you still need to confirm the exact roof surface and follow the current application directions.
For a metal seam, a silicone option may make more sense. Roofing Choice and Super Silicon Seal are both listed for metal. Super Silicon Seal is specifically described as a seam seal. Treat that as a narrow match, not proof that either product suits shingles, rubber roofs, or every coated panel.
For a small damaged section, tape can be easier to control than a long caulk bead. Gorilla Waterproof Patch and Seal Tape is listed for metal, rubber, plastic, and acrylic. It is positioned for small repairs, so it should not be treated as a replacement for rebuilding a large flashing assembly.
For a metal roof where a water-based rubber product fits the surface, Liquid Rubber Color Waterproof Sealant is listed for flat and sloped metal roofs. The product page should still be checked for current surface prep, coverage, and cure instructions.
Only two of nine items include a UV field, and only one says “Yes.” Temperature range is even harder to find. One item in the wider sample lists a 20°F to 90°F operating window. Missing data is a buying risk, especially on a roof exposed to strong sun or cold weather.
Repair condition | Option type to consider | What to verify | Main caution |
Long flashing joint | Polyurethane sealant | Roof surface, paint rules, movement | Don't cover loose or rusted flashing |
Metal seam | Silicone sealant | Metal and coating compatibility | Metal-only data may not cover other surfaces |
Small isolated section | Waterproof repair tape | Surface list and edge adhesion | Not a fix for broad structural damage |
Metal roof coating or broad area | Water-based rubber sealant | Coverage, UV claim, cure time | Don't guess the amount from the package size |
The Liquid Rubber product page is the right place to confirm its current instructions before purchase. Product names and formulas can change, so use the current label for the final decision.
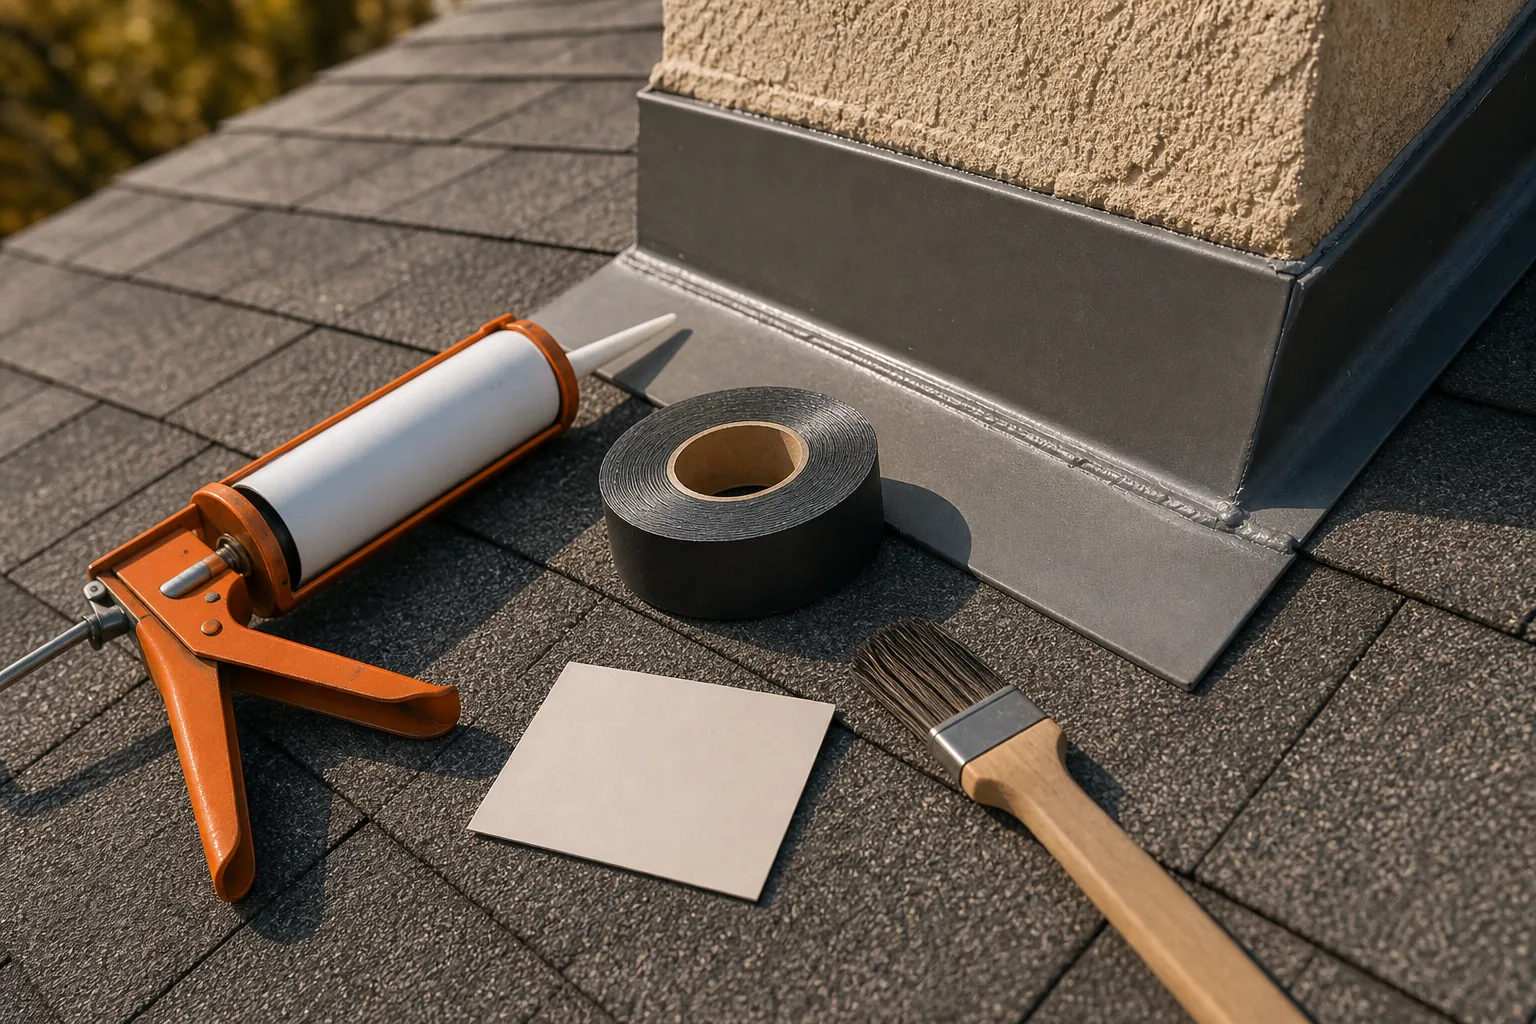
Pro Tip:If UV resistance or temperature limits aren't listed, don't treat the blank as a “yes.” Look for a technical sheet or choose a product with clearer data.
Step 4: Check the Label, Weather Limits, and Application Requirements
A good roof flashing sealant buying guide always ends at the label. Before you pay, check the product's substrate list, exterior-use statement, cure time, paint instructions, and temperature limits.
Plan the work around the weather. The surface should be clean and dry unless the label specifically allows damp application. Rain during cure can weaken the bond or trap water below the seal. Cold metal can also change how the sealant flows and cures.
Read the package for storage and shelf-life details. A stiff tube, broken seal, or old stock can make a good formula hard to apply. If you buy online, inspect the container when it arrives.
Prepare the joint as the manufacturer says. Remove loose old sealant. Brush away rust and dirt. Use only a cleaner or solvent that the instructions permit. Then run a small patch in a hidden spot when the surface or coating is uncertain.
Use a caulk gun for cartridge products. Cut the nozzle to suit the joint, then apply a steady bead. Press the sealant into the seam and smooth it before the surface skins over. Don't leave a raised ridge where water can sit.
For a repair tape, clean and dry the surface first. Press the tape firmly across the damaged area. Pay close attention to the edges, since a lifted edge can let water get underneath.
This review process also exposes the manufacturer-versus-reviewer gap.
Step 5: Buy the Right Amount and Decide Whether to Hire a Professional
The final buying step is quantity. Measure every joint you plan to seal, then use the coverage rate on the label. Cartridge size alone won't tell you how much area one tube covers.
Measure the length of each seam. Note the approximate width and depth of the joint. Add the lengths together. For a coating, estimate the surface area instead. Keep a small allowance for waste, overlap, and a second pass where the flashing is uneven.
Buy from a seller that shows the exact product name and current instructions. Check the tube for damage and confirm that it hasn't hardened. If the label and online listing disagree, trust neither without checking the manufacturer's current documentation.
DIY work may suit a small, visible joint when the roof is sound and you can work safely. Stop and get help when the repair involves a steep slope, chimney, skylight, loose flashing, deep rust, damaged sheathing, or a leak that keeps returning.
LGFMH Construction handles interior and exterior repairs and replacements. That makes a professional assessment useful when the visible crack may be only one part of a larger roof problem. The team can help separate a sealant task from a flashing replacement before you spend money on the wrong material.
Homeowners planning several exterior jobs can also group the work into one inspection. A roof repair may reveal other maintenance needs, such as damaged trim or fencing. If fencing is part of your wider plan, this resource on hiring a fence company for a farm or homestead explains why the fence type and site conditions should guide contractor choice.
Use a simple decision rule: seal a sound joint, repair or replace damaged flashing, and hire a professional when roof access or hidden damage raises the risk.
FAQ
What is the best sealant for roof flashing?
The best sealant depends on the roof surface and repair type. Polyurethane fits long-term flashing work when you need a flexible, paintable seal. Silicone is often aimed at metal seams. Tape can suit a small section. Confirm substrate compatibility, UV information, and weather limits before buying.
Is silicone or polyurethane better for roof flashing?
Neither is always better. Polyurethane is a strong choice for long-term flashing projects that need paintability and flexibility. Silicone may fit a metal-only seam. Your roof finish, joint movement, exposure, and repair size should decide the chemistry, not the product name alone.
Does roof flashing sealant need UV resistance?
UV resistance is useful when the sealant remains exposed to direct sun. Check the technical sheet instead of assuming exterior use means UV protection.
Can I use sealant to fix loose roof flashing?
Sealant alone usually isn't the right fix for loose flashing. Reset or fasten the flashing first, then seal the sound joint if the product allows it. If the metal is badly rusted, bent, or missing, replace the damaged part. Covering movement with sealant often leads to another leak.
What weather is best for applying roof flashing sealant?
Dry weather within the product's listed application range is best. Clean, dry surfaces help the sealant bond, while rain or heavy dew can interfere with cure. Cold conditions may slow the process. Read the tube and technical sheet for the exact temperature and moisture limits.
Conclusion
Choose the sealant by matching the chemistry to the roof surface and the repair scope. Before you buy, inspect the flashing, confirm the substrate, check UV and temperature data, and measure the joint. If the flashing is loose or damaged, contact LGFMH Construction for an assessment instead of relying on a thicker bead to hide the problem.


Comments