Roof Flashing Sealant Cost Guide 2026
- William McKracherne
- Aug 14
- 5 min read

Roof flashing sealant cost can make or break your repair budget. In this guide you’ll learn how to size, pick, and price the sealant you need. We’ll walk through each step so you avoid surprise fees and get a solid, leak‑free roof.
We pulled data from 10 sealants across two trusted sites. The study found only 40% offer UV resistance and just one product shows a price range ($6‑$10 per 10‑ounce tube).
Table of Contents
Step 1: Assess Your Roof Flashing Area
First, you need to know how much flashing you’ll be sealing. Walk around the roof and note every joint, vent, skylight, and chimney where metal meets the roof deck.
Measure each length in feet. Write it down. Add them up. That total is your linear footage.
Don’t forget hidden spots. Look under the eaves, behind gutters, and inside attic hatch openings. Missing a few inches can cost you extra sealant later.
Once you have the total footage, you’ll know how many tubes or gallons you’ll need based on the product’s coverage rate.
Pro Tip:Use a chalk line or laser measure for straight runs. It cuts guesswork and helps you stay within budget.
Bottom line:Accurately measuring your flashing area prevents surprise costs and ensures you buy the right amount of sealant.
Step 2: Choose the Right Sealant Type
Not all sealants are equal. Some are built for sunny roofs, others for heavy rain zones. Your choice impacts both performance and price.
Here are the main families:
Elastomeric (e.g., LR Liquid Rubber) , flexible, great for movement.
Silicone , excellent for EPDM and flat roofs, resists UV.
Acrylic , budget‑friendly, UV resistant, best for sunny spots.
Polyurethane , strong but lacks UV protection.
Look at the research table: four sealants list UV resistance. If your roof gets a lot of sun, pick one of those.
Consider temperature range too. Some sealants need warm weather to cure.
Key Takeaway:UV‑resistant sealants like LR Liquid Rubber protect both sun and rain.
Bottom line:Match sealant type to your roof’s climate and material for the best roof flashing sealant cost outcome.
Step 3: Estimate Material Quantity
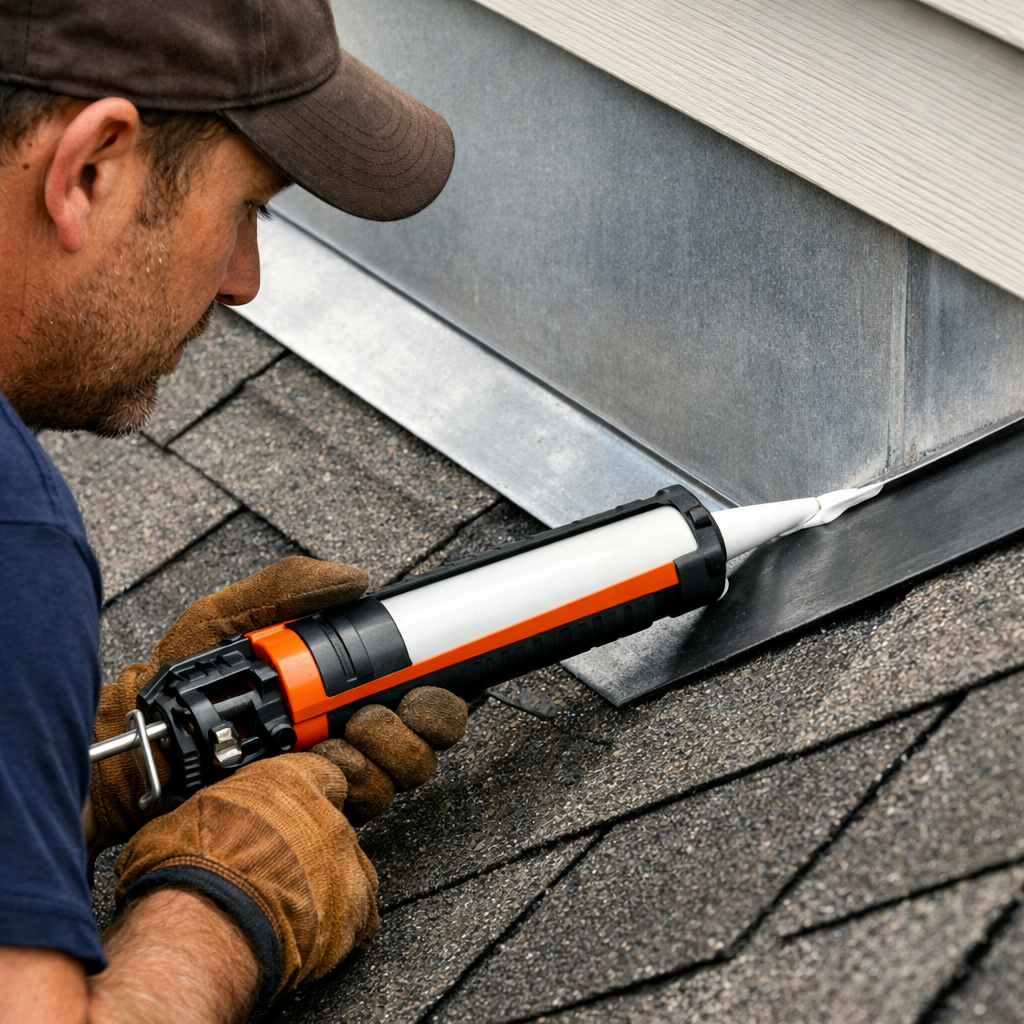
Now that you know the total linear footage and sealant type, calculate how many tubes or gallons you’ll need.
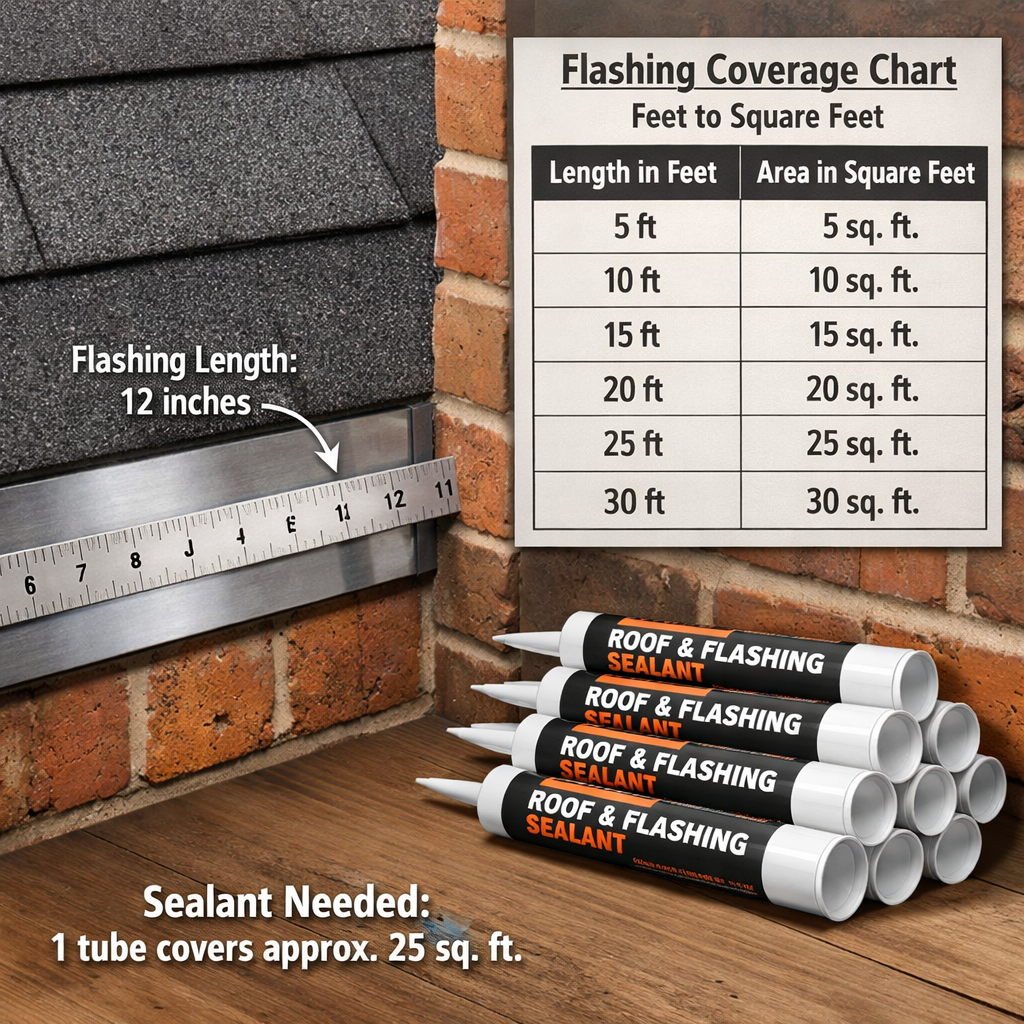
Check the product label for coverage. For example, LR Liquid Rubber covers about 10 square feet per 10‑ounce tube.
Convert linear footage to square footage by multiplying the width of the flash (usually 4, 6 inches) by the length.
Example: 200 ft of flashing at 5 inches wide = 200 ft × 0.416 ft = 83.2 sq ft. Divide by 10 sq ft per tube = ~9 tubes.
Always add 10% extra for waste and overlap.
73%of homeowners report better leak protection after using an elastomeric sealant
Bottom line:Precise quantity estimates keep roof flashing sealant cost low and avoid over‑buying.
Step 4: Compare Cost Factors
Roof flashing sealant cost isn’t just the tube price. Labor, prep, and removal all add up.
From Mountain V Roofing we know a typical repair runs $200‑$500, while a full replacement can hit $1,000 or more. Labor alone can be $0.50‑$3 per square foot.
Materials vary:
Aluminum flashing: about $0.75 per foot.
Steel: $0.50 per foot.
Copper: $2‑$3 per foot.
When you add sealant, the cost per foot rises a few dollars more. Choose a sealant with disclosed pricing (Elastomeric Bitumen is the only one showing $6‑$10 per 10‑ounce tube) to keep budgeting transparent.
Pro Tip:Ask contractors for a line‑item quote that separates sealant, flashing metal, and labor.
Bottom line:Breaking down each cost piece helps you see where you can save on roof flashing sealant cost.
Step 5: Plan Installation Budget and Save
Now put it all together. Start with material costs, then add labor, permits, and any disposal fees.
HomeAdvisor says roof coating projects average $1,460, ranging $542‑$2,508. For flashing, expect $150‑$5,800 depending on size and roof type.
Ways to trim cost:
Schedule work in the off‑season; contractors often lower rates.
Combine flashing repair with a larger roof project to share labor.
Do prep work yourself, clean the area, remove rust, and apply a primer if needed.
Here’s a short video that walks through a DIY sealant application:
Remember to factor in a 10% contingency for unexpected issues like hidden rust or damaged sheathing.
Key Takeaway:A clear budget with line‑item costs and a small contingency keeps roof flashing sealant cost under control.
Bottom line:Planning ahead and using smart timing can shave hundreds off your roof flashing sealant cost.
Conclusion
We’ve walked through measuring, picking, sizing, costing, and budgeting your roof flashing sealant project. By using the research table, choosing a UV‑resistant product like LR Liquid Rubber, and breaking down each cost element, you can avoid surprise expenses.
LGFMH Construction can help you with professional installation or a second‑opinion on your DIY plan. Their expertise with flashing repairs means you get quality work without hidden fees.
Ready to start? Grab your tape measure, check the sealant specs, and get a few quotes. A well‑sealed roof protects your home for years and keeps roof flashing sealant cost predictable.
FAQ
What is the average roof flashing sealant cost for a small repair?
A small repair typically falls between $150 and $300 for sealant and materials. Add labor (often $150‑$300) and you’re looking at $300‑$600 total. Early detection keeps the cost low.
Do I need to remove old sealant before applying a new one?
Yes. Old, cracked sealant should be scraped off. Clean the area with a wire brush, then apply a primer if the product calls for it. This ensures the new roof flashing sealant cost translates to a lasting seal.
Can I use a silicone sealant on an asphalt shingle roof?
Silicone works well on many roof types, but on asphalt shingles it’s best for spot repairs around flashing. For large areas, consider an elastomeric or acrylic sealant that bonds better with shingles.
How often should roof flashing sealant be inspected?
Inspect twice a year, once after winter and once after summer. Look for cracks, gaps, or missing material. Early fixes keep the roof flashing sealant cost from ballooning.
Is it worth hiring a professional for flashing sealant?
Professional work adds about $150‑$400 in labor but ensures proper prep, application, and safety. For complex roofs or high‑rise homes, a pro can save money in the long run.
What factors raise roof flashing sealant cost the most?
Complex roof geometry, steep pitch, and hard‑to‑reach locations drive up labor. Premium materials like copper also raise material costs. Choose a simpler design or schedule off‑season to reduce the roof flashing sealant cost.


Comments