Roof Flashing Sealant Installation Tips
- William McKracherne
- Aug 20
- 8 min read

A sealant bead can stop a small flashing leak, but it can't fix loose metal, rotten decking, or bad roof layout. The best roof flashing sealant installation tips start with a roof check, then move through product choice, surface prep, careful application, and a final leak test.
Use the steps below for a small repair. Stop and bring in a pro when the flashing is badly bent, the roof feels weak, or you can't work safely at height.
Table of Contents
Step 1: Inspect the Roof Flashing and Plan the Repair
The first step in any roof flashing sealant job is finding the full path of the leak, not just the wet spot indoors.
Start in the attic if you can reach it safely. Look for dark wood, damp insulation, or water marks. Trace the path uphill. Water may enter at a vent, wall step, chimney base, valley, or panel lap before it travels along the roof deck.
Outside, inspect the flashing above that path. Look for lifted edges, open seams, rust holes, loose fasteners, cracked sealant, and gaps at corners. Press lightly near the flashing. If the metal moves, sealant alone won't solve the problem.
Make a short repair plan before opening a tube:
Mark the joint or edge that needs repair.
Measure the length so you have enough sealant.
Check whether the roof has asphalt shingles, metal panels, tile, or another surface.
Plan a dry weather window that lasts through the product's cure time.
Set up a stable ladder and the fall protection required for the roof.
Roof flashing is part of a water-shedding system. It must overlap in the right direction and stay fastened to sound material. A bead on top of a failed joint is a short-term patch at best. Measurement, underlayment, flashing placement, fastening, and sealant work together in one connected process. That order matters.
LGFMH Construction handles interior and exterior repairs, so it can assess both the visible roof problem and the indoor signs that point to it. That wider check is useful when the leak path isn't clear.
Roof work has a serious safety gap in many online how-to guides. In the source review behind this article, only 1 of 26 collected items mentioned fall protection. Wear a suitable use when the job calls for one, keep three points of contact on the ladder, and don't work on wet or windy roofing.
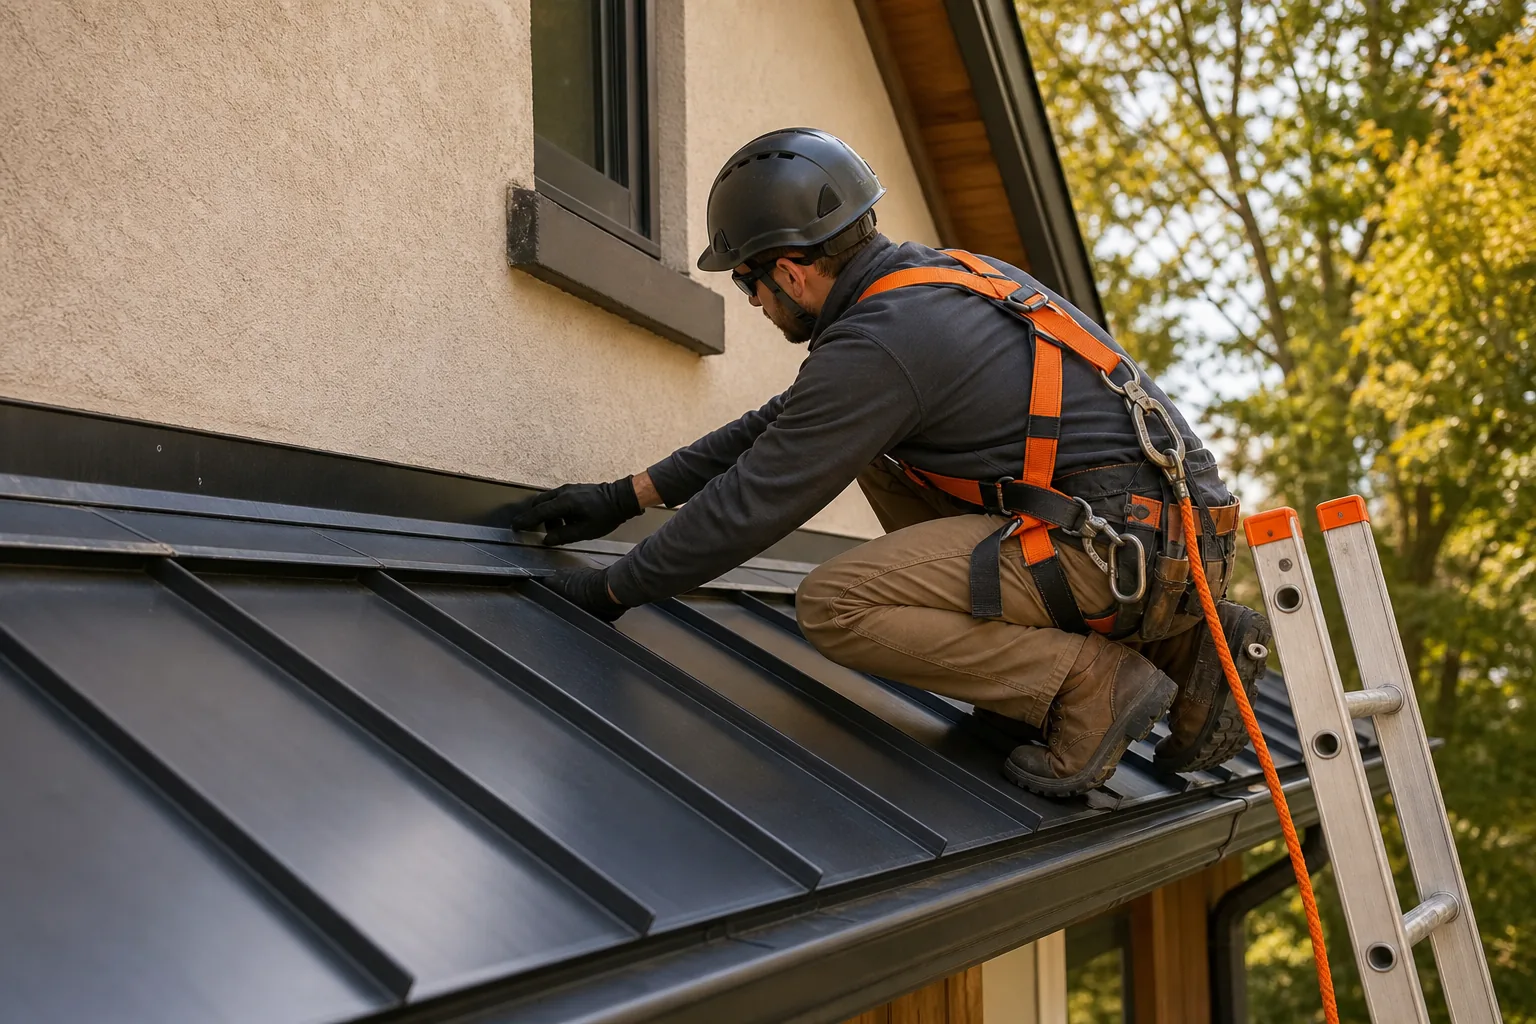
Key Takeaway:If the flashing is loose, pierced by rust, or poorly placed, repair or replace the metal before applying sealant.
Step 2: Choose a Roof-Flashing-Compatible Sealant
Good roof flashing sealant installation tips always include one rule: match the sealant to the roof material and the joint's movement.
Read the product data sheet before you buy. Check the approved substrates. Look for directions on wet or dry application, temperature limits, UV exposure, bead size, primer use, and cure time. A product made for a wall joint may not bond well to coated metal or asphalt roofing.
For asphalt roofing, turbo-poly seal is commonly discussed in hands-on tutorials. Stir it only when the label says to stir. Some products need mixing, while others must not be shaken because trapped air can form bubbles. Use a brush when the product is meant to spread across a wider flashing area.
For metal flashing, roofing cement or a compatible polyurethane or hybrid sealant may fit the repair. The material matters. Metal expands and contracts, so the cured seal must stay attached while the joint moves. A rigid patch can crack when the panel shifts.
Don't treat roofing caulk as the flashing itself. It can seal a joint, but it doesn't replace a missing step flashing piece, a damaged pipe boot, or a proper metal lap. This mistake appears in both web guides and video tutorials because a tube is easy to reach for. Easy isn't the same as sound.
Official product sheets can settle questions that short videos often skip. Product-specific instructions should take priority over general advice, and the applicable data sheet is the right place to confirm approved use and handling directions.
Before covering a large visible area, test a small hidden patch if the product maker allows it. Let it cure. Check for poor grip, cracking, or an unexpected reaction with the old coating.
If you aren't sure what the roof needs, LGFMH Construction can inspect the repair instead of guessing from the label alone. That is especially wise when several materials meet at one penetration.
Step 3: Clean, Dry, and Prepare the Sealing Surface
Surface prep decides whether a new sealant bonds or peels. These roof flashing sealant installation tips won't work over dust, oil, loose rust, or damp metal.
Remove old sealant that has split, lifted, or turned brittle. Use a putty knife or scraper. Cut around stubborn edges rather than pulling hard on the flashing. The goal is to expose a firm edge without bending the metal.
Brush away loose rust and scale. A wire brush can help on a small metal repair, but don't strip sound protective coating across a wide area. If rust has made a hole or left a thin edge, stop and replace the damaged section.
Clean the repair zone with the cleaner named by the product instructions. Wipe away residue with a clean rag. Then wait. The surface must be dry before you apply sealant. Moisture under the bead can block adhesion and trap bubbles.
Prepare the work area in this order:
Remove loose debris and failed sealant.
Brush rust from the repair zone.
Clean the flashing and nearby roof surface.
Let the area dry fully.
Use primer only when the product directions call for it.
Mask clean edges if the finished line needs to look neat.
Keep the cleaning narrow. Aggressive brushing can damage a metal coating that still works. On asphalt shingles, avoid tearing the granules around the repair. A clean bond area is helpful. A larger damaged area is not.
Product application instructions show why following the manufacturer's guidance matters during prep. Pourable sealants and tube sealants don't always use the same tools or surface rules.
Put the tube, gun, scraper, gloves, rags, and smoothing tool within reach before you start. Reaching across a roof while holding an open tube is a poor way to lose balance.
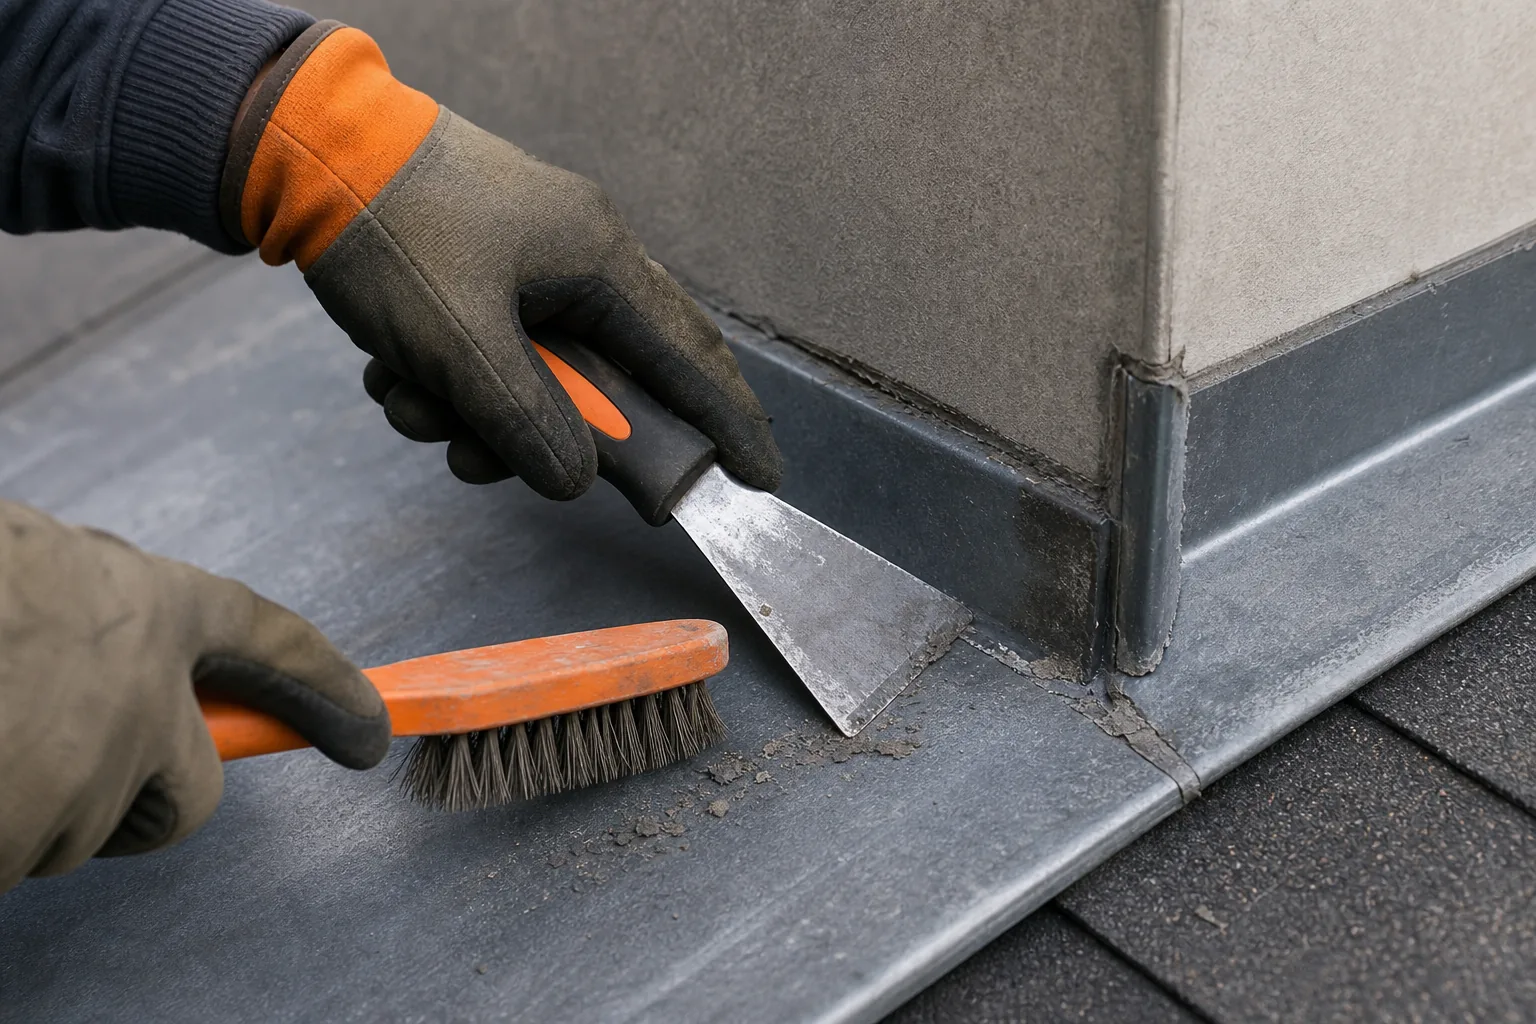
Pro Tip:Touch the repair area with a clean glove after drying. If the glove picks up dust or residue, clean it again before sealing.
Step 4: Apply the Sealant for Continuous, Watertight Coverage
The aim is one even bead that contacts both sides of the joint. A thick blob on top of a gap won't make a watertight repair.
Cut the nozzle at about a 45-degree angle. Make the opening slightly smaller than the joint when possible. Load the tube into the caulking gun. Keep a damp smoothing tool or compatible tool nearby.
Start at one end of the joint. Pull the gun at a steady pace while keeping trigger pressure even. Let the bead fill the seam. Don't skim over it so fast that the sealant bridges the gap.
Pay close attention to corners and the ends of laps. Water often finds the small spot where a bead stops short. Seal around exposed fastener heads when the product directions allow it. If the joint is wide, use an approved backing or repair method rather than filling the whole void with sealant.
Tool the bead while it is still workable. Press it into the joint so it touches both sides. Smooth raised ridges that could hold water. Remove masking tape before the sealant skins over.
For a brush-applied product, stir or mix it exactly as directed. Work in manageable areas. Use thin, even coverage instead of a deep mound. Multiple coats may be required, but only if the product sheet says so and the first coat has reached the stated stage.
For sloped laps, begin at the lower end when the roof layout permits. Work upward so the overlap sheds water. Never seal in a way that blocks the designed drainage path.
Keep the repair clean while it cures. Don't press shingles, tools, or loose debris into wet material. If rain arrives before the label's cure time ends, inspect the repair again. It may need to be removed and redone.
For additional guidance on metal repairs, see this related reference . Use the product label as the final authority because sealants differ.
Stop if you find a gap caused by missing metal or damaged wood. Sealant is a joint material. It isn't a replacement for the roof parts beneath it.
Step 5: Check the Finished Seal and Monitor for Future Leaks
The final step in roof flashing sealant installation is inspection after cure, not right after the bead goes down.
Wait for the full cure time on the label. Temperature, humidity, bead depth, and product type can change the schedule. Protect the repair from rain, dew, foot traffic, and wash water until the stated period ends.
Once cured, inspect the bead from both sides. Look for:
Pinholes or thin spots.
Gaps at corners and lap ends.
Edges that pulled away from the flashing.
Bubbles, cracks, or soft areas.
Sealant that blocks water flow.
Fix small defects with the same compatible product only after cleaning the spot. A large split, loose flashing piece, or rusted-through panel needs more than a touch-up.
You can run a controlled hose test after cure. Start above the repair with a gentle flow. Test one area at a time while another person watches the attic or ceiling. Don't use high pressure. It can force water beneath flashing and make a sound repair look faulty.
Keep a note of the repair date and location. Check the area after severe rain, strong wind, or a major freeze. Clear leaves from gutters and valleys so standing water doesn't push against the flashing.
If the indoor stain grows after the roof bead looks sound, don't keep adding caulk. The leak may start higher on the roof or around a different penetration. LGFMH Construction can trace the issue and handle related interior and exterior repairs when a sealant patch isn't enough.
FAQ
What is the best sealant for roof flashing?
The best sealant depends on the flashing metal, roof surface, joint movement, and product directions. Turbo-poly products are often used on asphalt repairs, while roofing cement or compatible polyurethane products may suit some metal work. Check the data sheet before buying. No sealant can replace loose or badly corroded flashing.
Can I use roofing caulk on flashing?
You can use compatible roofing caulk to seal a sound flashing joint, but it should not replace the flashing itself. The metal still needs the right overlap and fasteners. Clean and dry the joint first. If the flashing has a hole, loose edge, or severe rust, repair that condition before applying a bead.
Should roof flashing be sealed on top or underneath?
Seal placement depends on the flashing design and roof material. Flashing should shed water through its overlaps, while sealant closes approved joints without blocking drainage. Don't cover every edge with a thick bead. Follow the roof system and product instructions, especially around shingles, wall steps, vents, and metal panel laps.
How long should roof flashing sealant cure?
Roof flashing sealant should cure for the full time listed on its label. Cure speed changes with temperature, humidity, product chemistry, and bead size. Keep rain and foot traffic away during that period. A surface that feels dry may still be soft inside, so don't hose-test or cover it too soon.
Is flashing sealant suitable for a small repair?
You can handle a small, reachable repair if the flashing is sound and you can work safely. Use fall protection when needed and avoid wet, icy, or windy conditions. Hire LGFMH Construction when the roof is steep, the leak path is unclear, or the flashing, decking, or roof covering needs repair.
Conclusion
Use a compatible sealant only after you confirm the flashing is sound, the surface is clean and dry, and the weather window covers the full cure. For your next step, mark the leak path and inspect the flashing from the attic and roof. If the metal or access creates doubt, ask LGFMH Construction to assess the repair before a small leak causes wider damage.


Comments