How to Install a Patio Fire Pit Safely – Step‑by‑Step
- William McKracherne
- 2 days ago
- 4 min read
Want a cozy fire pit that won’t turn your patio into a hazard? Follow this step‑by‑step guide and you’ll have a safe, beautiful fire pit ready for evenings under the stars.
Step 1: Choose the Right Location
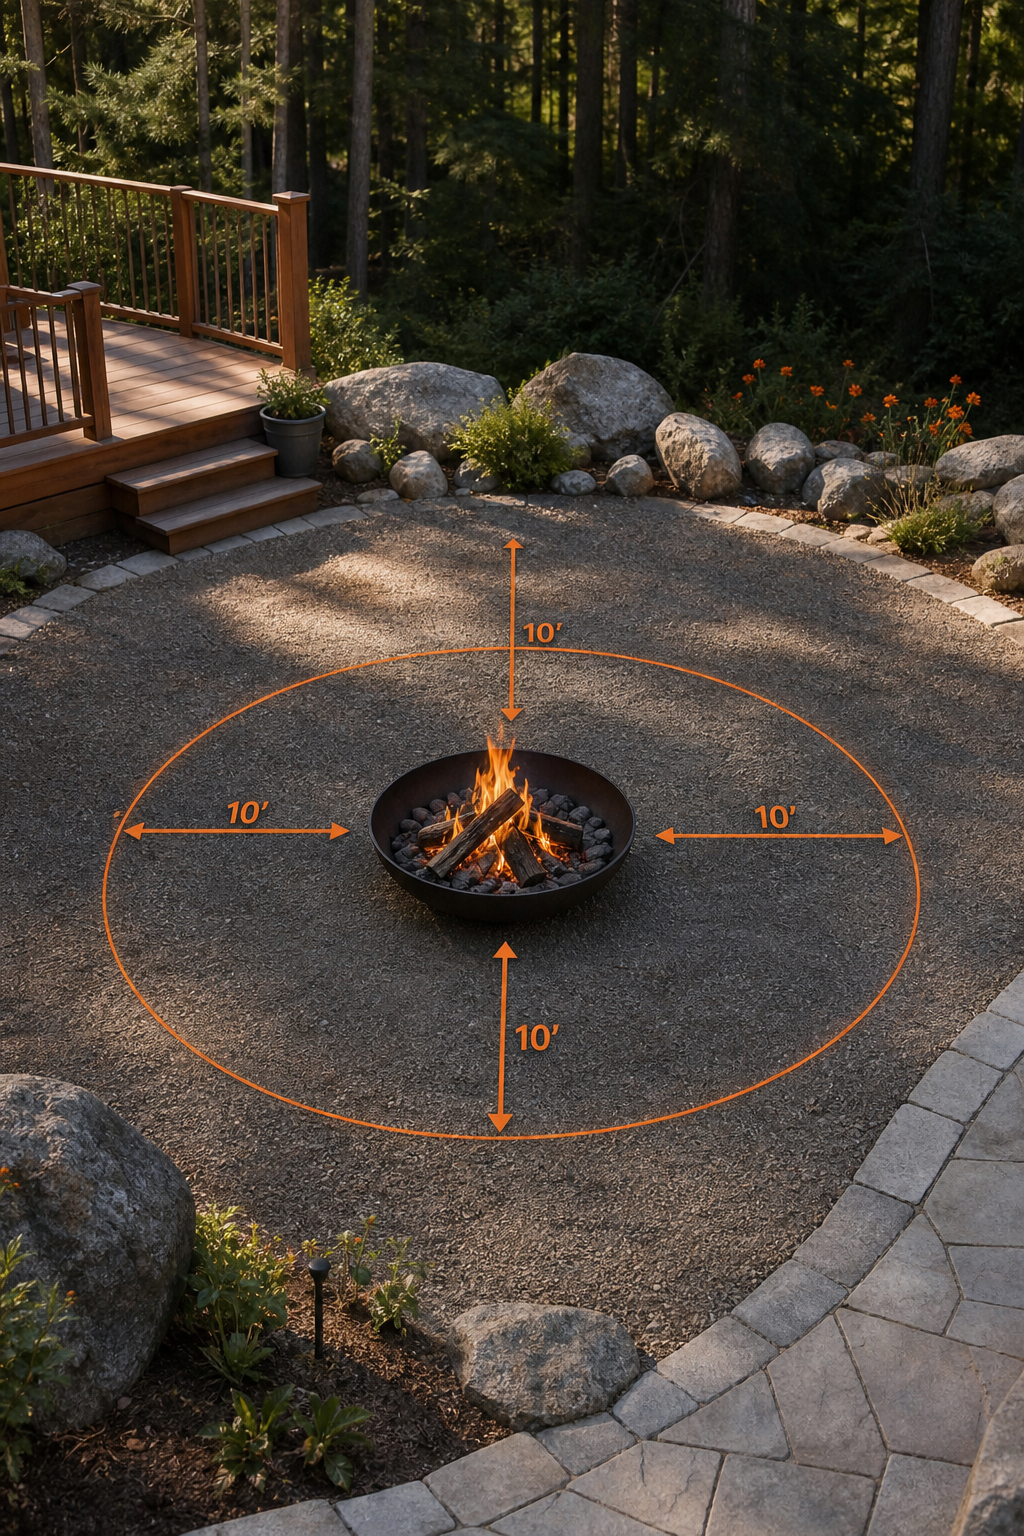
Pick a spot at least three feet away from walls, fences, and any overhanging trees. The area should sit on a flat surface and stay clear of roof eaves or gutters that could catch sparks. A level slab or a sturdy patio slab works best because it prevents the pit from wobbling.
Check the surrounding area for flammable materials like mulch, wooden decking, or stored garden tools. If you have a wooden deck, consider a fire‑proof pad underneath the pit to protect the wood.
According to the fire‑pit placement guide, positioning the pit near a windbreak (like a low wall or shrub) can reduce smoke drift while keeping enough clearance for safety.
Make sure the location complies with any HOA rules or neighborhood covenants. Some communities ban open‑flame devices outright, so a quick check can save you a costly removal later.
Step 2: Check Local Codes and Obtain Permits
Before you dig or start building, look up your city or county fire code. Many jurisdictions require a permit for a permanent fire pit, especially if it’s built into the ground or uses a concrete base.
The Montgomery County guidance page explains that you may need a building permit and possibly an inspection once the pit is installed. It also outlines setback requirements and maximum pit dimensions for residential properties. See the official outdoor fire‑pit regulations for details.
Keep a copy of any approved plans and the permit number handy. Inspectors will want to see that you followed the approved layout and that the pit is anchored correctly.
Step 3: Prepare a Stable, Non‑Combustible Base
Lay down a solid, heat‑resistant foundation. A concrete slab, paver base, or a thick layer of fire‑bricks works well. Start by excavating a shallow pit about two inches deep, then add a layer of compacted gravel for drainage.
Place a concrete slab or a fire‑brick pattern on top, ensuring it’s level. If you use pavers, set them with sand and compact them tightly so the surface won’t shift under the weight of the pit.
Bob Vila recommends a base that’s at least four inches thick for permanent pits to distribute heat evenly and prevent cracking. Read the full details on Bob Vila’s fire‑pit building guide.
For extra peace of mind, you can call in a pro like LGFMH Construction to assess the concrete work and ensure it meets local code.
Step 4: Assemble and Secure the Fire Pit
Follow the manufacturer’s instructions for assembling the pit frame. Most kits use steel brackets that bolt together with standard nuts and bolts. Tighten each connection evenly to avoid warping.
Insert the fire‑brick lining or the steel fire‑ring into the frame, making sure it sits flush against the base. Use a level to check that the ring is perfectly horizontal; an uneven ring can cause smoke to rise toward nearby structures.
Secure any removable grates or ash pans with the supplied screws. Double‑check that all fasteners are tight but not over‑torqued, which could crack the metal.
Once everything is assembled, give the pit a quick visual inspection. Look for gaps between the frame and the base, and seal them with high‑temperature silicone if needed.
Step 5: Add Safety Accessories and Test the Pit
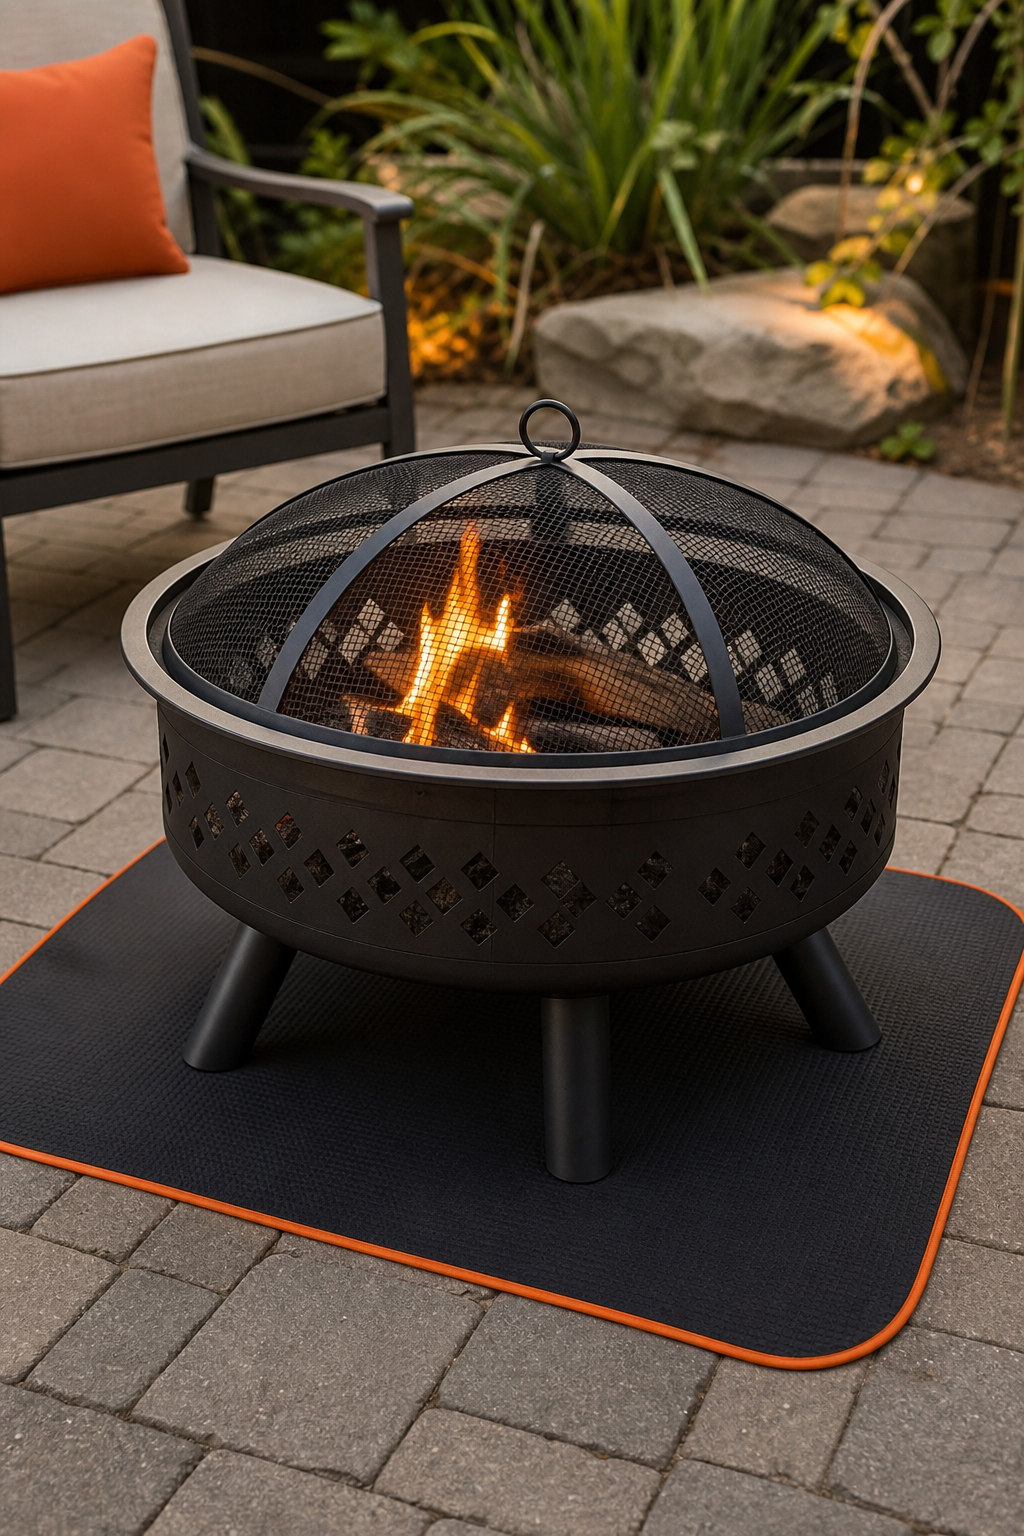
Install a spark guard or fire‑pit screen to keep embers from escaping. A metal mesh screen that fits snugly over the opening does the trick without blocking airflow.
Place a heat‑resistant pad underneath the pit if it sits on a wooden deck. This pad protects the deck from stray heat and helps contain any accidental spills.
Before lighting a full fire, do a small test burn with a few pieces of wood. Watch for any smoke drift toward nearby structures and make sure the screen stays in place.
After the test, let the pit cool completely, then inspect the anchor bolts again. Tighten any that have loosened during the burn.
FAQ
Do I need a permit for a backyard fire pit?
Yes, many cities and counties require a permit for a permanent fire pit. Check your local fire code and obtain any necessary permits before you begin construction.
How far should a fire pit be from my house?
Place the pit at least three feet from any walls, overhangs, or combustible materials. This distance helps prevent heat damage and keeps sparks from landing on the house.
Can I install a fire pit on a wooden deck?
You can, but you must use a fire‑proof pad and a spark guard. The pad protects the deck from heat, while the guard contains embers.
What type of fuel works best for a patio fire pit?
Seasoned hardwoods like oak or maple burn cleanly and produce long‑lasting heat. Avoid softwoods, which can pop and create excess sparks.
How often should I clean my fire pit?
After each use, sweep out ash and debris. Deep clean the pit every few weeks by scrubbing the interior with a wire brush and removing any built‑up soot.
Ready to get started? Choose the right spot, follow the steps, and enjoy a safe fire pit all year round. If you need professional help with the concrete base or code compliance, contact LGFMH Construction for a reliable installation.