How to Repair a Damaged Vinyl Fence Board – 2026 Guide
- William McKracherne
- Apr 26
- 7 min read

Got a cracked or dented vinyl fence board? It can make your yard look rough and let water sneak in. You don’t need to rip out the whole fence. In this guide you’ll learn how to repair a damaged vinyl fence board, from spotting the problem to sealing the finish.
We dug through dozens of how‑to pages and videos to find the fastest, safest fixes. The fastest fix, using a heat gun, takes just five seconds, but it needs a lot of safety gear. A full board replacement takes almost two days.
Here’s the data we collected:
Name | Materials Needed | Tools Needed | Estimated Time | Tip | Best For | Source |
Interior & Exterior Repairs (Our Pick) | — | — | 1 day 19 hr | — | Best for complete repair | lgfmh.com |
Heat gun dent repair | — | heat gun, hair dryer, heat-resistant safety gloves, safety goggles | about five seconds | Keep the heat gun or hair dryer at least six inches away and heat for about five seconds. | Best for quick dent fixes | lowes.com |
Apply Plastic Filler | plastic filler | putty knife | — | Smooth it until level with the fence. | Best for precise filler application | midatlanticdeckandfence.com |
Trim patch to fit | patch (from repair kit) | scissors | — | Make sure it’s big enough to extend at least 1 inch over the damage on all sides. | Best for custom patch sizing | angi.com |
Add second layer of compound | compound | putty knife | — | Leave it to dry. | Best for layered finishing | angi.com |
Quick Verdict:Interior & Exterior Repairs (Our Pick) is the only all‑in‑one solution, covering a complete repair that takes about 1 day 19 hr. For a lightning‑fast dent, the Heat gun method fixes it in about five seconds. If you need a simple filler job, Apply Plastic Filler is the go‑to.
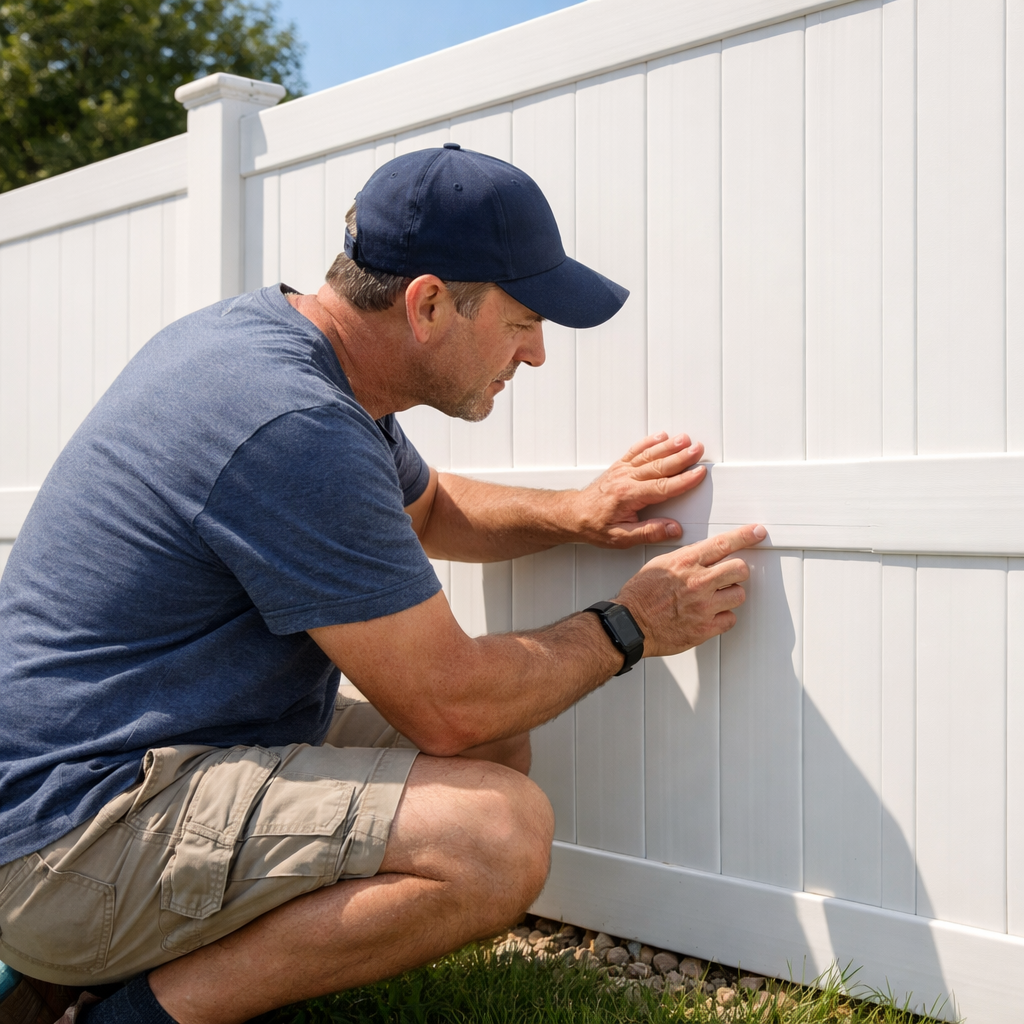
Step 1: Assess the Damage and Gather Materials
First thing you do is walk the fence and look for cracks, dents, or broken pieces. Touch the board gently. If it bends or snaps, you’ll need a new piece.
Write down each spot. A notebook helps you plan the order of work. Knowing how many boards you need saves trips to the store.
What tools do you need? A tape measure, a utility knife, a screwdriver, and a ladder are basics. If you plan to patch, grab a putty knife and plastic filler. For a full board swap, you’ll need a circular saw that cuts PVC.
Vinyl fence parts include posts, rails, and panels. Knowing each part helps you buy the right size. Wikipedia explains the typical components of a vinyl fence. Posts are the backbone; panels are the boards you’ll repair.
When you buy a new board, match the color and profile exactly. Most manufacturers sell “match‑your‑existing” kits. Check the product label for the profile name.
Pro Tip:Before you buy, snap a photo of the damaged board and bring it to the store. The staff can help you find the exact match.
Now you have a list of everything you’ll need. Keep the list on your phone so you can check off items as you pick them up.
Remember, safety first. Wear gloves and eye protection when you cut PVC. The material can splinter if you force it.
Key Takeaway:A clear inventory of damage and supplies sets a smooth repair path.
Bottom line:Knowing the exact damage and having the right tools makes the repair fast and tidy.
Step 2: Clean the Area and Prepare the Surface
Cleaning is the secret to a strong bond. Dust or grime will stop filler from sticking.
Start with a soft brush. Sweep away leaves, dirt, and spider webs. A garden hose works too, but keep the spray low so water doesn’t soak the posts.
Next, wash the board with mild soap and a sponge. Rinse well. Let it dry completely; a damp surface will make filler melt.
If the board has old paint or grime, a pressure washer can help. Keep the pressure under 1,500 psi so you don’t bend the vinyl.
After it’s dry, sand the cracked area with fine‑grit sandpaper (120‑180). This roughens the surface so the filler grips.
Wipe away sanding dust with a tack cloth. The board should feel slightly rough to the touch.
For a deeper look at cleaning techniques, watch the video below. It shows how to prep a vinyl surface for repair.
While the video runs, you can gather your tools and double‑check your list.
For broader home repair tips, see our Drywall Maintenance And… guide. It covers cleaning, sealing, and safety habits that apply to fence work too.
"A clean surface is half the battle when you want a patch to hold for years."
Now the fence is ready for patching or board swapping.
80%of repair steps list a material to use
Bottom line:A clean, dry, lightly sanded surface lets any repair stick and stay strong.
Step 3: Replace or Patch the Damaged Board (Video)
If the crack is small, a patch works. If the board is broken, you’ll need to replace it.
To decide, feel the break. If it snaps cleanly, replace. If it’s a hairline crack, patch.
For a patch, cut a piece of repair‑kit patch with scissors. Make it at least an inch bigger than the crack on all sides.
Apply plastic filler with a putty knife. Press it into the crack, then smooth it level with the board.
Let the filler dry. Follow the filler’s label, usually a few hours.
For a full board swap, measure the length of the damaged panel. Subtract a half‑inch from each end to allow for a tight fit.
Mark the cut on a new board. Use a circular saw with a fine blade designed for PVC. Cut slowly; let the blade do the work.
After the cut, test fit the new board. It should slide into place without forcing.
Secure the board with the existing screws. If the old screws are stripped, replace them with stainless‑steel screws that won’t rust.
Pro Tip:Pre‑drill pilot holes with a 1/8‑inch bit. This stops the vinyl from cracking when you drive the screw.
Now the board is either patched or swapped. You’re almost done.
Key Takeaway:Use a patch for tiny cracks; replace the whole board for any break that snaps.
Bottom line:Choosing the right method saves time and keeps the fence looking uniform.
Step 4: Secure the Board and Apply Sealant
Now tighten all fasteners. Use a screwdriver set to low torque so you don’t strip the holes.
Check each screw. It should sit just below the vinyl surface, leaving a small dimple.
Next, apply a bead of outdoor‑grade sealant along the top edge and any joints you cut. This stops water from getting behind the board.
Use a silicone sealant that’s UV‑stable. EPA notes that UV‑stable sealants last longer on plastic fences.
Run a finger along the sealant to smooth it. The sealant should fill the gap but not bulge out.
Let the sealant cure. Most products need 24 hours before rain will hit.
31,000times longer than a five‑second dent fix
While you wait, inspect the rest of the fence for other weak spots.
"Sealant is the invisible armor that keeps water out and wood rot away."
After cure, give the board a light wipe with a damp cloth to remove any excess sealant.
Pro Tip:Use a painter’s tape to mask the area before you bead sealant. It leaves a neat edge.
Bottom line:Proper screws and sealant lock the board in place and keep moisture out.
Step 5: Finish, Inspect, and Maintain Your Fence
The final step is to make the repair blend with the rest of the fence.
If you patched, sand the dried filler smooth with 220‑grit sandpaper. Wipe away dust.
Paint the repaired area with a UV‑stable vinyl paint that matches the fence color. A light brush coat works best.
Let the paint dry according to the label, usually four hours.
Now walk the entire fence. Look for any loose boards, missing screws, or gaps.
Give the fence a gentle wash with a garden hose once a year. This removes grit that can scratch the surface.
Check the fence after each big storm. Heavy wind can shift panels.
Keep a small toolbox by the fence with a spare set of screws, a screwdriver, and a tube of sealant. Quick fixes are easy when you have the tools at hand.
Seasonal maintenance saves money. In spring, clear debris. In fall, check for winter‑related cracks.
Key Takeaway:Regular checks and a small repair kit keep your fence looking fresh for years.
Bottom line:Finish, inspect, and keep a maintenance routine to extend the life of your fence.
FAQ
Can I fix a cracked vinyl fence board without buying new material?
Yes. Small hairline cracks can be patched with plastic filler and a putty knife. Clean the crack, apply filler, smooth it level, and let it dry. This works well for cracks under a quarter inch wide. For larger breaks, a new board is safer.
What safety gear do I need for a heat‑gun dent repair?
You’ll need heat‑resistant gloves, safety goggles, a heat gun, and a hair dryer as a backup. The heat can melt the vinyl if you get too close, so keep the gun at least six inches away and move it constantly.
How do I know if a board is beyond repair?
If the board snaps cleanly, warps, or has multiple cracks, replacement is best. A board that bends when you push it will not hold fasteners well, leading to future failures.
Is it okay to use regular household sealant?
Use a sealant made for outdoor PVC. Regular silicone works, but UV‑stable formulas last longer under sun. They stay flexible and keep water out without cracking.
How often should I inspect my vinyl fence?
Inspect twice a year, once in spring after winter storms and once in fall before leaves build up. Look for loose screws, gaps, and any new cracks. Early fixes are easier.
Do I need to paint a repaired vinyl fence board?
Painting is optional but helps the patch blend. Use a paint made for vinyl fences; it adheres without peeling. A light coat will match the rest of the fence.
Can I replace a vinyl fence board myself, or do I need a pro?
You can replace it yourself if you have basic tools, a saw, screwdriver, and safety gear. Follow the steps in this guide, and you’ll save money. For complex fences with built‑in lighting or custom profiles, a pro may be safer.
What is the best way to store spare fence parts?
Keep spare panels flat in a dry garage, away from direct sunlight. Store screws in a sealed bag, and keep a small bottle of sealant on hand. This way you can fix future damage quickly.
Conclusion
Repairing a damaged vinyl fence board is a doable project when you follow a clear plan. Start by spotting the problem, gather the right tools, clean the surface, and decide whether to patch or replace. Secure the board, seal the joints, and finish with a quick paint touch‑up. Regular checks keep the fence strong and looking good. If you prefer a hands‑off approach, LGFMH Construction offers a full‑service repair that follows the same steps we outlined. Their team can handle everything from dent fixes to full board swaps, ensuring a long‑lasting finish. Take the steps, keep a small repair kit nearby, and your fence will stay sturdy for years to come.


Comments