Roof Flashing Repair Guide: Step-by-Step Fixes
- William McKracherne
- 6 days ago
- 8 min read

Roof flashing leaks rarely start where the ceiling stain appears. Water can enter higher up, then travel along the roof deck before it drips indoors. This roof flashing repair guide shows you how to trace the leak, prep the area, replace damaged metal, seal the joint, and test the fix. If the work feels unsafe, LGFMH Construction can handle the interior and exterior repair as one job.
Table of Contents
Step 1: Inspect the Roof Flashing and Find the Leak
The first step in any roof flashing repair guide is finding the entry point, not guessing from the indoor stain. Start inside if you can reach the attic without risk.
Look for damp insulation, dark wood, water marks, or a musty smell. Trace the wet path uphill. Water may have entered near a chimney, vent, skylight, wall joint, valley, or roof edge before moving along the deck.
Next, inspect the roof from the ground. Use binoculars if needed. Look for bent metal, lifted edges, rust holes, open seams, cracked sealant, and fasteners that sit proud of the surface. A flashing piece should lie flat and direct water downhill.
If you must climb, wait for dry weather. Wet shingles and metal panels can become slick with little warning. Roof work at height needs safety controls before the task starts. A roof edge is not a safe place to improvise.
For a chimney leak, inspect the lower corners first. Check where the metal meets the masonry. A failed joint there can let water reach the attic several feet away from the visible stain.
Mark each suspect spot with removable tape or a roof sketch. Take photos from the ground. That record helps you compare the repair area later and gives LGFMH Construction better details if you decide to bring in a professional.
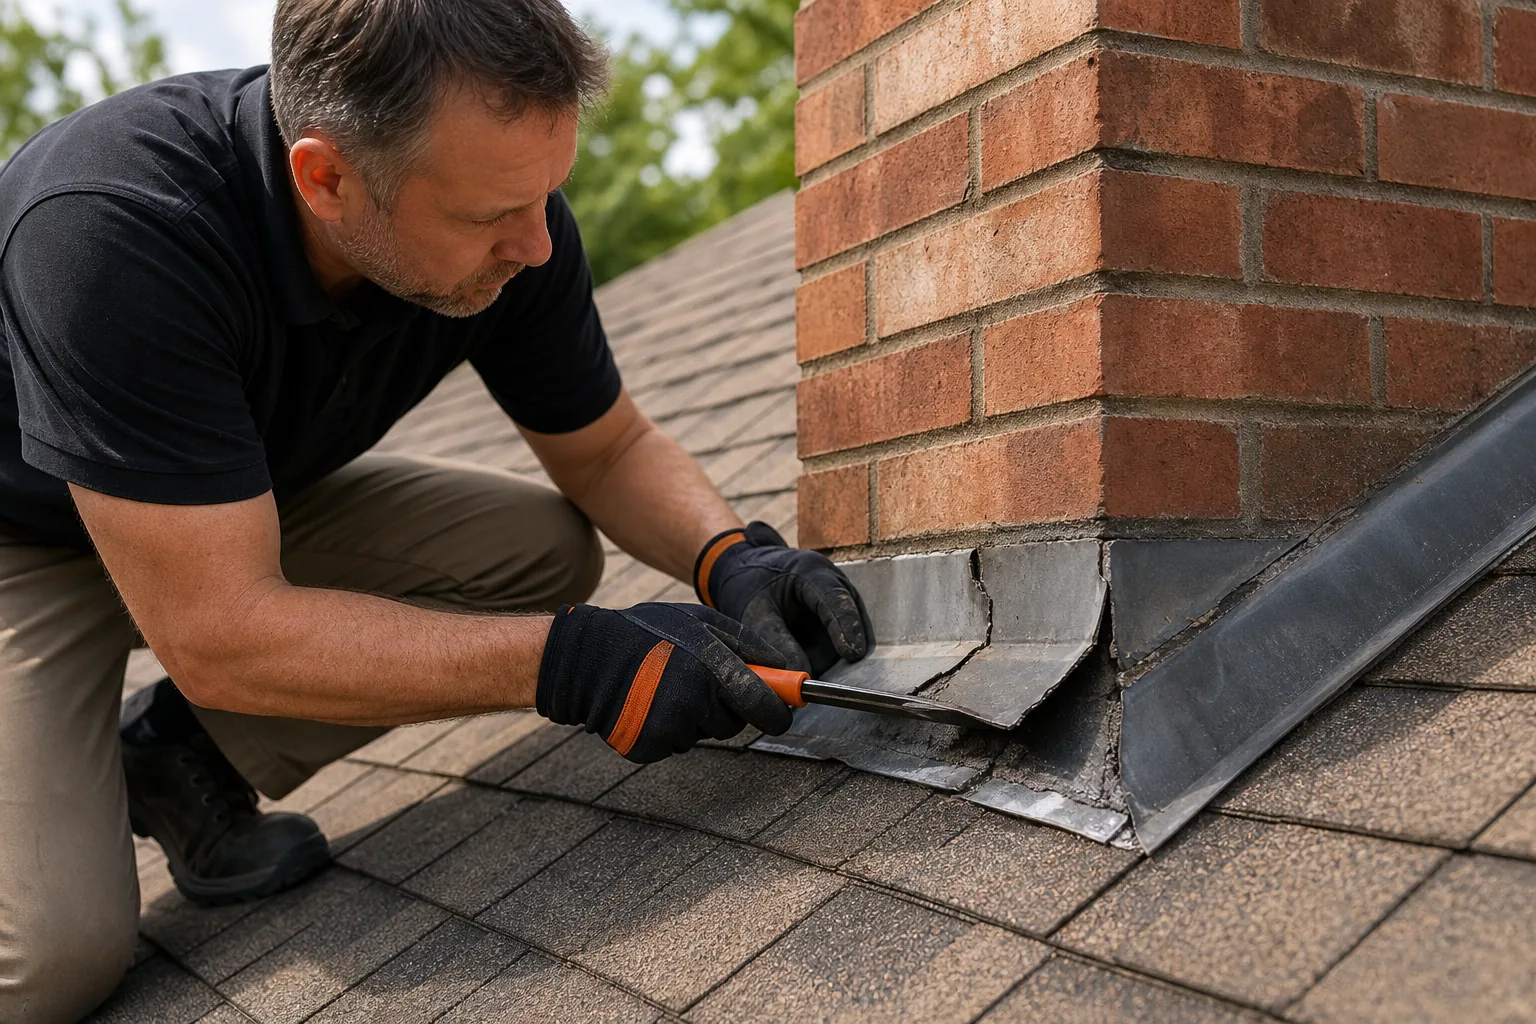
Key Takeaway:Trace water uphill from the indoor stain, then confirm the suspected entry point outside.
Step 2: Gather Materials and Prepare the Repair Area
A roof flashing repair needs the right metal and a clean, dry surface. Do not buy sealant before you know what roof surface and flashing material you have.
Check whether the roof uses asphalt shingles, metal panels, tile, or another covering. Identify the flashing if you can. Common materials include aluminum, galvanized steel, and copper. The new piece should suit the roof system and fit the same joint without blocking water flow.
Set out the materials before you open the roof:
Flashing material that matches the damaged section.
Fasteners suited to the roof system.
Joint-sealing material approved for the surfaces.
Basic hand tools suited to removal and fitting, including a pry bar.
Cleaning materials, absorbent cloths, and a way to contain old material.
Personal protective equipment and stable access equipment.
Flashing work can involve several separate tasks. Material lists commonly include fasteners and joint-sealing material. That makes sense on site. Fasteners hold the metal in place, while joint-sealing material helps close joints that may move with heat and cold.
Tool needs can stay modest. For small cuts, a suitable hand tool may be enough. Use an angle grinder only when the task, material, and safety setup call for it.
Clear the work zone before removing anything. Move loose grit and leaves away from the flashing. Remove old sealant that has split or lifted. Cut stubborn edges instead of pulling hard on the metal.
Clean the surface with a method allowed by the sealant label. Then wait until the flashing is fully dry. Moisture, dust, oil, and loose rust can stop a new bead from bonding. LGFMH Construction's Roof Flashing Sealant Installation Tips also stresses surface prep and the need to plan around the product's cure time.
Before you start, check the weather window. The repair must stay dry for the full cure period listed on the product label. If rain is due soon, make a temporary plan instead of opening a large section of roof.
Step 3: Remove Damaged Flashing Without Harming the Roof
Careful removal keeps a small flashing repair from becoming a larger roof repair. Work slowly around shingles, underlayment, siding, and masonry.
First, find every fastener holding the damaged piece. Lift nearby shingles only as much as needed. Slide a flat pry bar under the shingle edge and work near the nail line. Lift gently so the shingle does not crease or tear.
Remove nails with an appropriate tool. If a nail will not come out cleanly, cut or pry it with control. Do not yank the metal upward while fasteners remain attached. That can tear the roof deck or damage nearby shingles.
Once the fasteners are loose, ease the old flashing out. Some pieces overlap others. Note the order before you remove them. Step flashing along a wall or chimney must keep its shingle-by-shingle pattern. Removing several pieces at once can make the correct overlap hard to rebuild.
Inspect the exposed area before fitting new metal. Look for rotten wood, torn underlayment, damp insulation, crushed shingles, and holes around the penetration. Press lightly with a screwdriver. If the wood feels soft, stop and address that damage first.
Old sealant may hide a wider gap than you could see. Scrape it back to a sound edge. Brush away rust flakes and grit. Do not place new sealant over loose corrosion or wet material.
Measure the old piece, but do not copy it blindly. Corrosion may have eaten away part of its edge. Measure the opening and the overlap needed beneath the upper roof covering. For a wall or chimney, the replacement must sit high enough behind the upper counter-flashing or masonry joint.
Cut the new metal on the ground when possible. Protect your eyes and hands while handling the metal. Metal edges can cut through skin, even when the sheet looks thin.
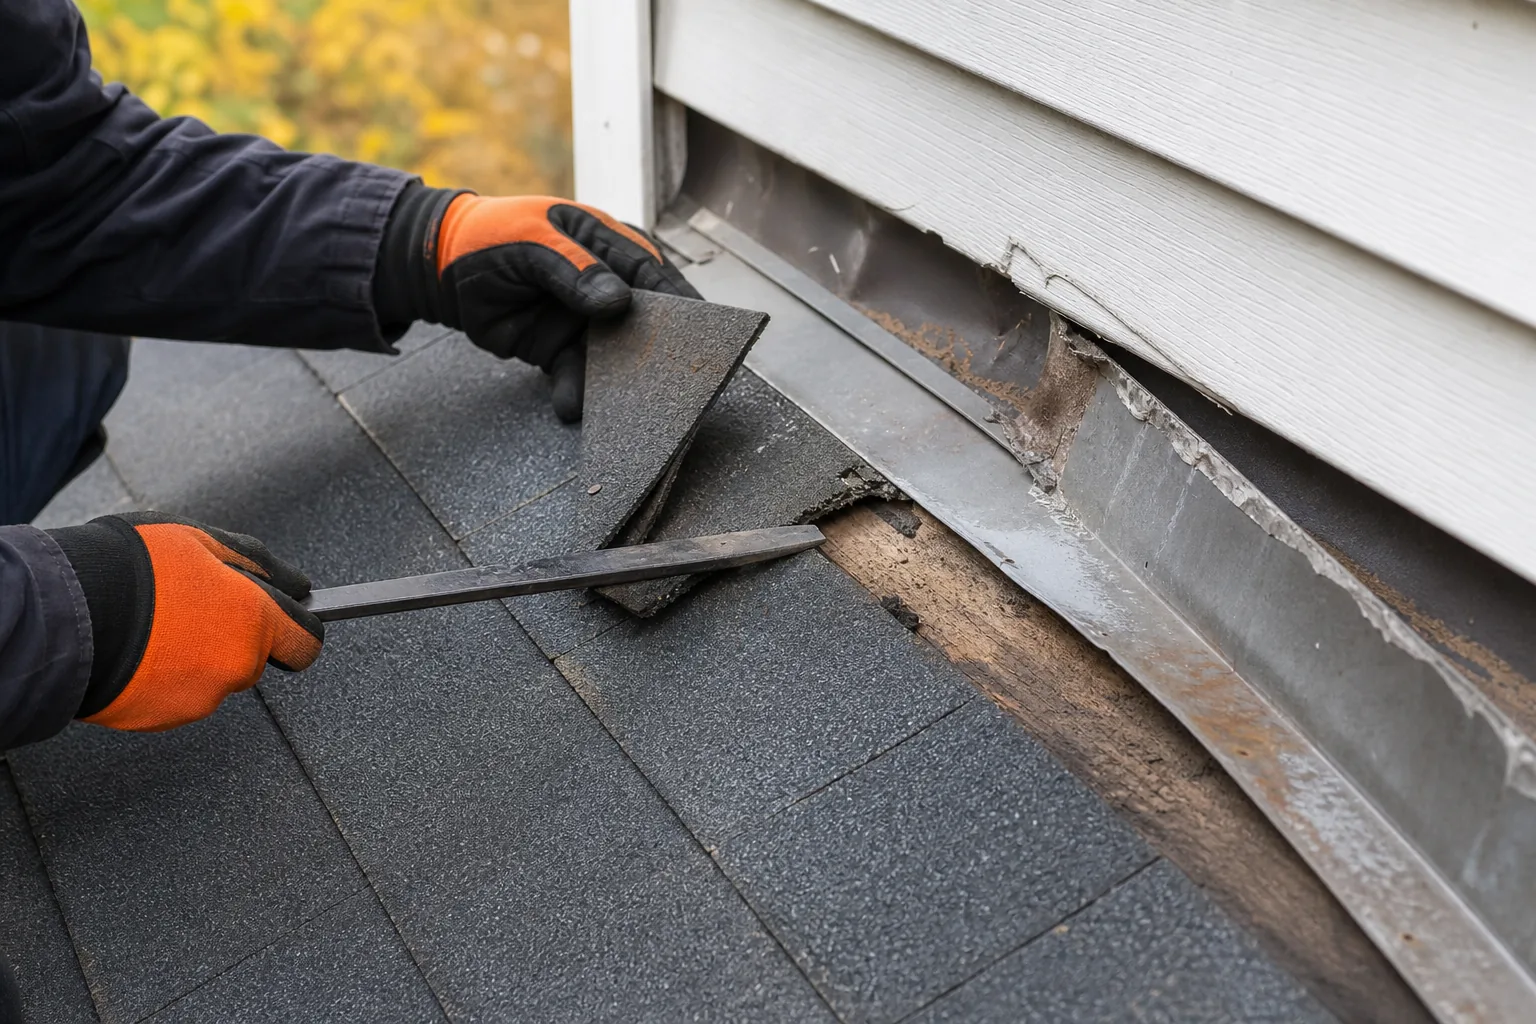
Research-backed replacement guidance also warns homeowners to inspect for mold, rot, and water damage after removal. Those problems change the job. A new metal strip cannot repair a weakened deck beneath it.
Pro Tip:Photograph each overlap before removal. The photos can guide the order when you put the pieces back.
Step 4: Install New Flashing and Seal the Joints
New flashing must shed water by its shape, not depend on a thick mound of sealant. Fit the metal first, then seal the joints.
Shape the new piece on the ground if it needs a bend around a chimney, vent, skylight, or wall. Match the roof profile. Leave enough overlap for water to pass onto the next lower layer. The exact layout depends on the flashing type and roof system.
Slide the upper edge beneath the shingles or covering above the repair. The lower edge should remain visible enough to guide water downhill. For step flashing, install one piece with each shingle course. Keep the pieces aligned and avoid a gap at the corners.
Secure the metal with appropriate fasteners. Place them where the roof system allows. Avoid putting exposed fasteners in the center of a water channel when the design does not call for it. A badly placed nail can become a new leak path.
Before applying sealant, check the fit. The metal should sit flat. There should be no sharp lift at the edge or open corner that a bead must bridge. If the piece does not fit, remove it and correct the cut.
Use sealant approved for both surfaces. Cut the nozzle at about a 45-degree angle. Make the opening slightly smaller than the joint when possible. Apply one steady bead along the full seam. A thin spot can fail, while an oversized mound can trap debris and hold water.
Press the bead into the joint with a compatible smoothing tool. It must touch both sides. Shape the surface so water does not sit against a raised ridge. Remove masking tape while the sealant is still wet.
Seal exposed fastener heads only when the repair design and product directions support it. Do not smear sealant over the whole flashing as a substitute for correct overlap. If the metal has deep pits or holes, replace it instead of covering the defect.
Replace the loosened shingles in their original order. Nail them according to the roof system. Keep the upper shingles over the flashing so runoff crosses the metal and continues downhill.
Flashing helps stop water from entering a structure at joints or intersections. That is the right test here: the repair should guide water away from the joint instead of merely hiding a crack.
Step 5: Test the Repair and Know When to Call a Professional
The final step in a roof flashing repair guide is testing the whole repair, not admiring the sealant bead. Let the product cure for the full time on its label first.
Start with a visual check. Look for gaps, pinholes, thin spots, lifted corners, exposed nail heads, and sealant that pulled away from one side. Confirm that each shingle overlaps the flashing in the right direction.
Then test with a controlled flow of water on a low setting. Have one person inside the attic while another wets a small area outside. Begin below the repair and move upward in short stages. If water appears, stop and mark the point. A strong spray can force water into places that normal rain would not reach.
Check the attic again after the test. Look at the original stain and the full uphill path. A dry first test is useful, but it does not prove the roof will stay dry in every storm.
Call LGFMH Construction when the flashing sits on a steep roof, high chimney, or hard-to-reach section. Professional help is also the safer choice when water has reached walls, insulation, ceilings, or structural wood.
Stop the DIY job if you find large rust holes, missing metal, widespread rot, several leaking areas, or a roof covering that must be removed across a broad section. A full-service repair can deal with the exterior entry point and the interior damage in one plan. LGFMH Construction's Interior and Exterior Repairs service is suited to that less fragmented approach.
Keep your photos and notes after the repair. Record the location, material used, and date. Check the area after heavy weather and include it in your roof maintenance routine.
Frequently Asked Questions About Roof Flashing Repair
Can I repair roof flashing myself?
Yes, you may repair a small, reachable flashing defect yourself when the roof is low-slope, dry, and the metal is still sound. This roof flashing repair guide can help with inspection and basic repair. Do not work at height if you lack safe access, fall protection, or confidence. Hire LGFMH Construction when the job involves steep areas, rot, or interior water damage.
What type of joint-sealing material is best for roof flashing?
The best joint-sealing material is one whose label approves both the flashing material and the roof surface. Roof flashing repair depends on clean, dry metal and a bead that can handle the joint's movement. Do not choose by color alone. Check the product data sheet, cure time, weather limits, and approved substrates before buying.
How do I find where a roof flashing leak starts?
Find the start of a flashing leak by tracing the water path uphill from the indoor stain. Check the attic first if you can do so safely. Then inspect the matching exterior area for open seams, rust holes, lifted edges, cracked sealant, or loose fasteners. A controlled water test can confirm the spot after the repair has cured.
Does flashing repair always require replacement?
No, flashing repair does not always require new metal. A sound piece with a failed seam may need cleaning, refastening, and compatible sealant. Replace the flashing when it has holes, deep corrosion, a badly bent edge, or an overlap that no longer sheds water. Sealant cannot restore missing metal or damaged roof wood.
When should I call a professional for flashing repair?
Call a professional when the leak involves a steep roof, high chimney, skylight, wall, or widespread water damage. Professional help also makes sense when shingles must be removed across a large area. If you feel unstable on the roof, stop. LGFMH Construction can assess the exterior flashing and related interior damage together.
Conclusion
Use this process for a small, visible repair only when you can work safely and confirm the flashing is sound. For steep access, hidden rot, or water inside the home, contact LGFMH Construction for an assessment of the interior and exterior damage. Your next step is simple: photograph the suspected leak area, note the uphill path, and decide whether the repair belongs on the ground with a professional.


Comments