Roof Flashing Sealant vs Caulk: Which to Use
- William McKracherne
- Aug 21
- 8 min read

Caulk sounds like the obvious choice for a small roof crack. But sealants carry most of the performance claims in product data, while the lone caulk entry lists no water or UV rating. The right choice depends on the joint, roof material, movement, and weather exposure. Use these steps to choose and apply the repair.
Table of Contents
1. LGFMH Construction
Start by deciding if you need a bead of material or a real flashing repair. LGFMH Construction handles interior and exterior repairs and replacements, so it can help when the leak points to loose, bent, rusted, or poorly fitted flashing.
Sealant only works when the flashing is sound and held in place. It can't restore metal that has rusted through. It also won't fix a loose fastener or a piece of flashing that has pulled away from the roof.
Inspect the area from a safe position. Look for cracked material, open seams, lifted edges, rust holes, and water stains below the flashing. Trace the stain instead of assuming the first visible crack is the source. Roof water can travel beneath shingles or along framing before it appears indoors.
The water-control layer around a roof penetration must stay continuous. Vents, chimneys, skylights, and similar openings need flashing that ties into the roof's drainage plane .
That point changes the repair plan. If water enters around a vent pipe, chimney, skylight, or mounting bracket, inspect the full penetration. Don't cover one exposed gap while leaving the upper edge or side lap open.
Before you climb, check the weather and the roof surface. Wet shingles, frost, steep slopes, and brittle materials raise the risk of a fall. If you can't reach the area without unsafe footing, stop and ask LGFMH Construction to inspect it.
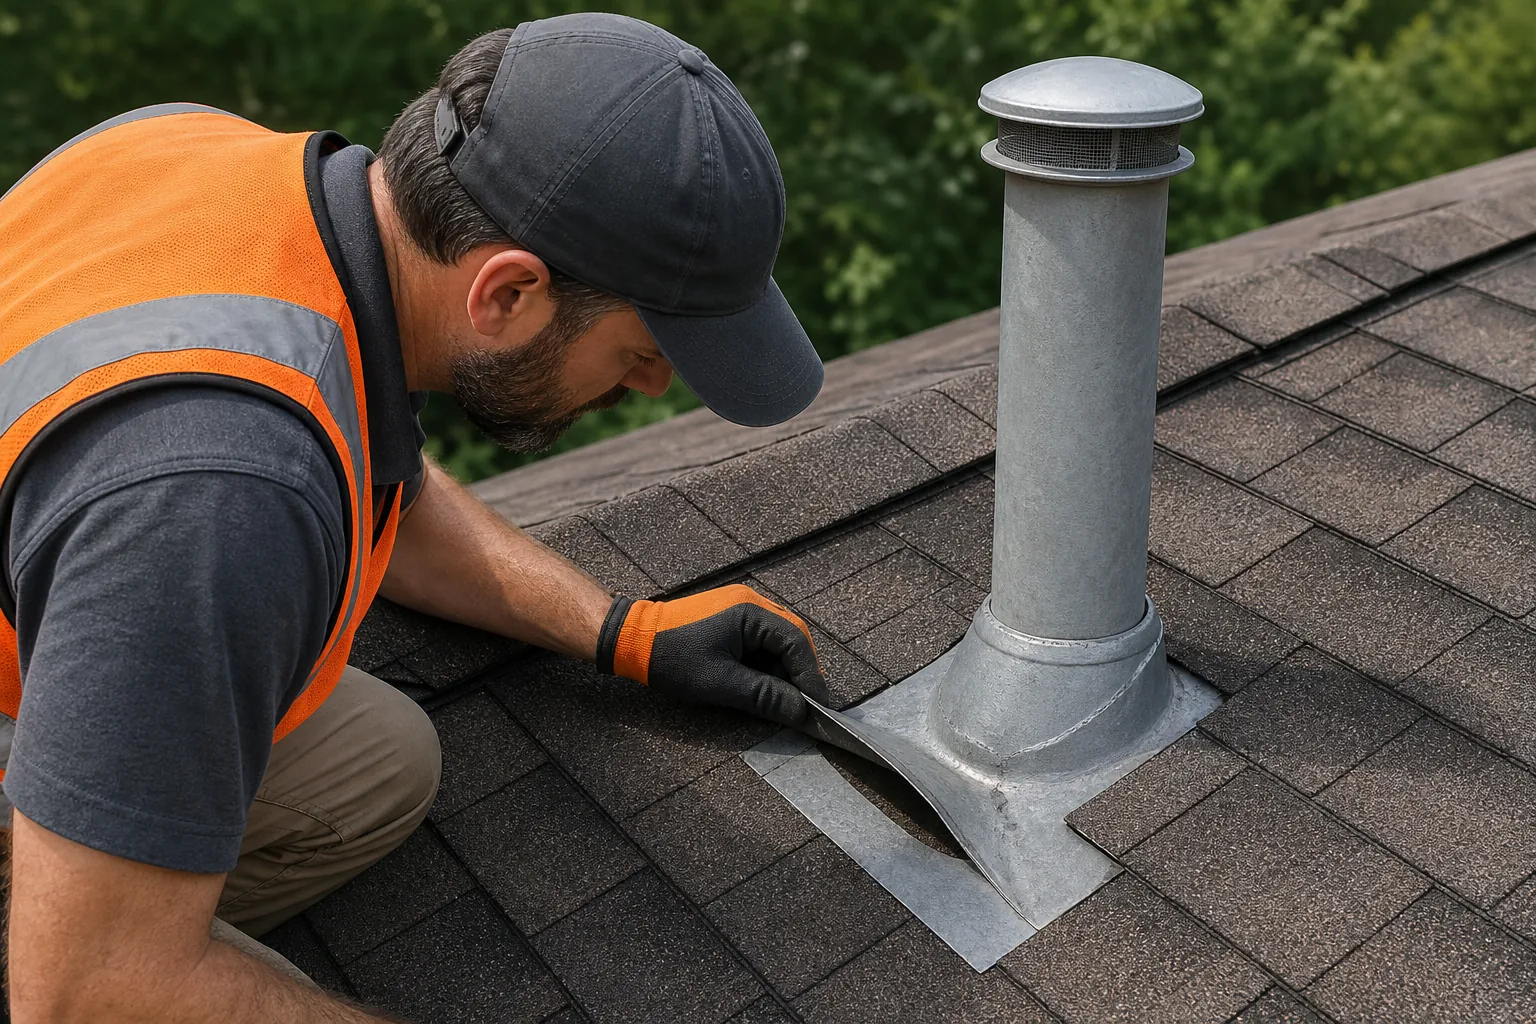
Key Takeaway:Sealant is for a sound joint that needs a weather seal. It isn't a substitute for replacing failed flashing.
Step 2: Compare Sealant and Caulk by Performance
When comparing roof flashing sealant vs caulk, judge the material by its job rather than the word on the tube. The labels overlap. A product called caulk may work as a sealant, while a sealant may come in the same cartridge and use the same gun.
In the product review used for this article, six of eight recorded product types were labeled sealant. One was labeled caulk, and one was labeled silicone sealant. That naming split doesn't prove that every sealant will last longer. It does show why the label needs a closer read.
Decision point | Sealant tends to fit when | Caulk may fit when | What to verify |
Repair size | The joint covers a flashing seam, penetration, or roof detail. | The defect is small and needs a narrow bead. | The label names the intended roof use. |
Movement | The joint expands or contracts as the roof heats and cools. | The joint has little movement and the product allows it. | Flexibility claims and cure instructions. |
Water exposure | The area faces rain or stays damp. | Only if the product is rated for that exposure. | A clear waterproof or water-resistance claim. |
Sun exposure | The bead will sit in direct sunlight. | Only if UV resistance is stated. | A UV rating or clear UV-resistance statement. |
Roof material | The sealant lists metal, asphalt, membrane, or the exact substrate. | The caulk lists the same substrate. | Material compatibility before purchase. |
Silicone is often picked for flexibility and water sealing. Acrylic sealants can suit some roof work, especially where moderate movement and UV exposure matter. Polyurethane is used when strong adhesion and movement resistance are important. Elastomeric products can stretch and recover as a roof shifts.
Those are broad material groups, not a promise for every formula. Read the technical sheet. A product's chemistry does not remove the need to check its substrate list, weather limits, and cure rules.
Some named products show how different the claims can be. PolyFlash 1C is listed as waterproof for roofing details, flashings, and penetrations. FG-400 Flashing Grade Silicone is listed as waterproof and UV resistant for flashings, seams, and penetrations. Pro-Grade 920 Silicone Roof Sealant is listed with excellent UV resistance for metal roof flashings.
That doesn't make it unusable. It means you should not assume that the word caulk tells you how it will perform outside.
The same caution applies to video reviews. Product videos may repeat a “best for” use case without giving a temperature range or cure time. A missing figure isn't proof of failure, but it is a reason to check the manufacturer's current instructions before you apply anything.
Pro Tip:If a label doesn't name your roof surface or the joint's exposure, put the tube back. A vague use claim is weaker than a clear compatibility statement.
For a small, precise crack in sound flashing, a suitable caulk may work. For a moving seam or exposed penetration, choose a roof-rated sealant with clear water and UV information when available.
Step 3: Choose the Right Material and Prepare the Surface
The best answer to roof flashing sealant vs caulk starts with the surface. Match the product to the roof and flashing before you load the caulk gun. LGFMH Construction's roof flashing sealant guide uses the same order: identify the material first, then compare movement, sun, water, and repair size.
For metal flashing, look for a product that names metal and can handle outdoor movement. For asphalt or a membrane roof, confirm that the formula is approved for that surface. Don't guess based on color or a familiar brand name.
Prepare the joint
First, remove loose sealant with a putty knife or utility knife. Cut away material that has cracked, peeled, or turned brittle. New sealant won't bond well to a failing layer below it.
Next, brush away dust, rust flakes, and roof grit. Clean the repair zone with a compatible cleaner when the product directions allow it. Keep the cleaning area focused. Aggressive brushing can damage protective coatings around metal flashing.
Let the surface dry fully. Moisture can weaken the bond and trap air beneath the bead. If the roof finish is unfamiliar, test a small hidden spot first. Let that test cure for the time shown on the label, then check for poor adhesion, cracking, or discoloration.
Use masking tape beside a visible joint if you want a neat edge. Set out the right tools before opening the tube: a caulk gun, a sharp knife, gloves, a tool for smoothing, and a clean rag. On a large flat area, a brush or roller may suit the product better than a cartridge.
Plan a dry-weather window that covers the product's full cure time. Skin formation on the surface is not the same as a cured waterproof joint. Rain during that gap can mark the bead or pull it from the flashing.
Step 4: Apply the Repair and Check the Seal
Apply one even bead that touches both sides of the joint. A clean bead protects better than a thick blob that traps gaps or holds standing water.
Cut the nozzle at roughly a 45-degree angle. Keep the opening slightly narrower than the joint when possible. A wide cut makes control hard, while a tiny cut forces too much pressure on the gun.
Load the tube and hold the nozzle against the seam. Pull the gun toward you at a steady pace. Keep pressure on the trigger even so the bead stays consistent. For a sloped lap, begin at the lower end and work upward when the roof layout allows it.
Pay close attention to corners and the ends of laps. Water can enter through a small open corner and travel under the flashing. Seal the full joint instead of covering only the crack you can see.
Press the bead into the joint with a smoothing tool or gloved finger.
Shape the surface so water won't sit against a raised ridge.
Remove masking tape while the material is still wet.
Wipe away excess material without spreading it over clean roof areas.
Don't seal over a loose edge. Refasten or replace the flashing first. If rust has made a hole or weakened the metal, a patch or replacement may be needed. Sealant alone cannot restore missing metal.
Follow the label for cure time and water exposure. Keep rain, dust, roof washing, and foot traffic away until the stated cure period ends. The time can change with temperature, humidity, bead size, and the product formula.
Once cured, inspect the bead from end to end. Look for pinholes, thin spots, bubbles, lifted edges, and places where the material pulled away from one side. A sound bead should stay attached while retaining the flexibility promised by the product.
Test the repair with controlled water if the roof can be accessed safely. Have someone watch inside while you wet the area above the repair. Start with light flow, then focus on lap ends, fasteners, corners, and places where materials meet. Don't spray upward beneath the flashing, since that can force water into a path normal rain won't take.
If the leak remains, stop adding layers. The source may be higher on the roof, beneath the flashing, or inside the roof assembly. LGFMH Construction can inspect the wider repair when a bead does not solve the problem.
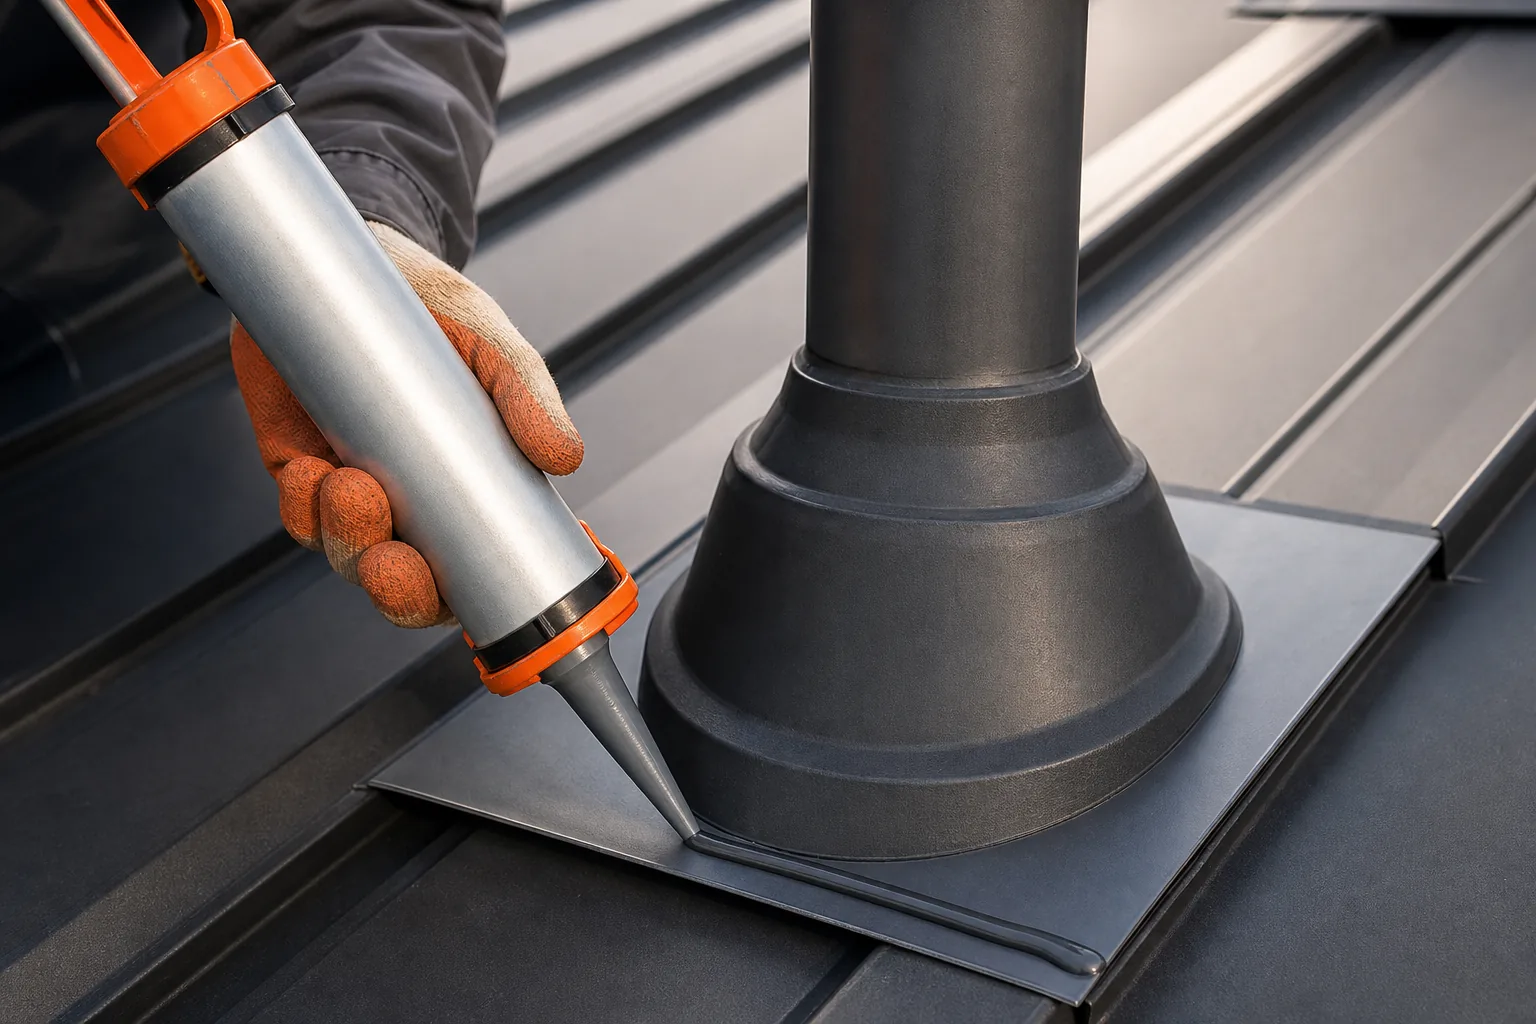
Check the repair after the next heavy rain and during routine roof inspections. Look for new cracks, chalky or faded material, peeling, and standing debris near the joint. Clearing gutters and valleys also helps prevent water from sitting against the repair.
FAQ: Roof Flashing Sealant vs Caulk
Should I use caulk or sealant on roof flashing?
Use a roof-rated sealant when the flashing joint moves or faces steady rain and sun. A suitable caulk may work for a small crack in sound flashing, but the label must confirm roof and substrate use. In the sealant versus caulk choice, performance claims matter more than the name printed on the tube.
Is silicone caulk good for roof flashing?
Silicone caulk can work on roof flashing when its instructions approve the roof material and outdoor exposure. Check for water sealing, UV resistance, and movement guidance before use. The term silicone alone doesn't prove compatibility. Clean and dry the flashing, then test an unseen spot if the roof finish is unfamiliar.
Can I put roof sealant over old caulk?
You can cover old caulk only when it is sound, firmly bonded, and approved as a compatible base. Remove loose, cracked, or crumbling material first. New sealant over failing caulk often peels with the old layer. Clean the exposed joint and let it dry before applying the replacement bead.
How long should roof flashing sealant cure before rain?
Wait for the full cure time printed on the product label before exposing the repair to rain. Surface skin does not mean the bead is fully cured. Weather, humidity, temperature, and bead thickness can change the result. If the label leaves cure time unclear, postpone the work or ask a qualified repair professional.
When should roof flashing be replaced instead of sealed?
Replace or refasten flashing when it is loose, badly rusted, bent, split, or missing. Sealant can close a sound joint, but it cannot rebuild weak metal or correct poor drainage. If water keeps returning after a careful seal repair, inspect the full flashing detail instead of adding another layer.
Conclusion: Make the Right Repair or Call LGFMH Construction
Choose a roof-rated sealant for most exposed, moving flashing joints, and reserve caulk for small repairs only when its label confirms the use. Start by checking the flashing itself, then clean and dry the joint before application. If the metal is loose, damaged, or hard to reach safely, contactLGFMH Constructionfor an inspection and repair plan.


Comments